springcloud分布式事务TXLCN
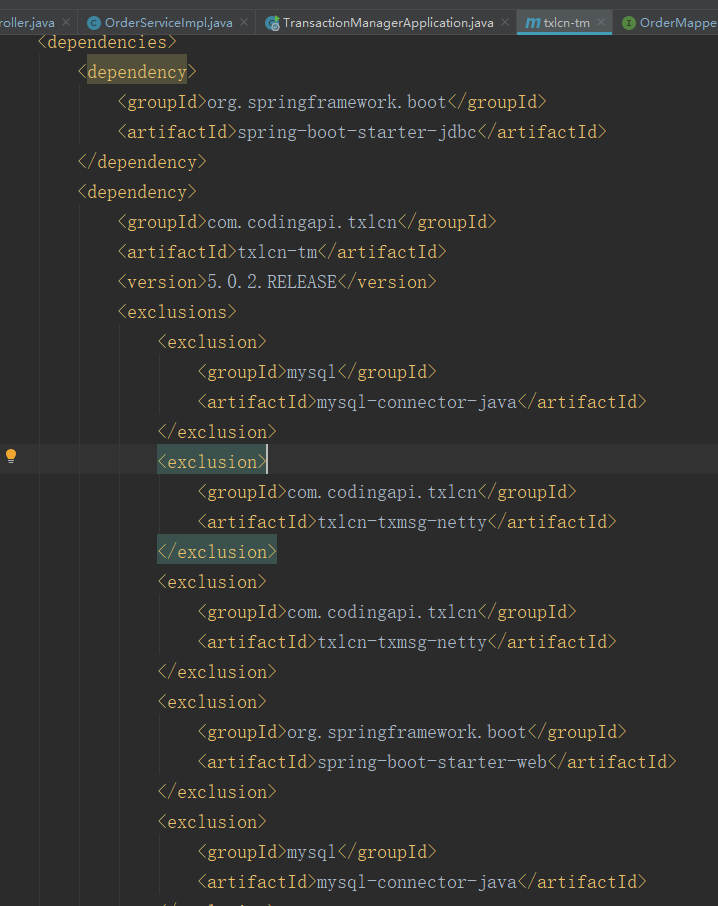
新增一个model,pom文件引入依赖
<dependency>
<groupId>org.springframework.boot</groupId>
<artifactId>spring-boot-starter-jdbc</artifactId>
</dependency>
<dependency>
<groupId>com.codingapi.txlcn</groupId>
<artifactId>txlcn-tm</artifactId>
<version>5.0.2.RELEASE</version>
</dependency>

配置文件中添加如下配置,其中数据库及redis的账号密码自行更换:
spring.application.name=tx-manager
server.port=8101
spring.datasource.driver-class-name=com.mysql.cj.jdbc.Driver
spring.datasource.url=jdbc:mysql://127.0.0.1:3306/tx-manager?useUnicode=true&characterEncoding=utf8&useSSL=false&serverTimezone=UTC
spring.datasource.username=root
spring.datasource.password=root
spring.jpa.database-platform=org.hibernate.dialect.MySQL5InnoDBDialect
spring.jpa.hibernate.ddl-auto=update
#指定注册中心地址
eureka.client.serviceUrl.defaultZone=http://localhost:8761/eureka/
eureka.instance.instance-id=${spring.cloud.client.ip-address}:${server.port}
eureka.instance.prefer-ip-address=true
mybatis.configuration.map-underscore-to-camel-case=true
mybatis.configuration.use-generated-keys=true
# TxManager Host Ip
tx-lcn.manager.host=127.0.0.1
# TxClient连接请求端口
tx-lcn.manager.port=8070
# 心跳检测时间(ms)
tx-lcn.manager.heart-time=15000
# 分布式事务执行总时间
tx-lcn.manager.dtx-time=30000
#参数延迟删除时间单位ms
tx-lcn.message.netty.attr-delay-time=10000
tx-lcn.manager.concurrent-level=128
# 开启日志
tx-lcn.logger.enabled=true
logging.level.com.codingapi=debug
#redis 主机
spring.redis.host=127.0.0.1
#redis 端口
spring.redis.port=6379
#redis 密码
spring.redis.password=
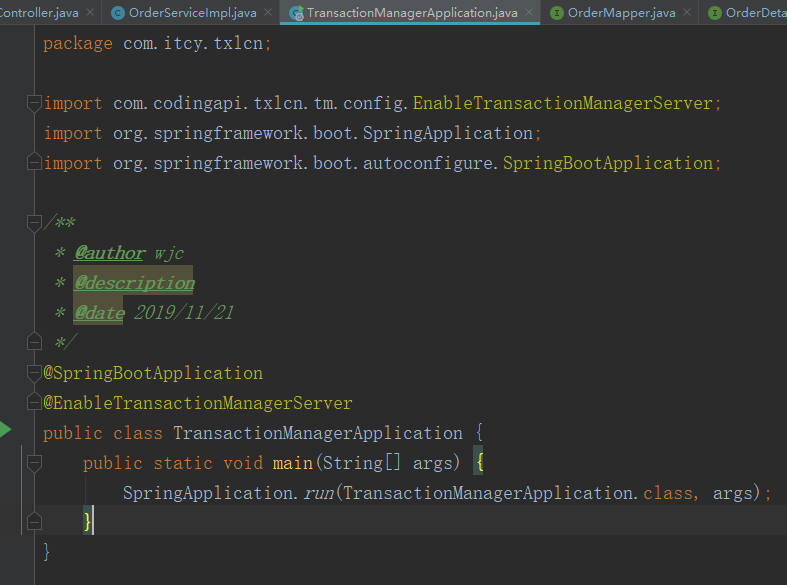
启动类添加注解@EnableTransactionManagerServer

完成上面的操作事务就可以启动了,记得先启动注册中心!
下面是修改需要添加分布式事务的模块
pom添加依赖如下,最好添加在多个服务的父级模块中,或common中
<dependency>
<groupId>com.codingapi.txlcn</groupId>
<artifactId>txlcn-tc</artifactId>
<version>${txlcn.version}</version>
</dependency>
<dependency>
<groupId>com.codingapi.txlcn</groupId>
<artifactId>txlcn-txmsg-netty</artifactId>
<version>${txlcn.version}</version>
</dependency>
启动类添加注解@EnableDistributedTransaction
在每个需要事务的服务配置文件中添加
tx-lcn:
client:
manager-address: 127.0.0.1:8070
最后添加@LcnTransaction,这里注意,A调用B中,A和B都要添加注解,而且B要添加参数
txmanager和txlcient详细的配置请去官网查看
博客链接:https://www.cnblogs.com/gqymy/


