impala 和 hive安装及基础使用
impala 安装
具体安装步骤参照:https://gaoming.blog.csdn.net/article/details/107399914 里面包含完整的Hadoop组件安装。
impala 使用
-
登录
impala-shell

-
同步hive元数据
invalidate metadata;  #同步hive元数据
show databases;  #查看同步之后的数据库
-
创建数据库
create database db_hive_test; -
在impala-shell端创建表
CREATE TABLE IF NOT EXISTS hive_test ( s1 int, s2 string, s3 string, s4 string ) row format delimited fields terminated by '|' -
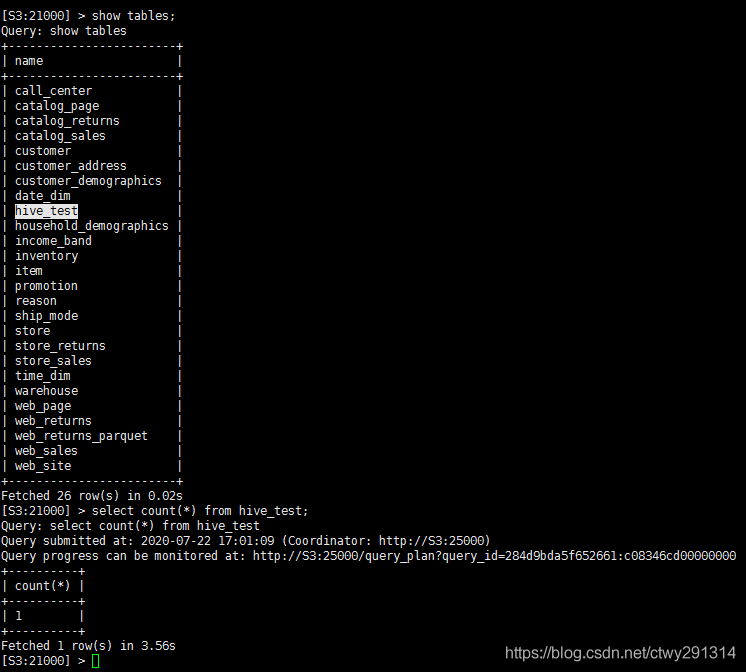
在impala-shell执行查询

-
描述表:
describe hive_test; -
删除表:
drop table hive_test; -
修改表:
alter table hive_test add columns (s5 int); -
创建视图:
create view hive_test_view as select * from hive_test_view where s1 = 1; -
删除表/清空表
drop table if exists table_name; truncate table table_name; #(先删除,再创建) -
表重命名:
alter table table_name rename new_table; -
描述表详情:
desc extended hive_test;

-
压缩
在Impala中,parquet存储格式的默认压缩方式为snappy。通过以下命令可以修改该配置:
set compression_code=snappy;(snappy,none,gzip...) -
设置Parquet 格式存储
创建表的时候可以通过
STORED AS PARQUET语句来指定文件的存储格式CREATE TABLE hive_test_parquet LIKE hive_test STORED AS PARQUET;可以使用 Insert 语句来将一张旧表中的数据拷贝到新的 Parquet 存储格式的表中
INSERT OVERWRITE TABLE hive_test_parquet SELECT * FROM hive_test;检查 Parquet 表的创建
SHOW TABLE STATS hive_test_parquet ;
Parquet 是一种柱状存储格式,所有在查询中选择更少的列会让查询执行更快。我们应该尽量避免以下这种查询方式:
SELECT * FROM hive_test_parquet; -
导入的数据全部都是null,
原因:create table时需要指定分隔符策略,row format delimited fields terminated by '|';
向Hive导入数据
已完成表创建
-
从本地文件导入到Hive
load data local inpath '/home/data/store_sales.dat' into table store_sales; -
load data inpath 从hdfs导入
查看hadoop文件
hadoop fs -ls /新建文件夹
hadoop dfs -mkdir /input
上传本地文件vi test1.txt # 键入内容保存wq!上传文件
hadoop fs -put test1.txt /input查看文件
hadoop fs -ls /input
hadoop fs -cat /input/test1.txt
加载本地文件到hiveload data local inpath '/input/test1.txt' into table default.student;加载数据覆盖表中已有的数据
load data inpath '/input/test1.txt' overwrite into table default.student; -
使用sqoop从数据库导入
sqoop import --connect jdbc:mysql://S0:3306/big_data_test --username root --password 1qaz@WSX --table store_sales -m 1 --hive-import --hive-database db_hive_test --hive-table store_sales
分区表
-
创建表分区
create table if not exists hive_partition_test66( id int, name string, phone string, address string ) partitioned by (year int,month int) row format delimited fields terminated by "|" lines terminated by "\n" stored as PARQUET; -
插入数据
insert into hive_partition_test66 PARTITION (year=2020,month=1) values(1,'张三','18600000000','哈尔滨'),(2,'李四','18700000000','哈尔滨'); insert into hive_partition_test66 PARTITION (year=2020,month=2) values(3,'王五','18800000000','哈尔滨'),(4,'马六','18900000000','哈尔滨'); -
特殊说明
在使用impala创建分区表时,可能出现以下异常:
ERROR: AnalysisException: Unable to INSERT into target table (db_hive_test.hive_partition_test44)
because Impala does not have WRITE access to HDFS location: hdfs://S0:8020/user/hive/warehouse/db_hive_test.db/hive_partition_test44
原因分析:

默认情况下,如果插入语句创建任何新的子目录下面的分区表,这些子目录分配权限的用户默认的HDFS的权限。使每个子目录具有相同的权限为在HDFS的父目录,指定
--insert_inherit_permissions启动选项的impalad守护。我使用的是cloudera manager,在下图


第四页的mpala Daemon 命令行参数高级配置代码段中新增--insert_inherit_permissions

之后重启Impala服务即可。其他解决方案:手动更改HDFS目录权限,参考命令如下:
hdfs dfs -chmod -R 777 /user/hive/warehouse/db_hive_test.db/hive_partition_test/注意事项:
hdfs集群上更改数据库表权限之后,一定要记住登录到impala-shell上使用invaladate metadata命令进行元数据更新,否则更改的权限在impala状态下是不生效的 -
查看表分区
show partitions hive_partition_test;
-
删除分区:
alter table hive_partition_test drop partition(year=2020,month=1); -
增加分区:
alter table hive_partition_testadd partition(year=2020,month=3);
更多HBASE参照请参考:
https://blog.csdn.net/qq_41837900/article/details/90578798


【推荐】国内首个AI IDE,深度理解中文开发场景,立即下载体验Trae
【推荐】编程新体验,更懂你的AI,立即体验豆包MarsCode编程助手
【推荐】抖音旗下AI助手豆包,你的智能百科全书,全免费不限次数
【推荐】轻量又高性能的 SSH 工具 IShell:AI 加持,快人一步
· 从 HTTP 原因短语缺失研究 HTTP/2 和 HTTP/3 的设计差异
· AI与.NET技术实操系列:向量存储与相似性搜索在 .NET 中的实现
· 基于Microsoft.Extensions.AI核心库实现RAG应用
· Linux系列:如何用heaptrack跟踪.NET程序的非托管内存泄露
· 开发者必知的日志记录最佳实践
· TypeScript + Deepseek 打造卜卦网站:技术与玄学的结合
· Manus的开源复刻OpenManus初探
· AI 智能体引爆开源社区「GitHub 热点速览」
· C#/.NET/.NET Core技术前沿周刊 | 第 29 期(2025年3.1-3.9)
· 从HTTP原因短语缺失研究HTTP/2和HTTP/3的设计差异