从C++看C#托管内存与非托管内存
进程的内存
一个exe文件,在没有运行时,其磁盘存储空间格式为函数代码段+全局变量段。加载为内存后,其进程内存模式增加为函数代码段+全局变量段+函数调用栈+堆区。我们重点讨论堆区。
| 进程内存 |
|---|
| 函数代码段 |
| 全局变量段 |
| 函数调用栈 |
| 堆区 |
托管堆与非托管堆
-
C#
int a=10这种代码申请的内存空间位于函数调用栈区,var stu=new Student(); GC.Collect();new运算符申请的内存空间位于堆区。关键在于new关键字。在C#中,这个关键字是向CLR虚拟机申请空间,因此这个内存空间位于托管堆上面,如果没有对这个对象的引用,在我们调用GC.Collect()后,或者CLR主动收集垃圾,申请的这段内存空间就会被CLR释放。这种机制简化了内存管理,我们不能直接控制内存的释放时机。不能精确指定释放哪个对象占用的空间。我不太清楚CLR具体原理,但CLR也只是运行在操作系统上的一个程序。假设它是C++写的,那么我们可以想象,CLR调用C++
new关键字后向操作系统申请了一个堆区空间,然后把这个变量放在一个全局列表里面。然后记录我们运行在CLR上面的C#托管程序堆这个对象的引用。当没有引用存在之后,CLR从列表中删除这个对象,并调用delete xxx把内存释放给操作系统。但是非托管堆呢?
-
C++
在C++中也有new关键字,比如Student* stu=new Student(); delete stu; //引发异常 cout >> stu->Name >> stu->Age;申请的内存空间也位于堆区。但又C++没有虚拟机,所以C++中的new关键字实际上是向操作系统申请内存空间,在进程关闭后,又操作系统释放。但是C++给了另一个关键字
delete,delete stu可以手动释放向操作系统申请的内存空间。之后访问这个结构体的字段会抛出异常。 -
C
C语言中没有new关键字,但却有两个函数,malloc和free。int* ptr = (int *)malloc(5 * sizeof(int)); free(ptr);他们起到了和C++中new关键字相同的作用。也是向操作系统申请一块在堆区的内存空间。
C#通过new关键字向CLR申请的内存空间位于托管堆。C++通过new关键字向操作系统申请的内存空间位于非托管堆。C语言通过malloc和free向操作系统申请的内存空间也位于非托管堆。C#的new关键字更像是对C++的new关键字的封装。
C#如何申请位于非托管堆的内存空间
C#本身的new运算符申请的是托管堆的内存空间,要申请非托管堆内存空间,目前我知道的只有通过调用C++的动态链接库实现。在.net8以前,使用DllImport特性在函数声明上面。在.net8,使用LibraryImport特性在函数声明上面
C++部分
新建一个C++动态链接库项目
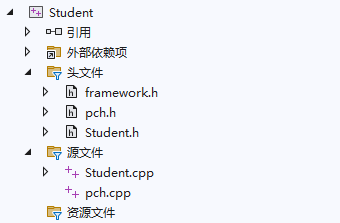
然后添加.h头文件和.cpp源文件
//Student.h

#pragma once
#include <string>
using namespace std;

extern struct Student
{
	wchar_t* Name;// 使用 char* 替代 std::string 以保证与C#兼容
	int Age;
};

//__declspec(xxx)是MSC编译器支持的关键字,dllexport表示导出后面的函数
/// <summary>
/// 创建学生
/// </summary>
/// <param name="name">姓名</param>
/// <returns>学生内存地址</returns>
extern "C" __declspec(dllexport) Student* CreateStudent(const wchar_t* name);

/// <summary>
/// 释放堆上的内存
/// </summary>
/// <param name="student">学生地址</param>
extern "C" __declspec(dllexport) void FreeStudent(Student* student);
//Student.cpp

//pch.h在项目属性中指定,pch.cpp必需
#include "pch.h"

#include "Student.h"
#include <cstring>

Student* CreateStudent(const wchar_t* name)
{
	//new申请堆空间
	Student* student = new Student;
	student->Age = 10;
	//new申请名字所需要的堆空间
	//wcslen应对unicode,ansi的话,使用strlen和char就够了
	student->Name = new wchar_t[wcslen(name) + 1];
	//内存赋值
	wcscpy_s(student->Name, wcslen(name) + 1, name);
	return student;
}

void FreeStudent(Student* student)
{
	// 假设使用 new 分配
	delete[] student->Name;//释放数组形式的堆内存
    delete student;
}
生成项目后,在解决方案下的x64\Debug中可以找到DLL
C#部分
由于C++动态链接库不符合C#动态链接库的规范。所以没法在C#项目的依赖中直接添加对类库的引用。只需要把DLL放在项目根目录下,把文件复制方式改为总是复制,然后代码中导入。
[DllImport("Student.dll", //指定DLL
CharSet=CharSet.Unicode//指定字符串编码
)]
public static extern IntPtr CreateStudent(string name);
[DllImport("Student.dll")]
private static extern IntPtr FreeStudent(IntPtr stu);
public static void Main()
{
string studentName = "John";
//用IntPtr接收C++申请空间的起始地址
IntPtr studentPtr = CreateStudent(studentName);
// 在C#中操作Student结构体需要进行手动的内存管理,如下
// 从地址所在内存构建C#对象或结构体,类似于指针的解引用
Student student = Marshal.PtrToStructure<Student>(studentPtr);
// 访问学生信息
//Marshal.PtrToStringUni(student.Name)将一段内存解释为unicode字符串,直到遇见结束符'\0'
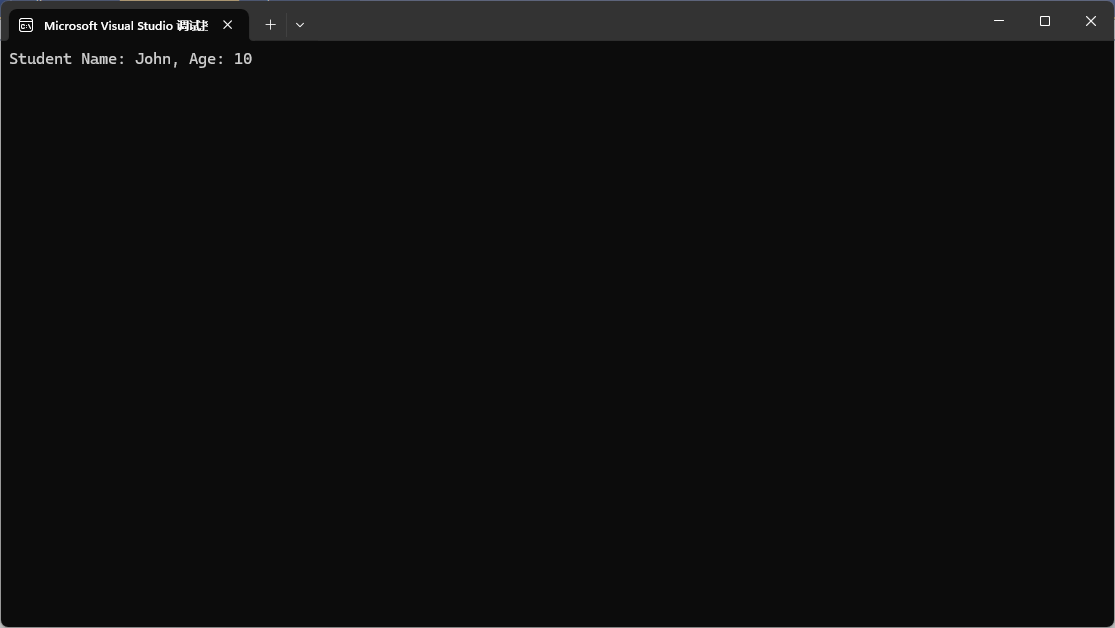
Console.WriteLine($"Student Name: {Marshal.PtrToStringUni(student.Name)}, Age: {student.Age}");
// 记得释放分配的内存
FreeStudent(studentPtr);
}
// 定义C++的Student结构体
[StructLayout(LayoutKind.Sequential)]
public struct Student
{
// IntPtr对应C++中的 char*
public IntPtr Name;
public int Age;
}
调用结果如下
非托管类释放非托管内存空间
如果我们把C++代码的调用封装成类,那么可以实现IDisposable接口。在Dispose方法中释放资源,然后使用using语句块来确保Dispose方法被调用。这样使得内存泄漏可能性降低。
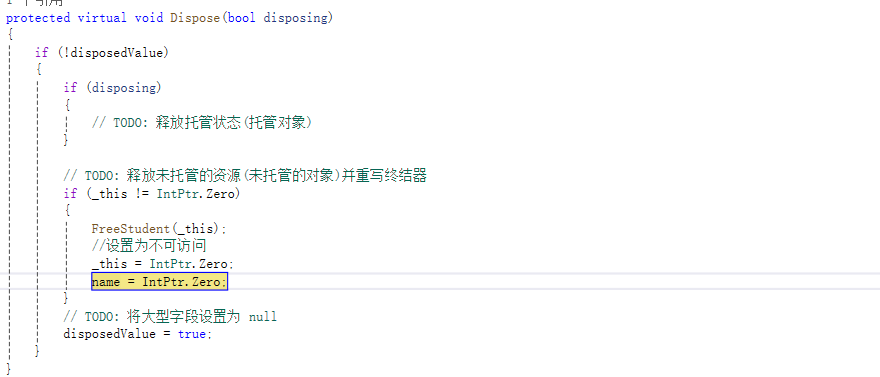
继承IDisposable接口后按下alt+enter,选择通过释放模式实现接口可以快速生成代码
/// <summary>
/// 非托管类
/// </summary>
public class Student:IDisposable
{
    // 定义C++的Student结构体
    [StructLayout(LayoutKind.Sequential)]
    private struct _Student
    {
        public IntPtr Name;
        public int Age;
    }

    // IntPtr对应C++中的 char*
    //需要在Dispose中手动释放
    private IntPtr _this;
    private IntPtr name;

    public string Name => Marshal.PtrToStringUni(name);
    public int Age;

    private bool disposedValue;

    public Student(string name)
    {
        _this=CreateStudent(name);
        _Student layout = Marshal.PtrToStructure<_Student>(_this);
		//记住要释放的内存起始地址
        this.Age = layout.Age;
        this.name = layout.Name;
    }

    [DllImport("Student.dll", CharSet = CharSet.Unicode)]
    private static extern IntPtr CreateStudent(string name);

    [DllImport("Student.dll")]
    private static extern IntPtr FreeStudent(IntPtr stu);

    protected virtual void Dispose(bool disposing)
    {
        if (!disposedValue)
        {
            if (disposing)
            {
                // TODO: 释放托管状态(托管对象)
            }

            // TODO: 释放未托管的资源(未托管的对象)并重写终结器
            if (_this != IntPtr.Zero)
            {
                FreeStudent(_this);
                //设置为不可访问
                _this = IntPtr.Zero;
                name = IntPtr.Zero;
            }
            // TODO: 将大型字段设置为 null
            disposedValue = true;
        }
    }

    // // TODO: 仅当“Dispose(bool disposing)”拥有用于释放未托管资源的代码时才替代终结器
    // ~Student()
    // {
    //     // 不要更改此代码。请将清理代码放入“Dispose(bool disposing)”方法中
    //     Dispose(disposing: false);
    // }

    public void Dispose()
    {
        // 不要更改此代码。请将清理代码放入“Dispose(bool disposing)”方法中
        Dispose(disposing: true);
        GC.SuppressFinalize(this);
    }
}
然后在Main中创建对象
string studentName = "John";
using (Student stu=new Student(studentName))
{
    Console.WriteLine($"Student Name: {stu.Name}, Age: {stu.Age}");
}
return;
结果
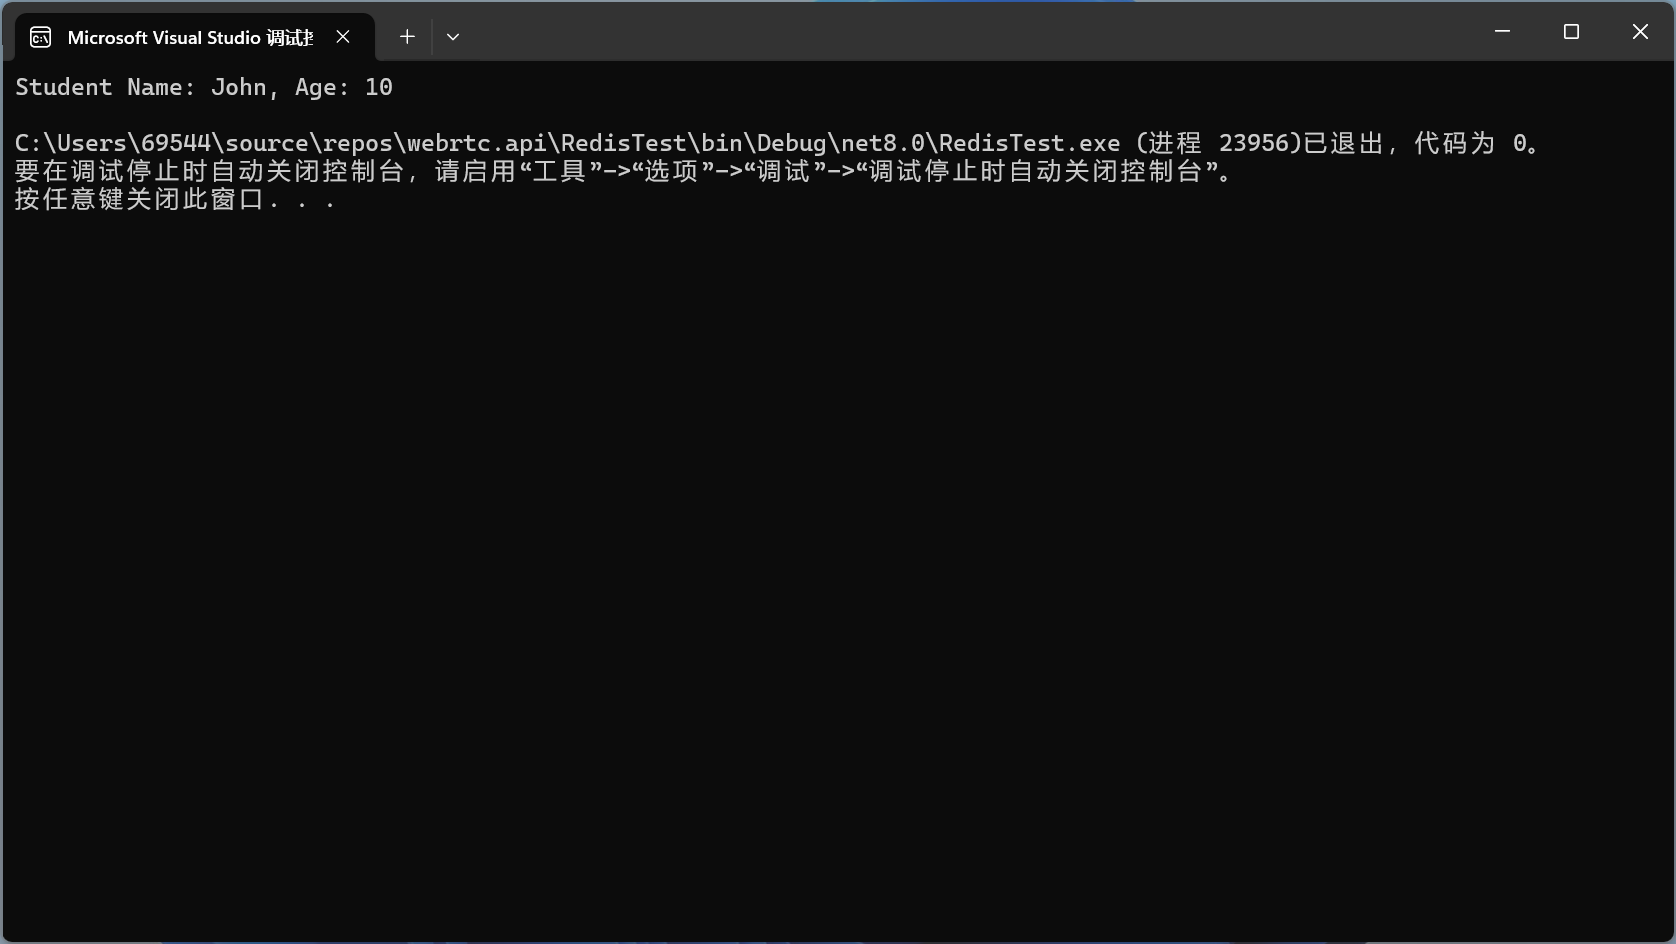
代码确实执行到了这里。
- 单步调试执行流程,using->Console->Dispose()->Dispose(bool disposing)->FreeStudent(_this);
事实上可以在FreeStudent(_this);之后加一句代码Console.WriteLine(Name);,你将会看到原本的正常属性变成了乱码

其实代码有点重复。如果我把_Student layout = Marshal.PtrToStructure<_Student>(_this);中的layout定义为Student的私有成员,那么Student中的那两个私有指针就不需要了,完全可以从layout中取得。

 浙公网安备 33010602011771号