npm创建项目
创建项目
-
创建项目目录
首先新建一个文件夹,这里存放着我们的项目。

-
创建项目文件
这里不使用任何项目模板,相当于使用空模板。
进入这个文件夹,再cmd中运行npm init。
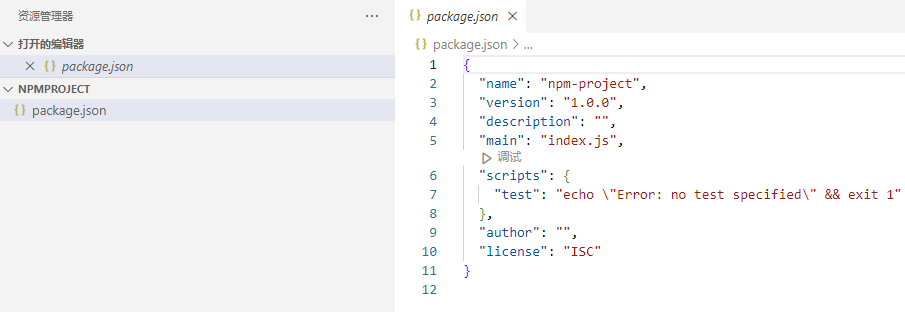
然后按照提示输入package name,项目名等等。每输入一个就回车。完成之后目录下会出现一个package.json项目文件。
我们到vscode中打开这个目录
-
创建项目入口文件
按照package.json的提示,我们需要创建index.js。一般都是放在src文件夹下。于是我们创建这个路径。
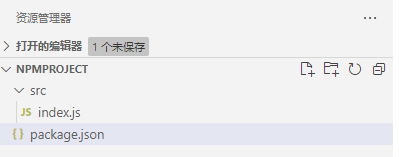
如果是需要在浏览器中运行项目,可以再创建一个index.html,并添加入口js引用

-
添加依赖引用
假如我们的需求是要用jquery操作dom
添加依赖的方式是命令行中执行npm i jquery。这会将包的引用添加到项目文件
package.json
{
  "name": "npm-project",
  "version": "1.0.0",
  "description": "",
  "main": "index.js",
  "scripts": {
    "test": "echo \"Error: no test specified\" && exit 1"
  },
  "author": "",
  "license": "ISC",
  "dependencies": {
    "jquery": "^3.7.1"
  }
}
- 使用自定义模块
添加repeat.js文件
repeat.js
export default{
    repeat:function(str){
        return `${str},${str}`
    }
}
再使用这个模块
index.js
import rmodule from "./repeat"
$("body").append($(`<h1 style="color:lightgreen">${rmodule.repeat("Hello jquery")}</h1>`))
- 使用添加的包
在index.js中使用import导入包,然后使用jquery
index.js
import rmodule from "./repeat"
import $ from "jquery"
$("body").append($(`<h1 style="color:lightgreen">${(()=>"Hello jquery")()}</h1>`))
$("body").append($(`<h1 style="color:lightgreen">${rmodule.repeat("Hello jquery")}</h1>`))
由于import $ from "jquery"中"jquery"不是真实路径,所以还需要编译项目。
编译项目
1.babel编译器
- 添加编译器
在命令行中运行npm install -D @babel/core @babel/cli @babel/preset-env,这将会添加一个叫babel的es6编译器到开发时依赖中。
package.json
{
  "name": "npm-project",
  "version": "1.0.0",
  "description": "",
  "main": "index.js",
  "scripts": {
    "test": "echo \"Error: no test specified\" && exit 1"
  },
  "author": "",
  "license": "ISC",
  "devDependencies": {
    "@babel/cli": "^7.24.5",
    "@babel/core": "^7.24.5",
    "@babel/preset-env": "^7.24.5"
  },
  "dependencies": {
    "jquery": "^3.7.1"
  }
}
- 添加编译器的配置文件
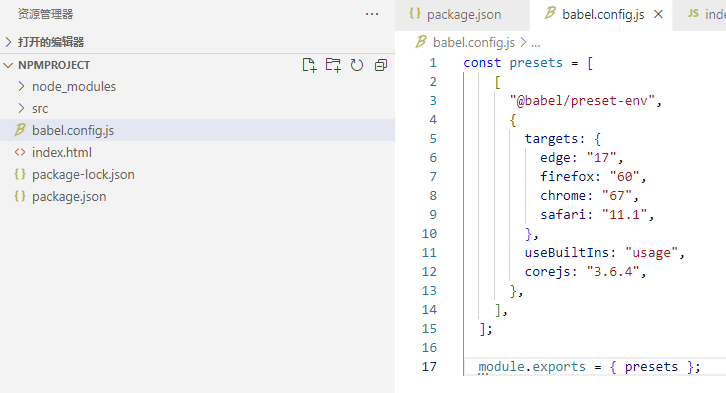
在项目的根目录下创建一个命名为babel.config.js的配置文件
const presets = [
  [
    "@babel/preset-env",
    {
      targets: {
        edge: "17",
        firefox: "60",
        chrome: "67",
        safari: "11.1",
      },
      useBuiltIns: "usage",
      corejs: "3.6.4",
    },
  ],
];

module.exports = { presets };
- 编译项目
在项目文件中添加此命令"scripts": {"build": "babel src --out-dir lib"}
package.json
{
  "name": "npm-project",
  "version": "1.0.0",
  "description": "",
  "main": "index.js",
  "scripts": {
    "test": "echo \"Error: no test specified\" && exit 1",
    "build": "babel src --out-dir lib"
  },
  "author": "",
  "license": "ISC",
  "devDependencies": {
    "@babel/cli": "^7.24.5",
    "@babel/core": "^7.24.5",
    "@babel/preset-env": "^7.24.5"
  },
  "dependencies": {
    "jquery": "^3.7.1"
  }
}
然后运行此命令npm run build,使用babel编译器,将src目录中的文件编译为es2015,输出到lib目录。
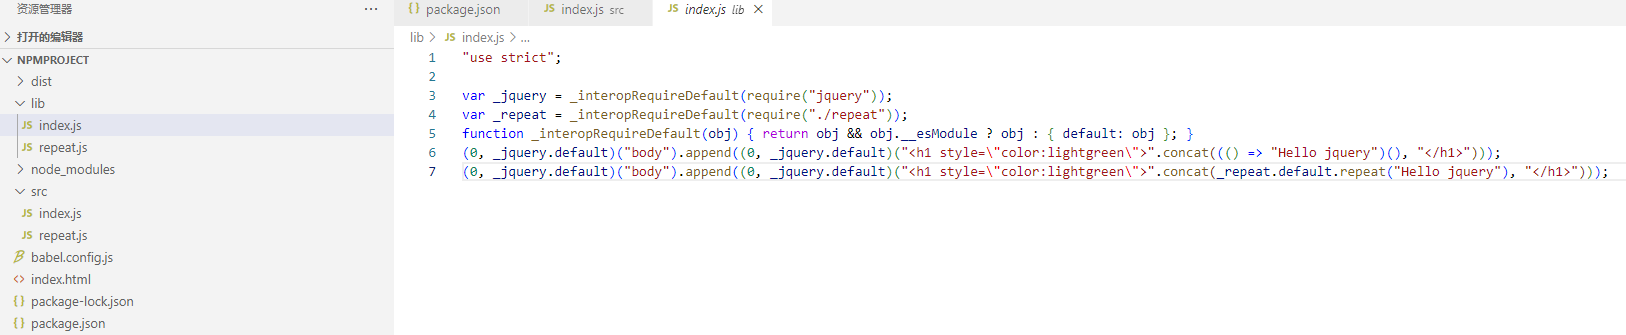
- 评价
就编译结果看。babel扫描了src目录下的所有js文件,但只进行了源代码编译,和源码的链接。也就说只做了编译器的功能,没有做依赖包的链接的工作。真是服了!
2.使用webpack
为了解决这个问题,我们换成webpack
运行命令npm install -D webpack webpack-cli添加开发时依赖。同时添加pack命令
package.json
{
  "name": "npm-project",
  "version": "1.0.0",
  "description": "",
  "main": "index.js",
  "scripts": {
    "test": "echo \"Error: no test specified\" && exit 1",
    "build": "babel src --out-dir lib",
    "pack": "webpack"
  },
  "author": "",
  "license": "ISC",
  "devDependencies": {
    "@babel/cli": "^7.24.5",
    "@babel/core": "^7.24.5",
    "@babel/preset-env": "^7.24.5",
    "webpack": "^5.91.0",
    "webpack-cli": "^5.1.4"
  },
  "dependencies": {
    "jquery": "^3.7.1"
  }
}
- 添加webpack配置文件
在根目录下添加webpack.config.js配置文件
webpack.config.js
const path=require("path");
module.exports={
    mode:"development",
    entry:"./src/index.js",
    output:{
        filename:"dist.js",
        path:path.resolve(__dirname,"dist")
    }
}
- 编译
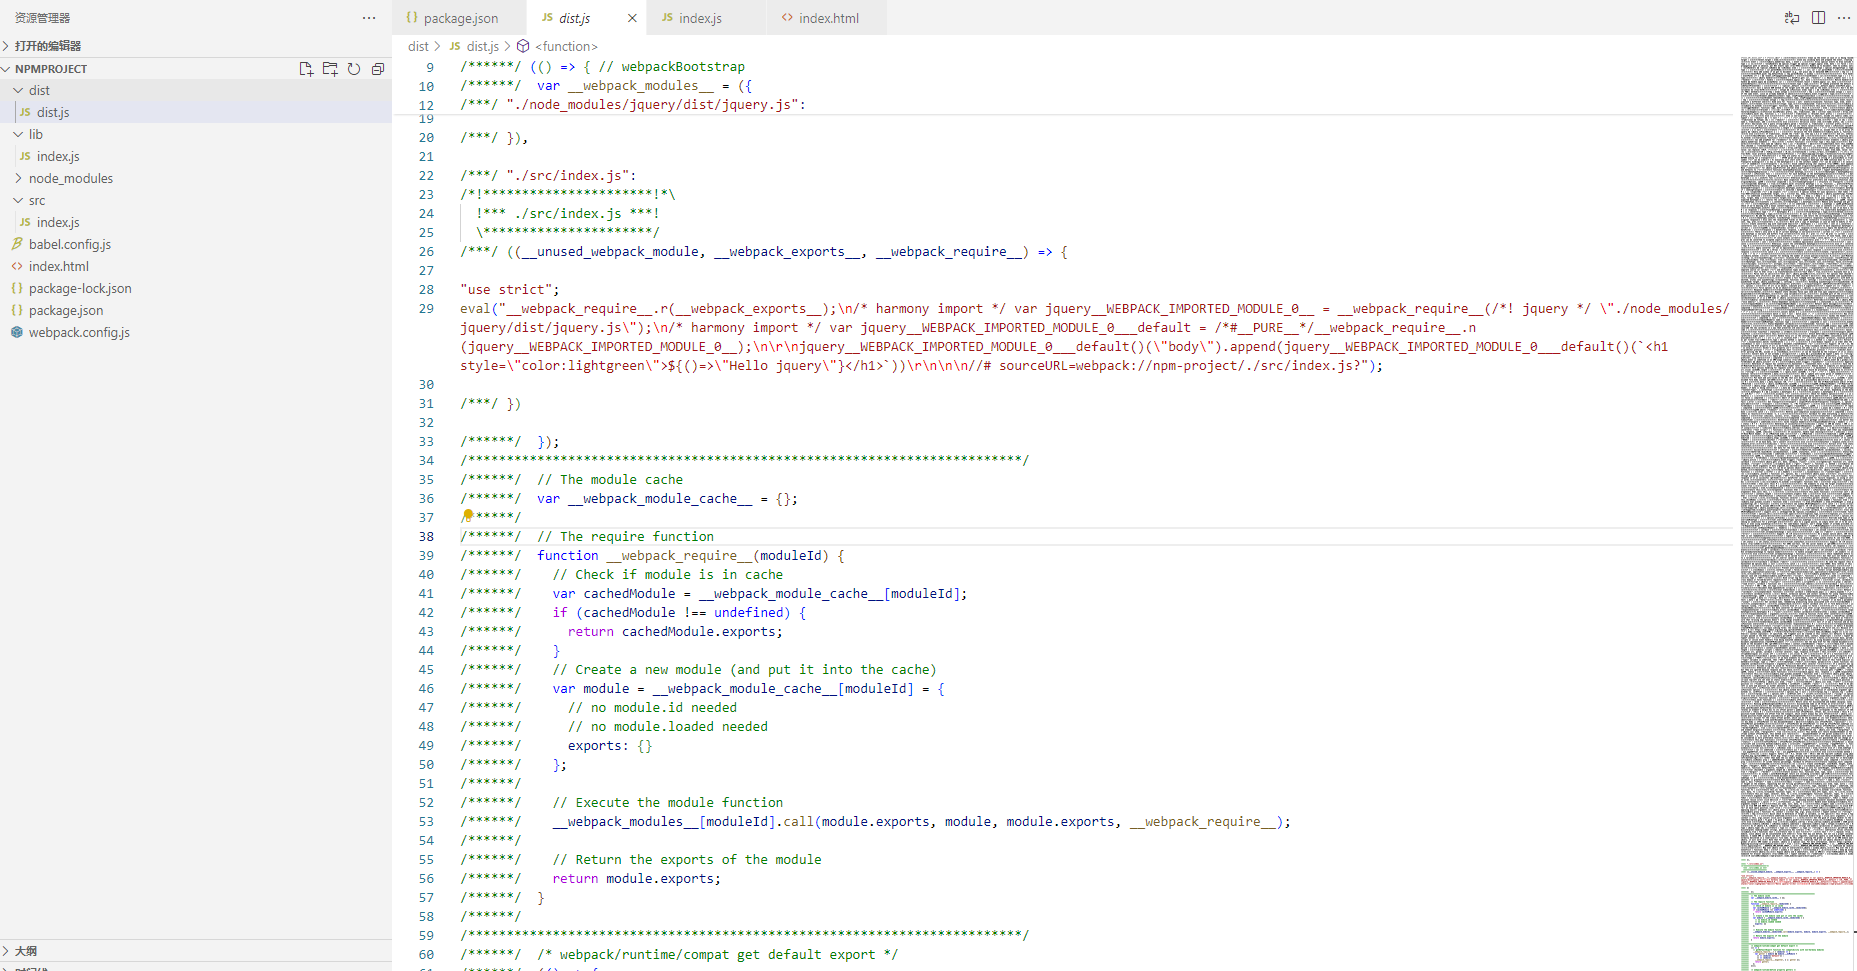
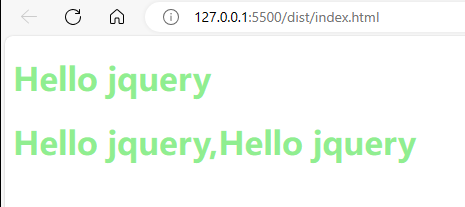
运行命令npm run pack。根目录下出出现打包的文件。jquery也被连接到了最终的文件中。
运行项目
将index.html的js链接换一下
index.html
<!DOCTYPE html>
<html>
    <header>
        <title>入口HTML</title>
    </header>
    <!-- <script type="module" src="./src/index.js"></script> -->
    <script type="module" src="./dist/dist.js"></script>
    <body>
        <h1>
            Hello World
        </h1>
    </body>
</html>
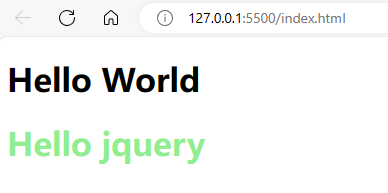
然后用live server扩展在此文件上运行一个web服务器
直接使用html作为webpack入口文件
我不清楚手动改html使用的js路径合不合适。但这显然有些不和谐。
因此还可以使用webpack的html-webpack-plugin自动从入口js生成html。
- 运行
npm i html-webpack-plugin -D安装此插件 - 使用此插件
webpack.config.js
const path=require("path");
const HtmlWebpackPlugin = require('html-webpack-plugin');
module.exports={
    mode:"development",
    entry:"./src/index.js",
    output:{
        filename:"dist.js",
        path:path.resolve(__dirname,"dist")
    },
    plugins:[
        new HtmlWebpackPlugin({
            template:"./index.html"
        })
    ]
}
这里的配置是直接将index.html复制到输出目录下。html引用js里面使用了和webpack.config.js输出相同的路径,免去了手动复制。
- 不使用
template模板,直接生成html
plugins:[
        new HtmlWebpackPlugin({
            title:"html入口"
        })
    ]
这将生成一个新的index.html,然后链接了index.js。这就不让理会html里面的路径问题了。
- 评价
这种写法感觉不对。把原来html的简介的声明式语法变成了繁杂的js代码。就像从wpf变回了win32api,这是倒退。
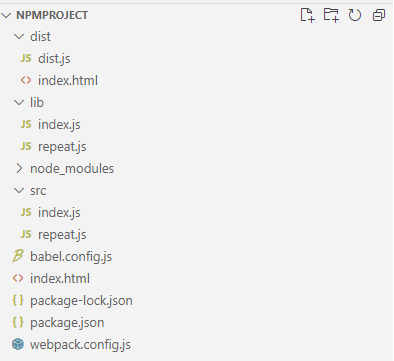
最终的项目结构

 浙公网安备 33010602011771号