流媒体技术探索(一)
一、远景目标
我老家的婆婆不会用手机,她当了一辈子的农民,不会说也听不懂普通话。从我爸爸那一代起,我们就成了工人,虽然政府吝于承认我们这些打工人是工人,但自从工作以来,我每次与婆婆通电话,都觉得她不了解我们,不依靠任何人的骄傲自耕农与一无所有的工人的思想在向两个方向远离。因此,我希望能够让她看看自己那一亩三分地的外面,看看他的子辈,孙辈,生活与他有什么差别。
刚好我学了软件,不知道会不会用到硬件,但无论如何,让她能通过一种易操作的设备看到我们的生活,有可能做到。因此,我决定尝试流媒体技术,希望能实现视频的目标。
二、软件
1.视频点播
我在一边看许多人写的博客,一边尝试着实现。终于,这个周末实现了视频点播。
采用的技术方案是ffmpeg产生hls流,用nginx推流,用videojs拉流。
第一步,下载ffmpeg和配置环境变量便于操作。
ffmpege下载地址如下:链接: https://pan.baidu.com/s/1A9zLtYoqOsCyxq7PW4Oo7Q
提取码:q88a
nginx下载下载地址如下:链接:https://pan.baidu.com/s/1tiEv2_X74B9pxuKfg3ZUxw
提取码:p8n0
设置环境变量,->此电脑->属性->高级系统设置->环境变量
添加此变量,指向ffmpeg.exe的路径
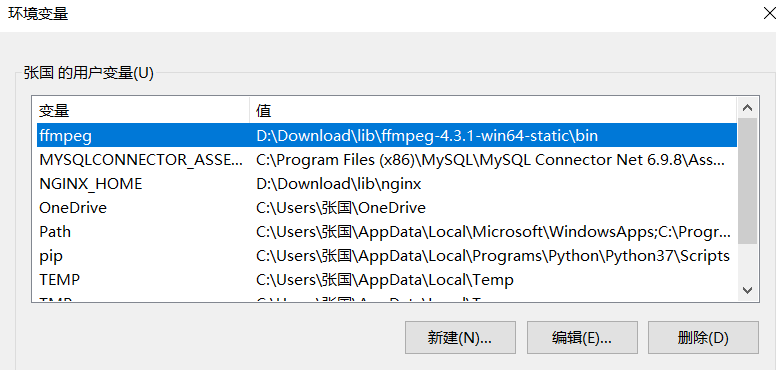
将定义的添加到Path中
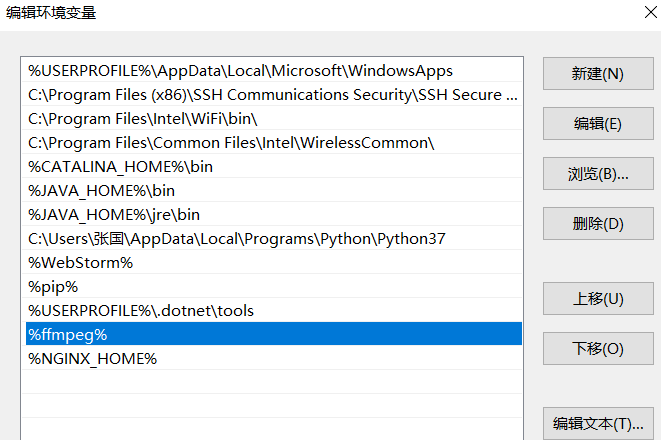
这样就可以在任何路径用命令行运行ffmpeg了。nginx同理,但我在配置好nginx后启动,关闭总是有问题,还是只能在nginx所在文件夹下运行nignx,现在还没解决。
第二步,得到hls流
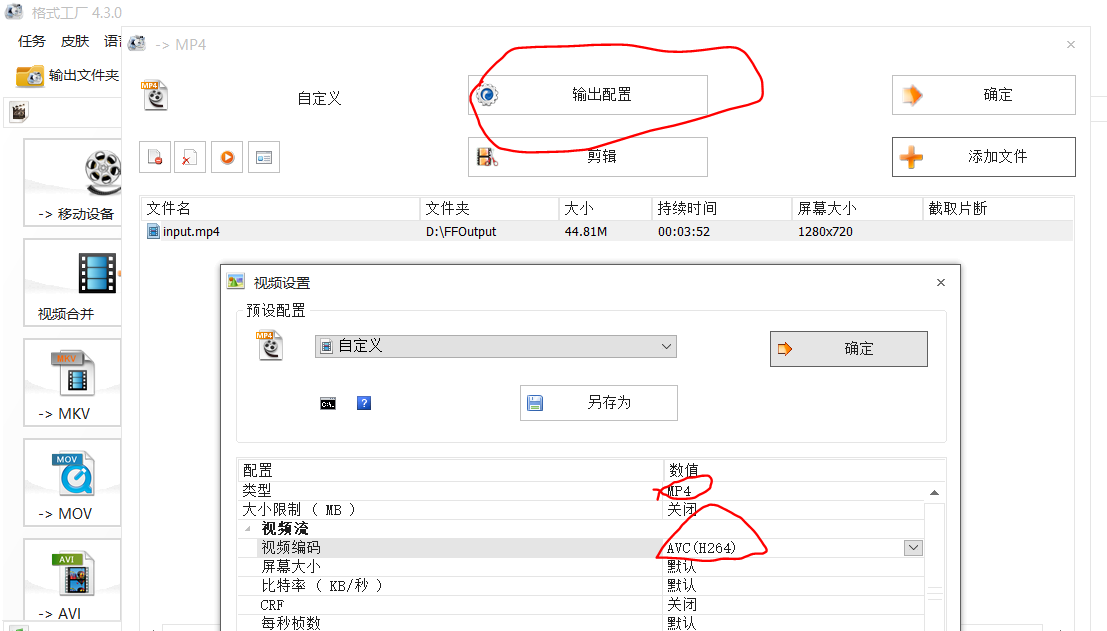
将要编码的视频放到存储结果的文件夹,使用ffmpeg将h264编码的mp4视频转hls流,我是在桌面上新建的文件夹里面进行的。
这一步要保证mp4视频的编码正确,如果失败,可以用格式工厂转码一次,如图
编码命令如下:ffmpeg -y -i 待编码视频文件.mp4 -vcodec copy -acodec copy -vbsf h264_mp4toannexb 输出视频文件.ts
ffmpeg -y -i input.mp4 -vcodec copy -acodec copy -vbsf h264_mp4toannexb output.ts
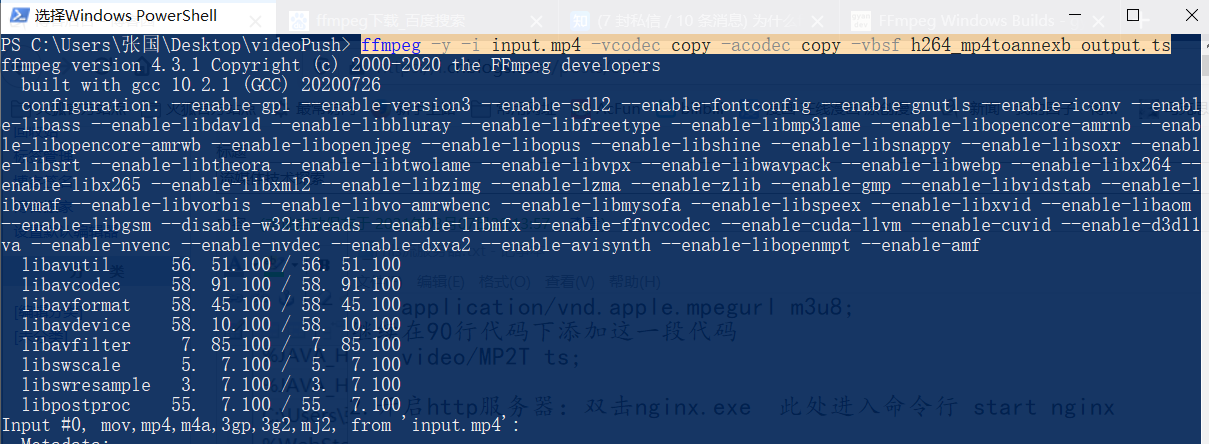
结果如下:

再使用命令将ts文件按几秒一段进行分片
分片命令如下:ffmpeg -i 要分片的文件.ts -c copy -map 0 -f segment -segment_list 分片后的索引文件.m3u8 片段名%03d.ts
ffmpeg -i output.ts -c copy -map 0 -f segment -segment_list playlist.m3u8 output%03d.ts

结果如下:
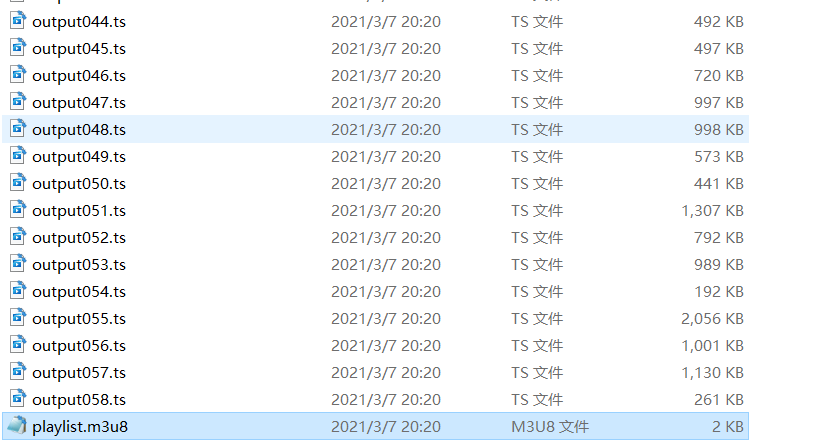
从0到58.ts,与playlist.m3u8就是我们需要的hls流
第三步,在nginx上创建一个服务器,让客户端可以通过服务器得到视频流
打开nignx的conf->nginx.conf配置文件,在http下面添加一个服务器
#http服务器
http {
    include       mime.types;
    default_type  application/octet-stream;

    #log_format  main  '$remote_addr - $remote_user [$time_local] "$request" '
    #                  '$status $body_bytes_sent "$http_referer" '
    #                  '"$http_user_agent" "$http_x_forwarded_for"';

    #access_log  logs/access.log  main;

    sendfile        on;
    #tcp_nopush     on;

    #keepalive_timeout  0;
    keepalive_timeout  65;

    #gzip  on;

#这就是我们的服务器
    server{
        #项目端口号
        listen       8099;
        #项目ip地址
        server_name  localhost;

        location / {
            #项目根目录
            root   C:/Users/张国/Desktop;
            #项目首页,随便
            index  javascript输出.html;

            charset utf-8;
        }
        }

    server {
        listen       80;
        server_name  localhost;

        #charset koi8-r;

        #access_log  logs/host.access.log  main;

        location / {
            root   html;
            index  index.html index.htm;
        }

        #error_page  404              /404.html;

        # redirect server error pages to the static page /50x.html
        #
        error_page   500 502 503 504  /50x.html;
        location = /50x.html {
            root   html;
        }

        # proxy the PHP scripts to Apache listening on 127.0.0.1:80
        #
        #location ~ \.php$ {
        #    proxy_pass   http://127.0.0.1;
        #}

        # pass the PHP scripts to FastCGI server listening on 127.0.0.1:9000
        #
        #location ~ \.php$ {
        #    root           html;
        #    fastcgi_pass   127.0.0.1:9000;
        #    fastcgi_index  index.php;
        #    fastcgi_param  SCRIPT_FILENAME  /scripts$fastcgi_script_name;
        #    include        fastcgi_params;
        #}

        # deny access to .htaccess files, if Apache's document root
        # concurs with nginx's one
        #
        #location ~ /\.ht {
        #    deny  all;
        #}
    }


    # another virtual host using mix of IP-, name-, and port-based configuration
    #
    #server {
    #    listen       8000;
    #    listen       somename:8080;
    #    server_name  somename  alias  another.alias;

    #    location / {
    #        root   html;
    #        index  index.html index.htm;
    #    }
    #}


    # HTTPS server
    #
    #server {
    #    listen       443 ssl;
    #    server_name  localhost;

    #    ssl_certificate      cert.pem;
    #    ssl_certificate_key  cert.key;

    #    ssl_session_cache    shared:SSL:1m;
    #    ssl_session_timeout  5m;

    #    ssl_ciphers  HIGH:!aNULL:!MD5;
    #    ssl_prefer_server_ciphers  on;

    #    location / {
    #        root   html;
    #        index  index.html index.htm;
    #    }
    #}

}
第四步,创建客户端
现在在服务器目录下,(我是桌面)创建一个html,在其中引入videojs
链接如下:链接:https://pan.baidu.com/s/1zc3fT4Y_hUGJWUfvkSDLBg
提取码:z3y6
<!DOCTYPE html>
<html>
    <head>
        <title>播放器</title>
        <!-- 导入的videojs是7.0版本以上的,集成VHS协议库,可播放HLS流媒体视频 -->
        <link href="http://vjs.zencdn.net/7.0/video-js.min.css" rel="stylesheet">
        <script src="http://vjs.zencdn.net/7.0/video.min.js"></script>
    </head>
    <body>
        <video id='myvideo' width=960 height=540 class="video-js vjs-default-skin" controls>
            <!--我们的视频地址-->
            <source src="http://localhost:8099/videoPush/playlist.m3u8">
            <!-- hls直播源地址:CCTV1高清 -->
            <!-- <source src="http://ivi.bupt.edu.cn/hls/cctv1hd.m3u8"> -->
        </video>
        <script>
            var player = videojs('myvideo', {}, function(){
                console.log('videojs播放器初始化成功');
                if(player.canPlayType('application/vnd.apple.mpegurl') === "probably" || player.canPlayType('application/vnd.apple.mpegurl') === "maybe"){
                    console.log("yes");
                }
                else{
                    console.log("no");
                }
                player.play();
            });
        </script>
    </body>
</html>
第六步,运行!
在nginx所在目录下使用打开powershell,运行命令
start nginx
启动服务器
然后打开浏览器,输入我们那个HTML的url
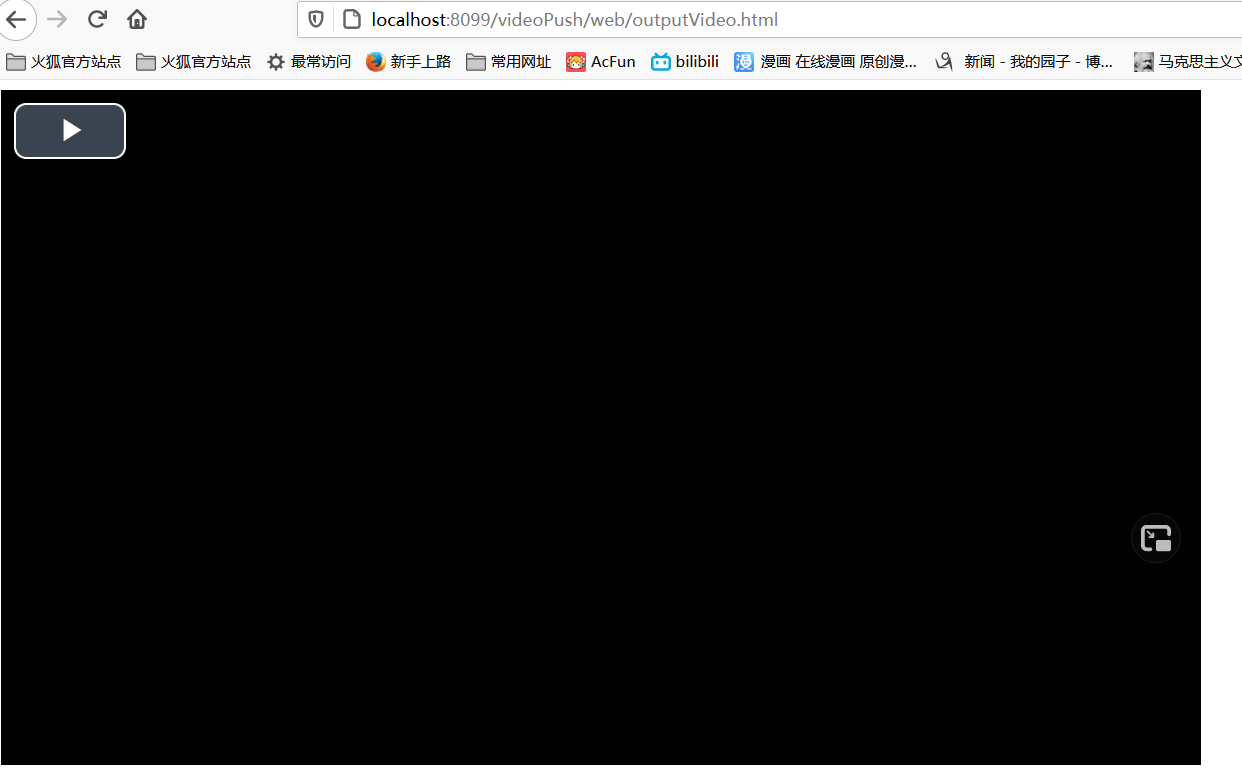
点击播放

视频点播基本功能完成

 浙公网安备 33010602011771号