
asp.netCore JWT鉴权
在ASP.NET Core中,鉴权(Authentication)与授权(Authorization)是两个紧密相关的安全机制。http是无状态的,想要服务器知道用户的身份,并判断用户是否有权限访问资源,就需要鉴权与授权。
持久化流程:
1. 请求服务器获取凭证(常见方式有Cookie、JWT)
2. 带上凭证访问服务器资源
3. 服务器根据凭证判断该用户是否有权限
示例
1. 注册服务并调用中间件
安装包:Microsoft.AspNetCore.Authentication.JwtBearer
//注册服务
builder.Services.AddAuthentication(options =>
{
    options.DefaultScheme = JwtBearerDefaults.AuthenticationScheme;
})
.AddJwtBearer(options =>
{
    options.TokenValidationParameters = new TokenValidationParameters()
    {
        ValidateIssuer = true, //是否验证Issuer
        ValidIssuer = builder.Configuration["Jwt:Issuer"], //发行人Issuer
        ValidateAudience = true, //是否验证Audience
        ValidAudience = builder.Configuration["Jwt:Audience"], //订阅人Audience
        ValidateIssuerSigningKey = true, //是否验证SecurityKey
        IssuerSigningKey = new SymmetricSecurityKey(Encoding.UTF8.GetBytes(builder.Configuration["Jwt:SecretKey"])), //SecurityKey
        ValidateLifetime = true, //是否验证失效时间
        ClockSkew = TimeSpan.FromSeconds(30), //过期时间容错值,解决服务器端时间不同步问题(秒)
        RequireExpirationTime = true,
    };
});

...

//调用中间件:UseAuthentication(认证),必须在所有需要身份认证的中间件前调用,比如 UseAuthorization(授权)。
app.UseAuthentication();
app.UseAuthorization();
2. 在appsettings.json添加jwt配置
{
  "Jwt": {
    "SecretKey": "z9l5wG4dKp7RvAq1XjWnHcLt8yB3sM6F9kP2oU0iYmS",
    "Issuer": "WebAppIssuer",
    "Audience": "WebAppAudience",
    "ExpireMinutes": 1440
  }

}
3. 创建登陆接口
[Route("api/[controller]")]
[ApiController]
public class AuthController : ControllerBase
{
    private readonly IConfiguration _config;
    public AuthController(IConfiguration config)
    {
        _config = config;
    }

    /// <summary>
    /// 登陆接口
    /// </summary>
    /// <param name="request"></param>
    /// <returns></returns>
    [HttpPost("login")]
    public IActionResult Login([FromBody] LoginModel request)
    {
        //模拟登陆
        if (request.Username != "admin" || request.Password != "123")
            return Unauthorized(new ApiResponse<object>(401,"用户名或密码错误",null));

        //生成 JWT 令牌
        var claims = new[]
        {
            new Claim(ClaimTypes.Name, request.Username),
            new Claim(ClaimTypes.Role, "Admin")
        };

        var securityKey = new SymmetricSecurityKey(Encoding.UTF8.GetBytes(_config["Jwt:SecretKey"]!));
        var credentials = new SigningCredentials(securityKey, SecurityAlgorithms.HmacSha256);

        var token = new JwtSecurityToken(
            issuer: _config["Jwt:Issuer"],
            audience: _config["Jwt:Audience"],
            claims: claims,
            expires: DateTime.UtcNow.AddMinutes(_config.GetValue<int>("Jwt:ExpireMinutes")),
            signingCredentials: credentials
        );

        var tokenString = new JwtSecurityTokenHandler().WriteToken(token);

        return Ok(new ApiResponse<object>(200,"登陆成功",tokenString));
    }
}
4. 对于受保护的资源添加授权
[Route("api/[controller]")]
[ApiController]
[Authorize(Roles = "Admin")]
public class HelloController : ControllerBase
{
    [HttpGet("world")]
    public IActionResult World()
    {
        return Ok(new ApiResponse<object>(200,"hello world",null));
    }
}
5. 测试:利用api工具访问登陆接口获取token

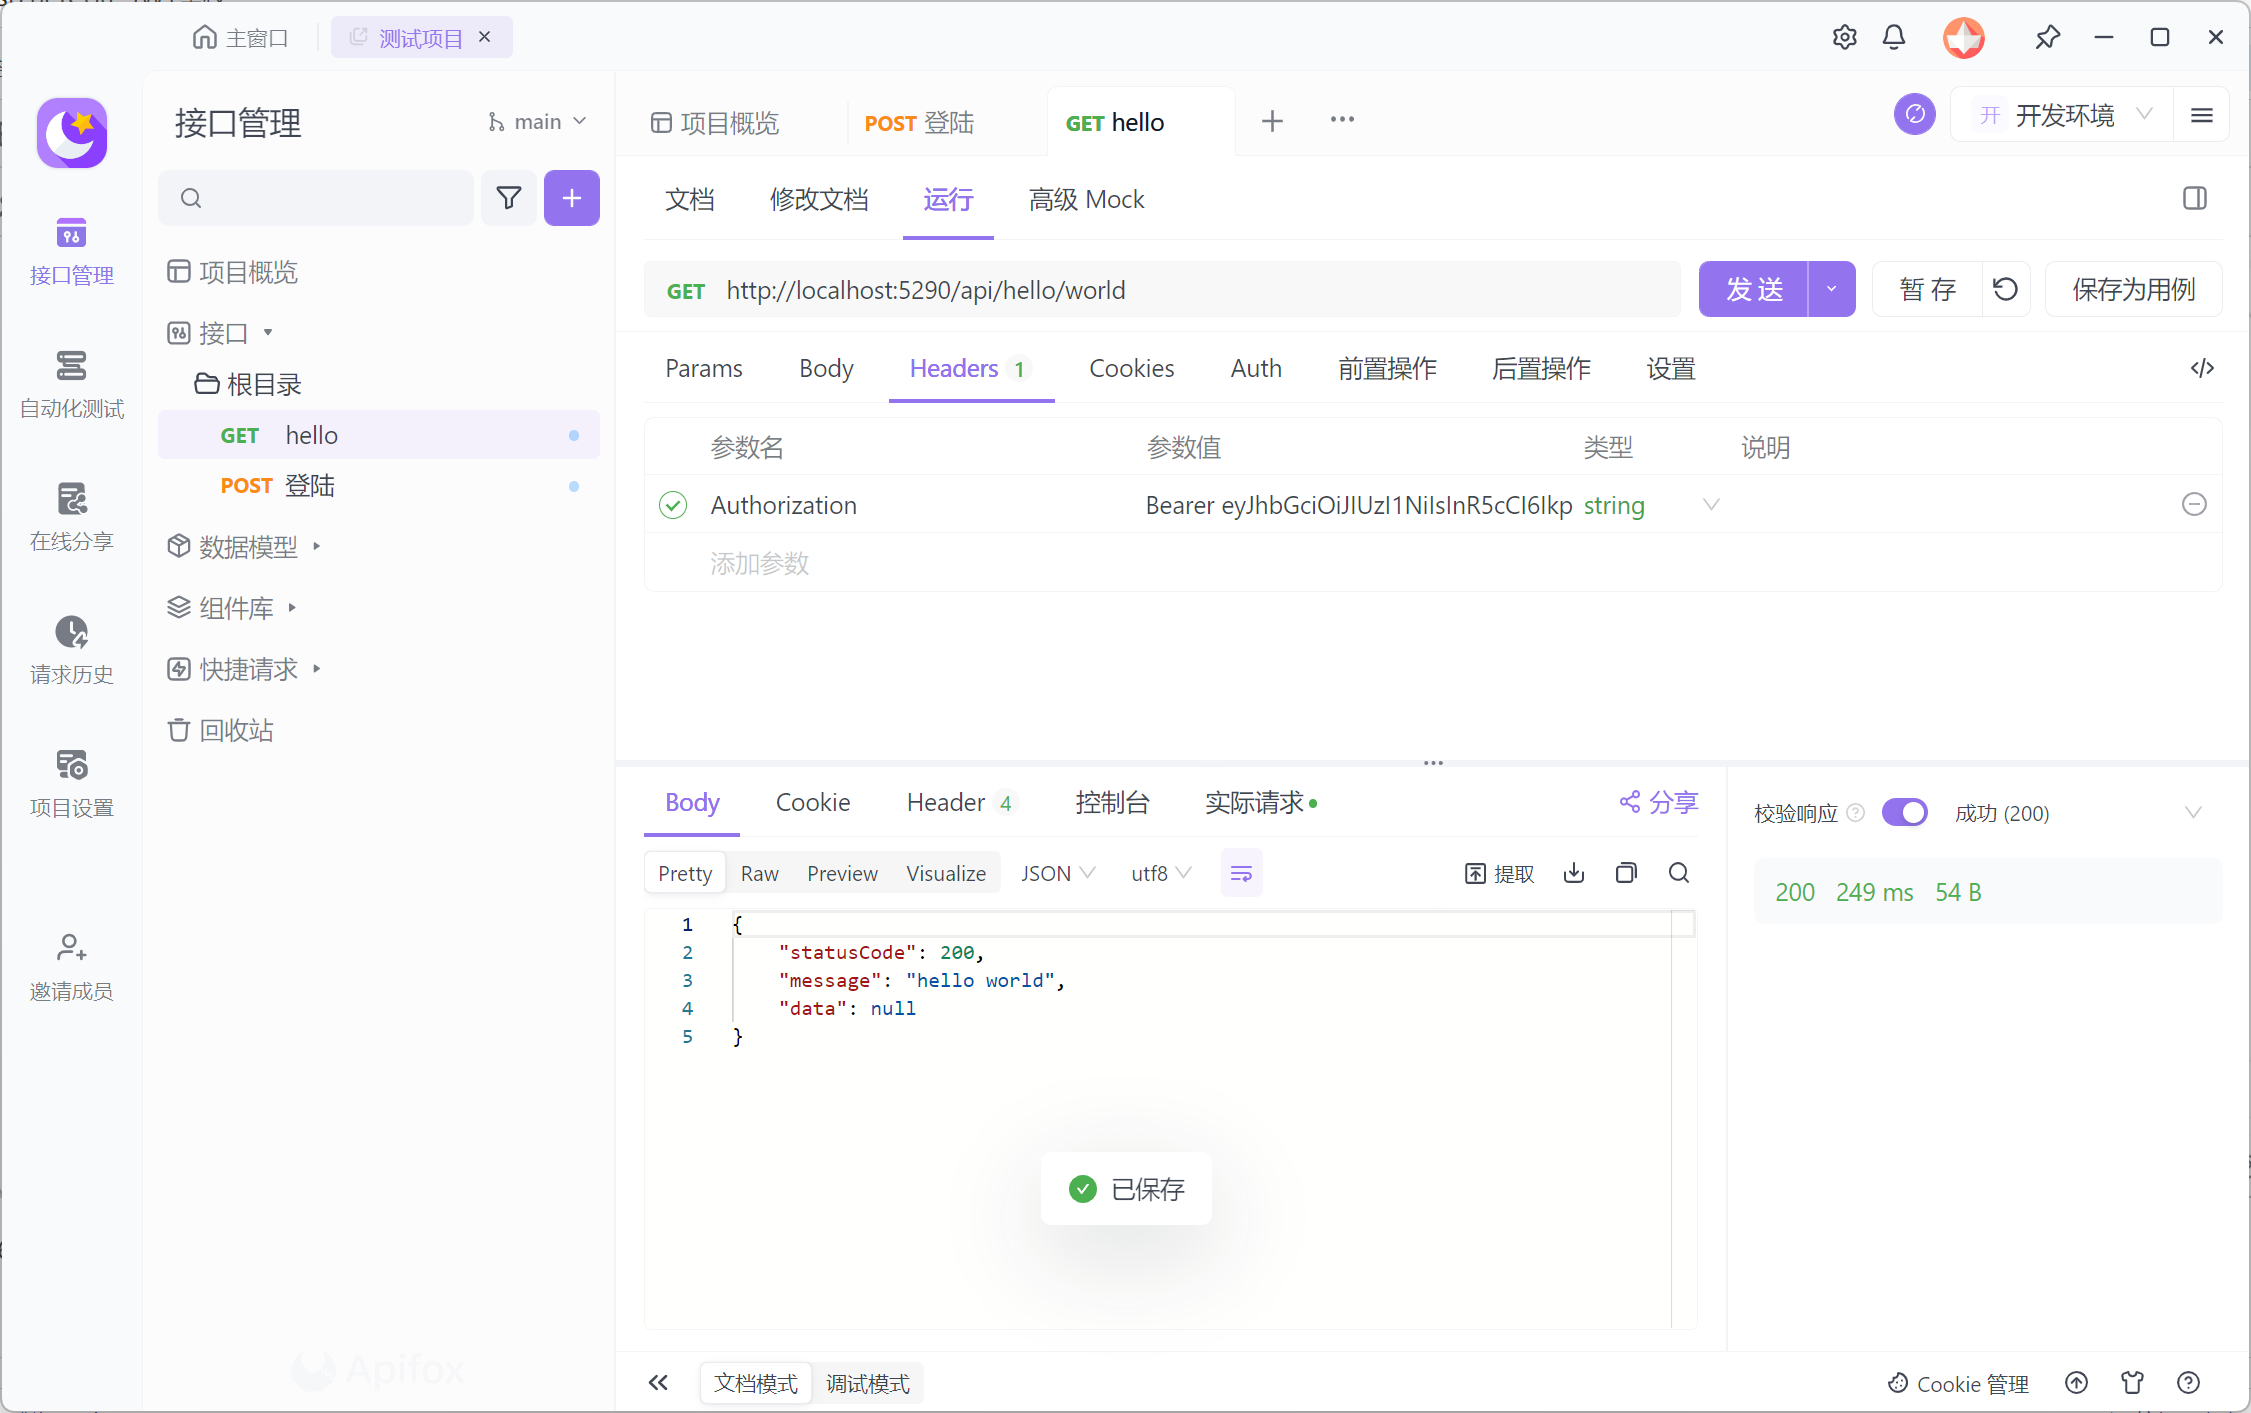
6. 测试:带上token访问受访问的资源

 浙公网安备 33010602011771号