

python: Screen Recording
用VLC media player播放录屏文件
1 2 3 4 5 6 7 8 9 10 11 12 13 14 15 16 17 18 19 20 21 22 23 24 25 26 27 28 29 30 31 32 33 34 35 36 37 38 39 40 41 42 43 44 45 46 47 48 49 50 51 52 53 54 55 56 57 58 59 60 61 62 63 64 65 66 67 68 69 70 71 72 73 74 75 76 77 78 79 80 81 82 83 84 85 86 87 88 89 90 91 92 93 94 95 96 97 98 99 100 101 102 103 104 105 106 107 108 109 110 111 112 113 114 115 116 117 118 119 120 121 122 123 124 125 126 127 128 129 130 131 | """python.exe -m pip install --upgrade pippip install pyautoguipip install opencv-pythonpip install pywin32"""# encoding: utf-8# 版权所有 2023 ©涂聚文有限公司# 许可信息查看:# 描述: 录屏类# Author : geovindu,Geovin Du ©涂聚文.# IDE : PyCharm 2023.1 python 3.11# Datetime : 2023/8/2 16:11# User : admin# Product : PyCharm# Project : pythonProject# File : ScreenRecording.py# explain : 学习import cv2import pyautoguiimport numpy as npimport osimport win32apifrom win32api import GetSystemMetricsfrom win32.lib import win32conimport timeclass screenRecording(object): """ 录屏类 """ def win32screen(self): # Take resolution from system automatically w = GetSystemMetrics(0) h = GetSystemMetrics(1) SCREEN_SIZE = (w, h) fourcc = cv2.VideoWriter_fourcc(*"XVID") out = cv2.VideoWriter("recording.mp4", fourcc, 20.0, (SCREEN_SIZE)) tim = time.time() tp = int(input('How many times you want to record screen?->(Define value in Seconds): ')) tp = tp + tp f = tim + tp while True: img = pyautogui.screenshot() frame = np.array(img) frame = cv2.cvtColor(frame, cv2.COLOR_BGR2RGB) out.write(frame) tu = time.time() if tu > f: break cv2.destroyAllWindows() out.release() def screen(self,output: str): """ :param outputfile: :return: """ # output = "video.avi" img = pyautogui.screenshot() img = cv2.cvtColor(np.array(img), cv2.COLOR_RGB2BGR) # get info from img height, width, channels = img.shape # Define the codec and create VideoWriter object fourcc = cv2.VideoWriter_fourcc(*'mp4v') out = cv2.VideoWriter(output, fourcc, 20.0, (width, height)) while (True): try: img = pyautogui.screenshot() image = cv2.cvtColor(np.array(img), cv2.COLOR_RGB2BGR) out.write(image) StopIteration(0.5) except KeyboardInterrupt: break out.release() cv2.destroyAllWindows() def record_screen(self,output_file, fps=30): """ :param output_file: :param fps: :return: """ # 获取屏幕宽度和高度 screen_width, screen_height = pyautogui.size() # 创建视频编码器 fourcc = cv2.VideoWriter_fourcc(*'mp4v') out = cv2.VideoWriter(output_file, fourcc, fps, (screen_width, screen_height)) # 设置屏幕录制区域 screen_area = (0, 0, screen_width, screen_height) while True: # 捕获屏幕图像 img = pyautogui.screenshot(region=screen_area) # 转换图像颜色空间 frame = cv2.cvtColor(np.array(img), cv2.COLOR_RGB2BGR) # 将图像写入视频文件 out.write(frame) # 按下q键停止录屏 if cv2.waitKey(1) == ord('q'): break # 释放资源 out.release() cv2.destroyAllWindows() print(f'录制已保存为{output_file}') def main(self): """ :return: """ output_file = 'screencast.mp4' fps = 30 print('按下q键停止录屏') self.record_screen(output_file, fps) |
调用:
1 2 | screen=ScreenRecording.screnRecording()screen.main() |
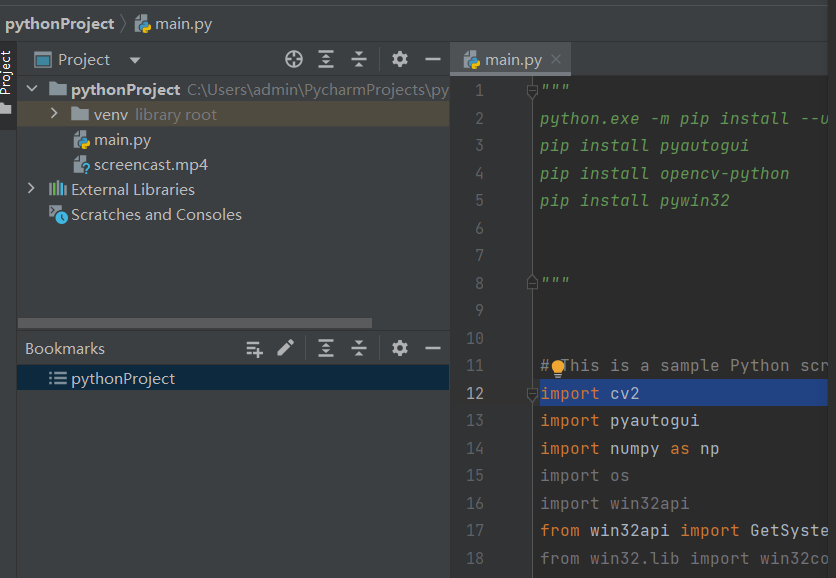
1 2 3 4 5 6 7 8 9 10 11 12 13 14 15 16 17 18 19 20 21 22 23 24 25 26 27 28 29 30 31 32 33 34 35 36 37 38 39 40 41 42 43 44 45 46 47 48 49 50 51 52 53 54 55 56 57 58 59 60 61 62 63 64 65 66 67 68 69 70 71 72 73 74 75 76 77 78 79 80 81 82 83 84 85 86 87 88 89 90 91 92 93 94 95 96 97 98 99 100 101 102 103 104 105 106 107 108 109 110 111 112 113 114 115 116 117 118 119 120 121 122 123 124 125 126 127 128 129 130 131 132 133 134 135 136 137 138 139 140 141 142 143 144 | """python.exe -m pip install --upgrade pippip install pyautoguipip install opencv-pythonpip install pywin32<br>python 3.11"""# This is a sample Python script.import cv2import pyautoguiimport numpy as npimport osimport win32apifrom win32api import GetSystemMetricsfrom win32.lib import win32conimport time# Press Shift+F10 to execute it or replace it with your code.# Press Double Shift to search everywhere for classes, files, tool windows, actions, and settings.def win32screen(): # Take resolution from system automatically w = GetSystemMetrics(0) h = GetSystemMetrics(1) SCREEN_SIZE = (w, h) fourcc = cv2.VideoWriter_fourcc(*"XVID") out = cv2.VideoWriter("recording.mp4", fourcc, 20.0, (SCREEN_SIZE)) tim = time.time() tp = int(input('How many times you want to record screen?->(Define value in Seconds): ')) tp = tp + tp f = tim + tp while True: img = pyautogui.screenshot() frame = np.array(img) frame = cv2.cvtColor(frame, cv2.COLOR_BGR2RGB) out.write(frame) tu = time.time() if tu > f: break cv2.destroyAllWindows() out.release()def screen(output:str): """ :param outputfile: :return: """ #output = "video.avi" img = pyautogui.screenshot() img = cv2.cvtColor(np.array(img), cv2.COLOR_RGB2BGR) # get info from img height, width, channels = img.shape # Define the codec and create VideoWriter object fourcc = cv2.VideoWriter_fourcc(*'mp4v') out = cv2.VideoWriter(output, fourcc, 20.0, (width, height)) while (True): try: img = pyautogui.screenshot() image = cv2.cvtColor(np.array(img), cv2.COLOR_RGB2BGR) out.write(image) StopIteration(0.5) except KeyboardInterrupt: break out.release() cv2.destroyAllWindows()def record_screen(output_file, fps=30): """ :param output_file: :param fps: :return: """ # 获取屏幕宽度和高度 screen_width, screen_height = pyautogui.size() # 创建视频编码器 fourcc = cv2.VideoWriter_fourcc(*'mp4v') out = cv2.VideoWriter(output_file, fourcc, fps, (screen_width, screen_height)) # 设置屏幕录制区域 screen_area = (0, 0, screen_width, screen_height) while True: # 捕获屏幕图像 img = pyautogui.screenshot(region=screen_area) # 转换图像颜色空间 frame = cv2.cvtColor(np.array(img), cv2.COLOR_RGB2BGR) # 将图像写入视频文件 out.write(frame) # 按下q键停止录屏 if cv2.waitKey(1) == ord('q'): break # 释放资源 out.release() cv2.destroyAllWindows() print(f'录制已保存为{output_file}')def main(): """ :return: """ output_file = 'screencast.mp4' fps = 30 print('按下q键停止录屏') record_screen(output_file, fps)def print_hi(name): """ :param name: :return: """ # Use a breakpoint in the code line below to debug your script. print(f'Hi, {name}') # Press Ctrl+F8 to toggle the breakpoint.# Press the green button in the gutter to run the script.if __name__ == '__main__': print_hi('PyCharm,涂聚文,Geovin Du') main()# See PyCharm help at https://www.jetbrains.com/help/pycharm/ |
哲学管理(学)人生, 文学艺术生活, 自动(计算机学)物理(学)工作, 生物(学)化学逆境, 历史(学)测绘(学)时间, 经济(学)数学金钱(理财), 心理(学)医学情绪, 诗词美容情感, 美学建筑(学)家园, 解构建构(分析)整合学习, 智商情商(IQ、EQ)运筹(学)生存.---Geovin Du(涂聚文)


【推荐】国内首个AI IDE,深度理解中文开发场景,立即下载体验Trae
【推荐】编程新体验,更懂你的AI,立即体验豆包MarsCode编程助手
【推荐】抖音旗下AI助手豆包,你的智能百科全书,全免费不限次数
【推荐】轻量又高性能的 SSH 工具 IShell:AI 加持,快人一步
· 分享一个免费、快速、无限量使用的满血 DeepSeek R1 模型,支持深度思考和联网搜索!
· 基于 Docker 搭建 FRP 内网穿透开源项目(很简单哒)
· ollama系列1:轻松3步本地部署deepseek,普通电脑可用
· 按钮权限的设计及实现
· 【杂谈】分布式事务——高大上的无用知识?
2019-08-02 Csharp:HttpWebRequest , HttpClient and RestSharp
2017-08-02 csharp: FTP Client Library using System.Net.FtpWebRequest
2017-08-02 csharp: FTP Client Library using System.Net.FtpClient and FluentFTP,测试中存在的BUG修正
2016-08-02 csharp: Export DataTable to Excel using OpenXml 2.5 in asp.net
2016-08-02 csharp:asp.net Importing or Exporting Data from Worksheets using aspose cell
2012-08-02 csharp Remove Empty rows in datatable
2012-08-02 csharp read excel file get sheetName list