
Vue3 简单登录管理页面Demo
1.Vue3 简单登录管理页面Demo
目录
前言
这里用Vue3简单写一个登录管理平台的Demo
项目基础配置
新建项目
npm create vue@latest 你的项目名
引入组件
npm install -D tailwindcss@latest postcss@latest autoprefixer@latest
npx tailwindcss init -p
npm i -D daisyui@latest
npm i @iconify/json @iconify/tailwind -D
npm install echarts --save
npm i -D naive-ui
项目配置
在tailwind.config.js添加配置
/** @type {import('tailwindcss').Config} */
//注意,在vite里面,不提供require方法,我们要用Import去导入组件
import daisyui from 'daisyui'
import { addDynamicIconSelectors } from '@iconify/tailwind'
export default {
  purge: ['./index.html', './src/**/*.{vue,js,ts,jsx,tsx}'],
  content: [],
  theme: {
    extend: {}
  },
  plugins: [addDynamicIconSelectors(),daisyui]
}
新增./src/index.css
/* ./src/index.css */
@tailwind base;
@tailwind components;
@tailwind utilities;
在./src/main.js里面引入
import { createApp } from 'vue'
import App from './App.vue'
import './index.css'

createApp(App).mount('#app')
Vue项目配置
项目基本结构
- node_modules:npm库
- public:静态资源,一般不用
- src:项目根路径
- assets:静态资源
- components:组件,用于复用
- router:路由
- stores:hook钩子
- views:页面,和路由对应
- index.css:tailwindcss 编译文件
- main.js:程序入口
- App.vue:页面入口
我们将多余的文件都去掉,将App.Vue重写
<script setup lang="ts">
import { RouterLink, RouterView } from 'vue-router'
</script>

<template>
  <header>
    <div>
        <div>hello world!</div>
    </div>
  </header>

  <RouterView />
</template>
启动之后就是一个简单的hello world页面
基础页面布局和路由搭建
如果Vscode 代码提示出现问题,那就重启一下vscode,一般就可以解决了。
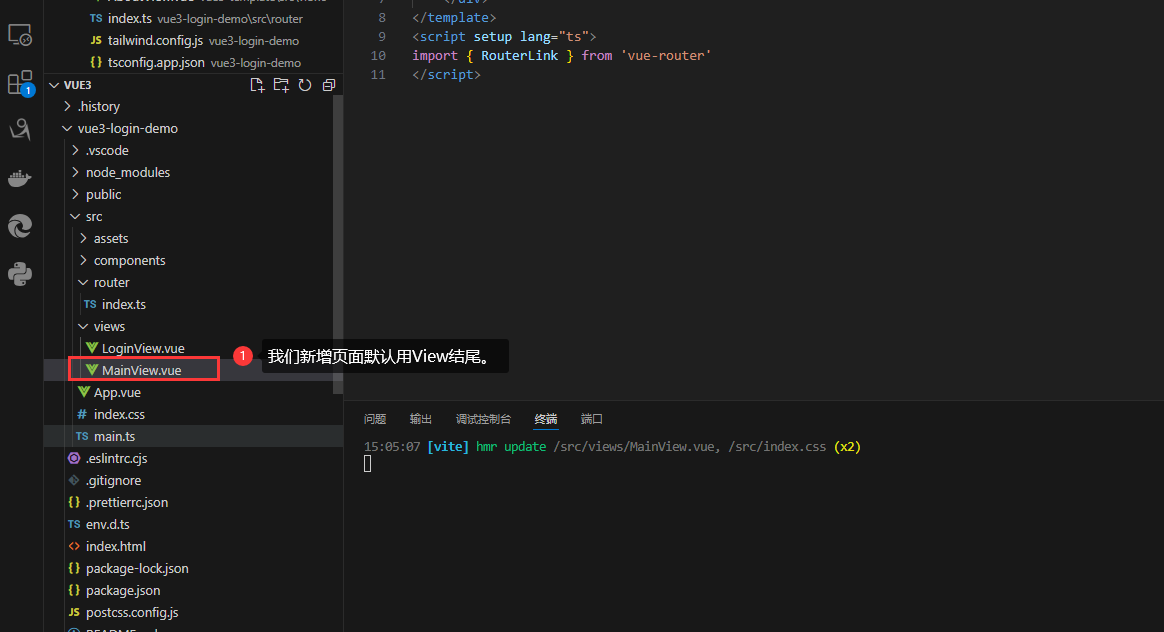
新增页面,简单跳转
LoginView
<template>
    <div>

        <div>LoginView</div>
        <RouterLink to="/main">跳转到主页面</RouterLink>
    </div>
</template>


<script setup lang="ts">
import { RouterLink } from 'vue-router'
</script>
MainView
<template>
    <div>
        <div>
            MainView
        </div>
        <RouterLink to="/">跳转到登录页面</RouterLink>
    </div>
</template>
<script setup lang="ts">
import { RouterLink } from 'vue-router'
</script>
router
import { createRouter, createWebHistory } from 'vue-router'
import LoginView from '@/views/LoginView.vue'
import MainView from '@/views/MainView.vue'
const router = createRouter({
    history: createWebHistory(import.meta.env.BASE_URL),
    routes: [
        {
            path: '/',
            component: LoginView
        },{
            path:'/main',
            component:MainView
        }
    ]
})

export default router
App
<script setup lang="ts">
import {  RouterView } from 'vue-router'
</script>

<template>
    <header>
        <RouterView />
    </header>
</template>
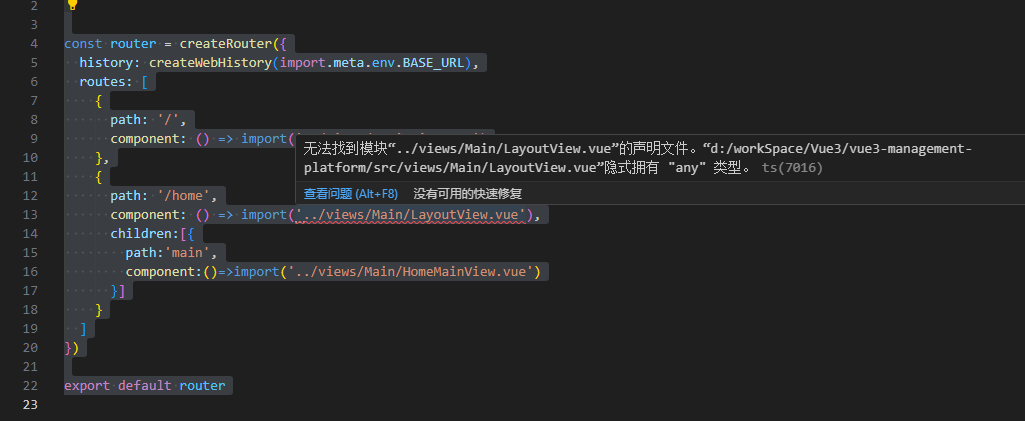
嵌套路由
这里还是建议用相对路径,因为绝对路径的代码提示比较差。
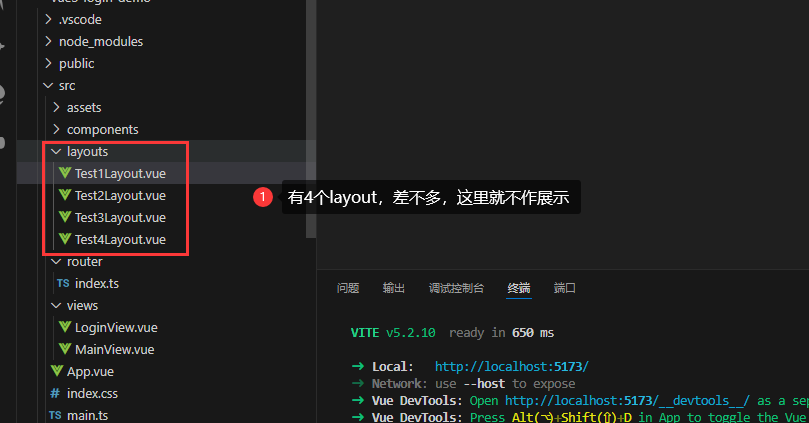
我们新建一个文件夹,专门存放Layout布局
Test[1-4]Layout.vue
<template>
    <div class="border-2 border-black m-2">
        <div>嵌套路由1</div>
        <RouterView />
    </div>
</template>

<script setup lang="ts">
import {  RouterView } from 'vue-router'
</script>
router
import { createRouter, createWebHistory } from 'vue-router'
import LoginView from '../views/LoginView.vue'
import MainView from '../views/MainView.vue'
const router = createRouter({
    history: createWebHistory(import.meta.env.BASE_URL),
    routes: [
        {
            path: '/',
            component: LoginView
        },
        {
            path: '/main',
            component: MainView
        },
        {
            path:'/test1',
            component:import('../layouts/Test1Layout.vue'),
            children:[{
                path:'test2',
                component:import('../layouts/Test2Layout.vue'),
                children:[{
                    path:'test3',
                    component:import('../layouts/Test3Layout.vue'),
                    children:[{
                        path:'test4',
                        component:import('../layouts/Test4Layout.vue'),
                        children:[{
                            path:'login',
                            component:LoginView
                        }]
                    }]
                }]
            }]
        }

    ]
})

export default router
给个简单的跳转
<template>
    <div>

        <div>LoginView</div>
        <RouterLink to="/main">跳转到主页面</RouterLink>
        <RouterLink to="/test1/test2/test3/test4/login">跳转到多次嵌套页面</RouterLink>
    </div>
</template>


<script setup lang="ts">
import { RouterLink } from 'vue-router'
</script>
路由守护,重定向,动态路由,路由传值。这里不做展开描述
详细的请看官方的路由
router引入vue报错
在env.d.ts中添加如下代码
/// ./env.d.ts
declare module '*.vue' {
    import { ComponentOptions } from 'vue'
    const componentOptions: ComponentOptions
    export default componentOptions
  }
简单登录页面:烂尾了
这里咱们仿照知乎的登录页面写一个

<template>
    <div class="bg-gradient-to-r from-blue-200 to-blue-700 h-screen flex justify-center">
        <div class="flex flex-col items-center">
            <div class="mt-12 text-6xl text-blue-700 font-semibold">知 乎</div>
            <div class="text-white text-sm font-thin">有问题 就会有答案</div>
            <div class="bg-black flex flex-row m-4">
                <div class="flex flex-col items-center">
                    <div class="text-white mt-20 font-bold">打开知乎App</div>
                    <div class="text-white mt-2">在我的应用的右上角打开扫一扫</div>
                    <div class="size-40 bg-white mt-8"></div>
                    <div class="text-white mt-8">其他扫描方式:微信</div>

                    <div class="flex flex-row items-center mt-10 mx-4">
                        <button class="btn btn-outline text-white m-4">下载知乎App</button>
                        <button class="btn btn-outline text-white m-4">开通机构号</button>
                        <button class="btn btn-outline text-white m-4">无障碍模式</button>
                    </div>
                </div>
                <div class="bg-gray-600 w-0.5 mx-3">

                </div>
                <div class="w-80">
                    <div role="tablist" class="tabs tabs-lifted">
                        <a role="tab" class="tab font-bold " :class="TableClass(0)" @click="TabBtn(0)">验证码登录</a>
                        <a role="tab" class="tab  font-bold " :class="TableClass(1)" @click="TabBtn(1)">密码登录</a>
                    </div>
                    <div>
                        <div class="flex flex-row mt-6">
                            <div class="text-white">中国+86</div>
                            <div class="text-white">手机号</div>
                        </div>
                    </div>
                    <button class="btn" @click="LoginBtn">登录按钮</button>

                </div>

            </div>
        </div>

    </div>
</template>


<script setup lang="ts">
import { RouterLink, useRouter } from 'vue-router'
import { NTabs, NTabPane } from 'naive-ui'
import { ref, computed, type Ref } from 'vue';
const router = useRouter()

function LoginBtn() {
    console.log('登录按钮点击2')
    router.push('/main')
}


const tableActives: Ref<Array<boolean>> = ref([])

tableActives.value = [true, false, false]
function TabBtn(index: number) {
    var arr = new Array(3).fill(false)
    arr[index] = true
    tableActives.value = arr
}
const TableClass = computed(() => (index: number) => ({

    'text-white': !tableActives.value[index],
    'tab-active': tableActives.value[index]
}))


</script>
总结
代码写到一半有一种莫名的空虚,感觉Vue3上手很简单也很快,用组件写起来也方便,突然就不是很想接着学了,等到要用的时候再去了解好了。


【推荐】编程新体验,更懂你的AI,立即体验豆包MarsCode编程助手
【推荐】凌霞软件回馈社区,博客园 & 1Panel & Halo 联合会员上线
【推荐】抖音旗下AI助手豆包,你的智能百科全书,全免费不限次数
【推荐】博客园社区专享云产品让利特惠,阿里云新客6.5折上折
【推荐】轻量又高性能的 SSH 工具 IShell:AI 加持,快人一步
· 微软正式发布.NET 10 Preview 1:开启下一代开发框架新篇章
· 没有源码,如何修改代码逻辑?
· NetPad:一个.NET开源、跨平台的C#编辑器
· PowerShell开发游戏 · 打蜜蜂
· 凌晨三点救火实录:Java内存泄漏的七个神坑,你至少踩过三个!