实验4:开源控制器实践——OpenDaylight
一、基础实验
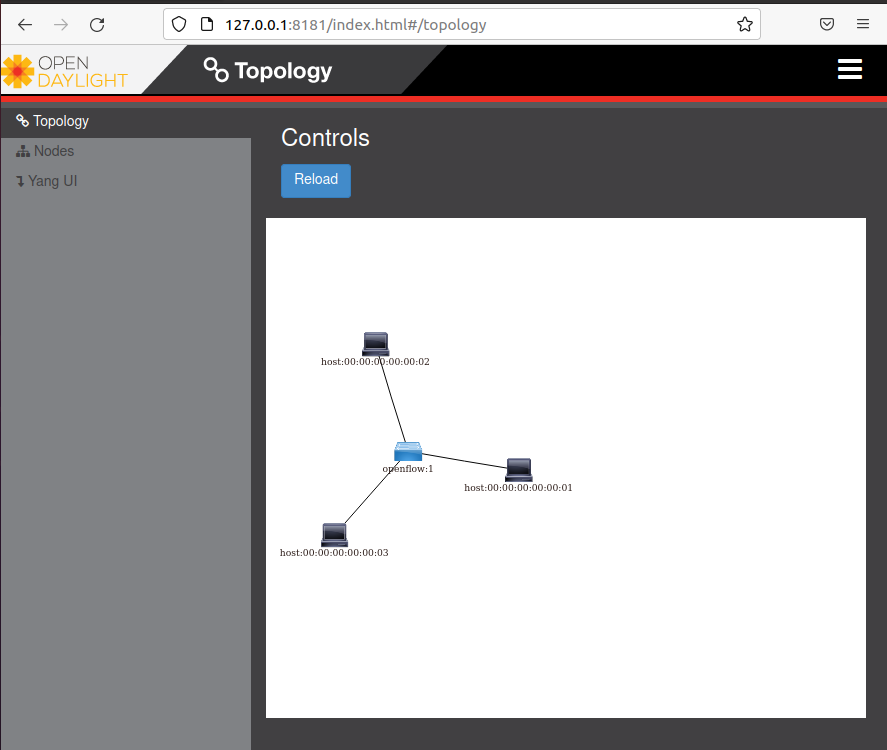
(1)Mininet拓扑生成并连接控制器的结果

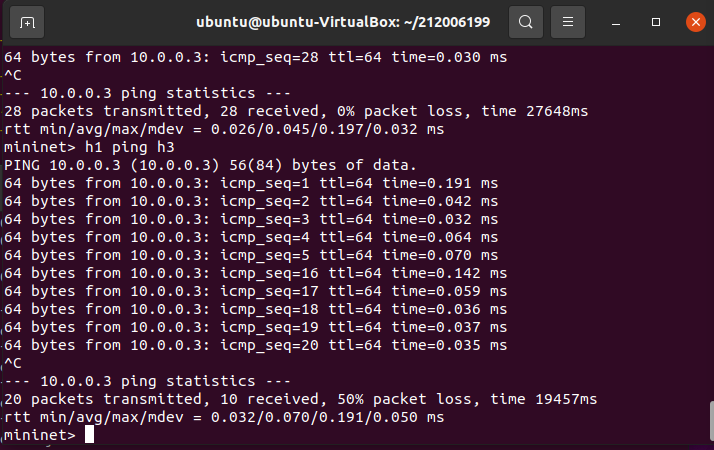
(2)Mininet中ping测试截图
二、进阶实验:ODL控制器主要的REST API文档
ODL控制器主要的REST API文档
(1)获取拓扑的交换机
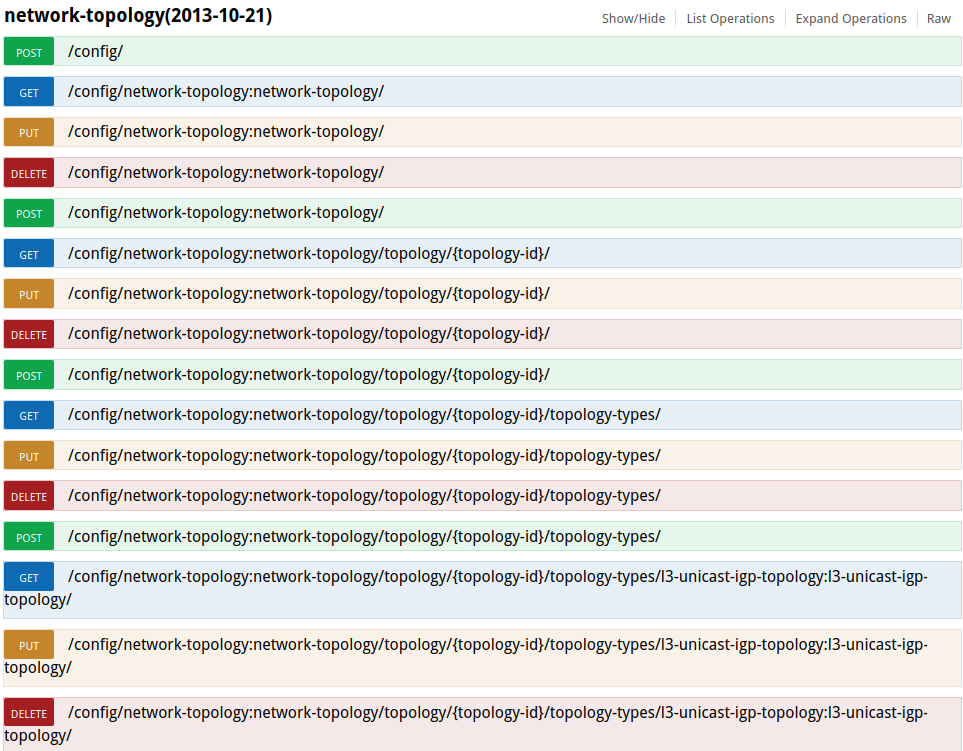
链接:http://127.0.0.1:8181/apidoc/explorer/index.html#!/network-topology(2013-10-21)
url:http://127.0.0.1:8181/restconf/config/network-topology:network-topology/
(2)获取流表状态数量
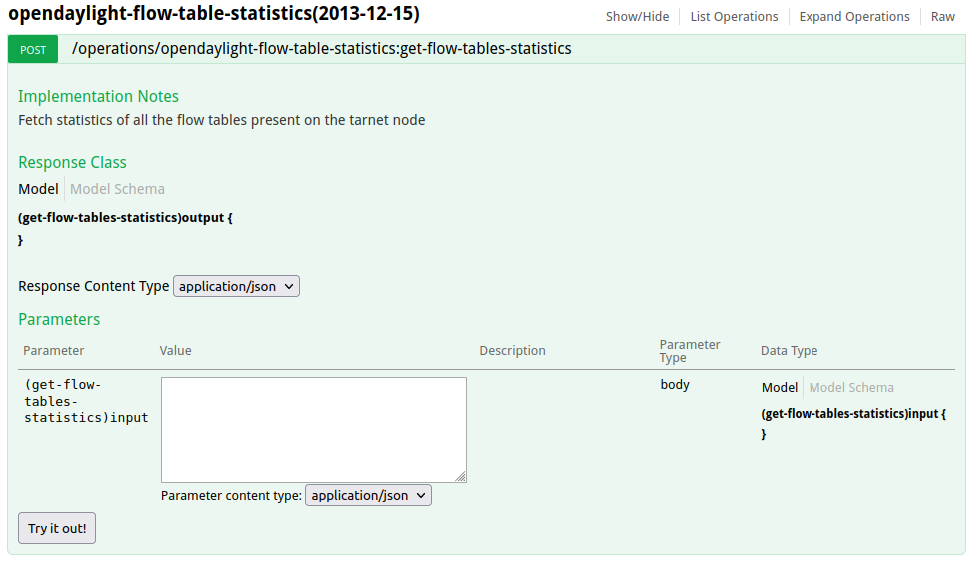
链接:http://127.0.0.1:8181/apidoc/explorer/index.html#!/opendaylight-flow-table-statistics(2013-12-15)
url:http://127.0.0.1:8181/restconf/operations/opendaylight-flow-table-statistics:get-flow-tables-statistics
(3)获取特定交换机端口的状态

链接:http://127.0.0.1:8181/apidoc/explorer/index.html#!/opendaylight-port-statistics(2013-12-14)/get_node_connector_statistics_post_0
url:http://127.0.0.1:8181/restconf/operations/opendaylight-port-statistics:get-node-connector-statistics
(4)新增修改和删除流表
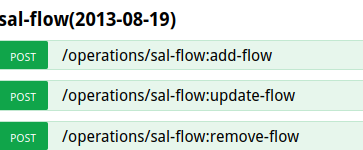
链接:http://127.0.0.1:8181/apidoc/explorer/index.html#!/sal-flow(2013-08-19)/add_flow_post_0
url(新增修改):http://127.0.0.1:8181/restconf/operations/sal-flow:add-flow
url(删除流表):http://127.0.0.1:8181/restconf/operations/sal-flow:remove-flow
三,实验总结
在本次实验中,建立拓扑后,登录opendaylight,在mininet中pingall后,opendaylight才会显示拓扑图。postman启动的方法是先进入到postman目录下,输入./Postman即可启动。同时通过网页打开opendaylight前切记要先在命令行终端开启opendaylight。在下发流表时,应先“h1 ping h3”,再在postman中发送put,才会在ping中显示出时间间隔。本次实验整体难度适中,从实验中初步学习了postman的工作方式以及通过opendaylight提供的api接口发送delete和put等命令来实现流表的清空和下发。每当postman发送命令后,在下方会有一个反馈信息显示的区域,一般情况下,无反馈信息即为发送成功,若有反馈,则根据反馈进行调整。

 浙公网安备 33010602011771号