

flutter 相册和摄像头(软硬交互调自身系统)image_picker
首先必须注意一点:在升级flutter1.9+之后,flutter默认的iOS项目为swift,Android的默认项目为kotlin,而且通过IDEA创建的flutter项目,即使勾选了语言为oc,但是创建后的项目仍然是swift,颇为头疼.这里我们讲解的是基于iOS的OC和Android的JAVA来做的,毕竟我还是水手还没上岸成为干货(功力不足)。总之先跑通,再深究。
image_picker使用方法
首先添加依赖
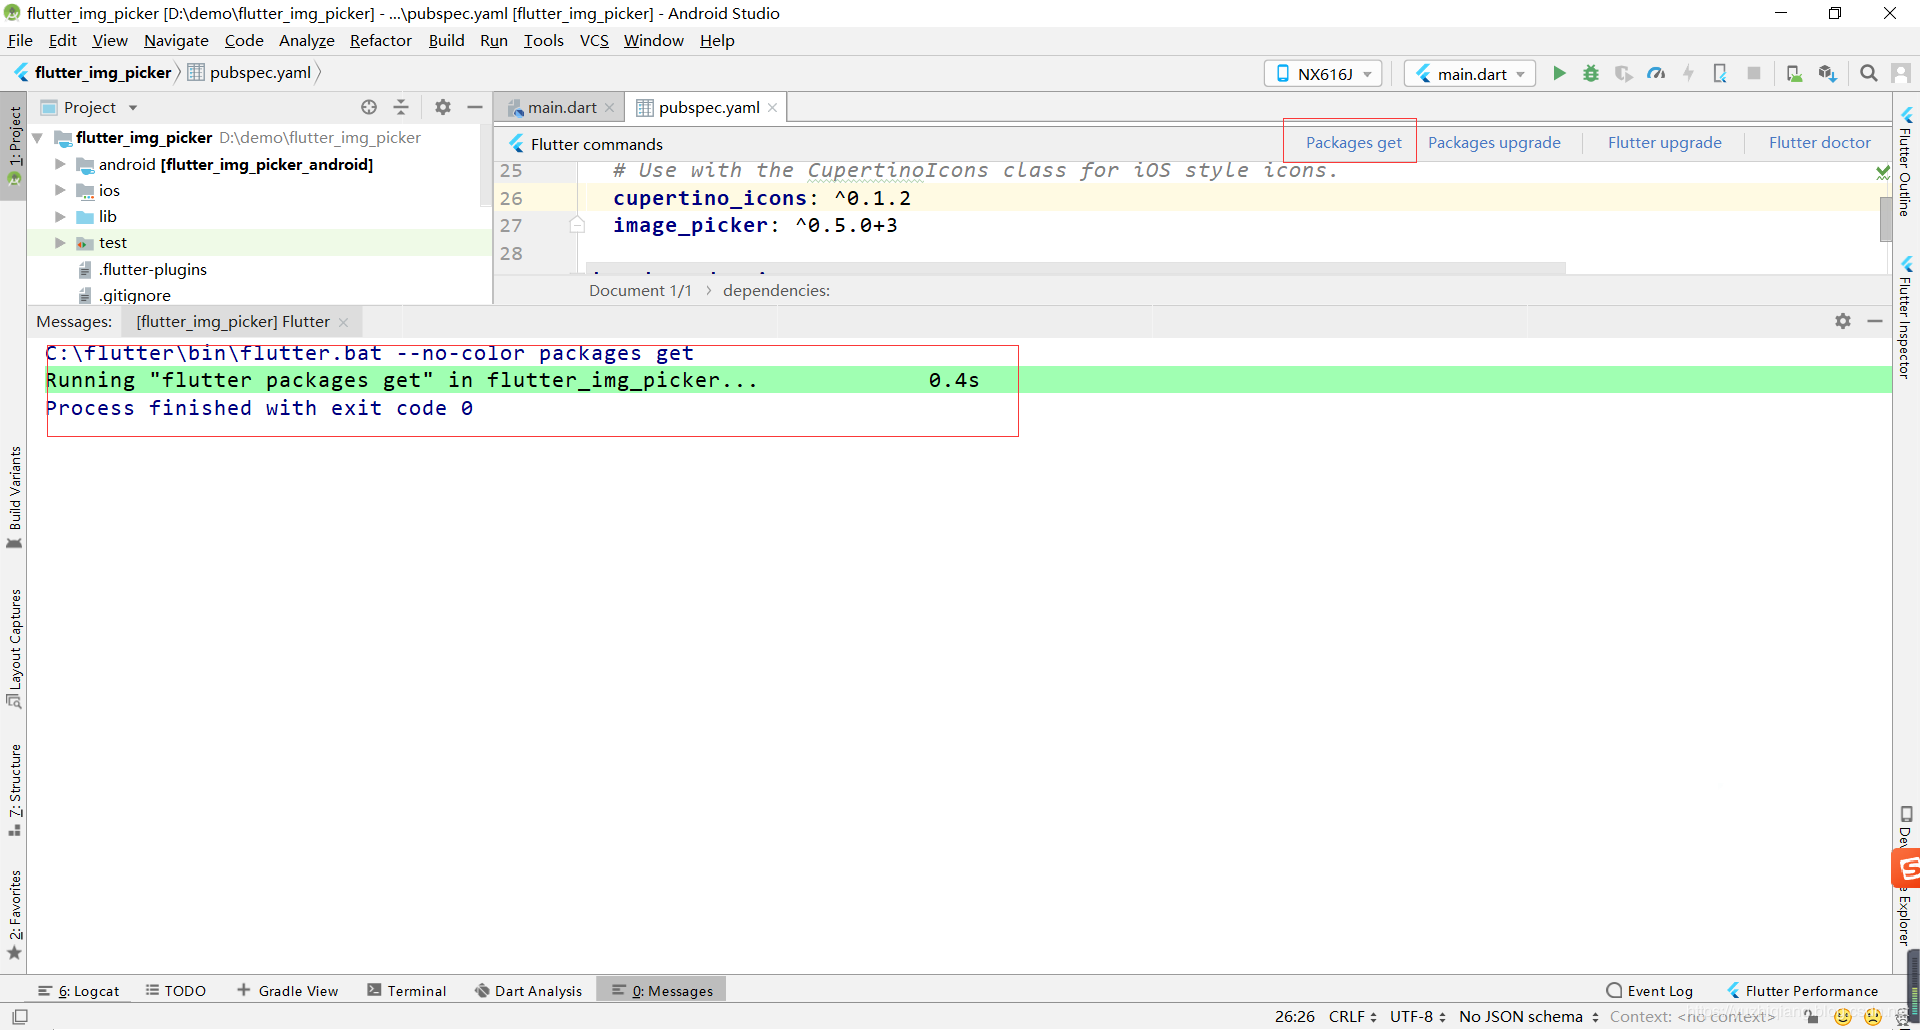
在pubspec.yaml加入image_picker的依赖,版本号在github上找最新的即可。
如下:最新的是可以在这里找到:https://pub.dev/flutter/packages?q=image_picker,输入:image_picker即可搜索到最新版本,这里用老版本(稳)
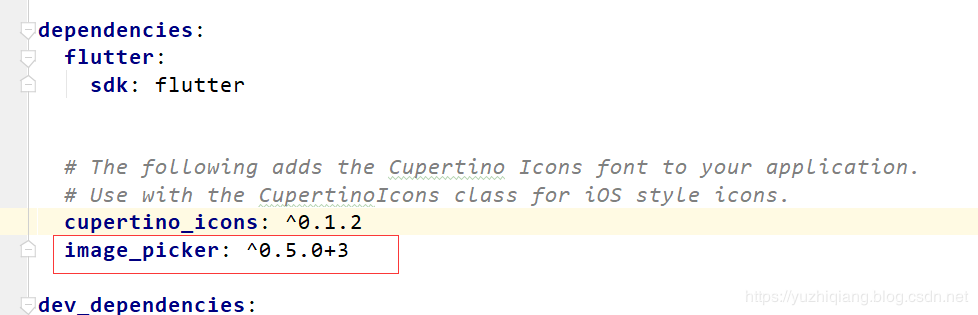
依赖添加完成点击右上角的 Packages get 出现finished及可。
使用
依赖添加完成之后我们就可以正常使用了
是不是超级简单,我们权限申请都不需要管。
下面是完整代码:

import 'package:flutter/material.dart';
import 'package:image_picker/image_picker.dart'; //在pubspec.yaml加入image_picker的依赖,image_picker: ^0.5.0+3

void main() {
  runApp( MaterialApp(
    title: 'Flutter gesture',
//    home: TutorialHome(),
    home: AuthenticationId(),
  ));
}


class AuthenticationId extends StatefulWidget {
  @override
  _AuthenticationIdState createState() => _AuthenticationIdState();
}
class _AuthenticationIdState extends State<AuthenticationId>{
  var imgPath;
  /*拍照*/
  takePhoto() async {
    var image = await ImagePicker.pickImage(source: ImageSource.camera);

    setState(() {
      imgPath = image;
    });
  }
  /*相册*/
  openGallery() async {
    var image = await ImagePicker.pickImage(source: ImageSource.gallery);
    setState(() {
      imgPath = image;
    });
  }
  @override
  Widget build(BuildContext context) {
    return Scaffold(
        appBar: AppBar(
          title: Text("认证"),
          elevation: 0.0,
        ),
        body: SingleChildScrollView(
          child: Column(
            mainAxisAlignment: MainAxisAlignment.center,
            children: <Widget>[
              Container(
                child: imgPath == null ? Text('请选择拍照'):Image.file(imgPath),
              ),
              RaisedButton(
                onPressed: takePhoto,
                child: Text("拍照"),
              ),
              RaisedButton(
                onPressed: openGallery,
                child: Text("选择照片"),
              ),
            ],
          ),
        ));
  }
}

注意事项
当图片过长超过显示宽高度的话,可能会报 The overflowing RenderFlex has an orientation of Axis.vertical. 这个错,且底部会有黄色的警告。
具体报错信息大概如下:
══╡ EXCEPTION CAUGHT BY RENDERING LIBRARY ╞═════════════════════════════════════════════════════════
I/flutter (10595): The following message was thrown during layout:
I/flutter (10595): A RenderFlex overflowed by 177 pixels on the bottom.
I/flutter (10595):
I/flutter (10595): The overflowing RenderFlex has an orientation of Axis.vertical.
I/flutter (10595): The edge of the RenderFlex that is overflowing has been marked in the rendering with a yellow and
I/flutter (10595): black striped pattern. This is usually caused by the contents being too big for the RenderFlex.
I/flutter (10595): Consider applying a flex factor (e.g. using an Expanded widget) to force the children of the
I/flutter (10595): RenderFlex to fit within the available space instead of being sized to their natural size.
I/flutter (10595): This is considered an error condition because it indicates that there is content that cannot be
I/flutter (10595): seen. If the content is legitimately bigger than the available space, consider clipping it with a
I/flutter (10595): ClipRect widget before putting it in the flex, or using a scrollable container rather than a Flex,
I/flutter (10595): like a ListView.
这里我们直接使用 SingleChildScrollView(单个子控件的滚动布局控件) 即可。
原文不足的地方我这里(上面)已经补全了。
原文出处:https://blog.csdn.net/yuzhiqiang_1993/article/details/88345232()


【推荐】国内首个AI IDE,深度理解中文开发场景,立即下载体验Trae
【推荐】编程新体验,更懂你的AI,立即体验豆包MarsCode编程助手
【推荐】抖音旗下AI助手豆包,你的智能百科全书,全免费不限次数
【推荐】轻量又高性能的 SSH 工具 IShell:AI 加持,快人一步
· 开发者必知的日志记录最佳实践
· SQL Server 2025 AI相关能力初探
· Linux系列:如何用 C#调用 C方法造成内存泄露
· AI与.NET技术实操系列(二):开始使用ML.NET
· 记一次.NET内存居高不下排查解决与启示
· Manus重磅发布:全球首款通用AI代理技术深度解析与实战指南
· 被坑几百块钱后,我竟然真的恢复了删除的微信聊天记录!
· 没有Manus邀请码?试试免邀请码的MGX或者开源的OpenManus吧
· 园子的第一款AI主题卫衣上架——"HELLO! HOW CAN I ASSIST YOU TODAY
· 【自荐】一款简洁、开源的在线白板工具 Drawnix