ubuntu安装TRex
软件下载地址
ubuntu 16 TLS
桌面版和服务器版各有各的好处,这里使用的是服务器版
https://ubuntu.com/download
trex latest
https://trex-tgn.cisco.com/trex/release/
vm安装ubuntu
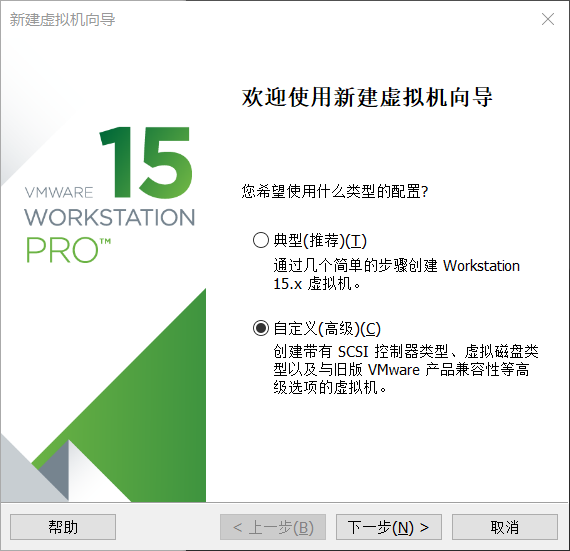
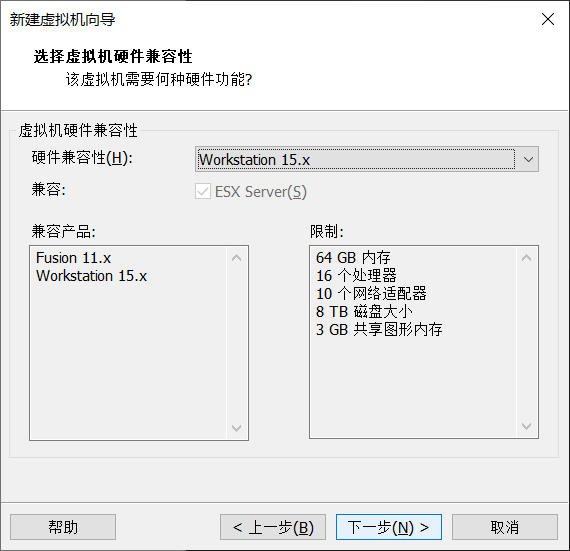
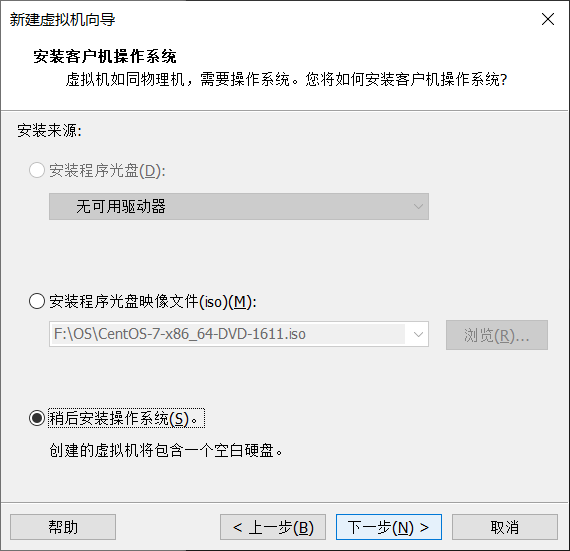
这里要注意一下版本问题,看下载的是64位还是32位的ubuntu, 看情况选择,这里下载的是64位的
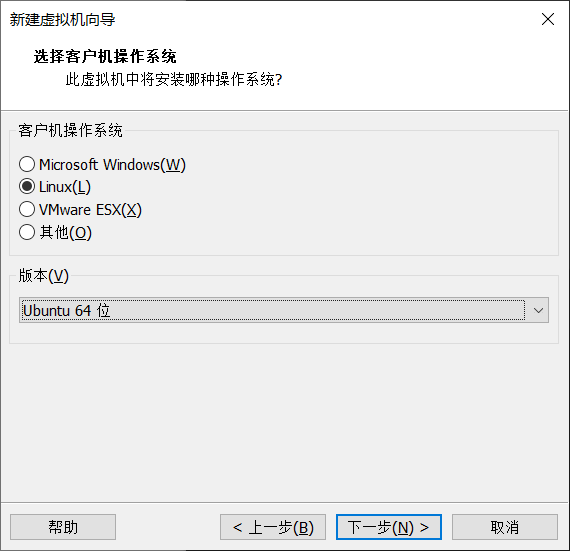
然后一直下一步,选择内存
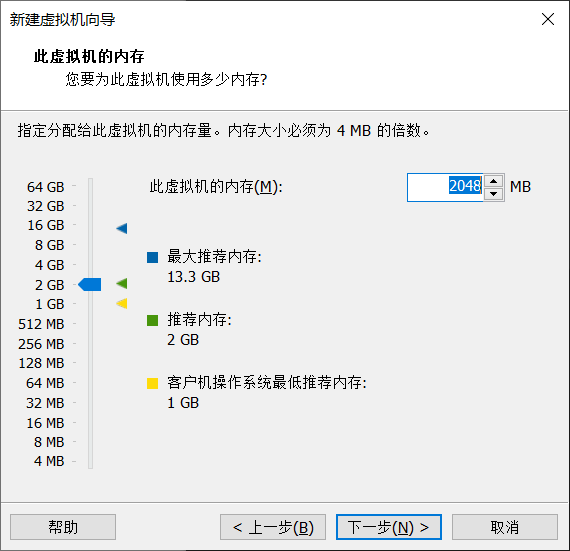

一直下一步,直到结束

点击编辑虚拟机设置
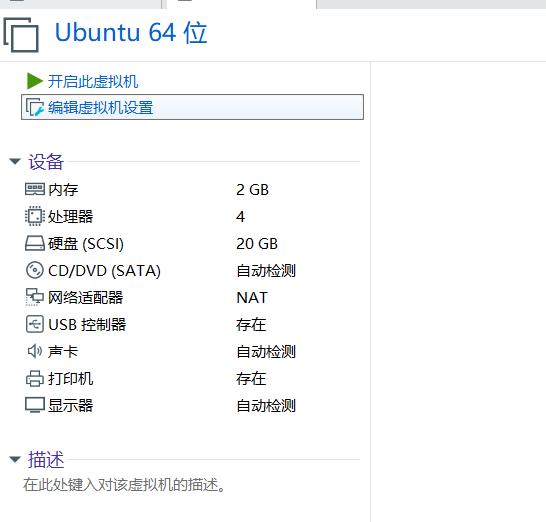
选择下载的Ubuntu镜像
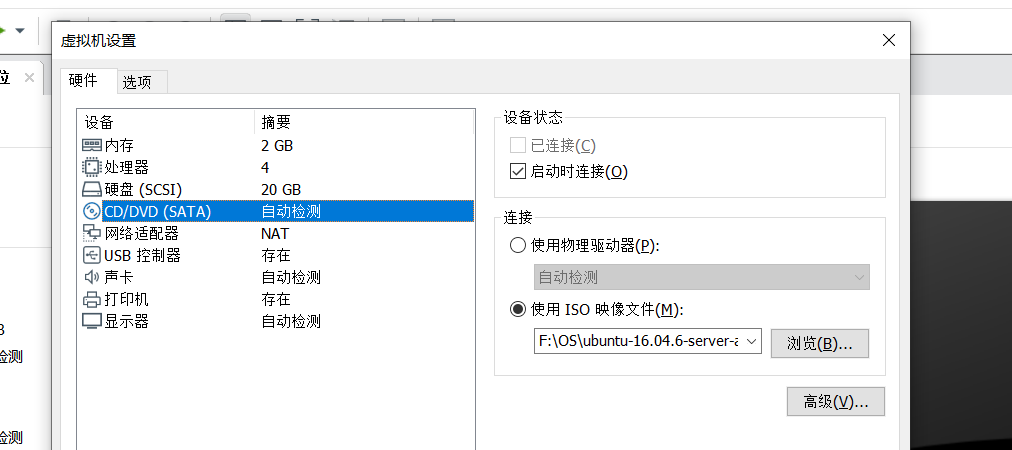
点击开启此虚拟机
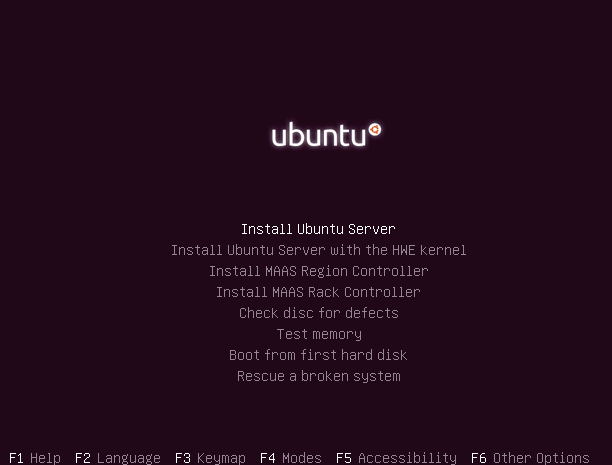
启动系统
一直默认选择就好了
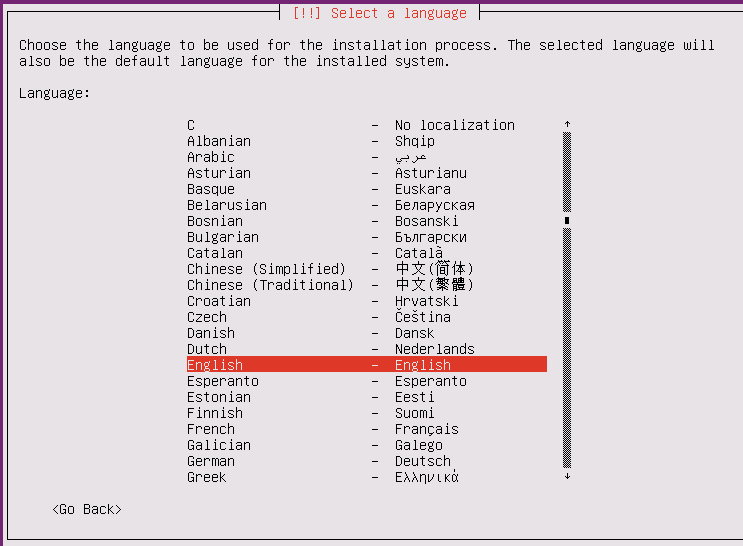
选择语言
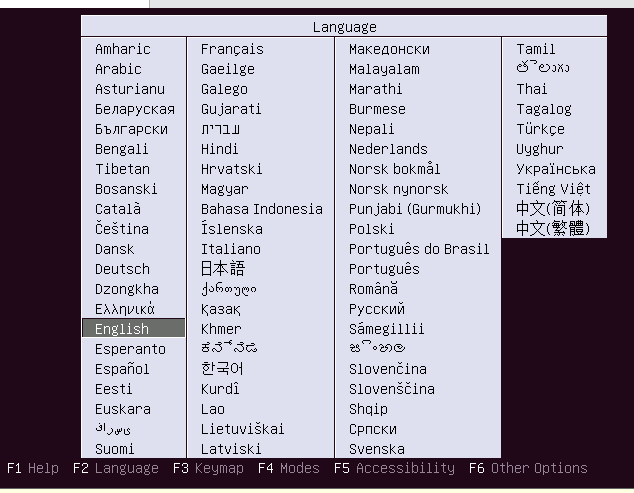
安装系统
语言选择英文就好
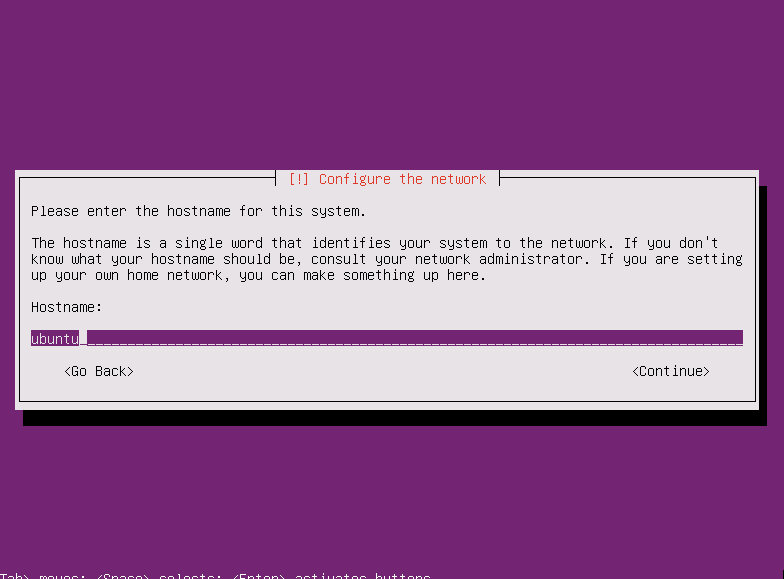
给服务器起个名字,默认即可
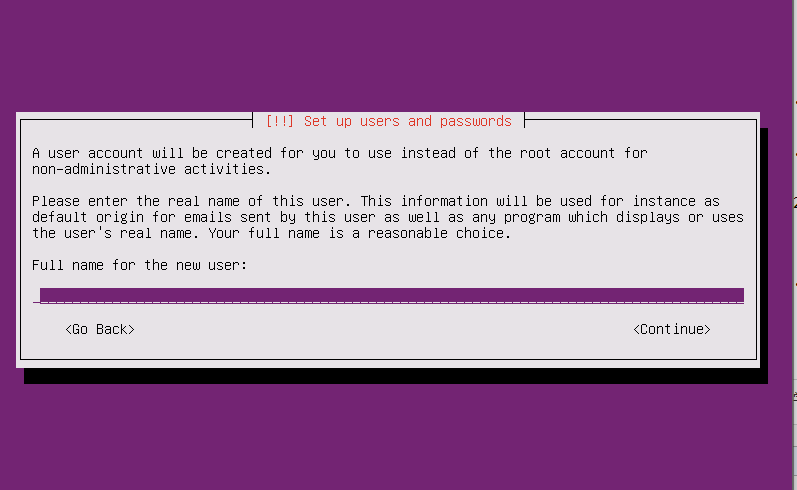
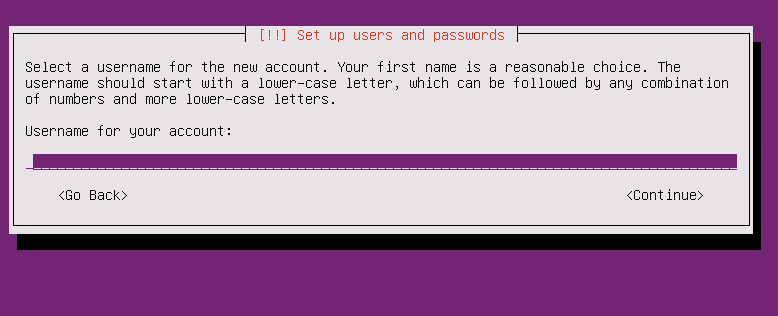
新建用户
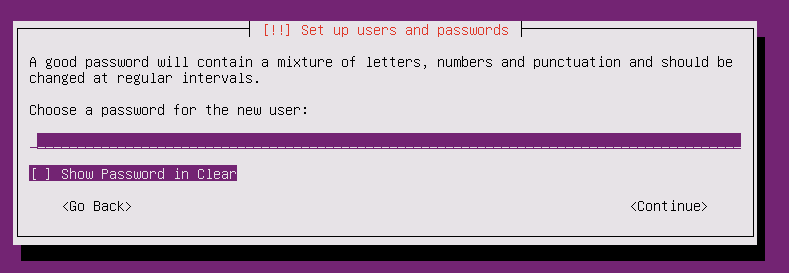
设置密码
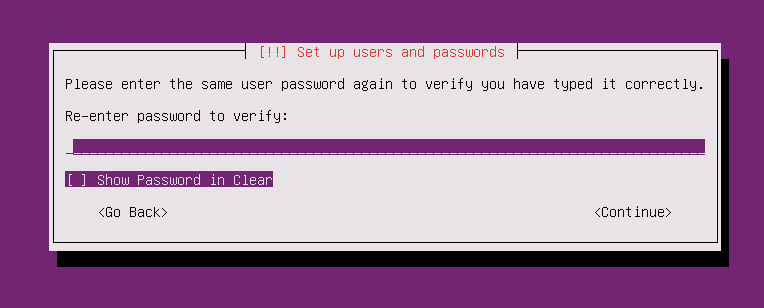
设置的密码太简单了,这个虚拟机只是自己练习用,选择yes就行了

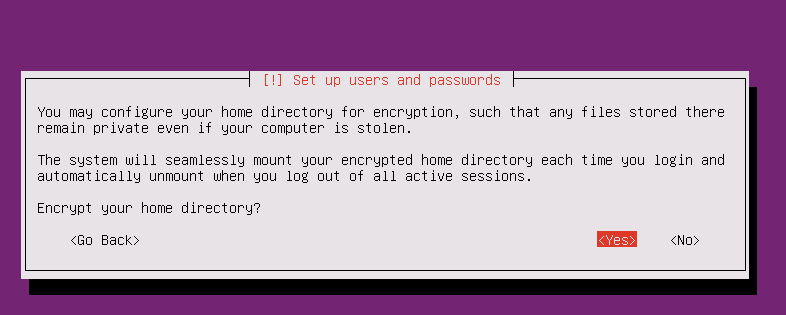
对文件夹进行加密,yes or no 都无所谓
设置时区,yes就行

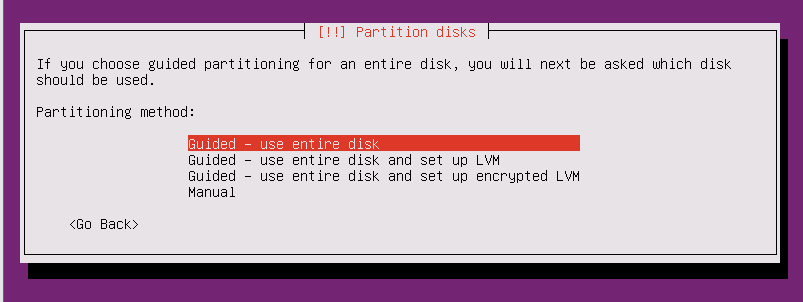
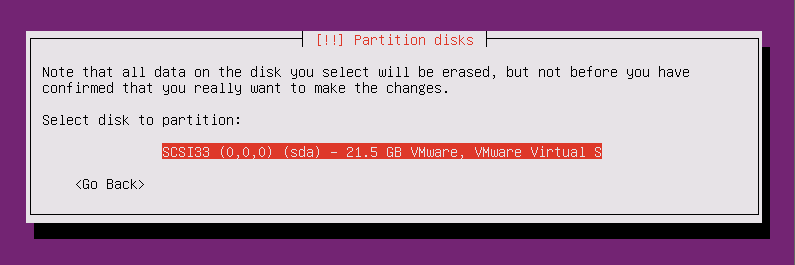
磁盘配置,默认就好了

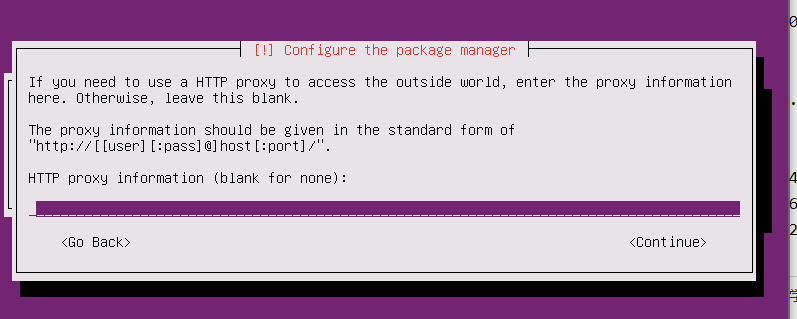
配置代理,不用管,继续即可
可以先去喝杯茶
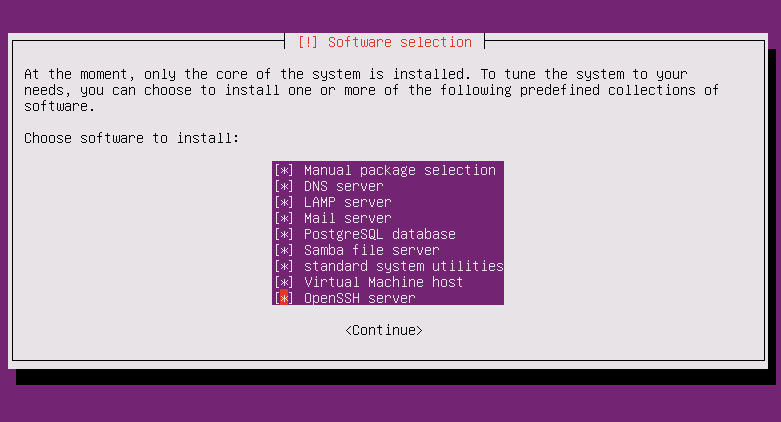
选择需要安装的软件,空格选择, openSSH 必选,方便远程连接, 其他的无所谓,可以后期再安装
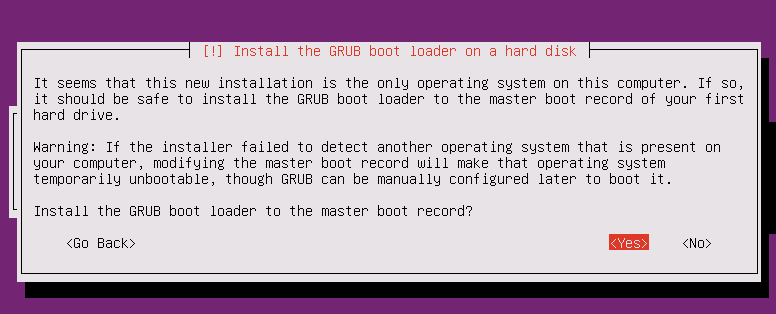
boot loader, 选择yes
安装结束

TRex 安装
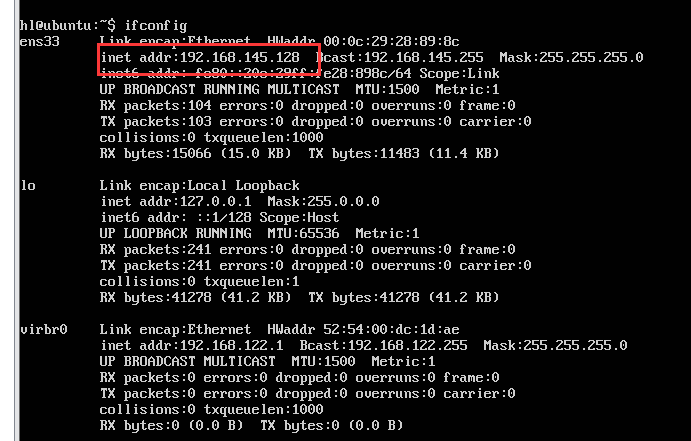
先登录虚拟机,查看一下虚拟机的ip地址,以便远程连接
mkdir trex
cd trex
wget --no-check-certificate https://trex-tgn.cisco.com/trex/release/latest
tar -zxvf latest
下载特别慢,可以在window上下载,然后上传到虚拟机上面

查看网卡
hl@ubuntu:~/trex$ ll
total 670888
drwxrwxr-x  3 hl hl      4096 Jul 25 11:27 ./
drwxr-xr-x  4 hl hl      4096 Jul 25 11:17 ../
-rw-rw-r--  1 hl hl 686970880 Jul 25 11:26 latest
drwxr-xr-x 17 hl hl      4096 May  8 00:17 v2.81/
hl@ubuntu:~/trex$ cd v2.81/
hl@ubuntu:~/trex/v2.81$ sudo ./dpdk_setup_ports.py -s
[sudo] password for hl:

Network devices using DPDK-compatible driver
============================================
<none>

Network devices using kernel driver
===================================
0000:02:01.0 '82545EM Gigabit Ethernet Controller (Copper)' if=ens33 drv=e1000 unused=igb_uio,vfio-pci,uio_pci_generic *Active*

Other network devices
=====================
<none>
hl@ubuntu:~/trex/v2.81$
添加网卡
右键虚拟机 -> 设置;
添加 -> 网络适配器(NAT);
确定即可
再次查看网卡,就有了刚才添加的两个网卡
hl@ubuntu:~/trex/v2.81$ sudo ./dpdk_setup_ports.py -s

Network devices using DPDK-compatible driver
============================================
<none>

Network devices using kernel driver
===================================
0000:02:01.0 '82545EM Gigabit Ethernet Controller (Copper)' if=ens33 drv=e1000 unused=igb_uio,vfio-pci,uio_pci_generic *Active*
0000:02:06.0 '82545EM Gigabit Ethernet Controller (Copper)' if=ens38 drv=e1000 unused=igb_uio,vfio-pci,uio_pci_generic
0000:02:07.0 '82545EM Gigabit Ethernet Controller (Copper)' if=ens39 drv=e1000 unused=igb_uio,vfio-pci,uio_pci_generic

Other network devices
=====================
<none>
hl@ubuntu:~/trex/v2.81$
换国内源
sudo cp /etc/apt/sources.list /etc/apt/sources.list.bak
sudo vim /etc/apt/sources.list

# 添加阿里源
deb http://mirrors.aliyun.com/ubuntu/ bionic main restricted universe multiverse
deb http://mirrors.aliyun.com/ubuntu/ bionic-security main restricted universe multiverse
deb http://mirrors.aliyun.com/ubuntu/ bionic-updates main restricted universe multiverse
deb http://mirrors.aliyun.com/ubuntu/ bionic-proposed main restricted universe multiverse
deb http://mirrors.aliyun.com/ubuntu/ bionic-backports main restricted universe multiverse
deb-src http://mirrors.aliyun.com/ubuntu/ bionic main restricted universe multiverse
deb-src http://mirrors.aliyun.com/ubuntu/ bionic-security main restricted universe multiverse
deb-src http://mirrors.aliyun.com/ubuntu/ bionic-updates main restricted universe multiverse
deb-src http://mirrors.aliyun.com/ubuntu/ bionic-proposed main restricted universe multiverse
deb-src http://mirrors.aliyun.com/ubuntu/ bionic-backports main restricted universe multiverse

sudo apt update
sudo apt upgrade
其它国内源
# 中科大源
deb https://mirrors.ustc.edu.cn/ubuntu/ bionic main restricted universe multiverse
deb-src https://mirrors.ustc.edu.cn/ubuntu/ bionic main restricted universe multiverse
deb https://mirrors.ustc.edu.cn/ubuntu/ bionic-updates main restricted universe multiverse
deb-src https://mirrors.ustc.edu.cn/ubuntu/ bionic-updates main restricted universe multiverse
deb https://mirrors.ustc.edu.cn/ubuntu/ bionic-backports main restricted universe multiverse
deb-src https://mirrors.ustc.edu.cn/ubuntu/ bionic-backports main restricted universe multiverse
deb https://mirrors.ustc.edu.cn/ubuntu/ bionic-security main restricted universe multiverse
deb-src https://mirrors.ustc.edu.cn/ubuntu/ bionic-security main restricted universe multiverse
deb https://mirrors.ustc.edu.cn/ubuntu/ bionic-proposed main restricted universe multiverse
deb-src https://mirrors.ustc.edu.cn/ubuntu/ bionic-proposed main restricted universe multiverse


# 163源
deb http://mirrors.163.com/ubuntu/ bionic main restricted universe multiverse
deb http://mirrors.163.com/ubuntu/ bionic-security main restricted universe multiverse
deb http://mirrors.163.com/ubuntu/ bionic-updates main restricted universe multiverse
deb http://mirrors.163.com/ubuntu/ bionic-proposed main restricted universe multiverse
deb http://mirrors.163.com/ubuntu/ bionic-backports main restricted universe multiverse
deb-src http://mirrors.163.com/ubuntu/ bionic main restricted universe multiverse
deb-src http://mirrors.163.com/ubuntu/ bionic-security main restricted universe multiverse
deb-src http://mirrors.163.com/ubuntu/ bionic-updates main restricted universe multiverse
deb-src http://mirrors.163.com/ubuntu/ bionic-proposed main restricted universe multiverse
deb-src http://mirrors.163.com/ubuntu/ bionic-backports main restricted universe multiverse


# 清华源
deb https://mirrors.tuna.tsinghua.edu.cn/ubuntu/ bionic main restricted universe multiverse
deb-src https://mirrors.tuna.tsinghua.edu.cn/ubuntu/ bionic main restricted universe multiverse
deb https://mirrors.tuna.tsinghua.edu.cn/ubuntu/ bionic-updates main restricted universe multiverse
deb-src https://mirrors.tuna.tsinghua.edu.cn/ubuntu/ bionic-updates main restricted universe multiverse
deb https://mirrors.tuna.tsinghua.edu.cn/ubuntu/ bionic-backports main restricted universe multiverse
deb-src https://mirrors.tuna.tsinghua.edu.cn/ubuntu/ bionic-backports main restricted universe multiverse
deb https://mirrors.tuna.tsinghua.edu.cn/ubuntu/ bionic-security main restricted universe multiverse
deb-src https://mirrors.tuna.tsinghua.edu.cn/ubuntu/ bionic-security main restricted universe multiverse
deb https://mirrors.tuna.tsinghua.edu.cn/ubuntu/ bionic-proposed main restricted universe multiverse
deb-src https://mirrors.tuna.tsinghua.edu.cn/ubuntu/ bionic-proposed main restricted universe multiverse
安装插件
# gcc
sudo apt install build-essential
sudo apt install make
sudo apt-get install libnuma-dev
dpdk 安装
wget http://fast.dpdk.org/rel/dpdk-18.11.9.tar.xz
tar xvJf dpdk-18.11.9.tar.xz
cd dpdk-stable-18.11.9/

# 加载uio驱动
modprobe uio

# 配置dpdk
sudo ./usertools/dpdk-setup.sh

选择 x86_64-native-linuxapp-gcc
Insert IGB UIO module
Insert VFIO module
Insert KNI module
运行测试
在上面的三个网卡中, Active 端口作为管理端口,管理端口不能被绑定到trex,否则不能管理linx, 其它三个网卡可以绑定
trex默认端口起动配置文件是 /etc/trex_cfg.yaml
sudo cp cfg/simple_cfg.yaml  /etc/trex_cfg.yaml
sudo vim /etc/trex_cfg.yaml

- port_limit      : 2                              #端口数量限制
  version         : 2                              #trex 版本
#List of interfaces. Change to suit your setup. Use ./dpdk_setup_ports.py -s to see available options
  interfaces    : ["03:00.0","03:00.1"]            #对应绑定网卡的pci号
  port_info       :  # Port IPs. Change to suit your needs. In case of loopback, you can leave as is.
          - ip         : 1.1.1.1                  #本端eth1的虚接口地址
            default_gw : 2.2.2.2                  #对端DUT接口地址
          - ip         : 2.2.2.2                  #本端eth2的虚接口地址
            default_gw : 1.1.1.1                  #对端DUT接口地址
启动stateless服务器
~/trex/v2.81$ sudo ./t-rex-64 -i
另外在起一个窗口
~/trex/v2.81$ sudo ./trex-console

