
【Web】emscripten编译ffmpeg
编译安装emsdk
【Web】Emscripten一些注意事项 - 声音~ - 博客园 (cnblogs.com)
下载ffmpeg
具体下载过程略
编译命令:
emconfigure ./configure --cc="emcc" --cxx="em++" --ar="emar" --ranlib=emranlib --prefix=$(pwd)/dist --enable-cross-compile --target-os=none --arch=x86 --cpu=generic --disable-ffplay --disable-ffprobe --disable-asm --disable-doc --disable-devices --disable-indevs --disable-outdevs --disable-network --disable-w32threads --disable-pthreads --enable-ffmpeg --enable-static --disable-shared --enable-decoder=pcm_mulaw --enable-decoder=pcm_alaw --enable-decoder=adpcm_ima_smjpeg --enable-decoder=aac --enable-decoder=hevc --enable-decoder=h264 --enable-protocol=file --disable-stripping
添加多线程支持的编译命令(--disable-pthreads变为--enable-pthreads)
emconfigure ./configure --cc="emcc" --cxx="em++" --ar="emar" --ranlib=emranlib --prefix=$(pwd)/dist --enable-cross-compile --target-os=none --arch=x86 --cpu=generic --disable-ffplay --disable-ffprobe --disable-asm --disable-doc --disable-devices --disable-indevs --disable-outdevs --disable-network --disable-w32threads --enable-pthreads --enable-ffmpeg --enable-static --disable-shared --enable-decoder=pcm_mulaw --enable-decoder=pcm_alaw --enable-decoder=adpcm_ima_smjpeg --enable-decoder=aac --enable-decoder=hevc --enable-decoder=h264 --enable-protocol=file --disable-stripping
重新研究目前使用到的方法,修改参数,减小二进制包体积,优化ffmpeg库。
只保留我们需要的功能。
emconfigure ./configure --cc="emcc" --cxx="em++" --ar="emar" --ranlib=emranlib --prefix=$(pwd)/dist --enable-cross-compile --target-os=none --arch=x86 --cpu=generic --enable-static --disable-shared --enable-small --disable-x86asm --disable-inline-asm --disable-programs --disable-doc --disable-avdevice --enable-pthreads --disable-network --disable-debug --disable-stripping --disable-everything --enable-decoder=h264 --enable-decoder=yuv4 --enable-demuxer=h264 --enable-parser=h264 --enable-filter=scale --extra-cflags="-Os"
最新,去掉avfilter和swresample库等
emconfigure ./configure --cc="emcc" --cxx="em++" --ar="emar" --ranlib=emranlib --prefix=$(pwd)/dist --enable-cross-compile --target-os=none --arch=x86_32 --cpu=generic --disable-debug --enable-static --disable-shared --enable-small --disable-asm --disable-inline-asm --disable-programs --disable-doc --disable-avdevice --disable-avfilter --disable-swresample --enable-pthreads --disable-network --disable-debug --disable-stripping --disable-everything --enable-decoder=h264 --enable-decoder=yuv4 --enable-demuxer=h264 --enable-parser=h264 --extra-cflags="-Os"
注:
- emscripten支持int64_t,但是JavaScript不支持int64_t类型。
测试
测试例子使用的CMakeLists.txt
具体使用需要修改里面emcc和em++的具体路径
# CMakeList.txt: EmccVideo 的 CMake 项目,在此处包括源代码并定义
# 项目特定的逻辑。
#
cmake_minimum_required (VERSION 3.8)

set(ProgramName "EmccVideo.js")
project (${ProgramName})


# 指定使用的编译器
 set(CMAKE_C_COMPILER "/home/ubuntu/Downloads/emsdk/upstream/emscripten/emcc")
 set(CMAKE_CXX_COMPILER "/home/ubuntu/Downloads/emsdk/upstream/emscripten/emcc")


 set(ffmpeg_dir "/home/ubuntu/emcc_ffmpeg_2")

include_directories(${ffmpeg_dir}/include)
link_directories(${ffmpeg_dir}/lib)

link_libraries(libavcodec.a libavutil.a libswresample.a libswscale.a)

# 将源代码添加到此项目的可执行文件。
add_executable (${ProgramName}  "emcc/emcc_define.h" "test/test1.cpp" "main.cpp" "video/real_video/real_video.cpp" "ffmpeg/FFMPEG_Common.h" "h264/h264decoder.h" "h264/h264decoder.cpp")


if (CMAKE_HOST_UNIX)
	message("current platform: Linux")
elseif (CMAKE_HOST_WIN32)
	message("current platform: Windows")
else()
	message("current platform: unknown")
endif()


if (CMAKE_VERSION VERSION_GREATER 3.12)
  set_property(TARGET EmccVideo PROPERTY CXX_STANDARD 20)
endif()

# TODO: 如有需要,请添加测试并安装目标。
测试的html
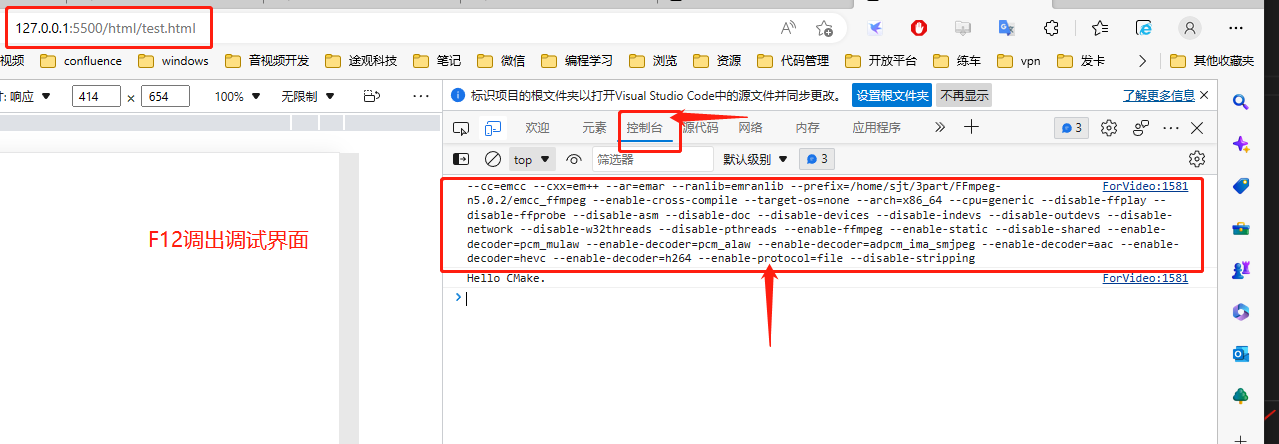
调用C++提供的接口print_ffmpeg_avcodec_configuration()。
注意:
(1)Module._print_ffmpeg_avcodec_configuration()中有_是正常情况。如果不熟悉请浏览一遍(1.1 安装Emscripten-C/C++面向WebAssembly编程 (cntofu.com))
(2)需要修改html里面的js文件路径
<!doctype html>

<html>
<head>
    <meta charset="utf-8">
    <title>Emscripten:Export1</title>
</head>
<body>
    <script>
        Module = {};
        Module.onRuntimeInitialized = function() {
        Module._print_ffmpeg_avcodec_configuration();
        }
    </script>
    <script src="./build/EmccVideo.js"></script>
</body>
</html>
测试文件
- emcc_define.h
#ifndef  EMCC_DEFINE_H

#ifndef EM_PORT_API

#	if defined(__EMSCRIPTEN__)
#		include <emscripten.h>
#		if defined(__cplusplus)
#			define EM_PORT_API(rettype) extern "C" rettype EMSCRIPTEN_KEEPALIVE
#		else
#			define EM_PORT_API(rettype) rettype EMSCRIPTEN_KEEPALIVE
#		endif
#	else
#		if defined(__cplusplus)
#			define EM_PORT_API(rettype) extern "C" rettype
#		else
#			define EM_PORT_API(rettype) rettype
#		endif
#	endif
#endif

#endif // ! EMCC_DEFINE_H
- FFMPEG_Common.h
extern "C" {
#include <libavcodec/avcodec.h>
#include <libavformat/avformat.h>
#include <libavformat/version.h>
#include <libavutil/avutil.h>
#include <libavutil/frame.h>
#include <libavutil/imgutils.h>
#include <libswscale/swscale.h>
}

#endif // FFMPEG_COMMON_H
- test.cpp
#include "../../emcc/emcc_define.h"
#include "FFMPEG_Common.h"
#include <stdio.h>

EM_PORT_API(int)
print_ffmpeg_avcodec_configuration()
{
	printf(avcodec_configuration());
	return 0;
}
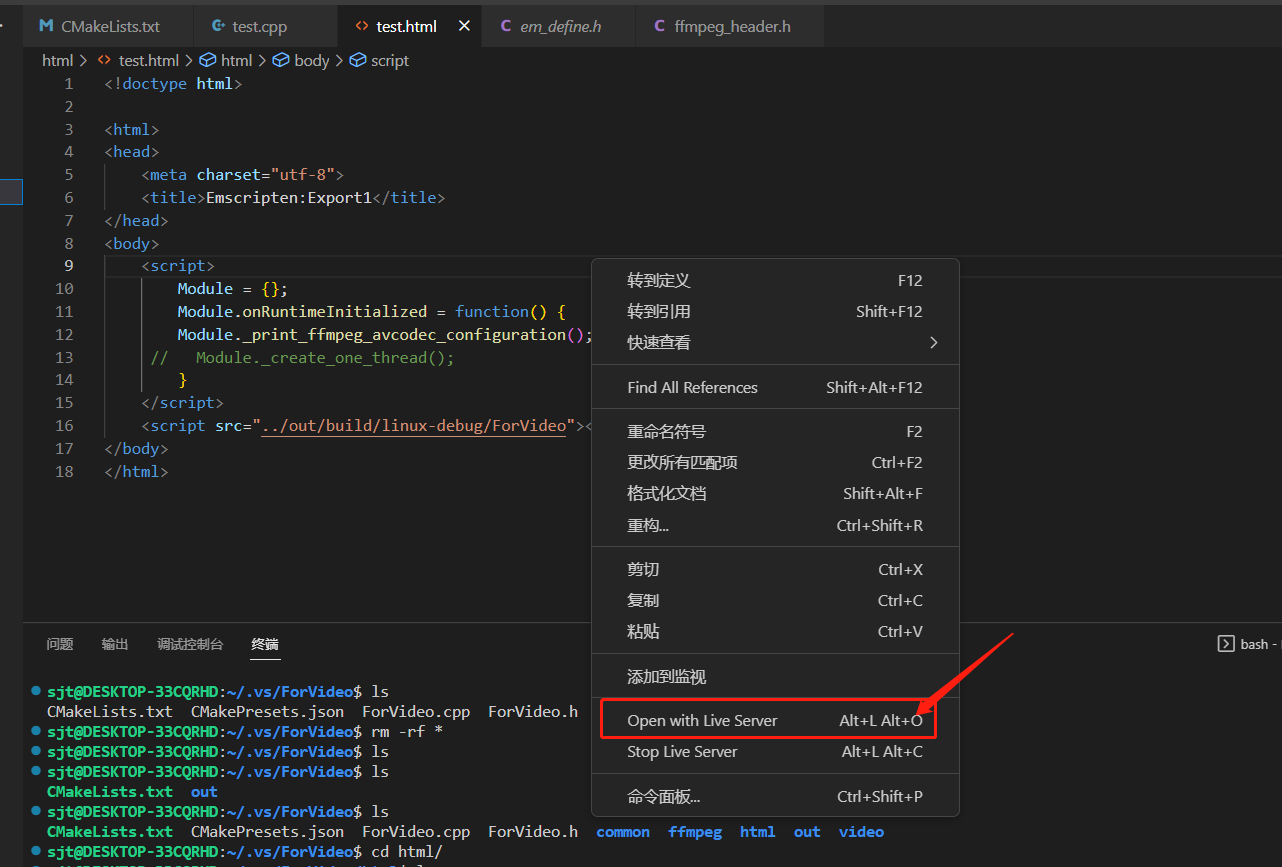
VSCode安装Live Server插件,或者将test.html文件放到web服务器上
结果
注意事项
- 加载ffmpeg的头文件时,需要添加如下标识,否则链接库时找不到对应符号。
extern "C"
{}

 浙公网安备 33010602011771号