在Vue中使用Vditor编辑器,及前端以markdown形式显示文本
在Vue中使用Vditor编辑器,及前端以markdown形式显示文本
1.技术概述
Vditor 是一款浏览器端的 Markdown 编辑器,支持所见即所得、即时渲染(类似 Typora)和分屏预览模式。它使用TypeScript实现,支持原生JavaScript、Vue、React、Angular,提供桌面版。
2.技术详述
1.首先安装vditor
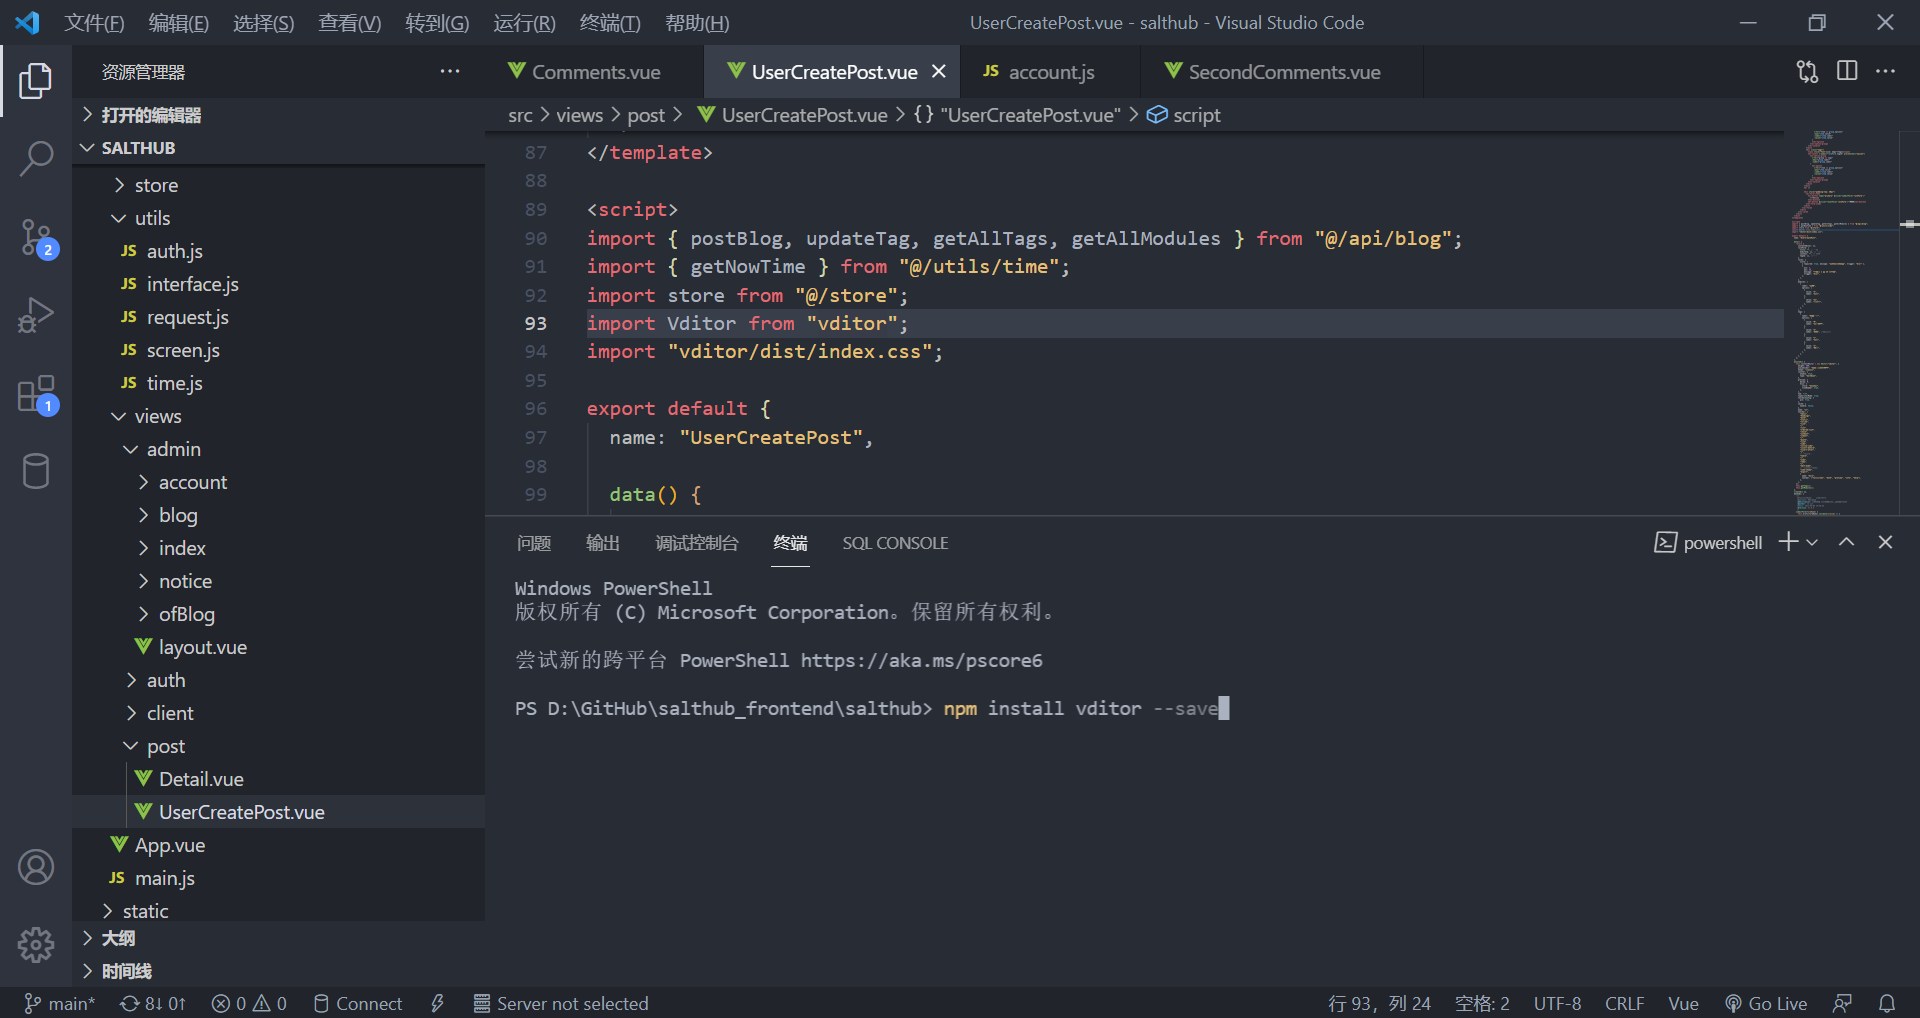
npm install vditor --save
用VScode直接在终端输入,如下图
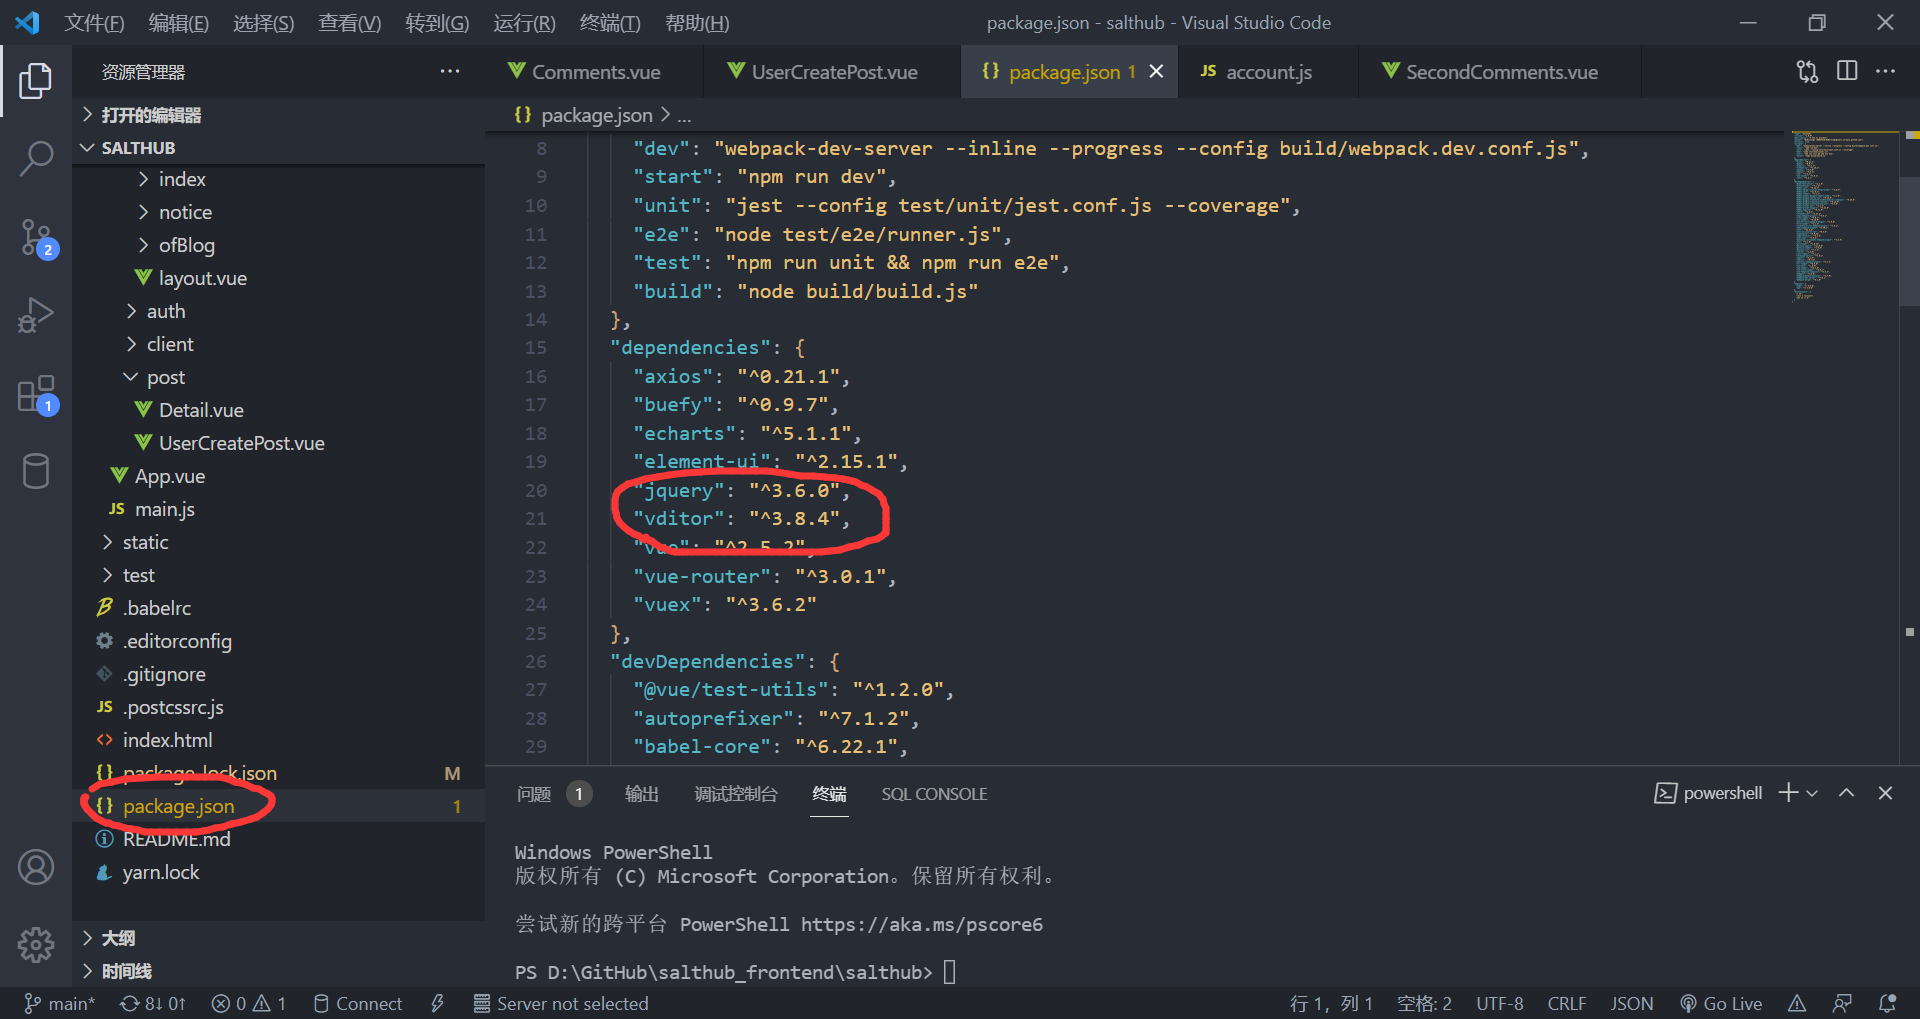
2.检查package.json中是否存在vidor依赖,如果有则引入成功,如果没有可能是网络原因导致可以试试多次尝试步骤1。
3.在vue页面中使用
代码中使用步骤分解如下:
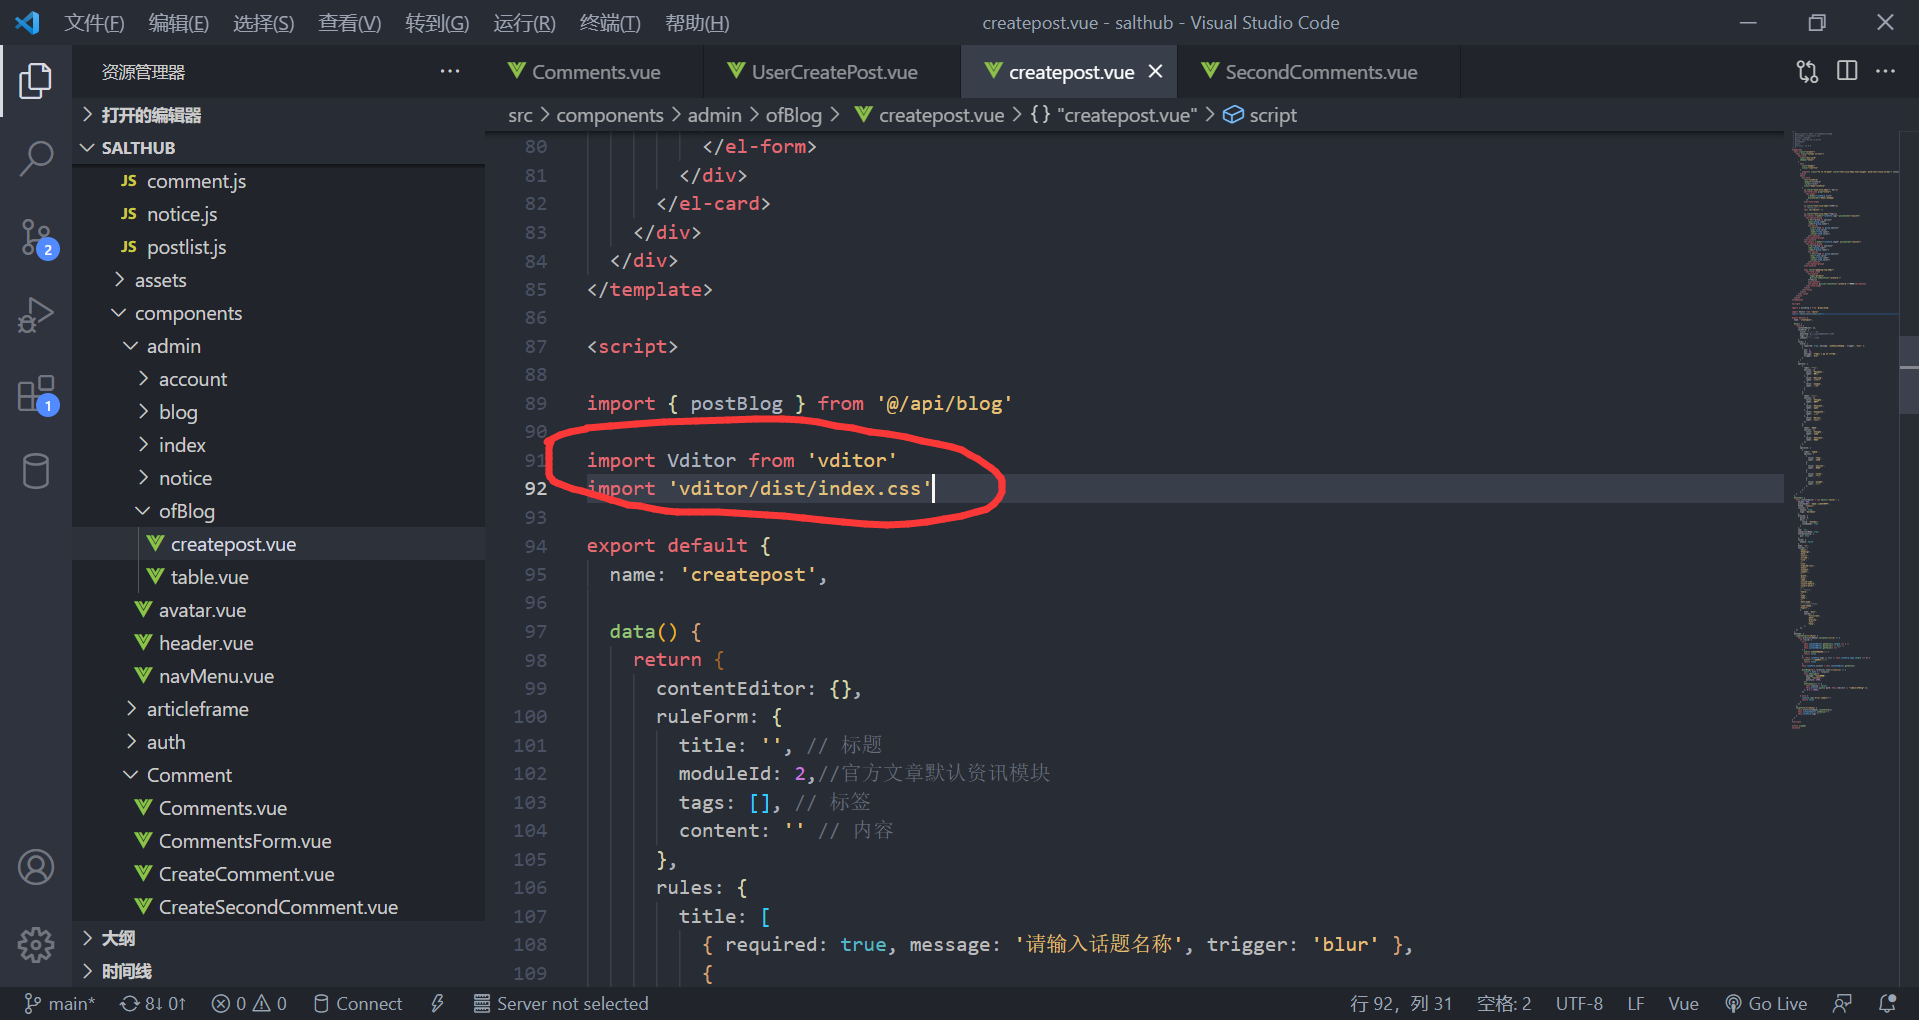
1.使用import引入
import Vditor from 'vditor'
import 'vditor/dist/index.css'
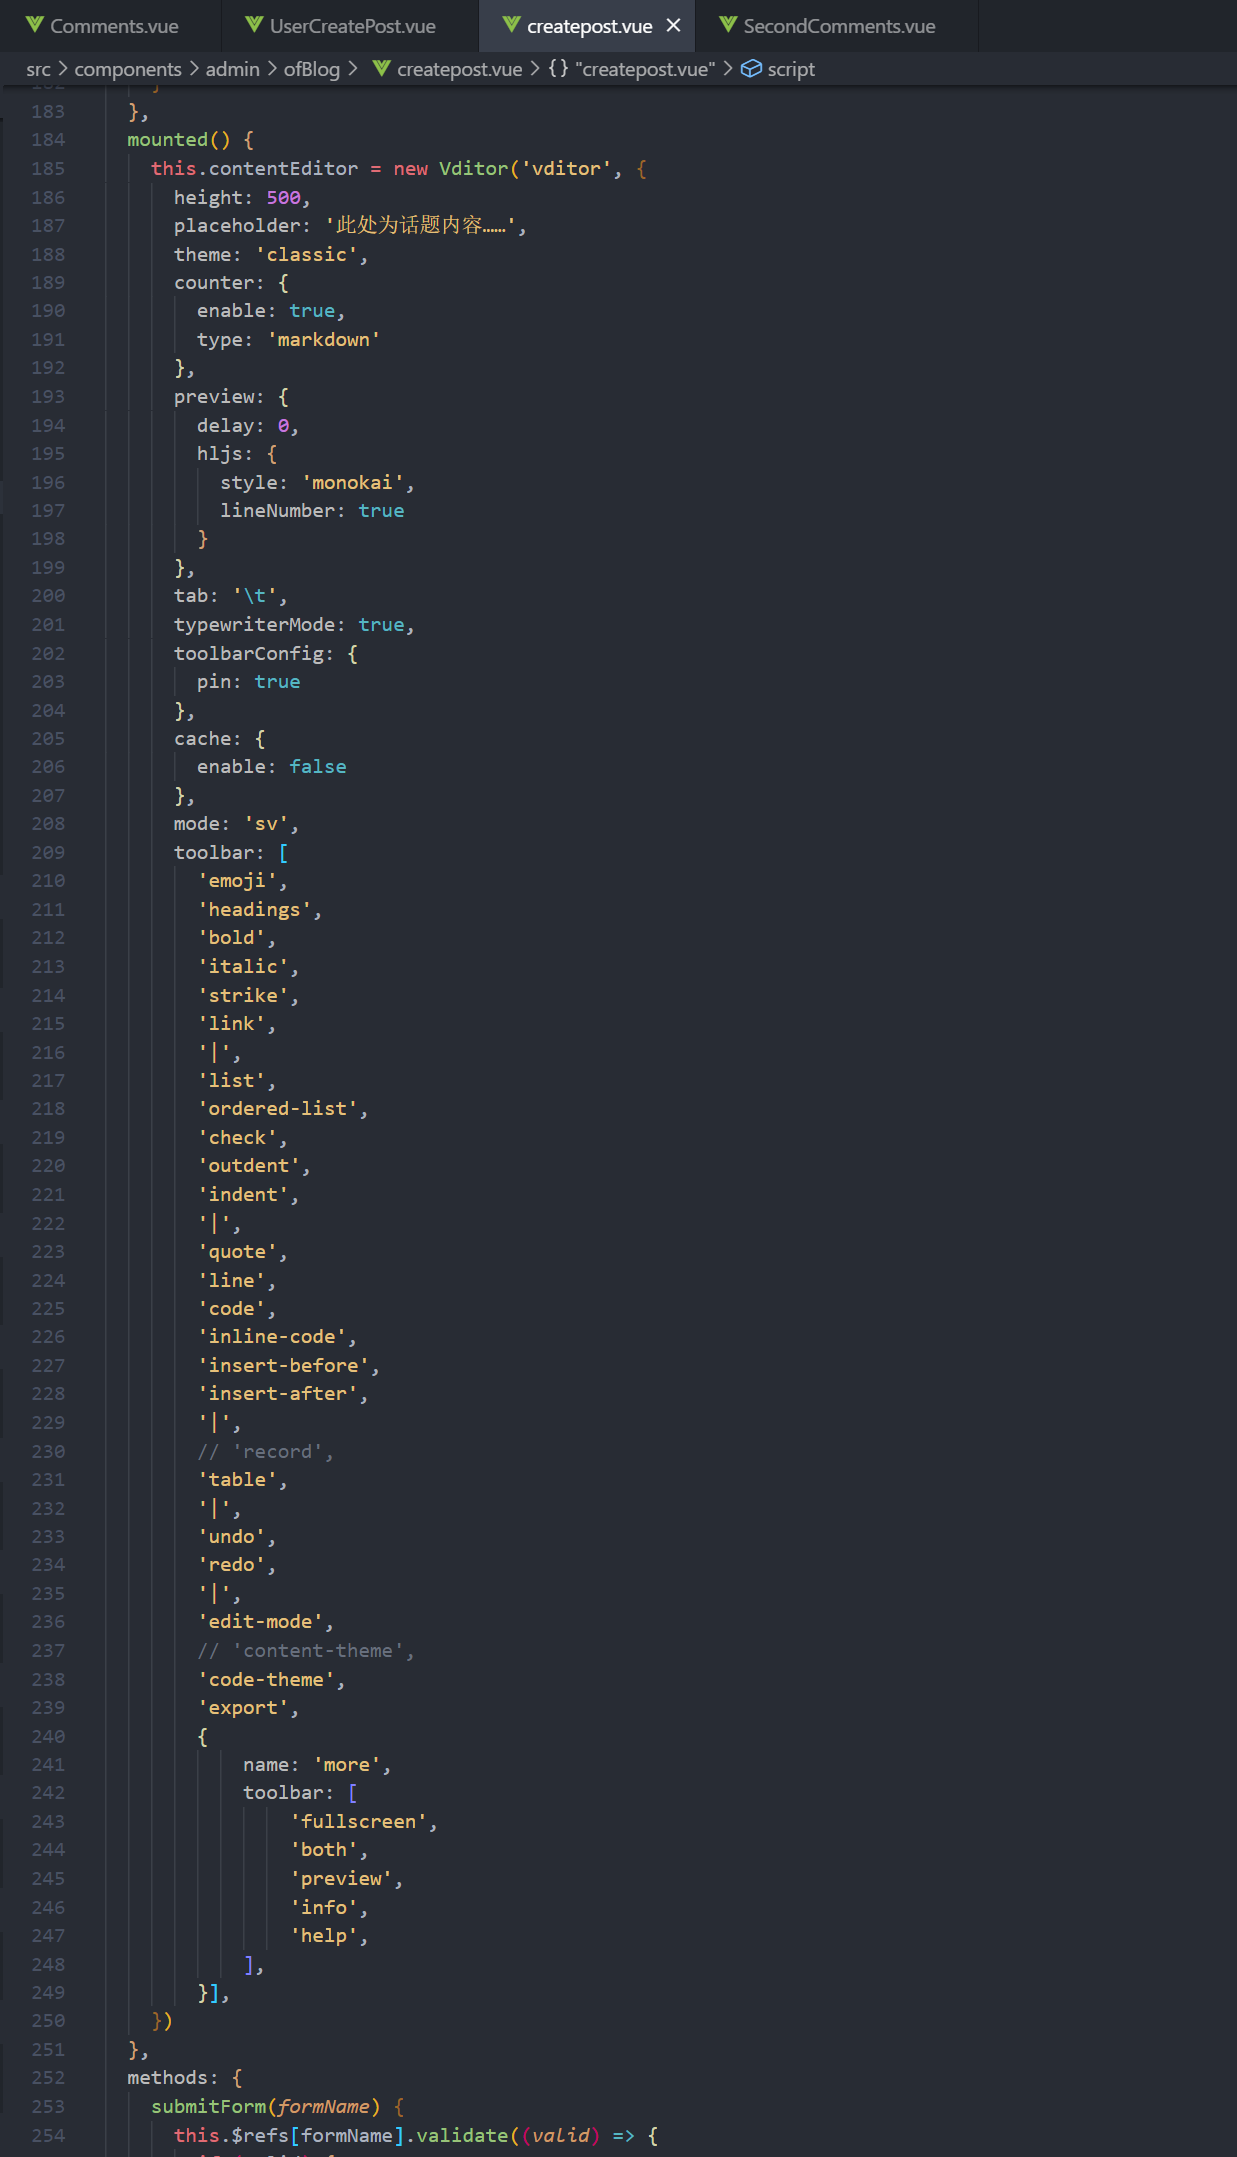
2.创建一个Vditor实例并赋值给contentEditor
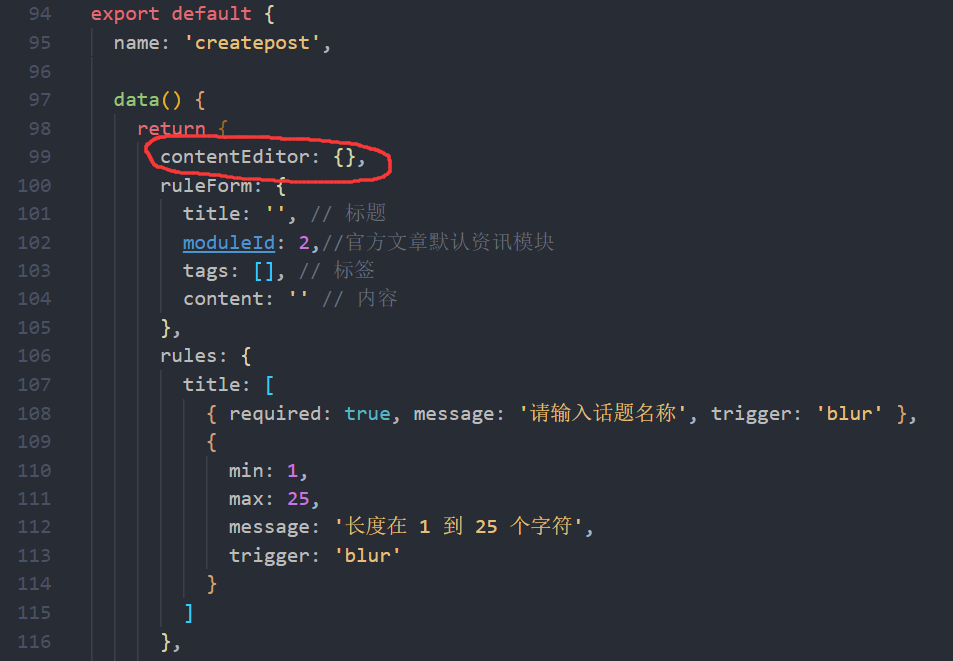
具体代码可以去后面"样例"复制
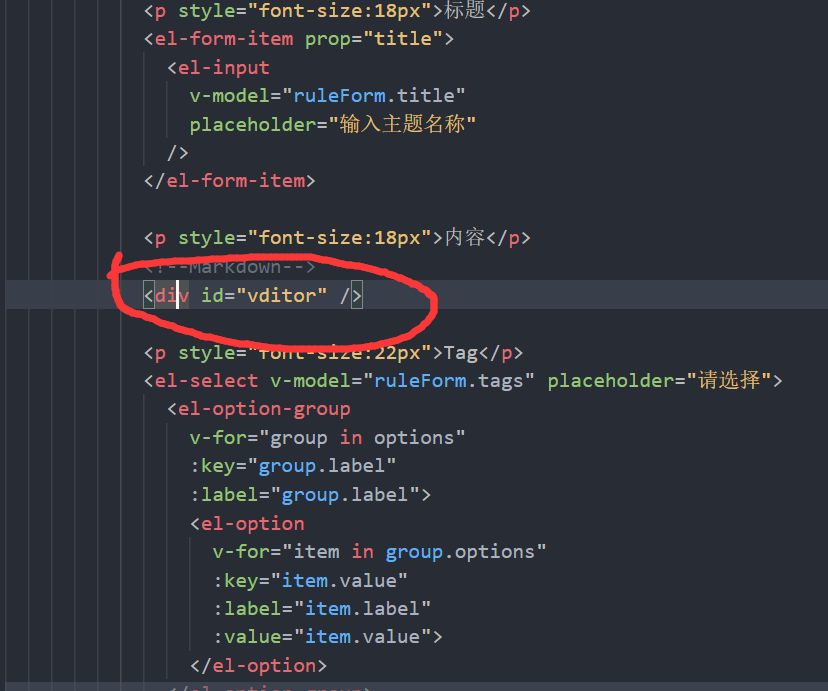
3.在前端代码中使用
<div id="vditor"></div>
4.通过getValue()获取输入框内容
this.contentEditor.getValue()可以获取输入内容,提交表单方法中有多次使用到,如下所示:
submitForm(formName) {
      this.$refs[formName].validate((valid) => {
        if (valid) {
          if (
            this.contentEditor.getValue().length === 1 ||
            this.contentEditor.getValue() == null ||
            this.contentEditor.getValue() === ''
          ) {
            alert('话题内容不可为空')
            return false
          }

          this.ruleForm.content = this.contentEditor.getValue()

          ......
      })
    },
样例(可复制)
<template>
        <!--2.这里id对应new Vditor('vditor',{...})的第一个参数vidtor-->
        <div id="vditor" name="description" ></div>
</template>...
    <script>
    import Vditor from "vditor";  //1.import一下vditor组件
    import "vditor/src/assets/scss/index.scss"; //1.import一下vditor组件样式

    export default {
        data(){
            return{
                contentEditor: {},//3.声明一个变量
            }
        },
        mounted(){
            this.contentEditor = new Vditor('vditor', { //4.刚刚声明的变量contentEditor被赋值为一个Vditor实例,
              height: 500,
              placeholder: '此处为话题内容……',
              theme: 'classic',
              counter: {
                enable: true,
                type: 'markdown'
              },
              preview: {
                delay: 0,
                hljs: {
                  style: 'monokai',
                  lineNumber: true
                }
              },
              tab: '\t',
              typewriterMode: true,
              toolbarConfig: {
                pin: true
              },
              cache: {
                enable: false
              },
              mode: 'sv',
              toolbar: [
                'emoji',
                'headings',
                'bold',
                'italic',
                'strike',
                'link',
                '|',
                'list',
                'ordered-list',
                'check',
                'outdent',
                'indent',
                '|',
                'quote',
                'line',
                'code',
                'inline-code',
                'insert-before',
                'insert-after',
                '|',
                // 'record',
                'table',
                '|',
                'undo',
                'redo',
                '|',
                'edit-mode',
                // 'content-theme',
                'code-theme',
                'export',
                {
                    name: 'more',
                    toolbar: [
                        'fullscreen',
                        'both',
                        'preview',
                        'info',
                        'help',
                    ],
                }],
            })
        },
      methods: {
      // 我的提交表单代码大致如下,这段代码核心是this.ruleForm.content = this.contentEditor.getValue()
      /*
        submitForm(formName) {
			            this.$refs[formName].validate((valid) => {
			              if (valid) {
			                if (
			                  this.contentEditor.getValue().length === 1 ||
			                  this.contentEditor.getValue() == null ||
			                  this.contentEditor.getValue() === ''
			                ) {
			                  alert('话题内容不可为空')
			                  return false
			                }

                                         //5.通过this.contentEditor.getValue()获取编辑器内容
			                this.ruleForm.content = this.contentEditor.getValue()

			                ......//调用api把this.ruleForm传给后端
			            })
			   }
		}
      }
    */
    //后续从后端传回来的数据会面临一个##标题仍然显示为##标题的问题,这篇文章后面有使用renderMarkdown()来解决的具体代码
    }
    </script>
5.后端传回的数据以markdown形式显示如下"3.技术使用中遇到的问题和解决过程(后端传回的数据以markdown形式显示)"
3.技术使用中遇到的问题和解决过程(后端传回的数据以markdown形式显示)
上面的使用部分使用Vditor时我们不难发现:我们传入后端的数据是这样的:"##大标题###小标题",后端返回给前端的也是这样的:"##大标题###小标题",如果我们将从后端获取的内容不加处理地拿来显示,‘##标题’还是会原样显示为‘##标题’,所以我们将其转化为markdown形式。
方法如下所示:
1.先写一个renderMarkdown()方法,代码如下:
renderMarkdown(md) {
  Vditor.preview(document.getElementById("preview"), md, {
    hljs: { style: "github" },
  });
},
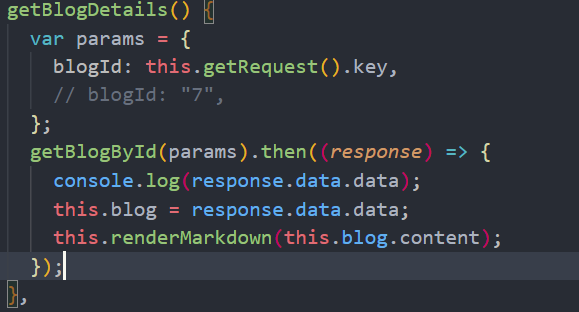
2.使用renderMarkdown()方法并传入需要以markdown显示的内容,这样被传入内容就会被修改为markdown形式。
this.renderMarkdown(this.blog.content);
然后在代码中使用<div id="preview" />即可显示markdown内容,注:此处preview与renderMarkdown()内的getElementById中的参数一致。

4.总结
1.首先安装vditor
npm install vditor --save
2.检查package.json中是否存在vidor依赖
3.使用
-
引入
import Vditor from 'vditor'
import 'vditor/dist/index.css' -
创建一个Vditor实例并赋值给contentEditor
-
在前端代码中使用
4.通过getValue()可以获取输入框内容
5.需要以markdown形式显示


