软件定义网络(SDN)第七次实验报告 + 选做题
目录
实验 7:OpenDaylight 实验 —— Python 中的 REST API 调用 + 选做题
一、实验目的
对 Python 调用 OpenDaylight 的 REST API 方法有初步了解。
二、实验任务
本实验需要用另一种方法完成上一个实验相同的功能,即通过 Python 程序调用 OpenDaylight 的北向接口下发关于硬超时的流表,实现拓扑内主机在一定时间内的网络通断。
三、实验要求
- 根据实验步骤复现上述实验,指导书仅提供参考方法,如果你对 Python 比较熟悉,且有其他方法,欢迎使用。
- 利用 Python 程序获取本实验拓扑中的交换机 s1 中活动的流表数目 active-flows。(选做题,不做强制要求)
- 在博客园发表一篇博客,记录主要步骤,如果完成了选做题,请在博客标题上标注,并提交程序到 GitHub,展示运行结果。
四、具体实验步骤
生成拓扑
$ sudo mn --topo=single,3 --controller=remote,ip=127.0.0.1,port=6633 --switch=ovsk,protocols=OpenFlow13
编写 Python 代码和 JSON 格式的请求内容
- 编写 odlnorth.py
#!/usr/bin/python

import requests
from requests.auth import HTTPBasicAuth

def http_put(url, jstr):
     url = url
     headers = {'Content-Type':'application/json'}
     resp = requests.put(url, jstr, headers=headers, auth=HTTPBasicAuth('admin', 'admin'))
     return resp

if __name__ == "__main__":
     url = 'http://127.0.0.1:8181/restconf/config/opendaylight-inventory:nodes/node/openflow:1/flow-node-inventory:table/0/flow/1'
     with open('hardtimeout.json') as f:
         jstr = f.read()
     resp = http_put(url,jstr)
     print resp.content
- 编写 hardtimeout.json
{
     "flow": [
         {
             "id": "1",
             "match": {
                 "in-port": "1",
                 "ethernet-match": {
                     "ethernet-type": {
                         "type": "0x0800"
                     }
                 },
                 "ipv4-destination": "10.0.0.3/32"
             },
             "instructions": {
                 "instruction": [
                     {
                         "order": "0",
                         "apply-actions": {
                             "action": [
                                 {
                                     "order": "0",
                                     "drop-action":{}
                                 }
                             ]
                         }
                     }
                 ]
             },
             "flow-name": "flow1",
             "priority": "65535",
             "hard-timeout": "10",
             "cookie": "2",
             "table_id": "0"
         }
     ]
}
运行 Python 代码,完成流表下发
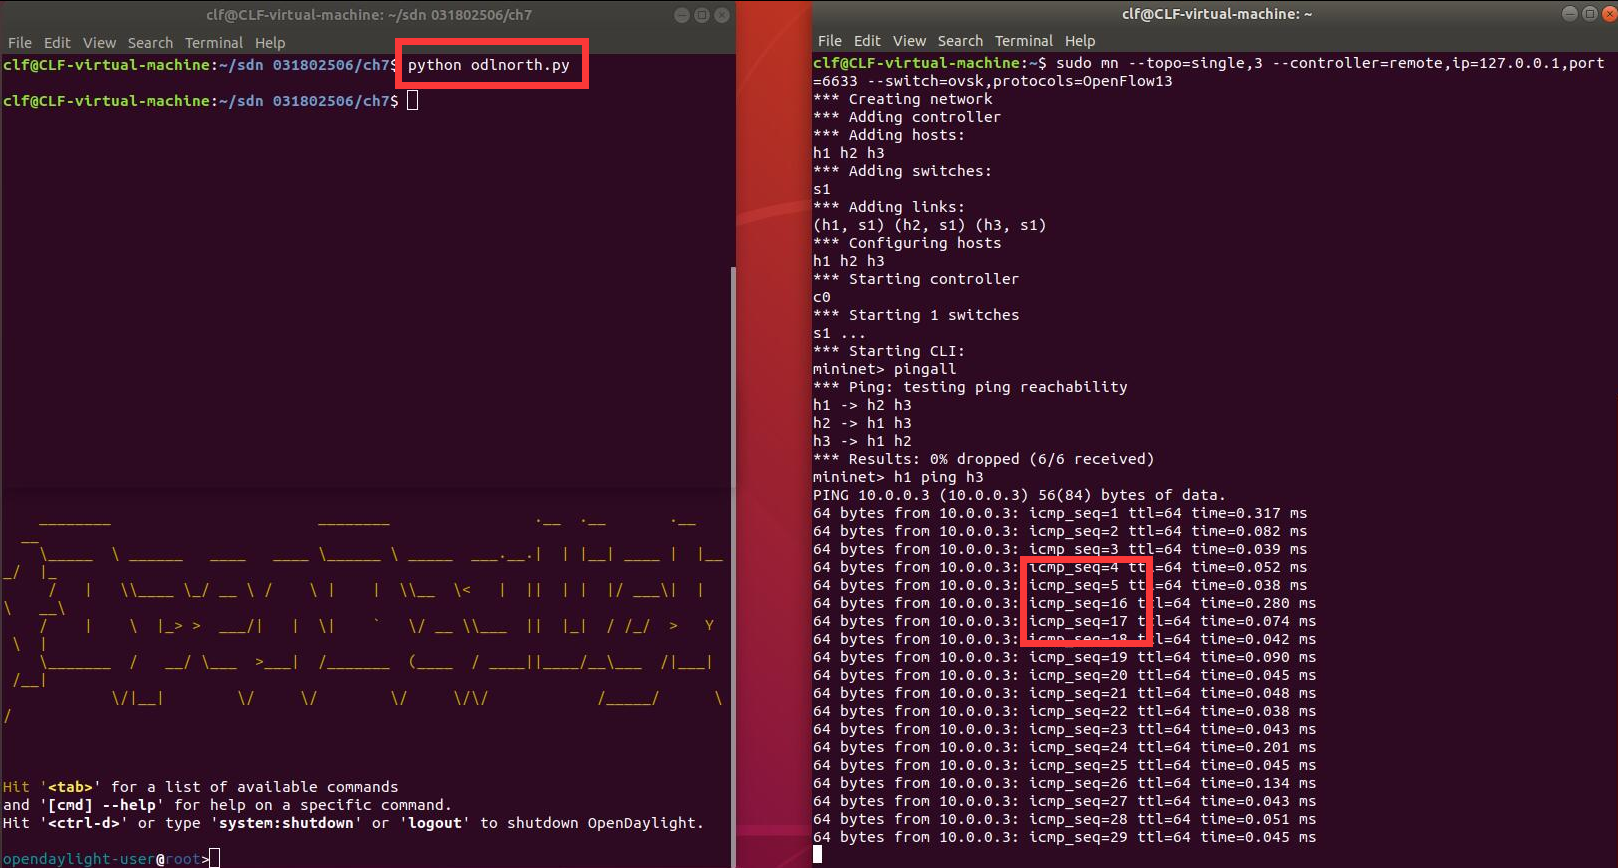
结果验证方法同实验 6。
$ python odlnorth.py

选做题
- 利用Python程序获取本实验拓扑中的交换机 s1 中活动的流表数目 active-flows;
- 参考了别人的博客的想法,发现 get 方法才可以获取流表信息(put 方法的 reponse.content/text 为空),然后才能进一步获取流表个数;
- github链接
- 编写的 s1_active_flow_count.py
def http_get(url, jstr):
     headers = {'Content-Type':'application/json'}
     resp = requests.get(url, jstr, headers=headers, auth=HTTPBasicAuth('admin', 'admin'))
     return resp
...
     resp = http_get(url,jstr)
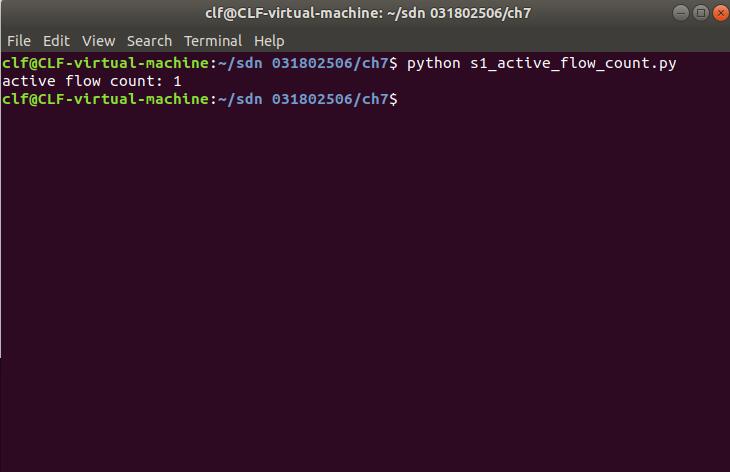
     print "active flow count: %d" % ( len(json.loads(resp.content)), )
- 结果展示

五、注意事项与心得体会
注意事项
- apt-get 安装时无法连接到网站或者网速过慢,可以选择换源,在此给出本人所用的 Linux 修改为清华源教程链接;
- 路径复制时候要检查,有可能缺斤少两...
心得体会
- 做实验还得细心点,最近有点急躁了哈哈哈;
- 实验挺简单,但是选做题让我看到了自己还有很多不知道的要点。


 浙公网安备 33010602011771号