
CentOS7.0下完美部署Solr 搜索引擎
一、环境准备:
系统环境:CentOS-7.0.1406
tomcat-7.0.29
jdk-7u9
solr-4.7.0
首先将软件包上传到/tmp目录下
1、 jdk安装
[root@svn-server /]# cd /tmp/ [root@svn-server /]#tar zxvf jdk-7u9-linux-x64.tar.gz [root@svn-server /]#mv jdk1.7.0_09 /usr/ [root@svn-server /]#vi /etc/profile
在最后一行复制以下代码添加如下内容:
JAVA_HOME=/usr/jdk1.7.0_09/ CLASSPATH=.:$JAVA_HOME/lib/tools.jar PATH=$JAVA_HOME/bin:$PATH export JAVA_HOME CLASSPATH PATH
保存退出(:wq!)后,执行下面命令生效:
source /etc/profile
2、 tomcat安装
将tomcat包减压到tmp目录下:
[root@svn-server tmp]tar zxvf apache-tomcat-7.0.47.tar.gz 将tomcat包移动到/usr/local/tomcat 下:
[root@svn-server tmp]mv apache-tomcat-7.0.47 /usr/local/tomcat
二、安装solr
1、解压solr
[root@svn-server tmp]tar -zxvf solr-4.7.0.tgz
2、将solr包移动到opt目录下:
[root@svn-server tmp]mv /tmp/solr-4.7.0 /opt/solr
3、把exmaple/webapps中的solr.war复制到tomcat
[root@svn-server tmp]makdir -p /opt/tomcat/webapps [root@svn-server tmp]cp /opt/solr/example/webapps/solr.war /opt/tomcat/webapps/ [root@svn-server tmp]vim /usr/local/tomcat/conf/server.xml
<Host name="localhost" appBase="/opt/tomcat/webapps" unpackWARs="true" autoDeploy="true">
如图将webapps改为/opt/tomcat/webapps 即可;
4、启动tomcat,solr.war 自动解压,修改solr项目下的web.xml
[root@svn-server tmp]cd /usr/local/tomcat/bin/ [root@svn-server bin]./startup.sh [root@svn-server bin]vi/opt/tomcat/webapps/solr/WEB-INF/web.xml
5、修改solr home配置(注意:要把这段内容的注释去掉,否则不生效):
<env-entry> <env-entry-name>solr/home</env-entry-name> <env-entry-value>/opt/solr/example/solr</env-entry-value> <env-entry-type>java.lang.String</env-entry-type> </env-entry>
6、复制solr/example/lib/ext下的jar包到/tomcat/../solr/WEB-INF/lib/下:
[root@svn-server tmp]cp /opt/solr/example/lib/ext/*.jar /opt/tomcat/webapps/solr/WEB-INF/lib/
7、在tomcat solr下创建classpath,并把example/resources/log4j.properties复制到classpath中:
[root@svn-server tmp]mkdir -p /opt/tomcat/webapps/solr/classpath [root@svnserver tmp]cp/opt/solr/example/resources/log4j.properties /opt/tomcat/webapps/solr/classpath/
8、配置完成重启tomcat
/usr/local/tomcat/bin/shutdown.sh /usr/local/tomcat/bin/startup.sh
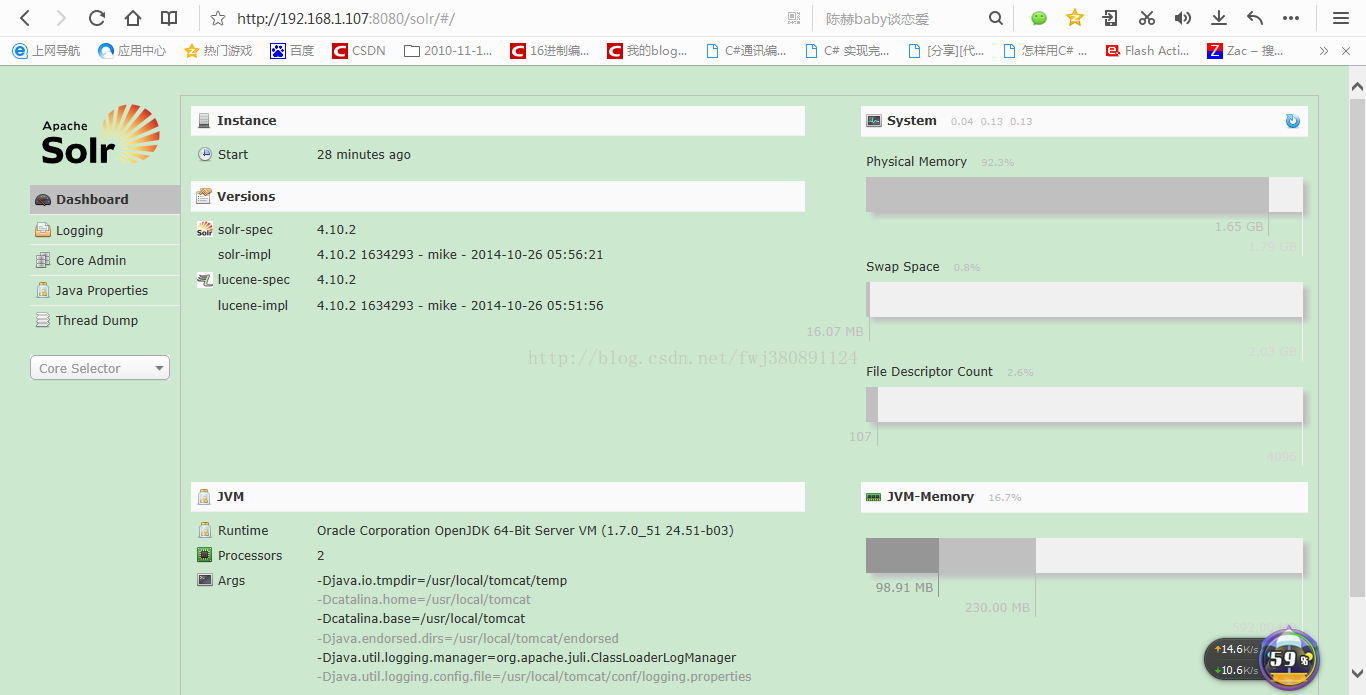
最终运行效果展示如下:
本文借鉴 Linux公社网站相关资料(www.linuxidc.com)
转载请注明出处:http://blog.csdn.net/fwj380891124/


【推荐】国内首个AI IDE,深度理解中文开发场景,立即下载体验Trae
【推荐】编程新体验,更懂你的AI,立即体验豆包MarsCode编程助手
【推荐】抖音旗下AI助手豆包,你的智能百科全书,全免费不限次数
【推荐】轻量又高性能的 SSH 工具 IShell:AI 加持,快人一步
· TypeScript + Deepseek 打造卜卦网站:技术与玄学的结合
· Manus的开源复刻OpenManus初探
· AI 智能体引爆开源社区「GitHub 热点速览」
· 三行代码完成国际化适配,妙~啊~
· .NET Core 中如何实现缓存的预热?