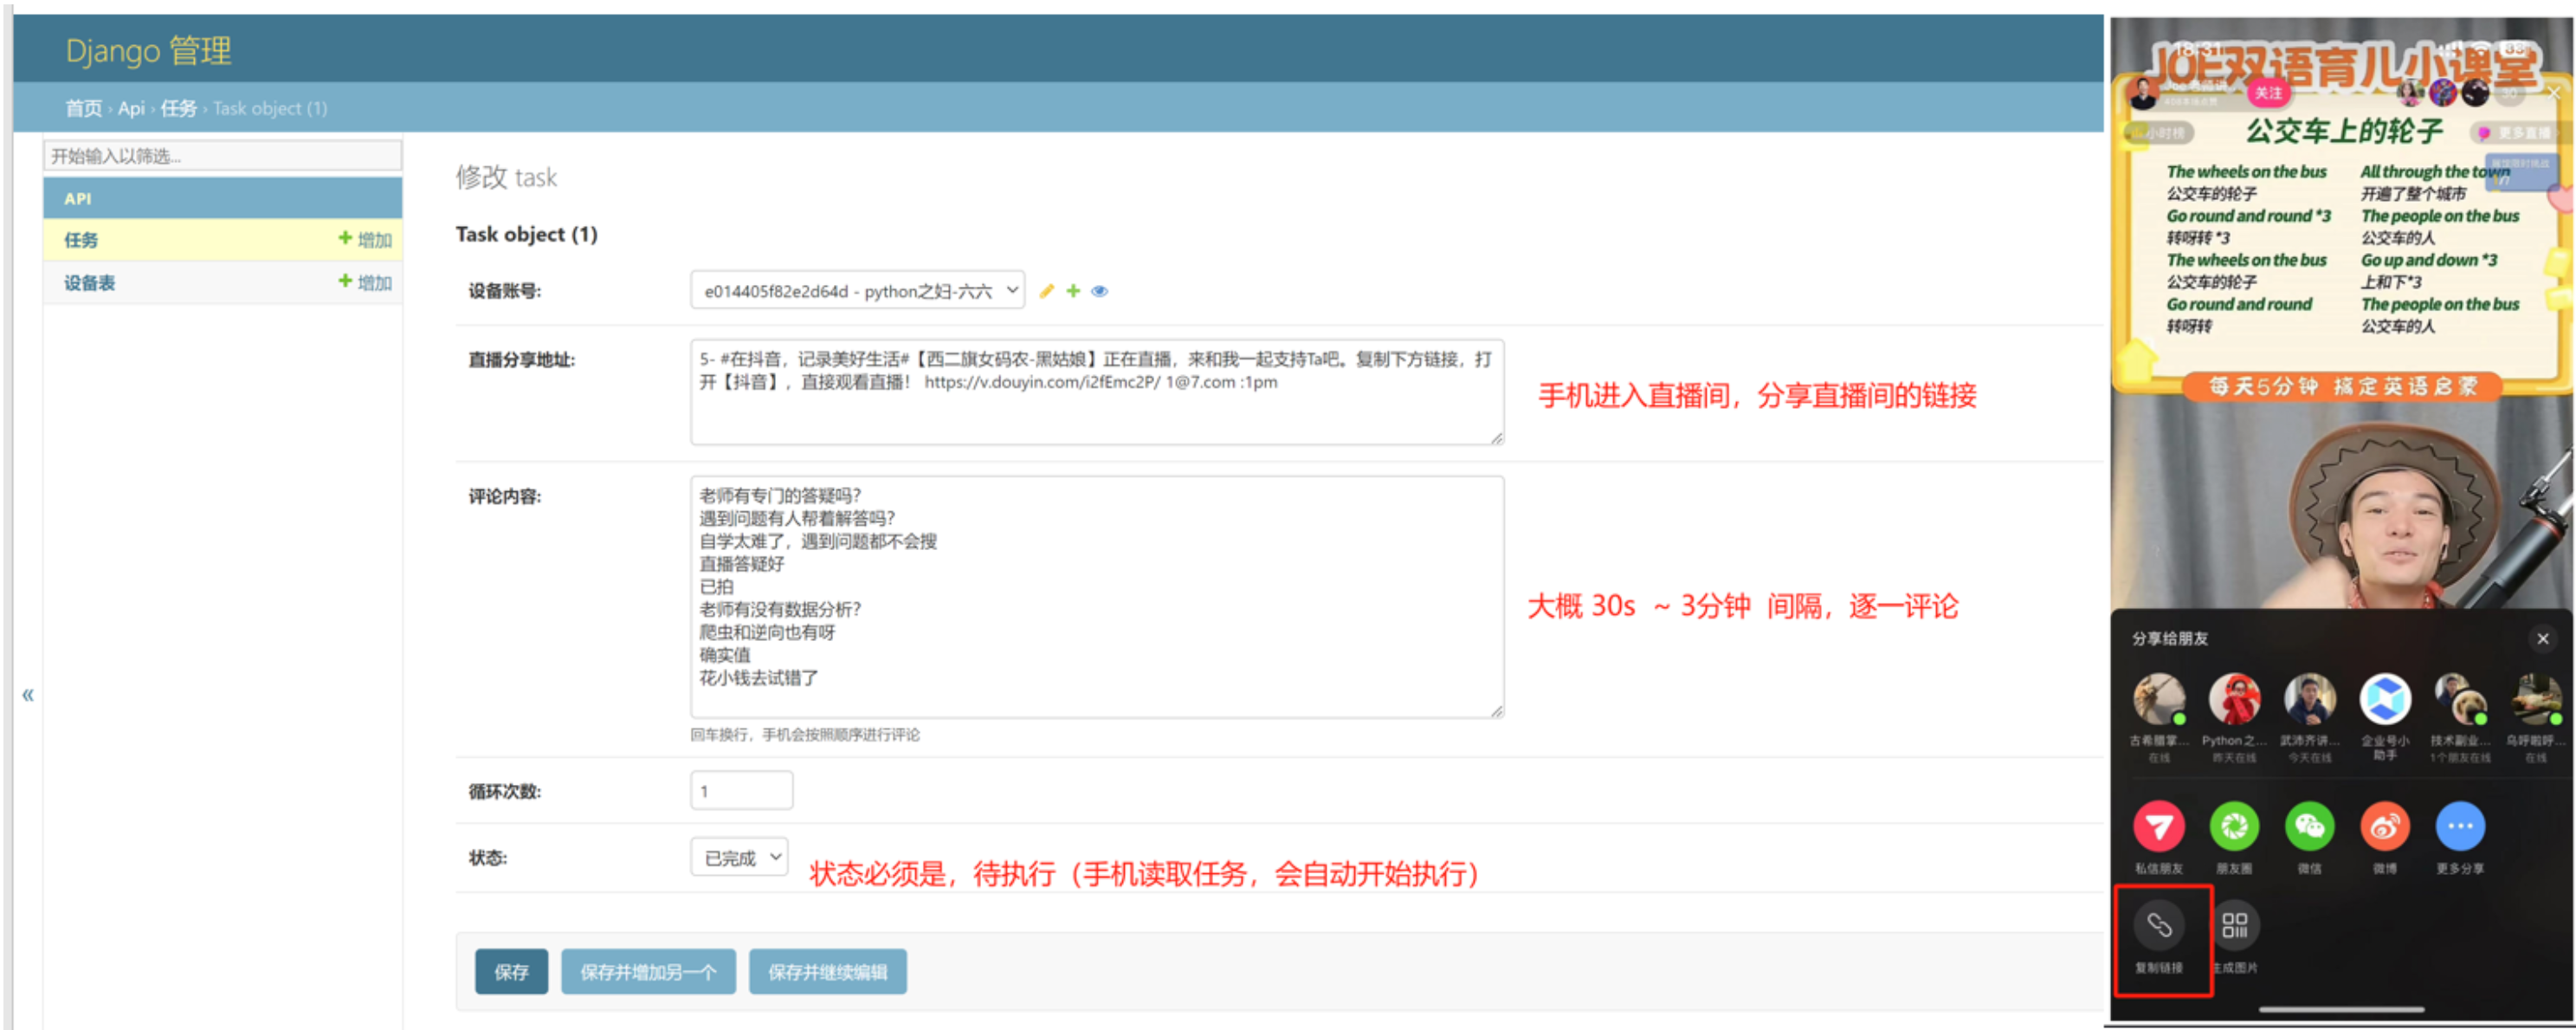
无障碍部署
day33 项目部署

本质四个步骤:
-
租个服务器(含公网ip)
-
代码上传到服务器
-
安装环境以来
-
启动程序
1.云服务器
1.1 购买
在阿里云、腾讯云或其他平台 购买一台云服务器(选便宜的)。
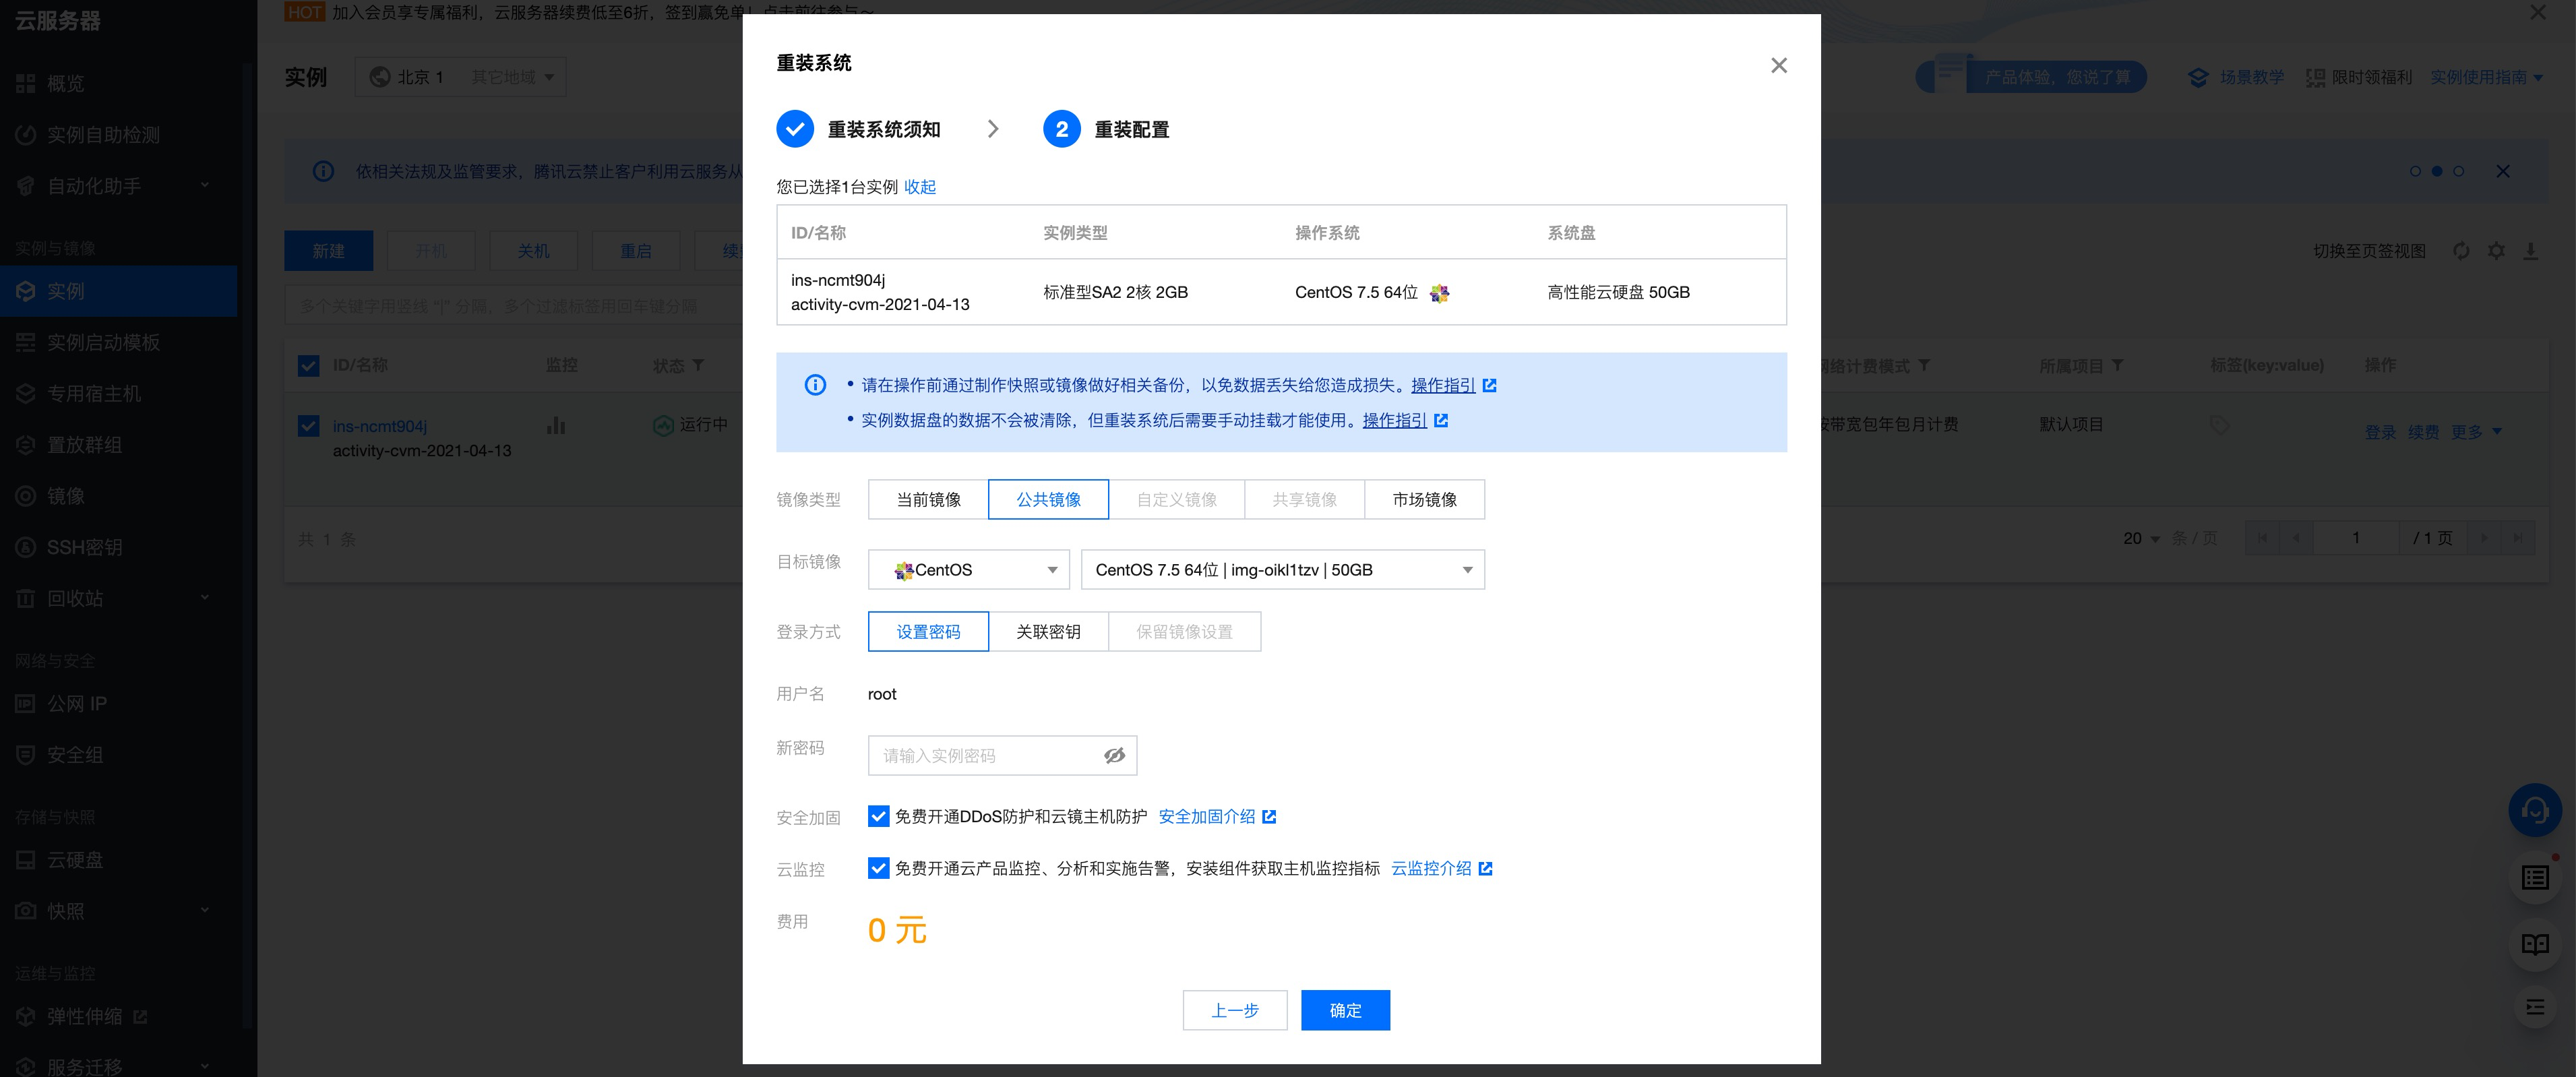
以下是以 腾讯云 + centos 7.5 操作系统来进行操作。
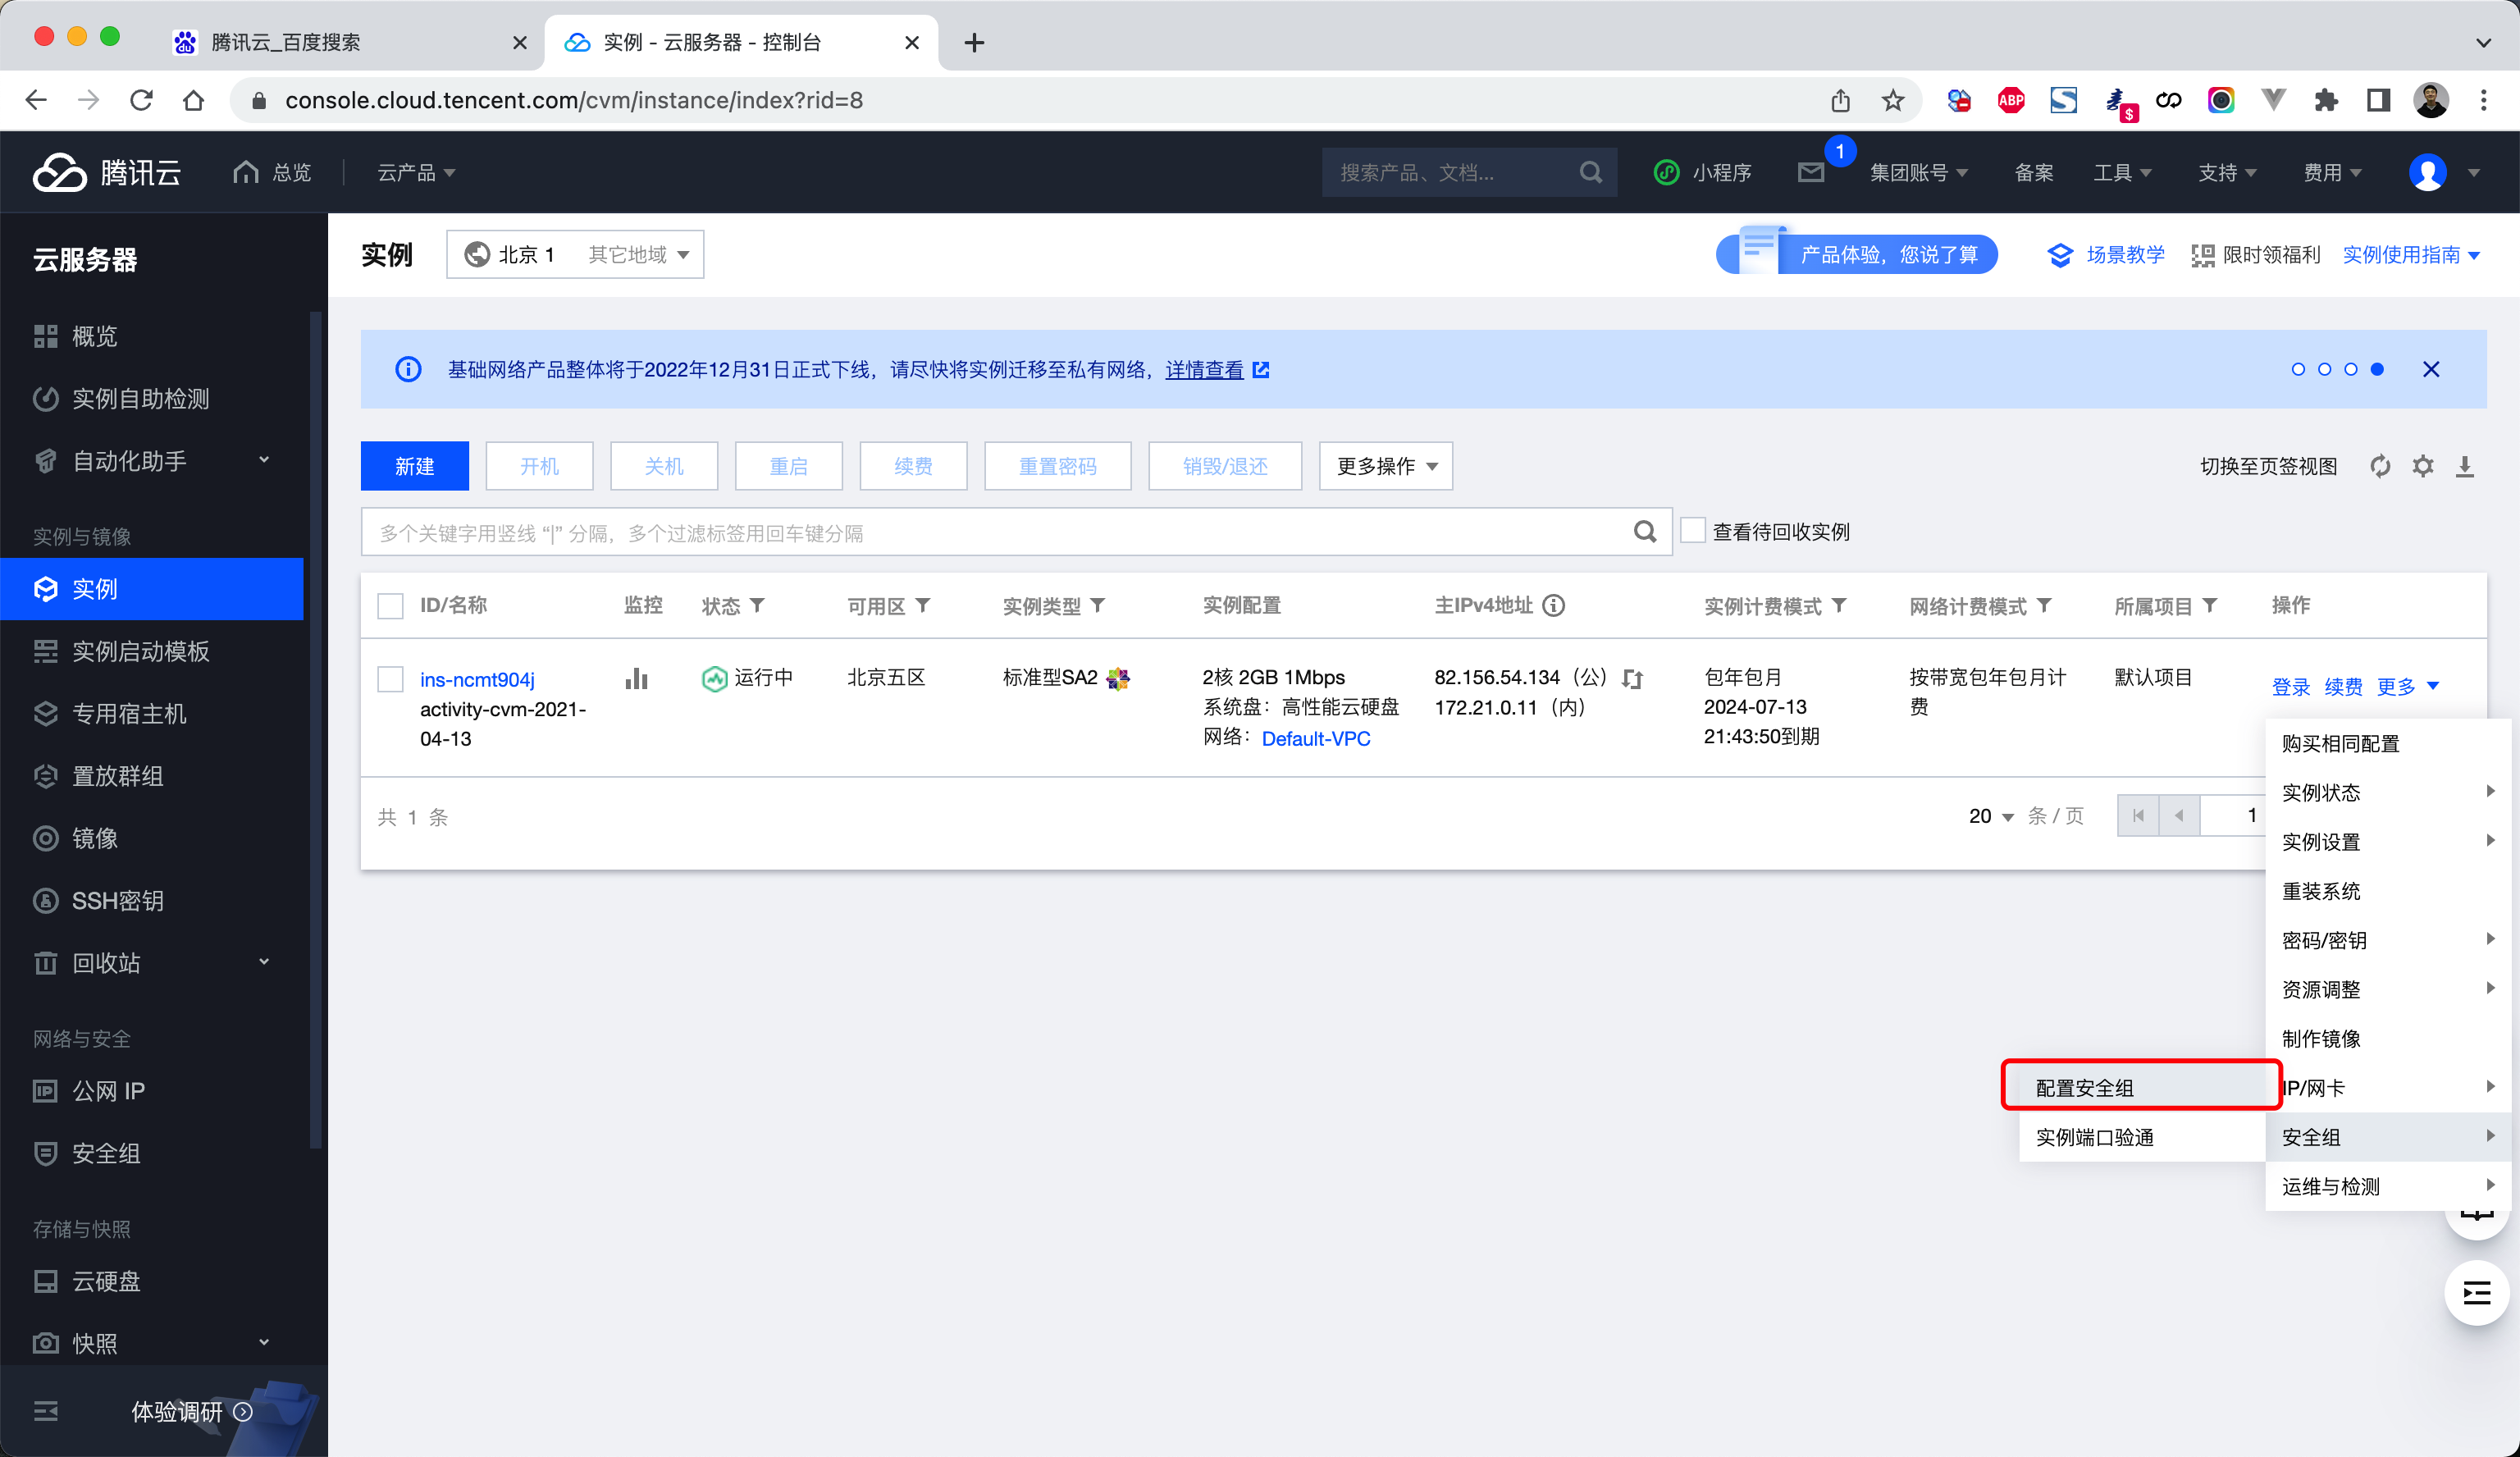
请记住自己的公网IP,后续用户访问和我们远程登录时,均使用这个IP:
82.156.54.134
-账号:root
-密码:root!2345

-[我们]自己电脑远程登录上服务器,在服务器安装各种服务+代码+启动
-[用户]访问程序

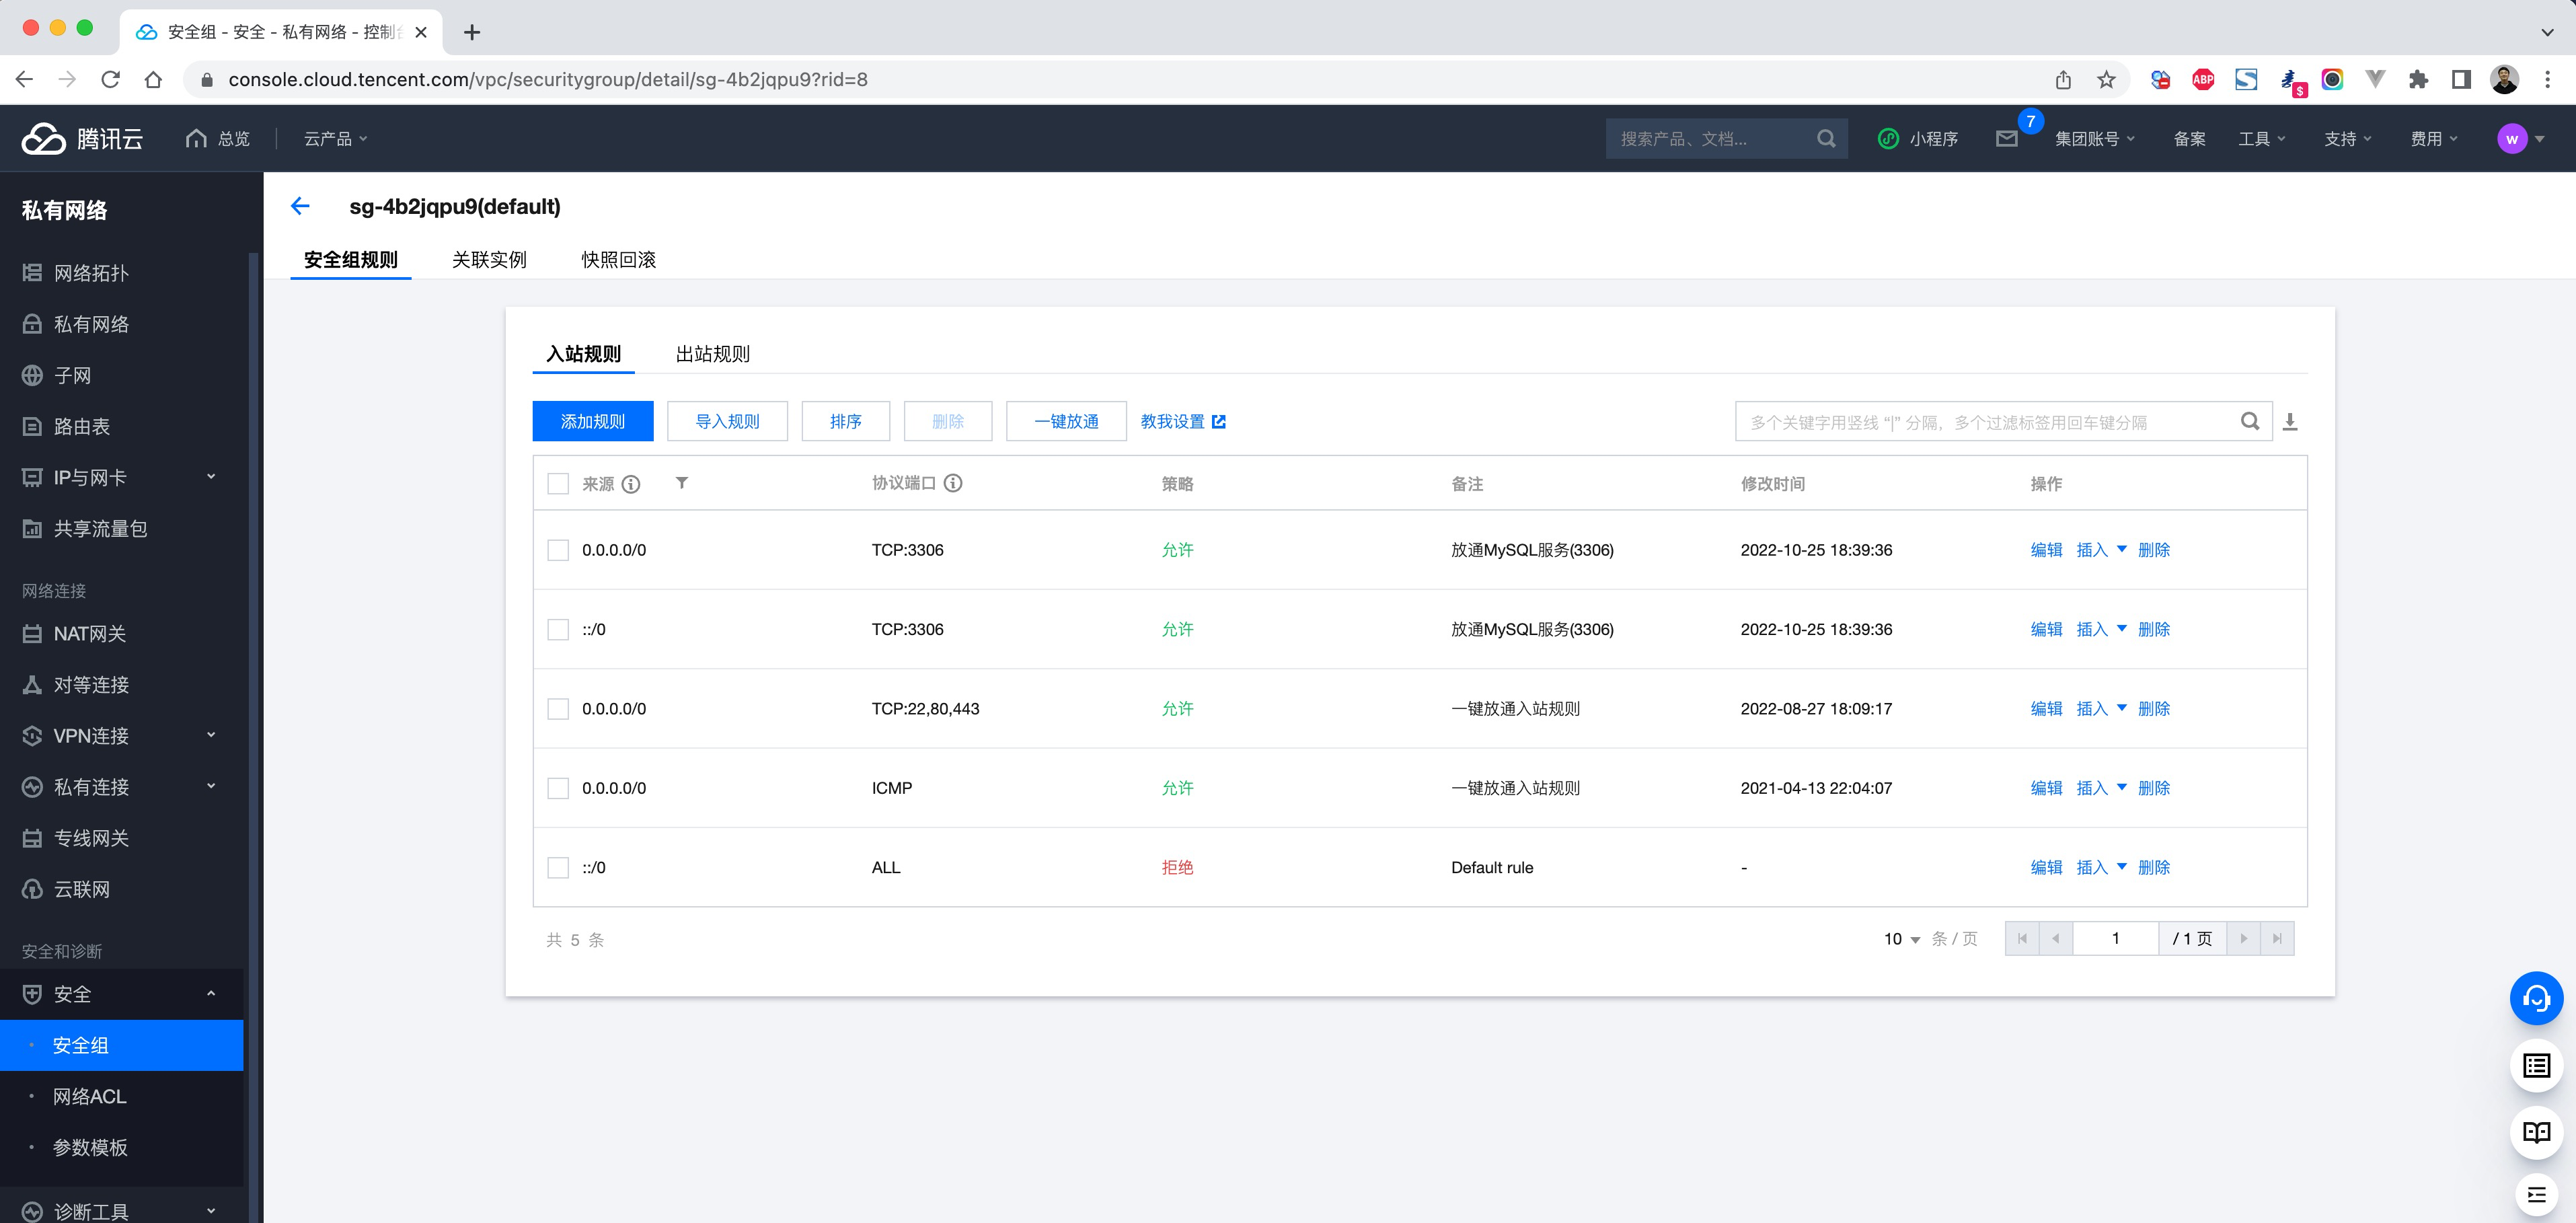
当购买成功且安装好操作系统之后,请先配置安全组:
1.2 连接操作
后续部署时,需要对服务器进行操作,哪我们必须能登录上服务器才行。
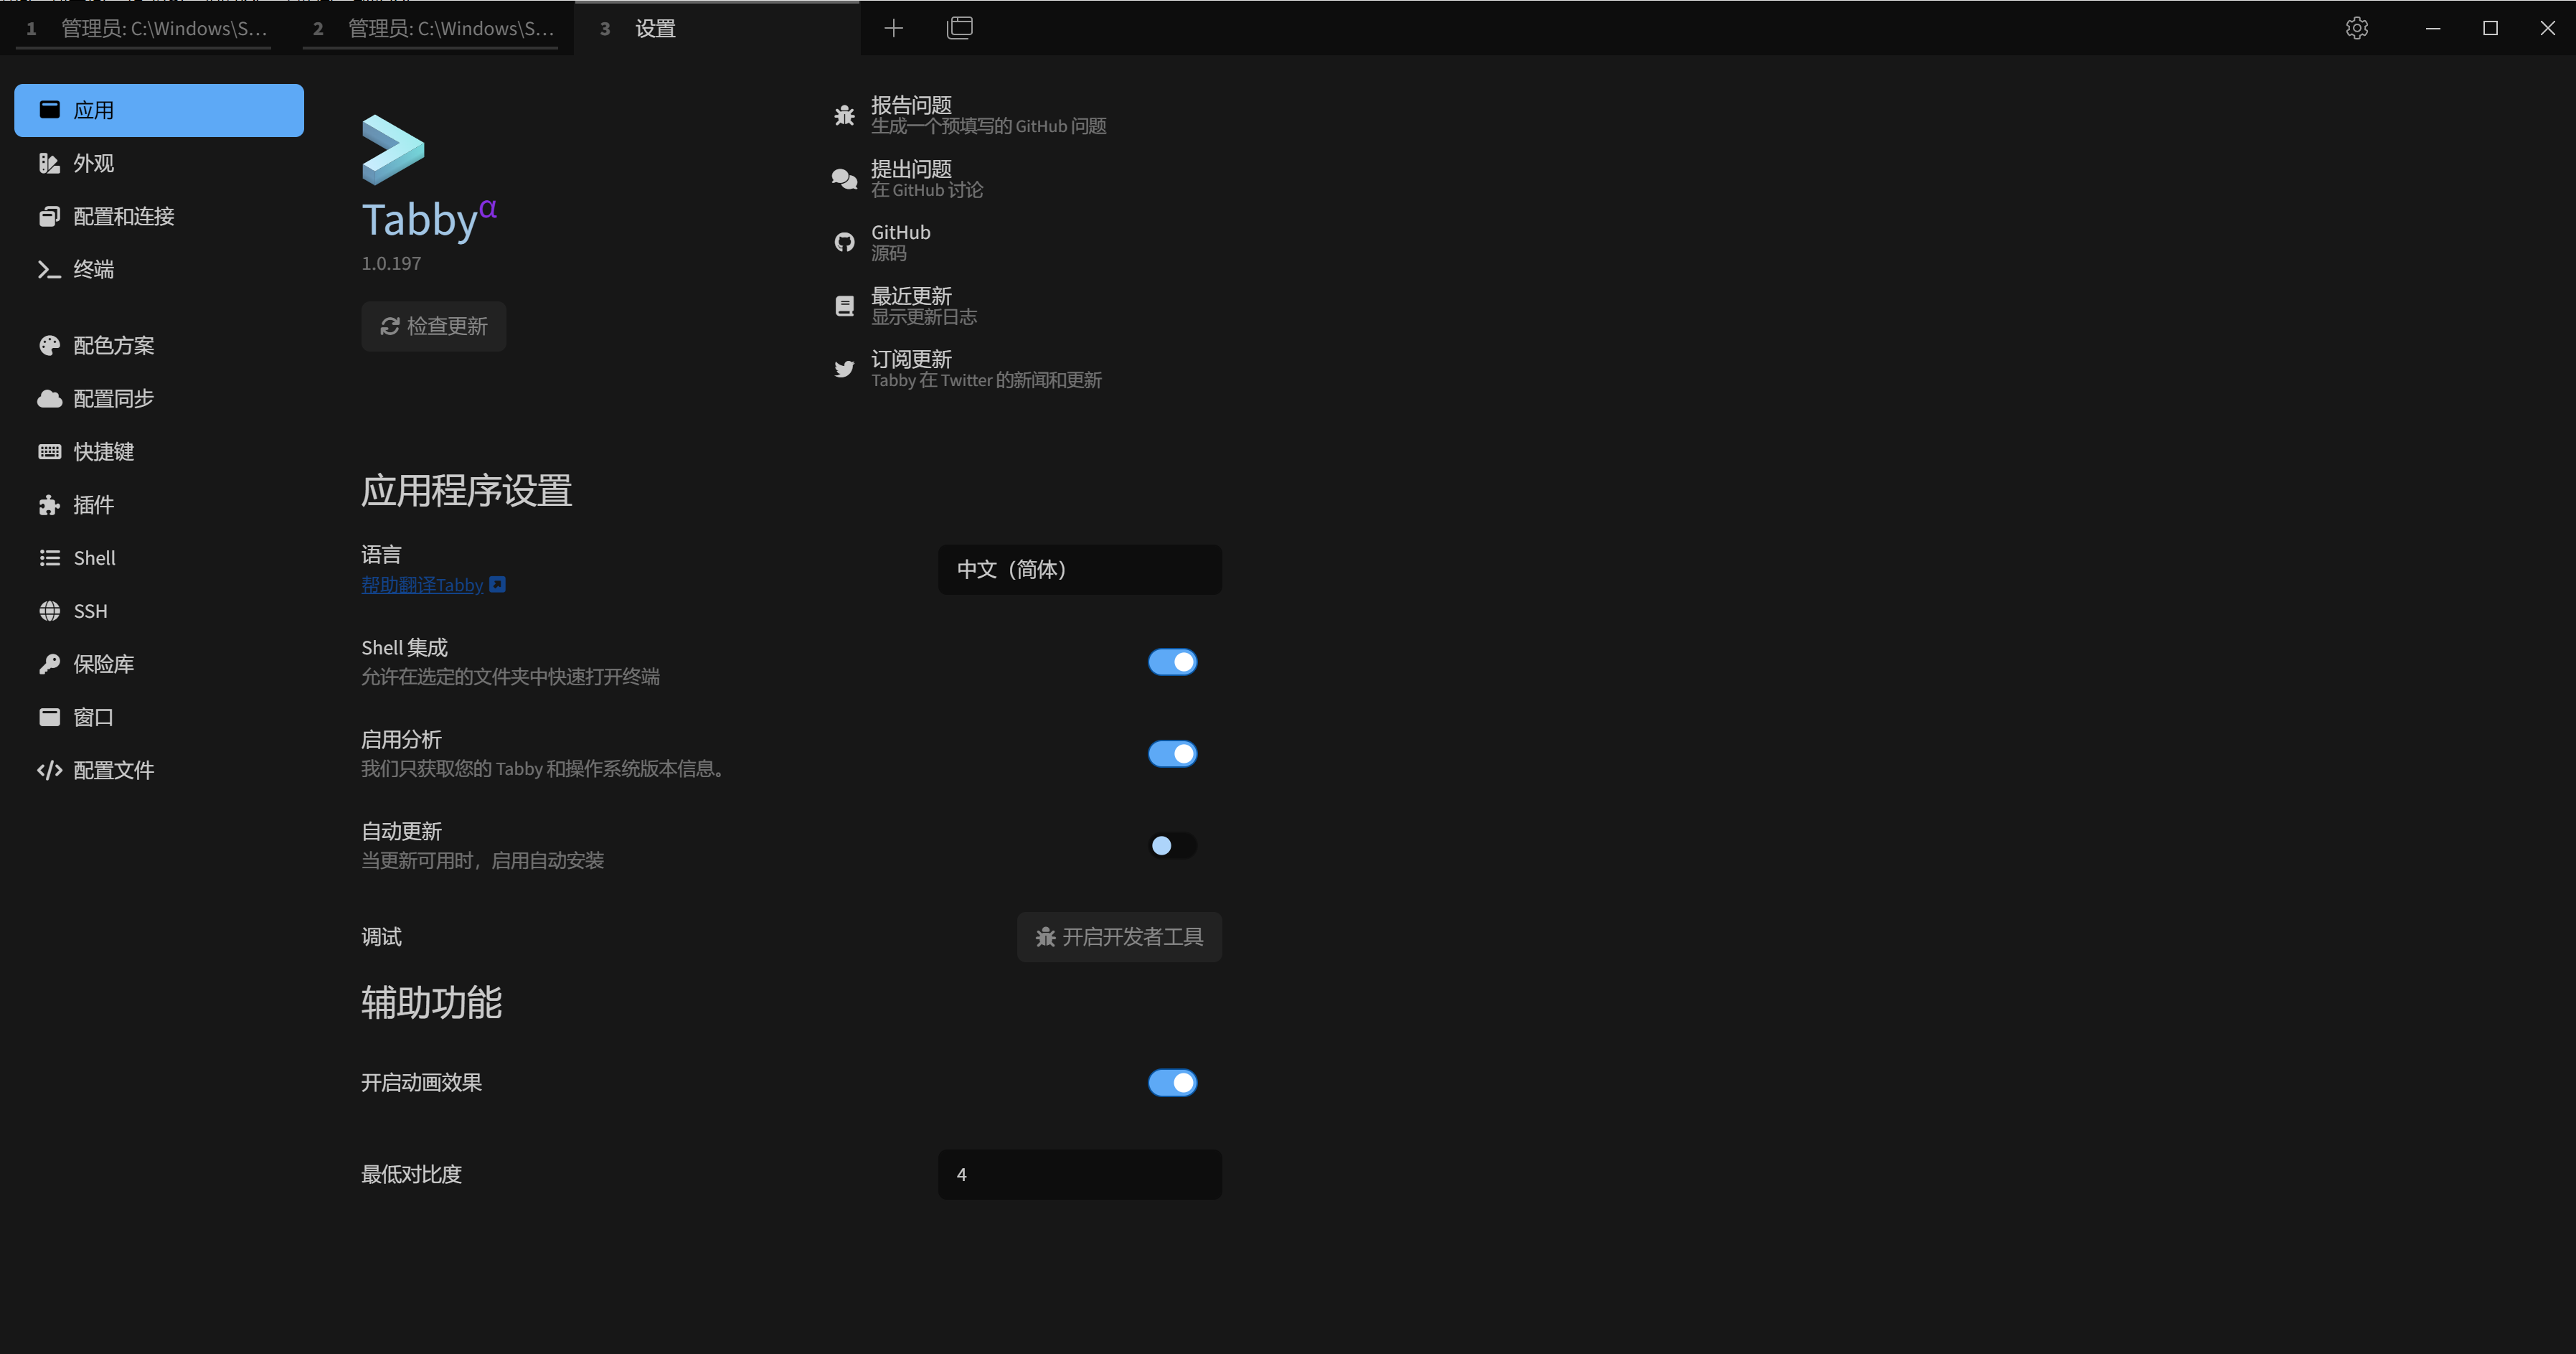
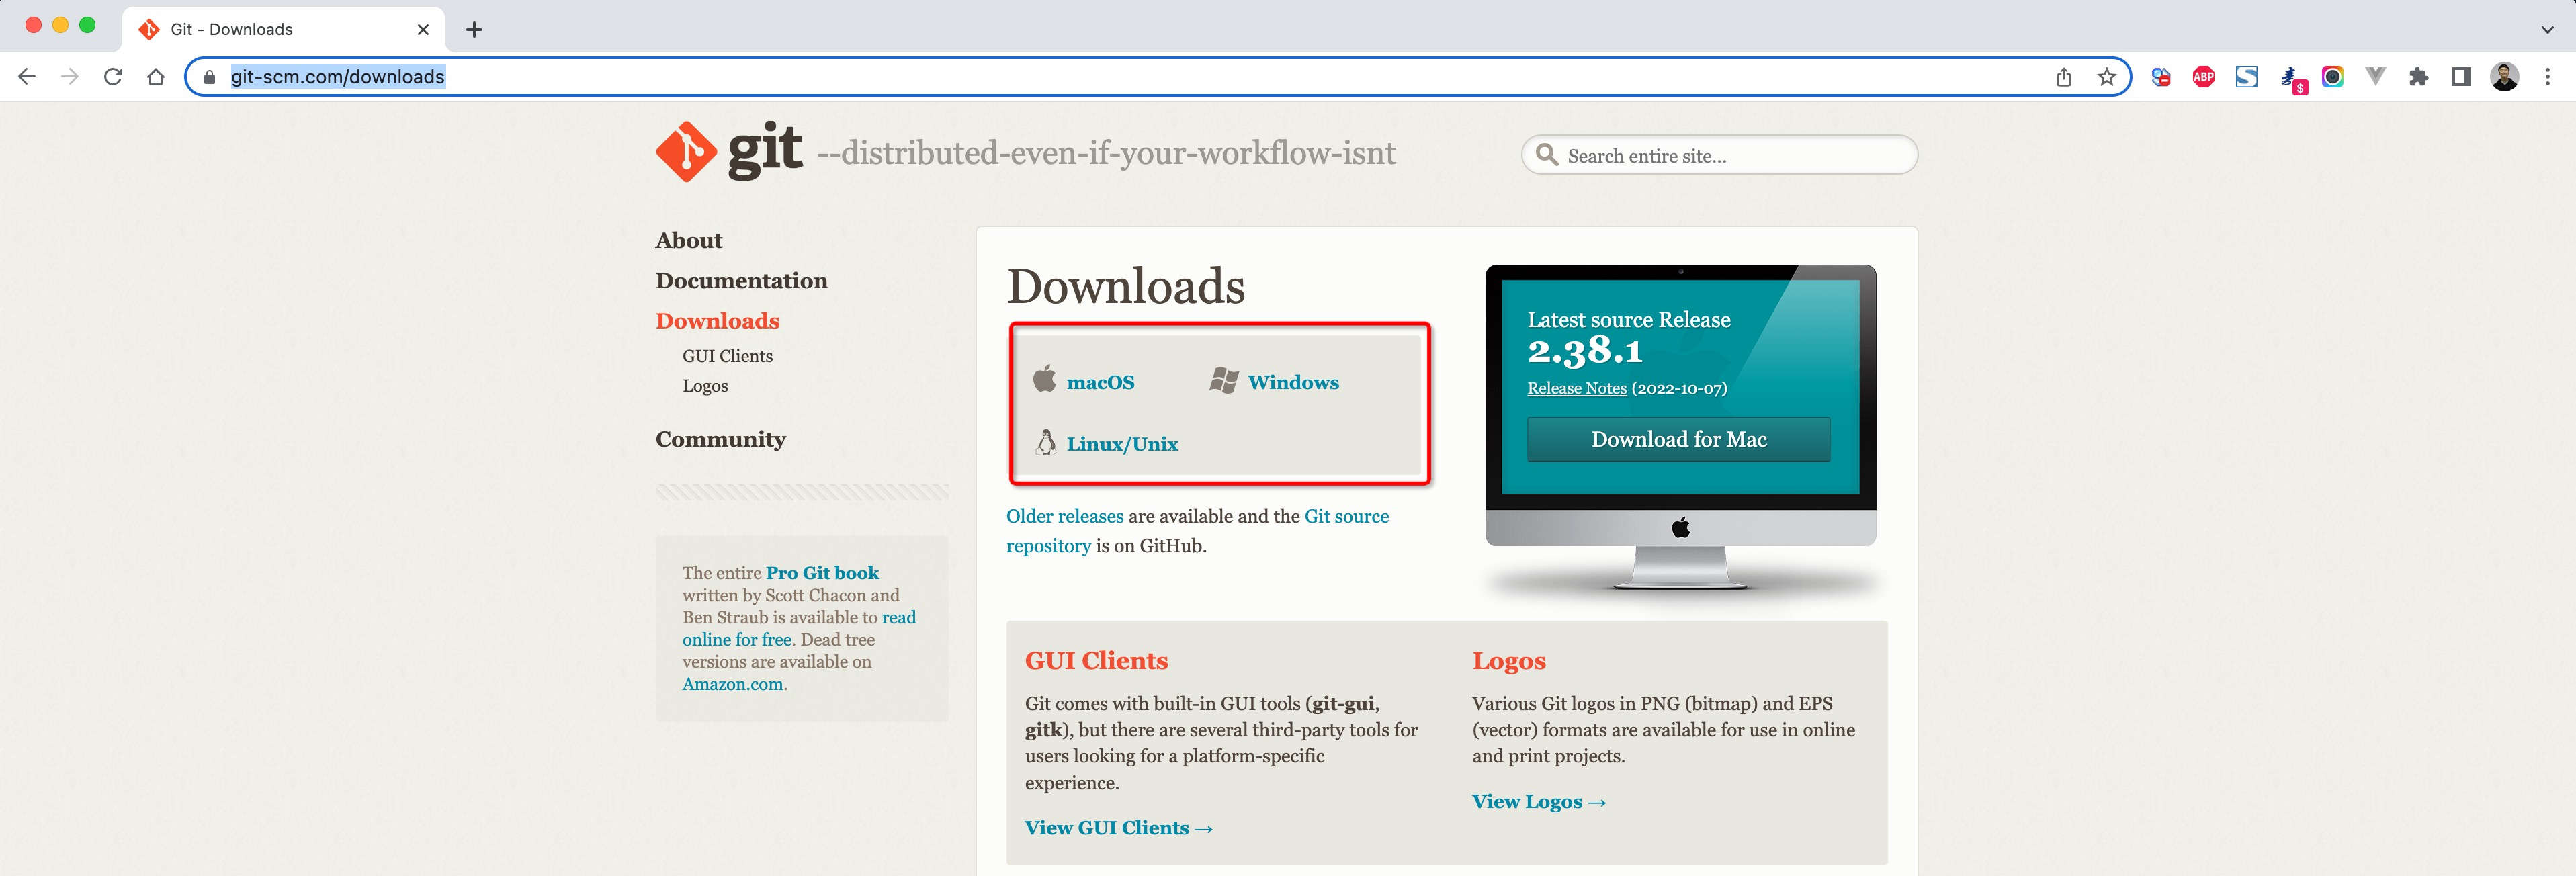
推荐:Tabby(支持win、mac)
https://github.com/Eugeny/tabby
https://github.com/Eugeny/tabby/releases

2.代码同步
上传代码的方式有很多种,例如:FTP工具、scp命令、rsync服务、svn等,不过目前公司主流的都是使用git+代码托管平台。

- 本地电脑,安装git并使用git命令上传代码。
- 代码仓库,创建仓库。
- 服务器,安装git并使用git命令获取最新代码。
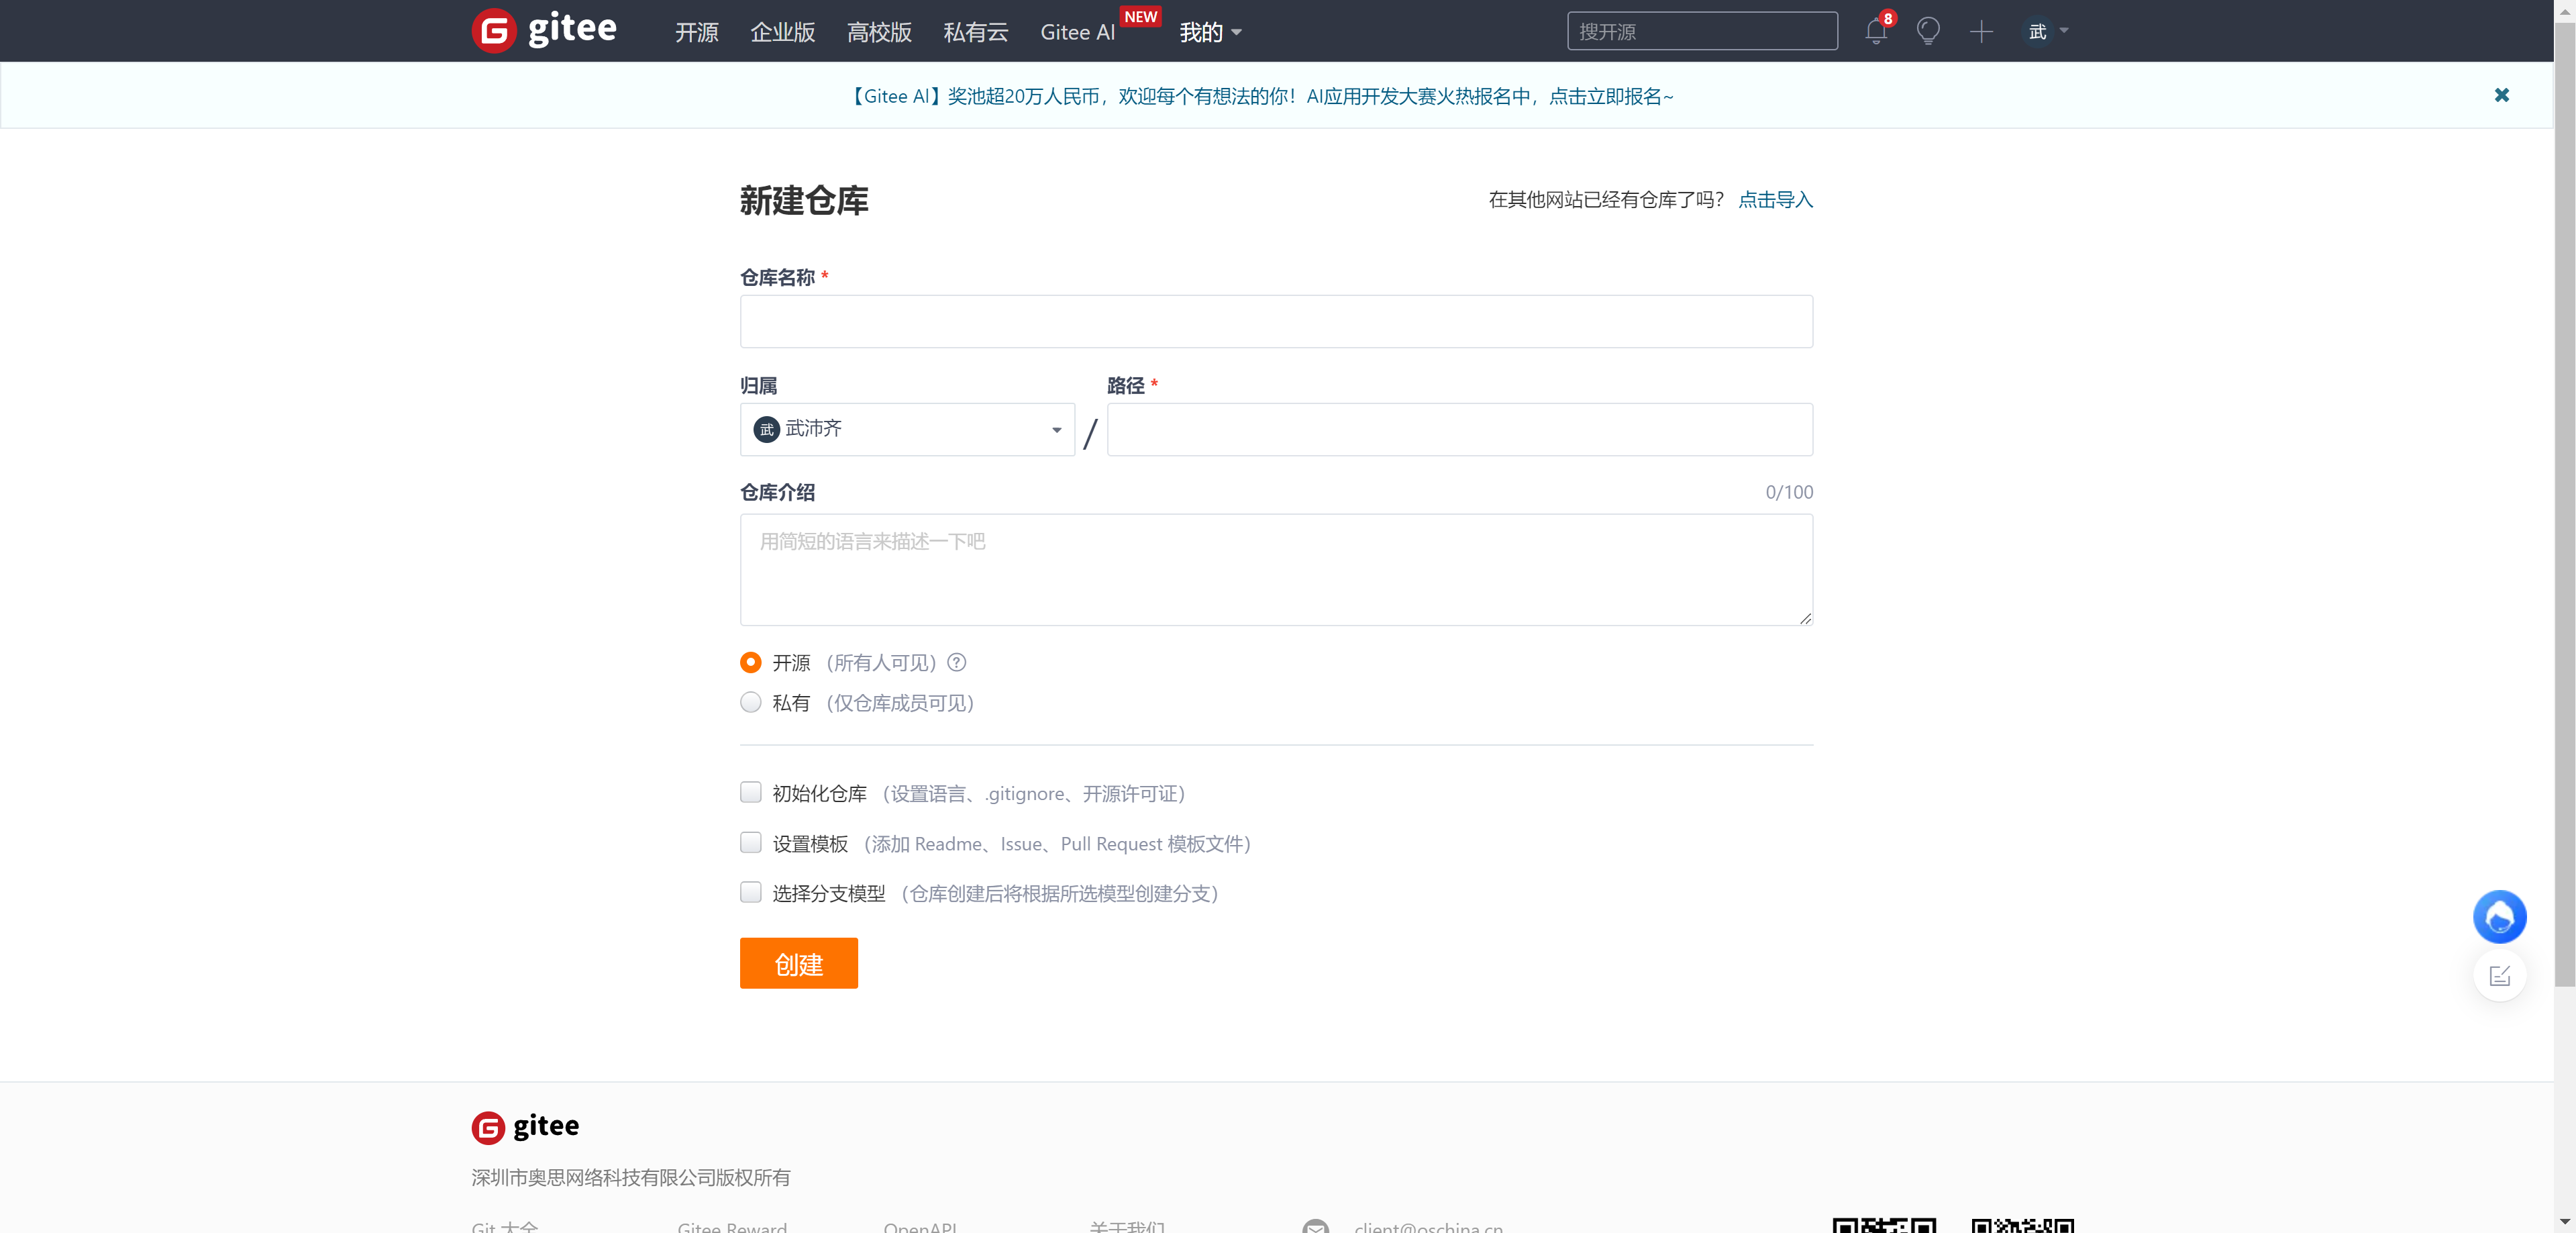
2.1 代码托管

注册成功后,就可以在里面创建代码仓库:
2.2 本地上传
在本地电脑上本质上需要执行如下步骤:
-
全局配置
git config --global user.name "武沛齐" git config --global user.email "wupeiqi@live.com" -
进入项目目录
-
初始化
git init -
配置远程地址
git remote add origin https://gitee.com/wupeiqi/xxxxx.git -
本地版本提交
git add . git commit -m '提交说明...' -
提交到远程仓库
git push origin master
-
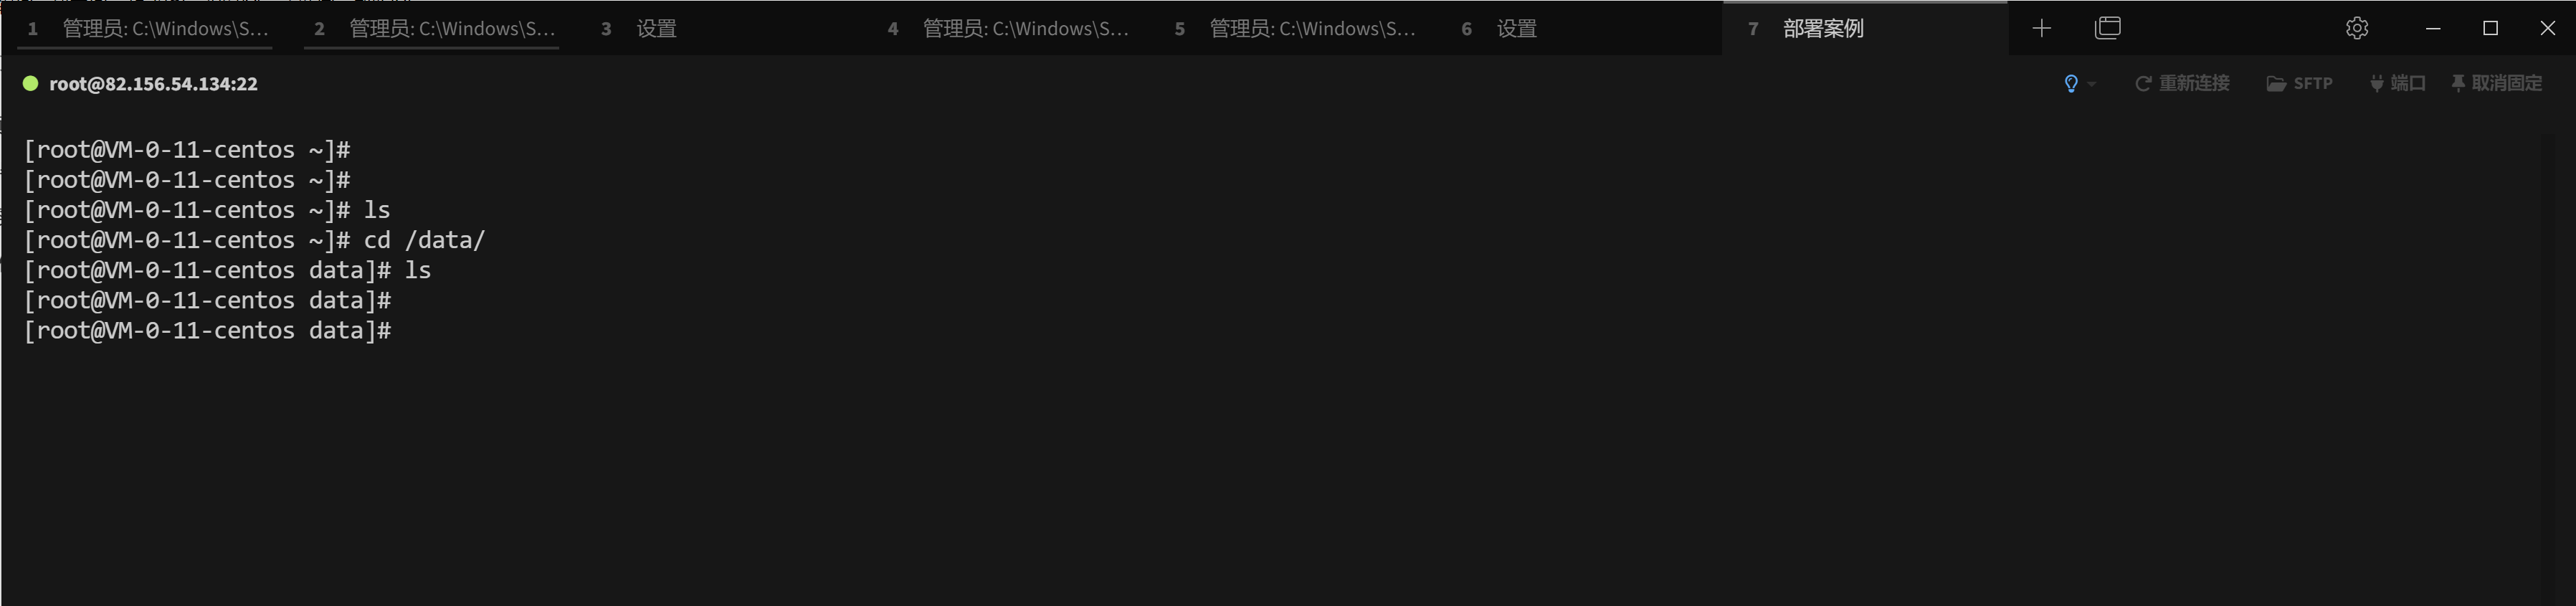
2.3 服务器同步
登录线上服务器并获取代码,本质上需要以下三个步骤:
-
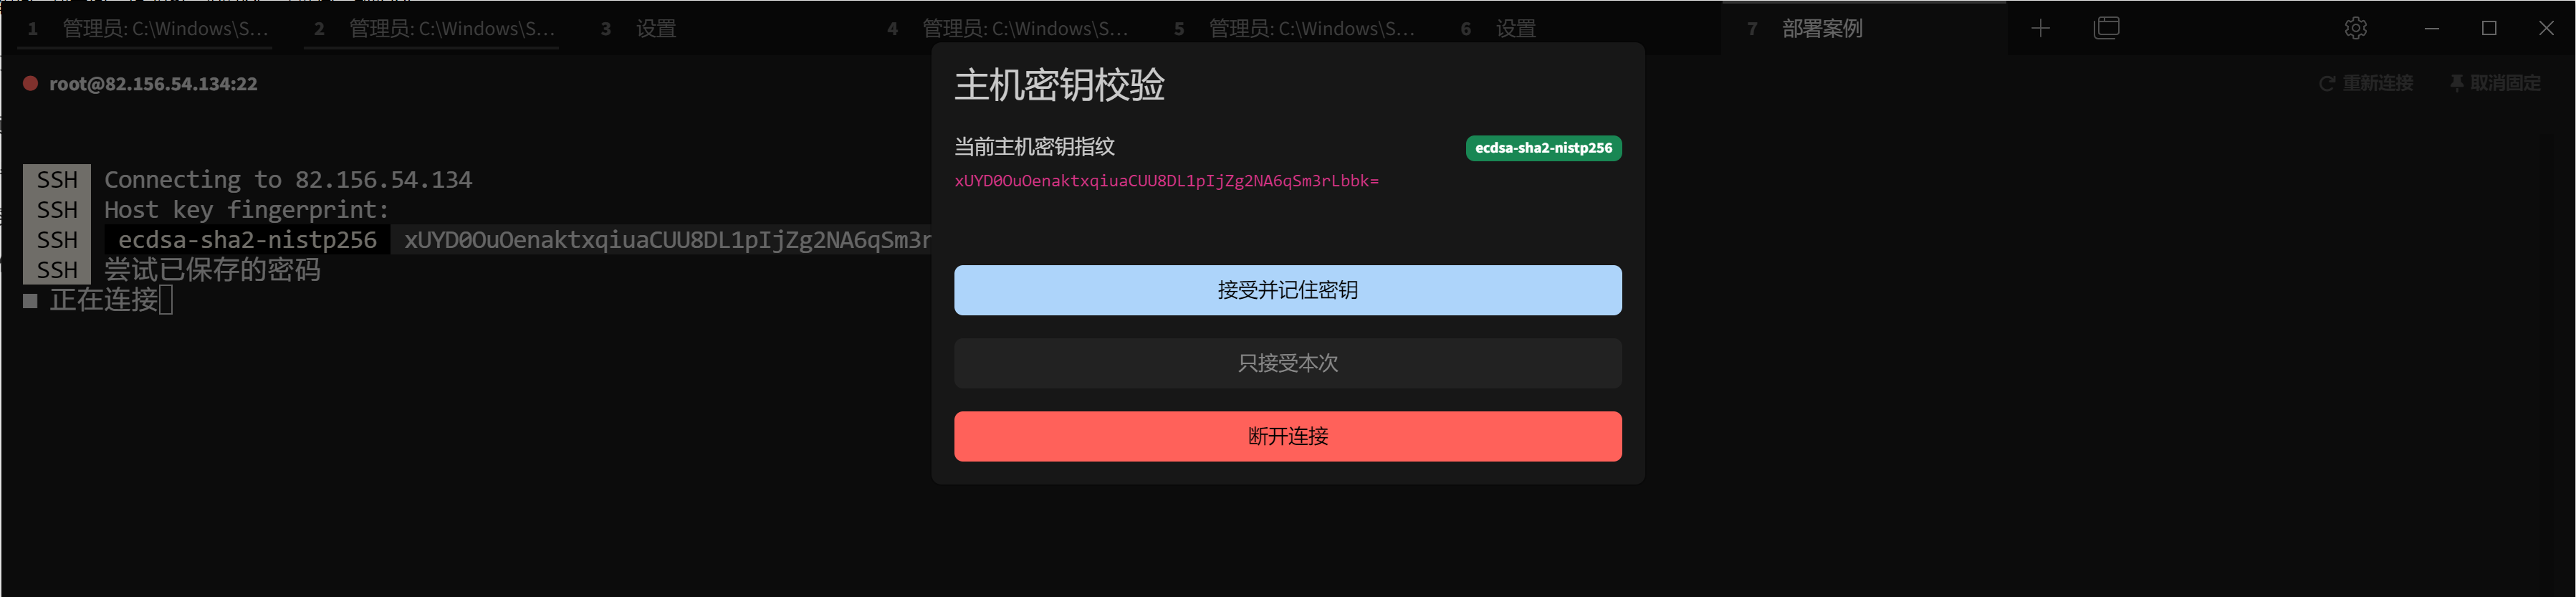
登录服务器
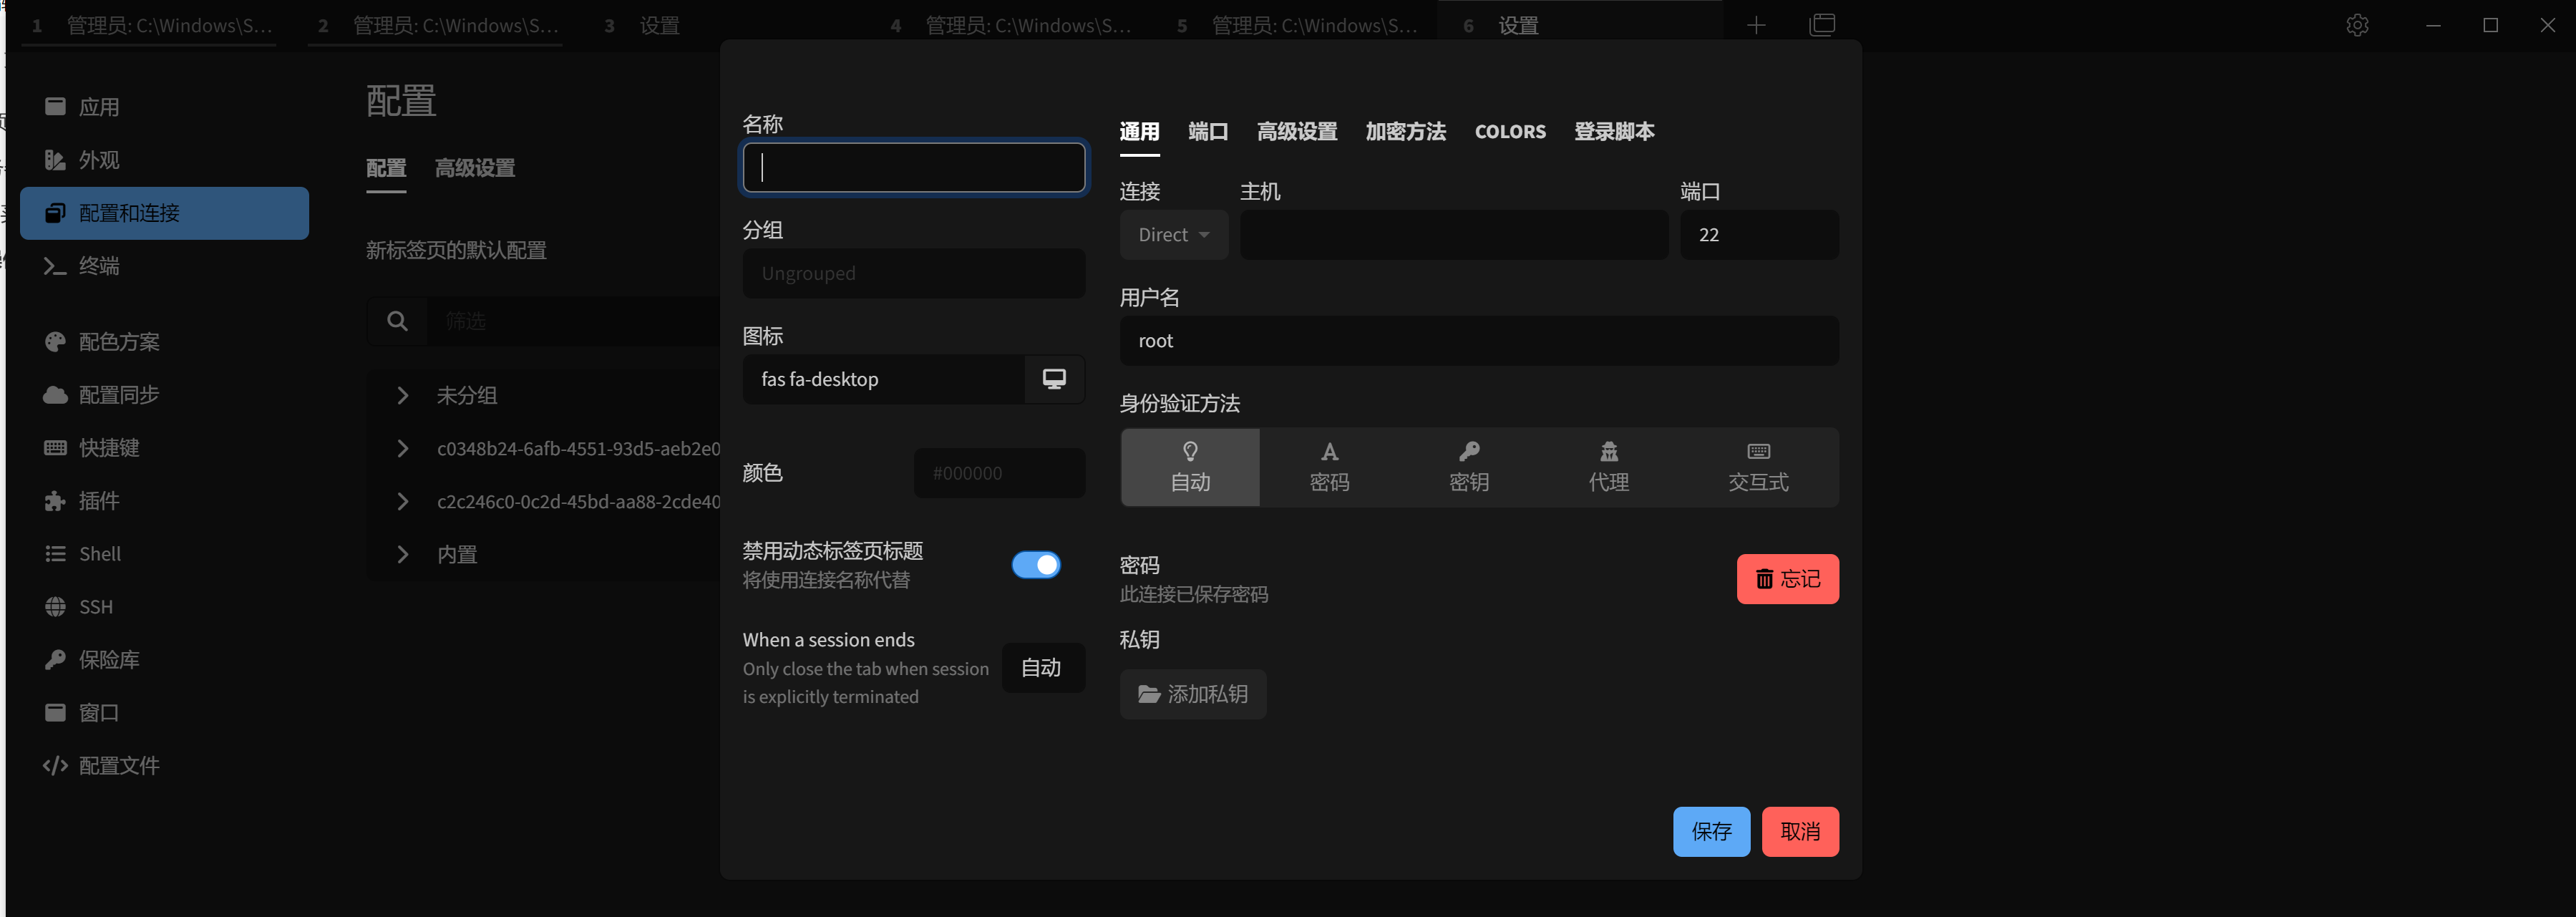
- 云平台网页版:支持登录并进行命令交互(不便捷,不推荐)。 - SSH工具,连接比较方便(推荐) - win:xshell、SecureCRT - mac:iTerm2 注意:如果使用SSH工具连接远程服务器的话,需要在云平台的的安全组开启22端口权限。 -
安装git
yum install git -y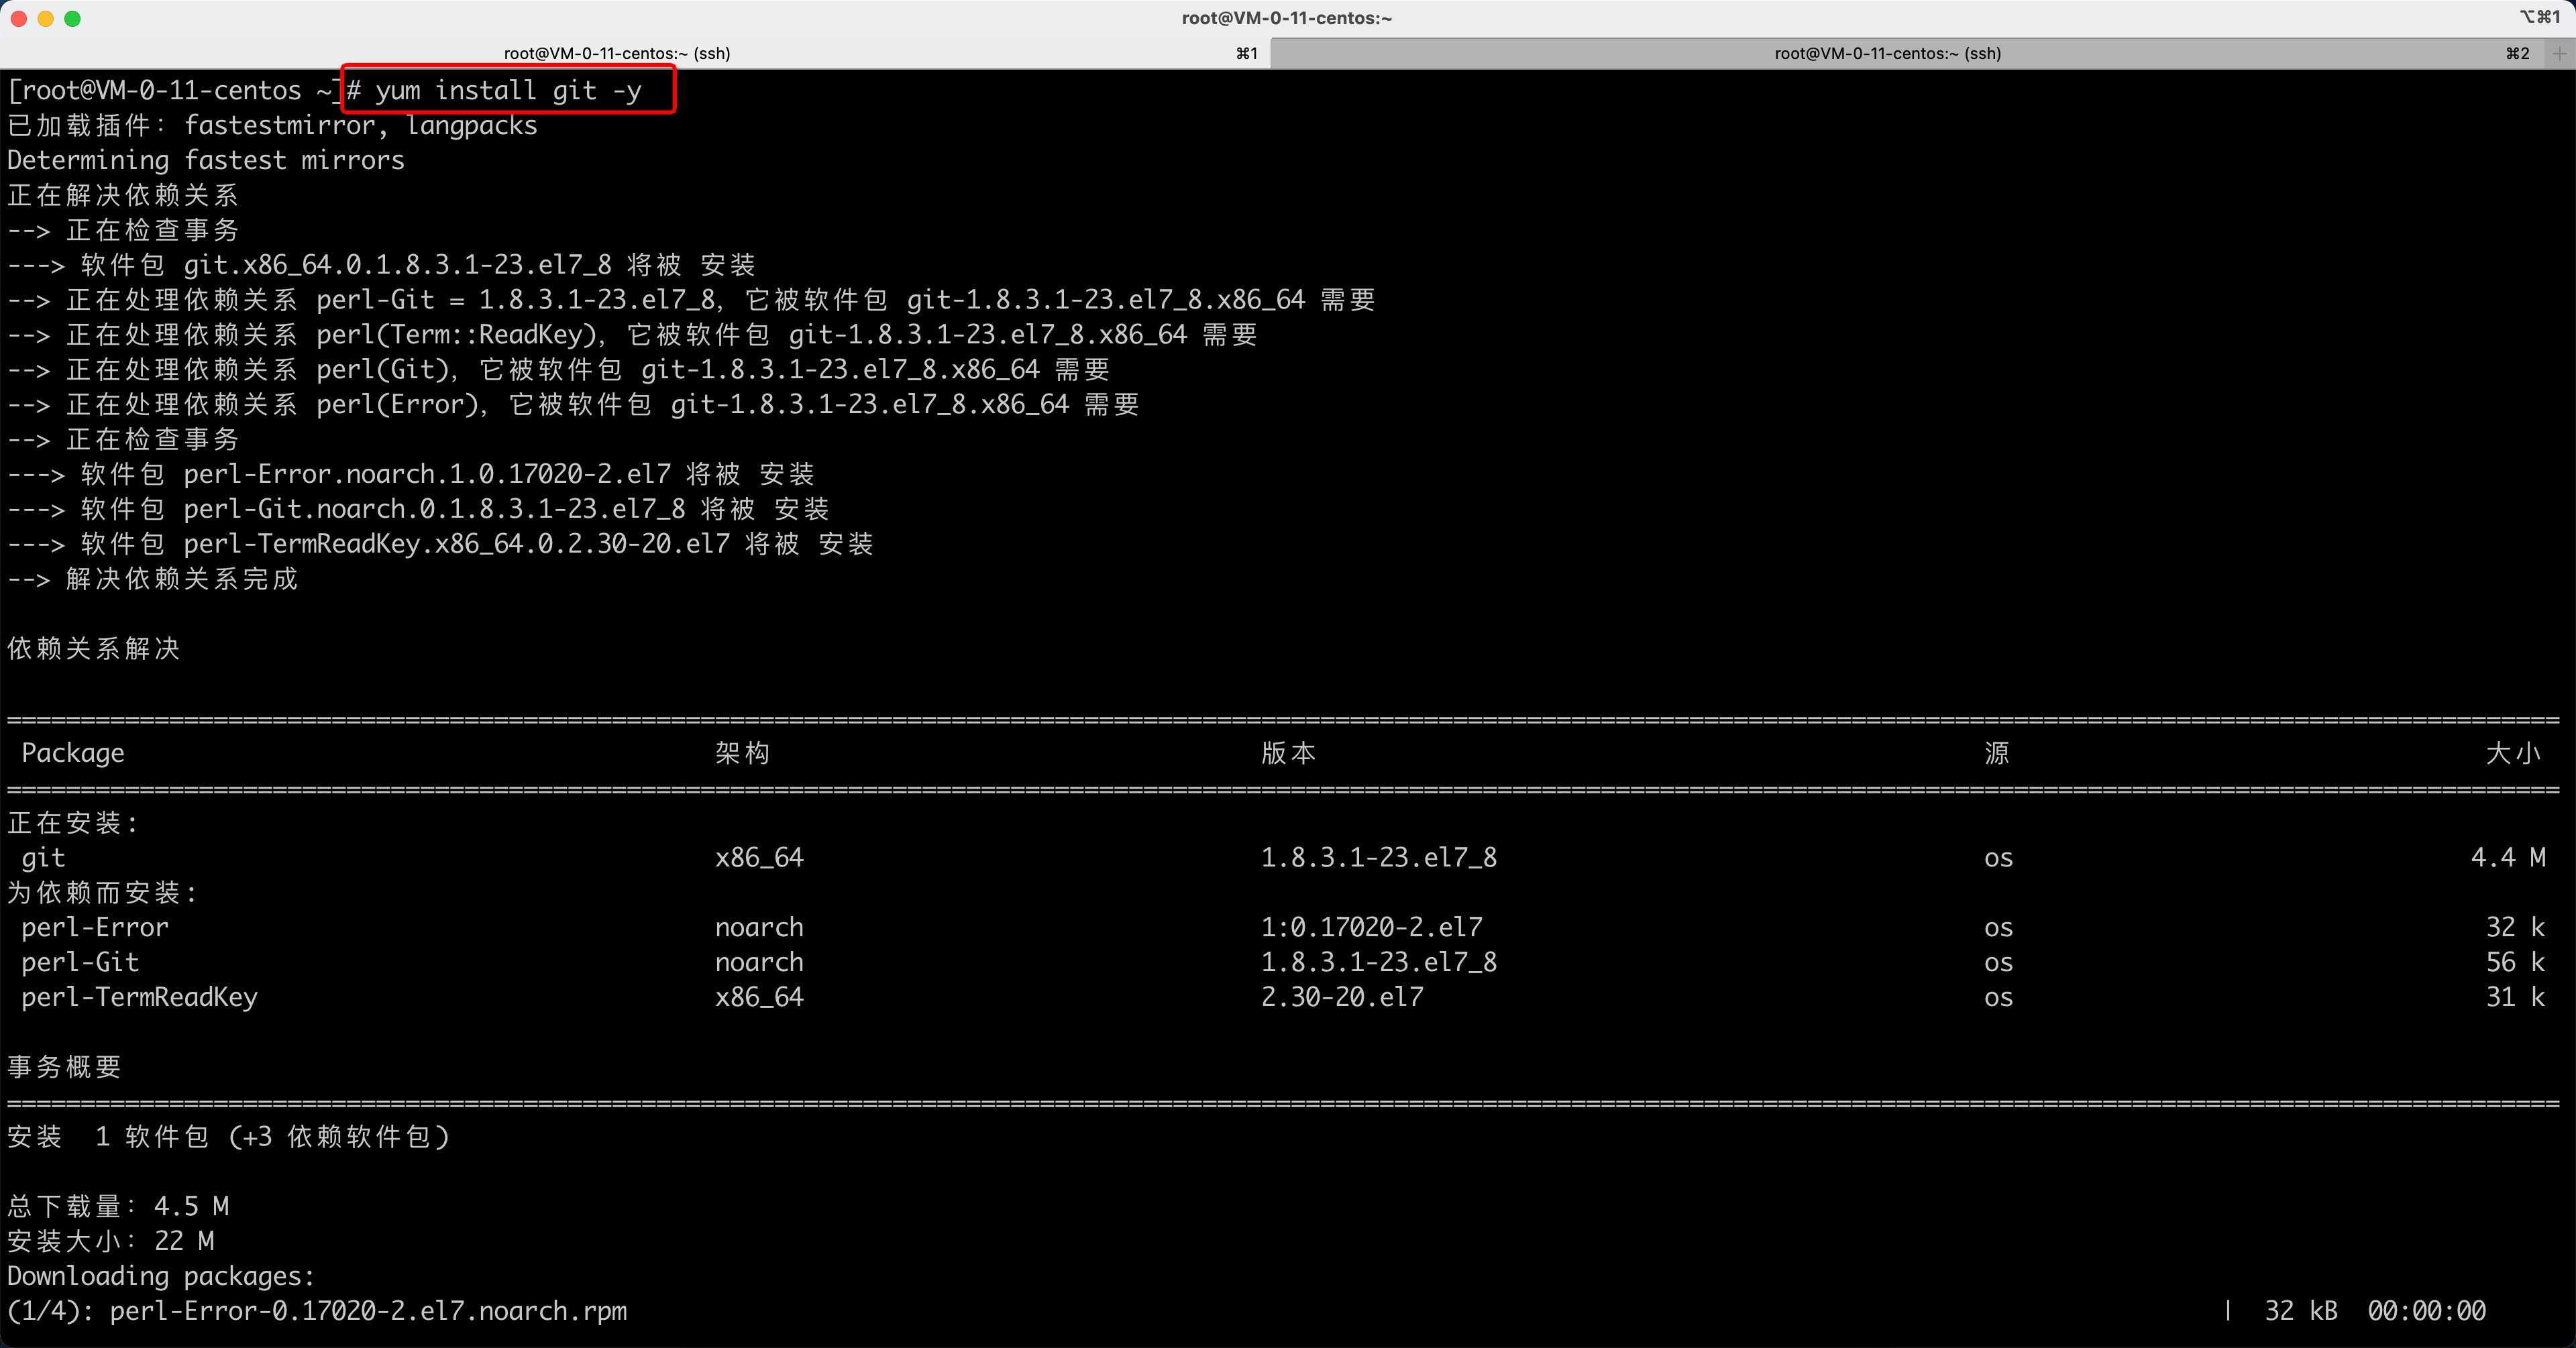
-
进入项目克隆或拉取代码
基于用户名和密码,需要输入用户和密码
	git clone https://gitee.com/wupeiqi/xxxxx.git

基于用户名和密码,直接集成用户和密码
	git clone https://用户名:密码@gitee.com/wupeiqi/xxxxx.git

基于秘钥:
	>>>ssh-keygen -t rsa
	>>>cat ~/.ssh/id_rsa.pub
	>>>拷贝公钥到代码仓库
	>>>git clone git@gitee.com:wupeiqi/xxxxx.git
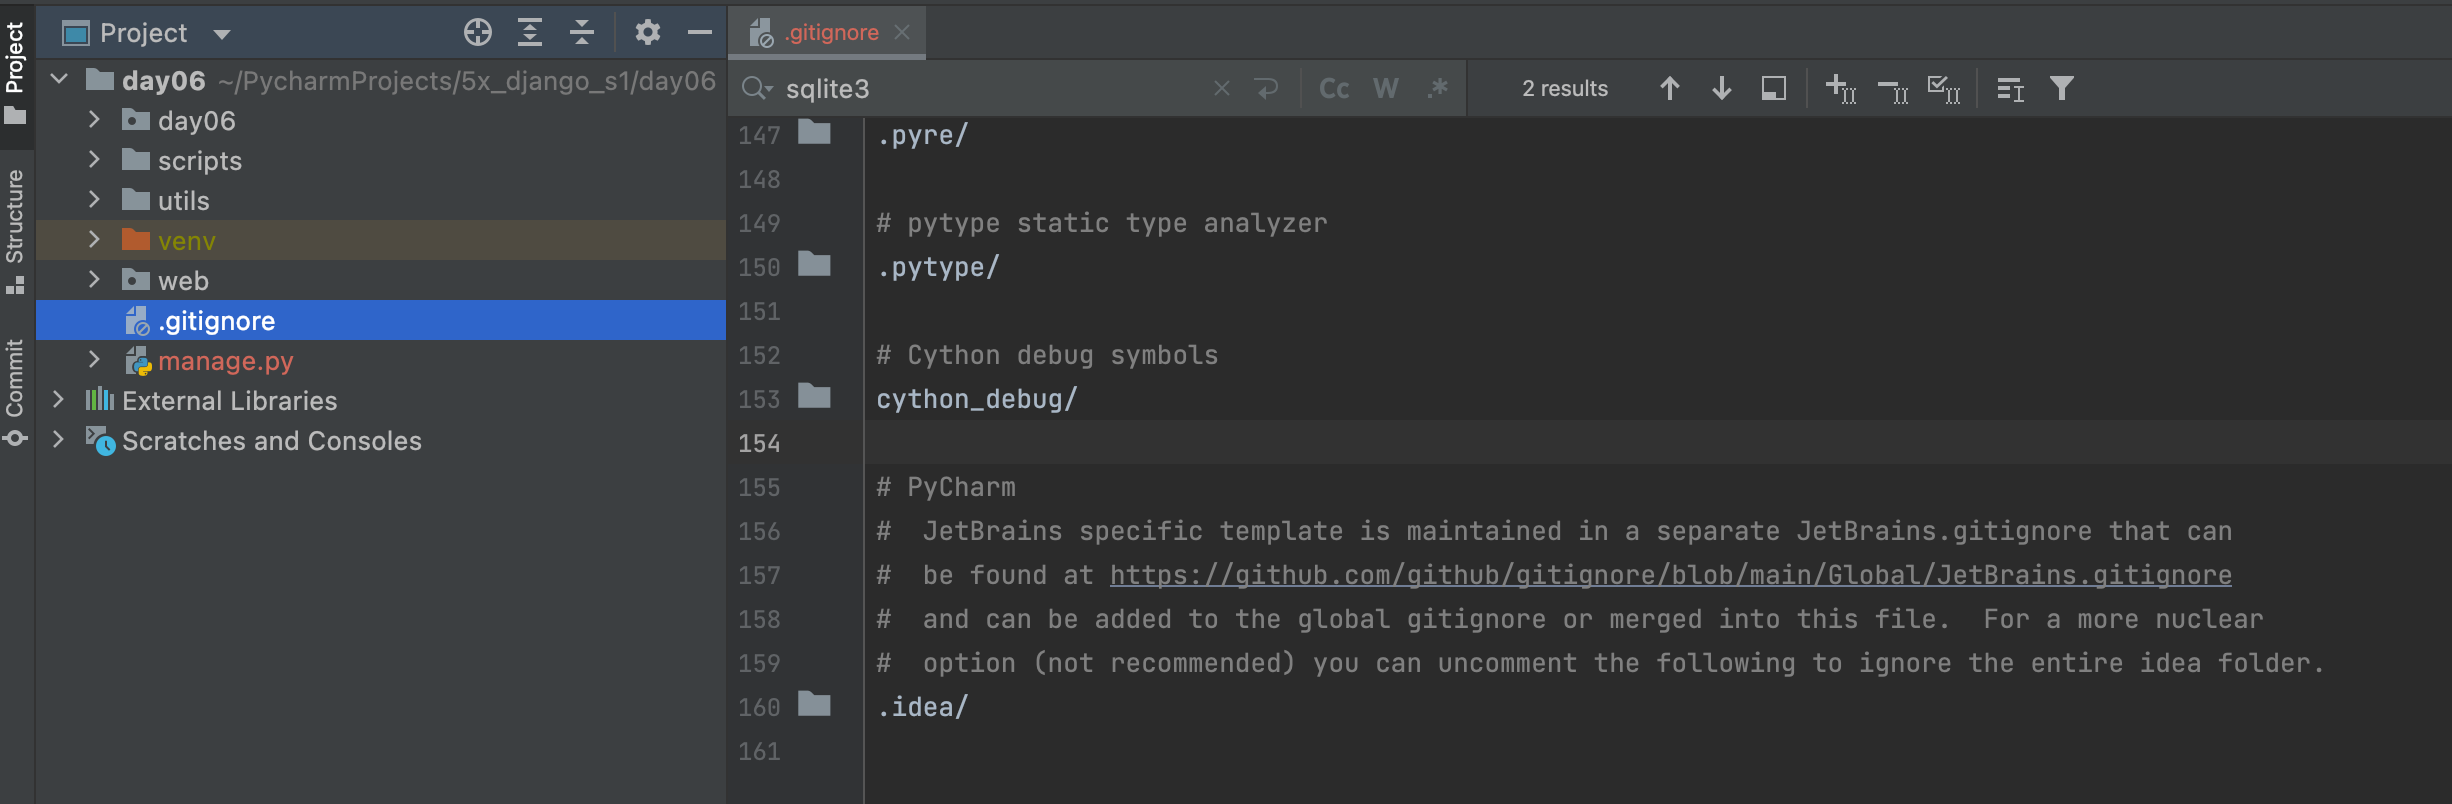
gitignore
在项目中创建一个 .gitignore的文件,在里面写上文件名或文件夹,可以git忽略一些文件,不要进行版本控制。
https://github.com/github/gitignore/blob/main/Python.gitignore
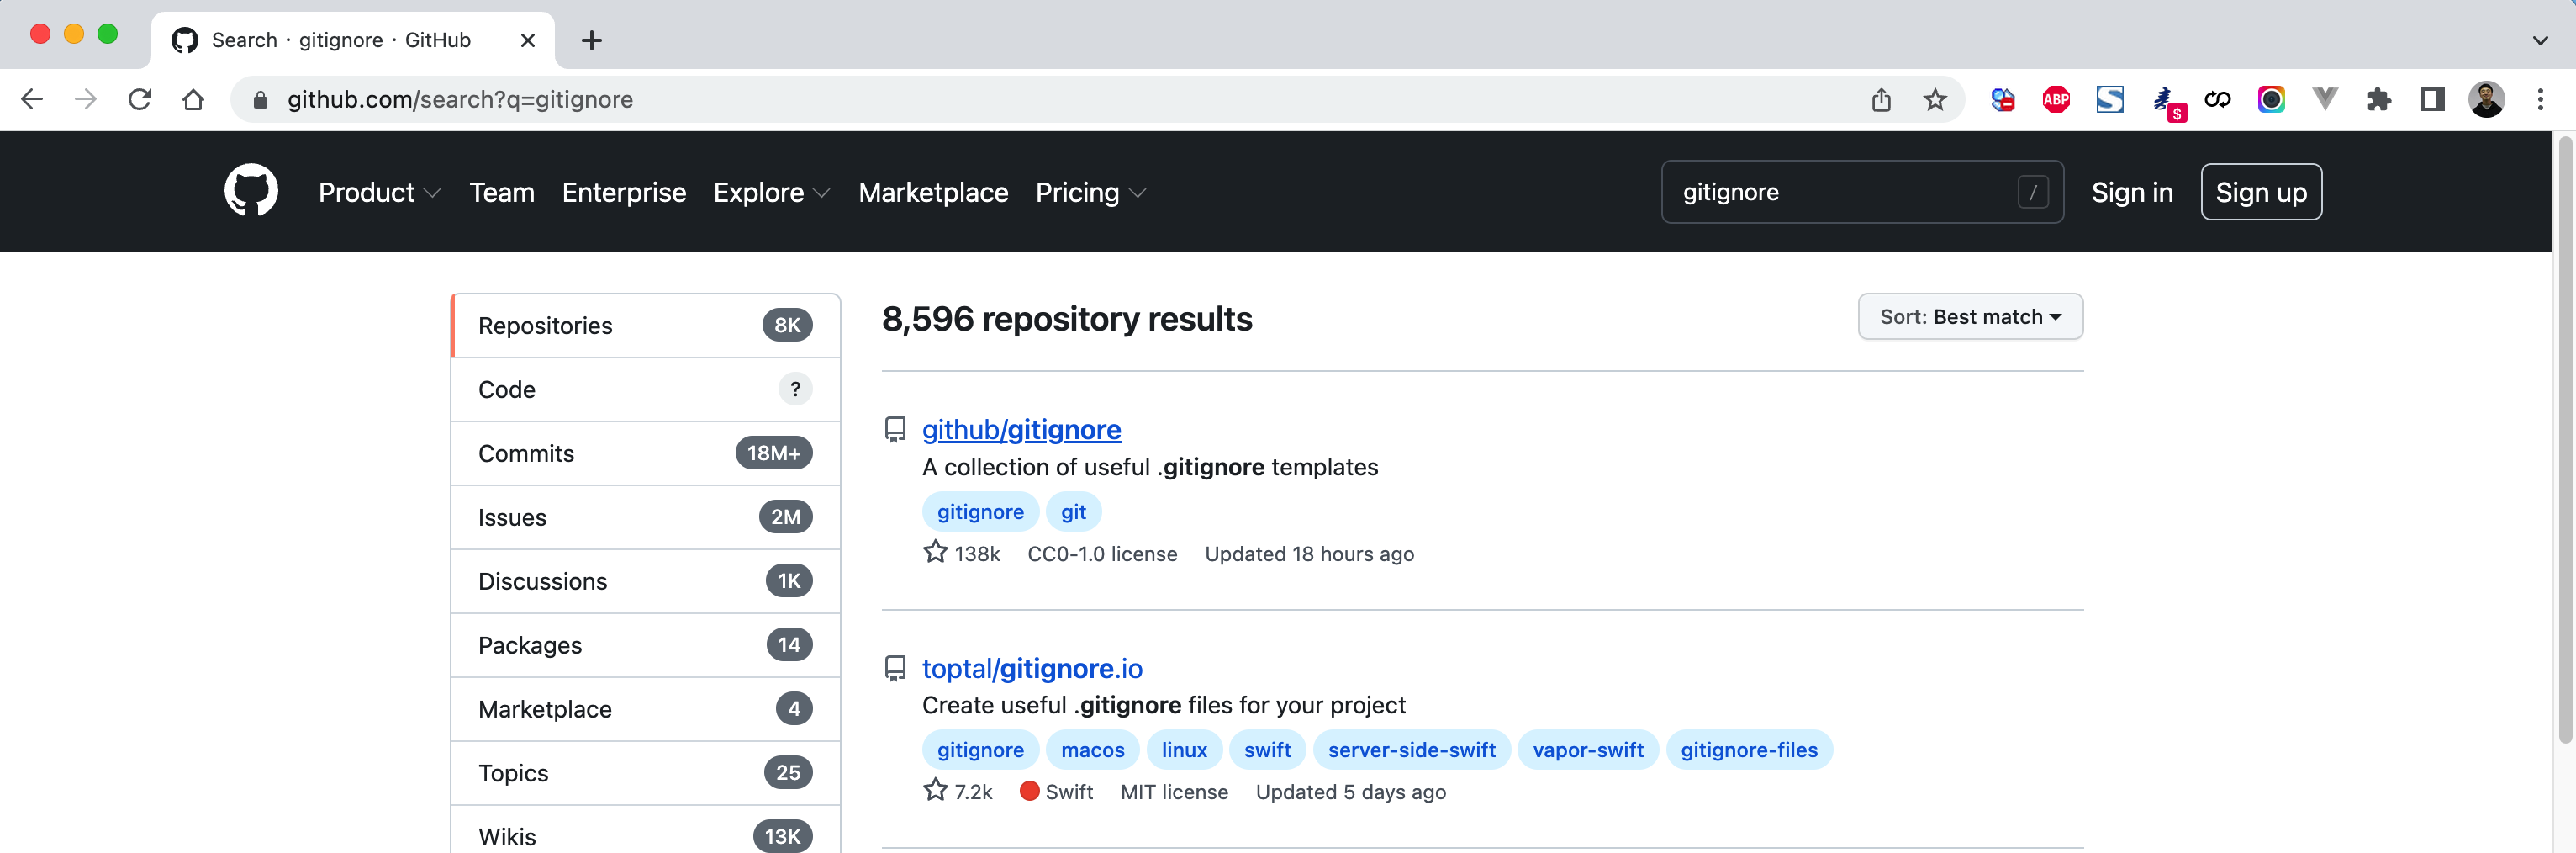
将Python的ignore文件内存拷贝并保存至项目目录下。
这样,就可以控制git忽略某些文件。
学会这个知识点之后,接下来再来讲一个关于配置文件的常见操作,即:local_settings.py
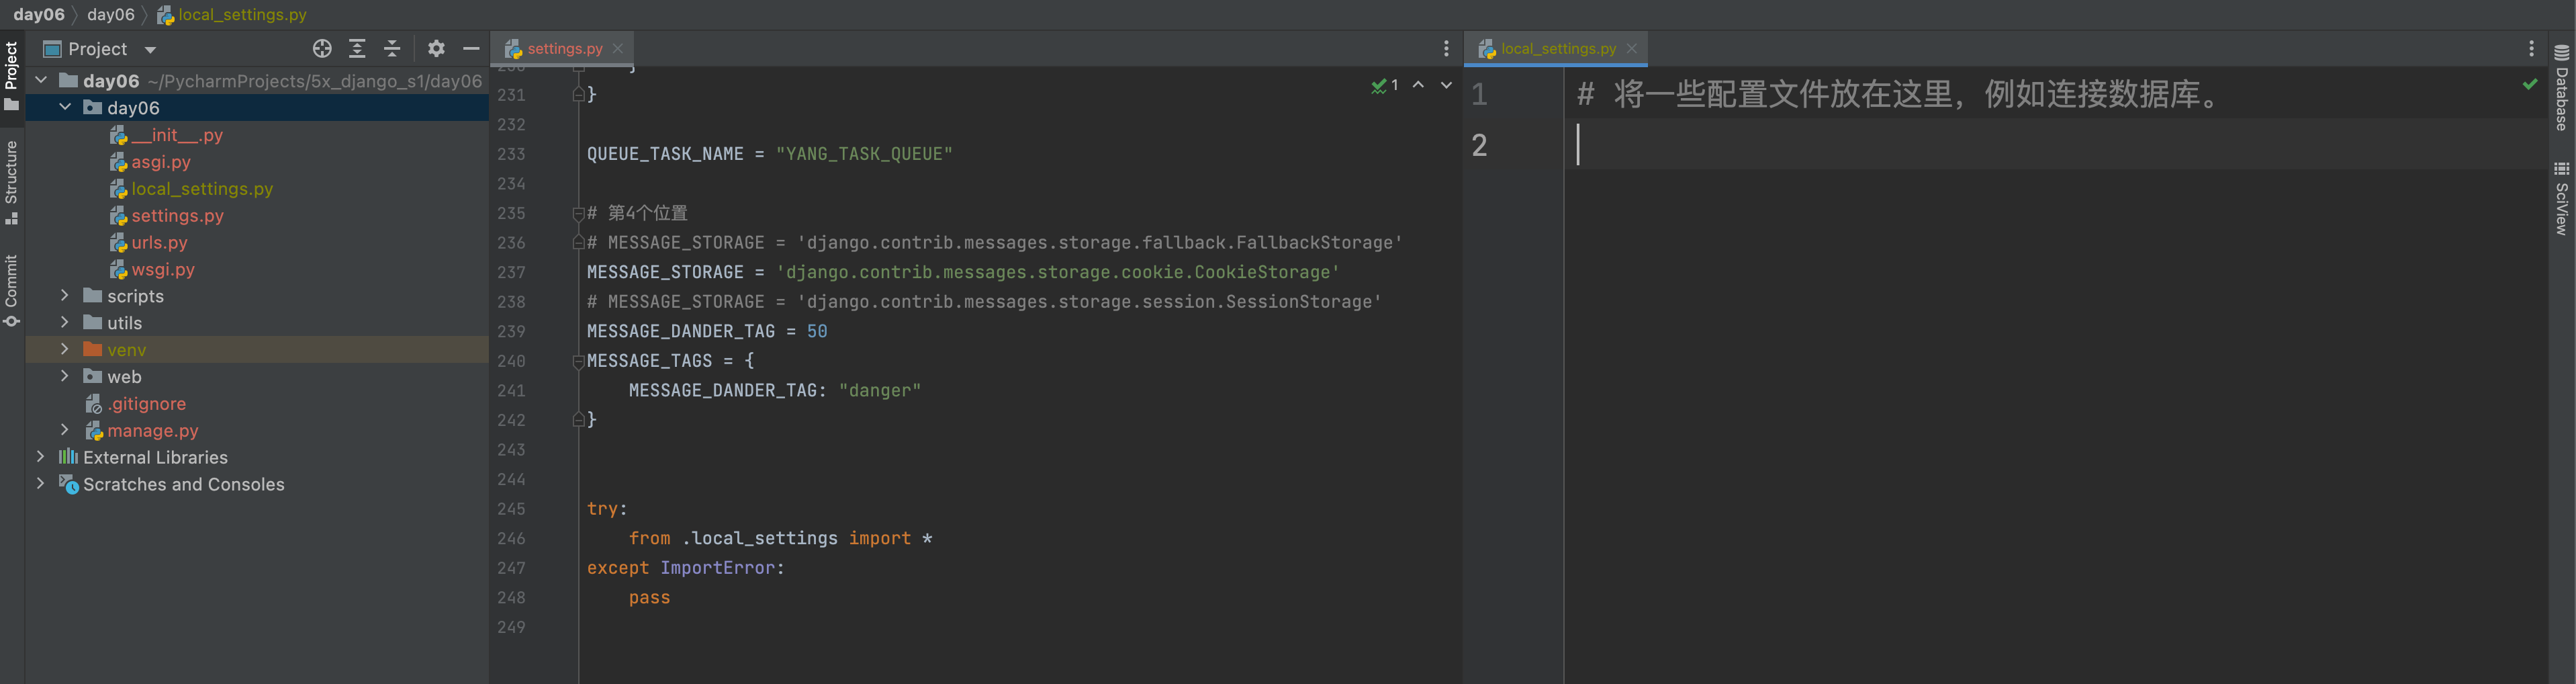
如果本次开发和线上开发一些配置不同,就可以放在这个文件。
- 本地:local_settings.py 编写本地特有配置。
- 线上:local_settings.py 编写线上特有配置。
而在settings.py中编写所有环境都有的配置。
# Byte-compiled / optimized / DLL files
__pycache__/
*.py[cod]

# C extensions
*.so

# Distribution / packaging
.Python
env/
.venv/
.idea/
build/
develop-eggs/
dist/
downloads/
eggs/
lib/
lib64/
parts/
sdist/
var/
*.egg-info/
.installed.cfg
*.egg

# PyInstaller
#  Usually these files are written by a python script from a template
#  before PyInstaller builds the exe, so as to inject date/other infos into it.
*.manifest
*.spec

# Installer logs
pip-log.txt
pip-delete-this-directory.txt

# Unit test / coverage reports
htmlcov/
.tox/
.coverage
.cache
nosetests.xml
coverage.xml

# Translations
*.mo
*.pot

# Django stuff:
*.log

# Sphinx documentation
docs/_build/

# PyBuilder
target/

# Django stuff:
local_settings.py

# database migrations
*/migrations/*.py
!*/migrations/__init__.py

db.sqlite3
3.配置和部署
3.1 Python3.9
-
安装gcc,用于后续安装Python时编译源码。
yum install gcc -y -
安装Python3相关依赖
yum install zlib zlib-devel -y yum install bzip2 bzip2-devel -y yum install ncurses ncurses-devel -y yum install readline readline-devel -y yum install openssl openssl-devel -y yum install xz lzma xz-devel -y yum install sqlite sqlite-devel -y yum install gdbm gdbm-devel -y yum install tk tk-devel -y yum install mysql-devel -y yum install python-devel -y yum install libffi-devel -y -
下载Python源码,https://www.python.org/ftp/python/
cd /data/
wget https://www.python.org/ftp/python/3.9.5/Python-3.9.5.tgz
注意:如果没有wget,则先安装
yum install wget -y -
编译安装
-
解压
tar -xvf Python-3.9.5.tgz -
进入目录并编译安装
cd Python-3.9.5 ./configure make all make install -
测试
python3.9 --version pip3.9 --version /usr/local/bin/pip3.9 --version -
配置豆瓣源(腾讯云服务器,默认腾讯源)
pip3.9 config set global.index-url https://mirrors.cloud.tencent.com/pypi/simple
-
3.2 虚拟环境
-
安装虚拟环境
pip3.9 install virtualenv -
创建虚拟环境目录并创建虚拟环境
mkdir /envs virtualenv /envs/nb --python=python3.9 -
安装项目依赖的pip包
# 激活虚拟环境
source /envs/nb/bin/activate

# 安装django
pip install django
cd /data/项目目录/ pip install -r requirements.txt
3.3 拉取代码和配置
当上述环境准备好之后,接下来需要在线上服务器上做以下步骤:
-
获取最新代码
-
安装第三方包
source /envs/nb/bin/activate pip install -r requirements.txt -
local_settings.py设置线上配置
import os from pathlib import Path BASE_DIR = Path(__file__).resolve().parent.parent.parent DEBUG = False ALLOWED_HOSTS = ['*'] STATIC_ROOT = os.path.join(BASE_DIR,"allstatic") -
收集静态文件
python manage.py collectstatic
3.4 uwsgi
激活虚拟环境并安装uwsgi
source /envs/nb/bin/activate
pip install uwsgi
基于uwsgi运行项目
-
文件参数
-
创建 auto_luffy_web_uwsgi.ini
[uwsgi] socket = 0.0.0.0:8001 chdir = /data/auto_luffy_web/ wsgi-file = auto_luffy_web/wsgi.py processes = 4 static-map = /static=/data/allstatic virtualenv = /envs/nb/ -
执行命令
uwsgi --ini day06_uwsgi.ini
-
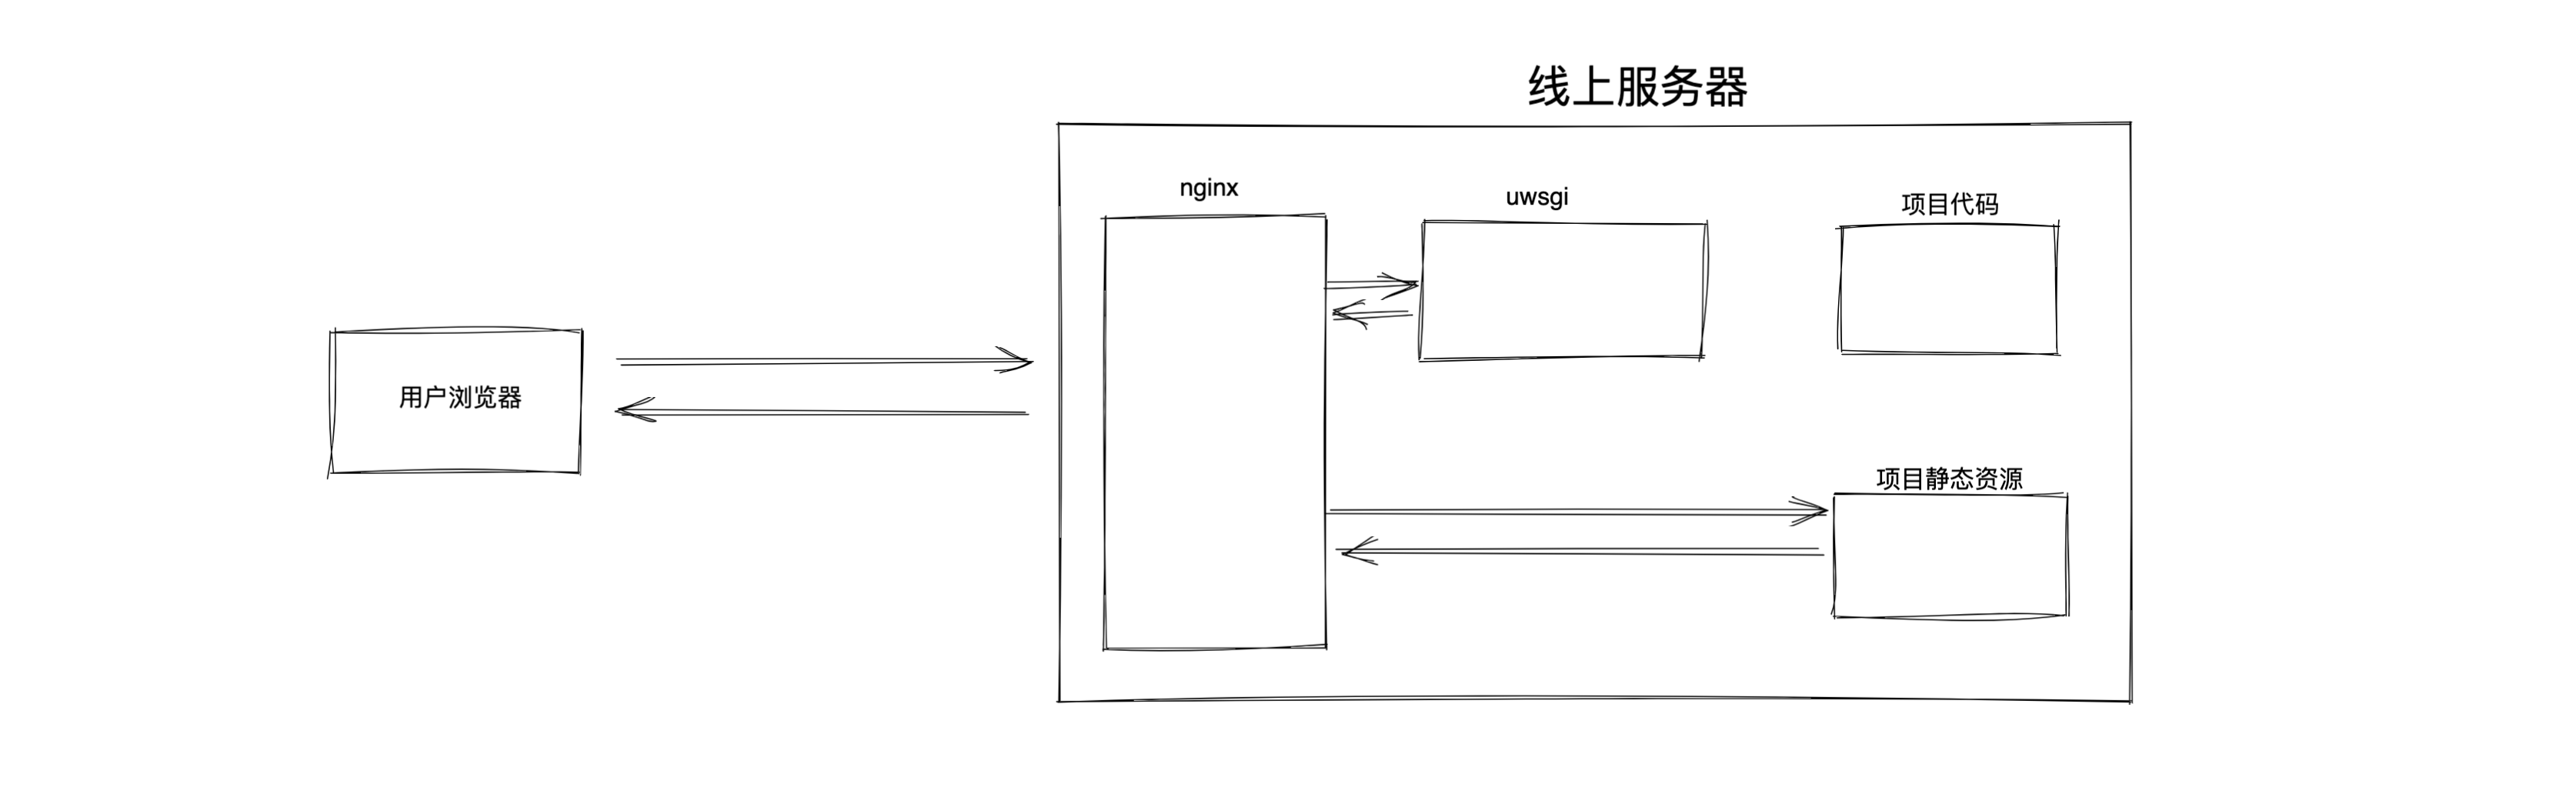
3.5 nginx
利用nginx做反向代理和处理静态文件。
yum install nginx -y
修改nginx.conf配置文件:
user nginx;
worker_processes auto;
error_log /var/log/nginx/error.log;
pid /run/nginx.pid;

# Load dynamic modules. See /usr/share/doc/nginx/README.dynamic.
include /usr/share/nginx/modules/*.conf;

events {
    worker_connections 1024;
}

http {
    log_format  main  '$remote_addr - $remote_user [$time_local] "$request" '
                      '$status $body_bytes_sent "$http_referer" '
                      '"$http_user_agent" "$http_x_forwarded_for"';

    access_log  /var/log/nginx/access.log  main;

    sendfile            on;
    tcp_nopush          on;
    tcp_nodelay         on;
    keepalive_timeout   65;
    types_hash_max_size 4096;

    include             /etc/nginx/mime.types;
    default_type        application/octet-stream;


    upstream django {
        server 127.0.0.1:8001;
    }

    server {
        listen       80;
        listen       [::]:80;
		server_name localhost;

		location /static {
            alias  /data/allstatic/;
        }

        location / {
            uwsgi_pass  django;
            include     uwsgi_params;
        }

    }
}
修改uwsgi配置(auto_luffy_web_uwsgi):
[uwsgi]
socket = 0.0.0.0:8001
chdir = /data/auto_luffy_web/
wsgi-file = auto_luffy_web/wsgi.py
processes = 4
static-map = /static=/data/allstatic
virtualenv = /envs/nb/
接下来就需要启动uwsgi和nginx:
-
nginx
# 启动 systemctl start nginx # 开机启动 systemctl enable nginx -
uwsgi
uwsgi --ini day06_uwsgi.ini
每次启动都比较麻烦,怎么办?
3.6 shell脚本
reboot.sh
#!/usr/bin/env bash

echo -e "\033[34m--------------------wsgi process--------------------\033[0m"

ps -ef|grep auto_luffy_web_uwsgi.ini | grep -v grep

sleep 0.5

echo -e '\n--------------------going to close--------------------'

ps -ef |grep auto_luffy_web_uwsgi.ini | grep -v grep | awk '{print $2}' | xargs kill -9

sleep 0.5

echo -e '\n----------check if the kill action is correct----------'

/envs/nb/bin/uwsgi  --ini auto_luffy_web_uwsgi.ini &  >/dev/null

echo -e '\n\033[42;1m----------------------started...----------------------\033[0m'
sleep 1

ps -ef |grep auto_luffy_web_uwsgi.ini | grep -v grep
sh reboot.sh
stop.sh
#!/usr/bin/env bash

echo -e "\033[34m--------------------wsgi process--------------------\033[0m"

ps -ef|grep auto_luffy_web_uwsgi.ini | grep -v grep

sleep 0.5

echo -e '\n--------------------going to close--------------------'

ps -ef |grep auto_luffy_web_uwsgi.ini | grep -v grep | awk '{print $2}' | xargs kill -9

sleep 0.5
4.报错
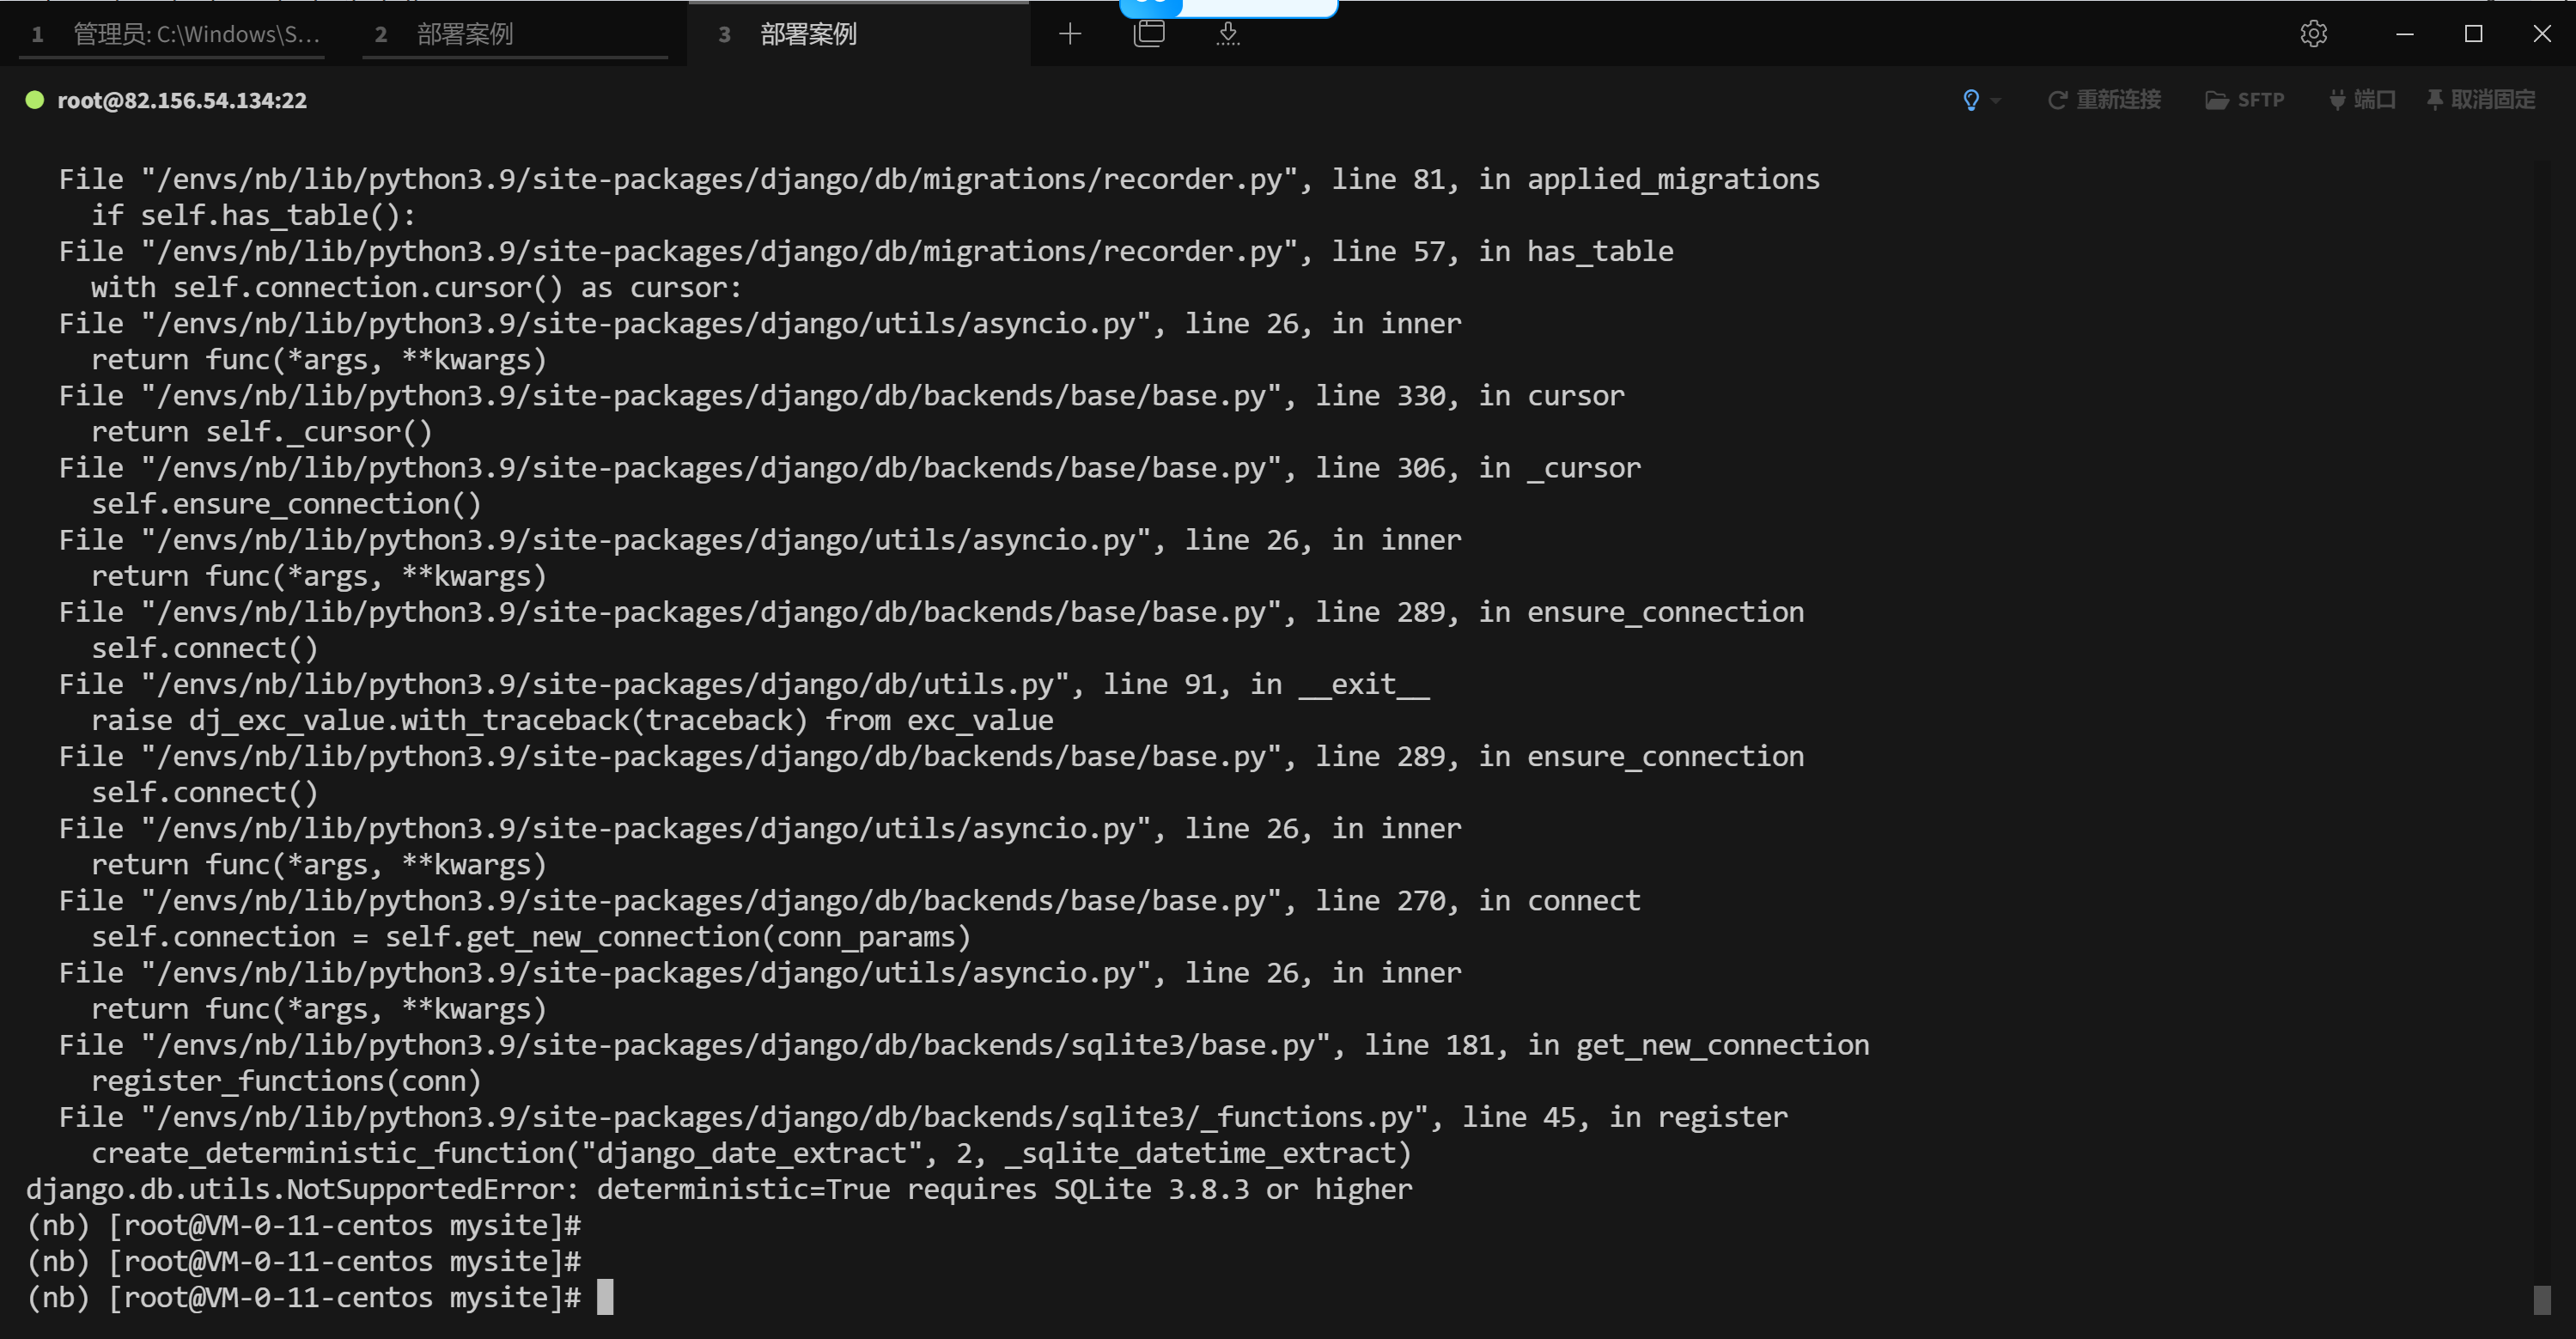
pip install pysqlite3
pip install pysqlite3-binary
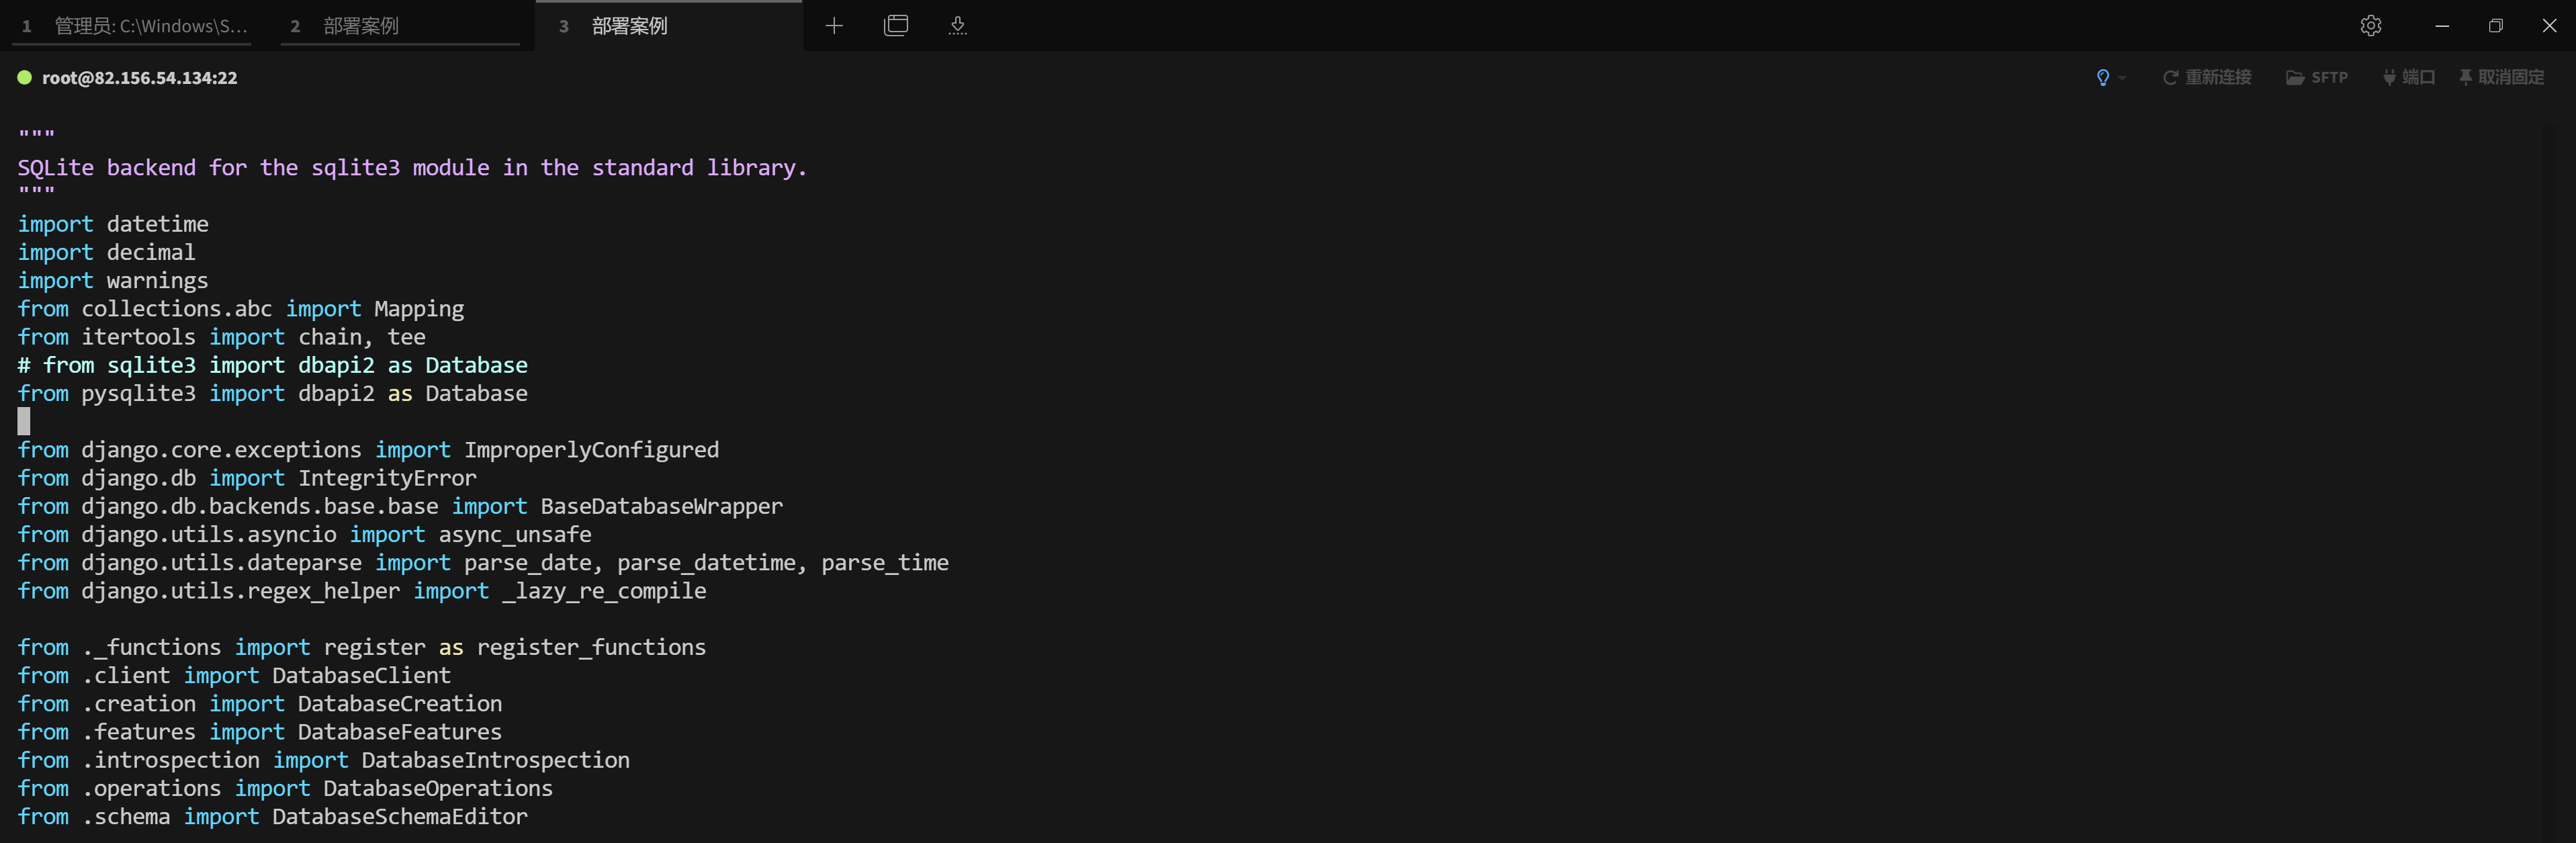
修改/envs/nb/lib/python3.9/site-packages/django/db/backends/sqlite3/base.py文件:
#from sqlite3 import dbapi2 as Database  #注释它
from pysqlite3 import dbapi2 as Database #新加这段代码

 浙公网安备 33010602011771号