Nginx反向代理到多个Docker 笔记!
前言
现在我有一台CentOS8.2 外网IP地址是 119.28.135.102 的测试服务器。
我希望在里面运行3个Docker容器,分别用来运行vue编写的网站前端页面,网站后台静态页面和.NET 5 WebAPI。
当用户访问 http://119.28.135.102 可以打开网站前端页面,当用户访问 http://119.28.135.102/admin 可以打开网站后台页面。
前后端页面都调用 WebApi http://119.28.135.102:8280 获取数据。
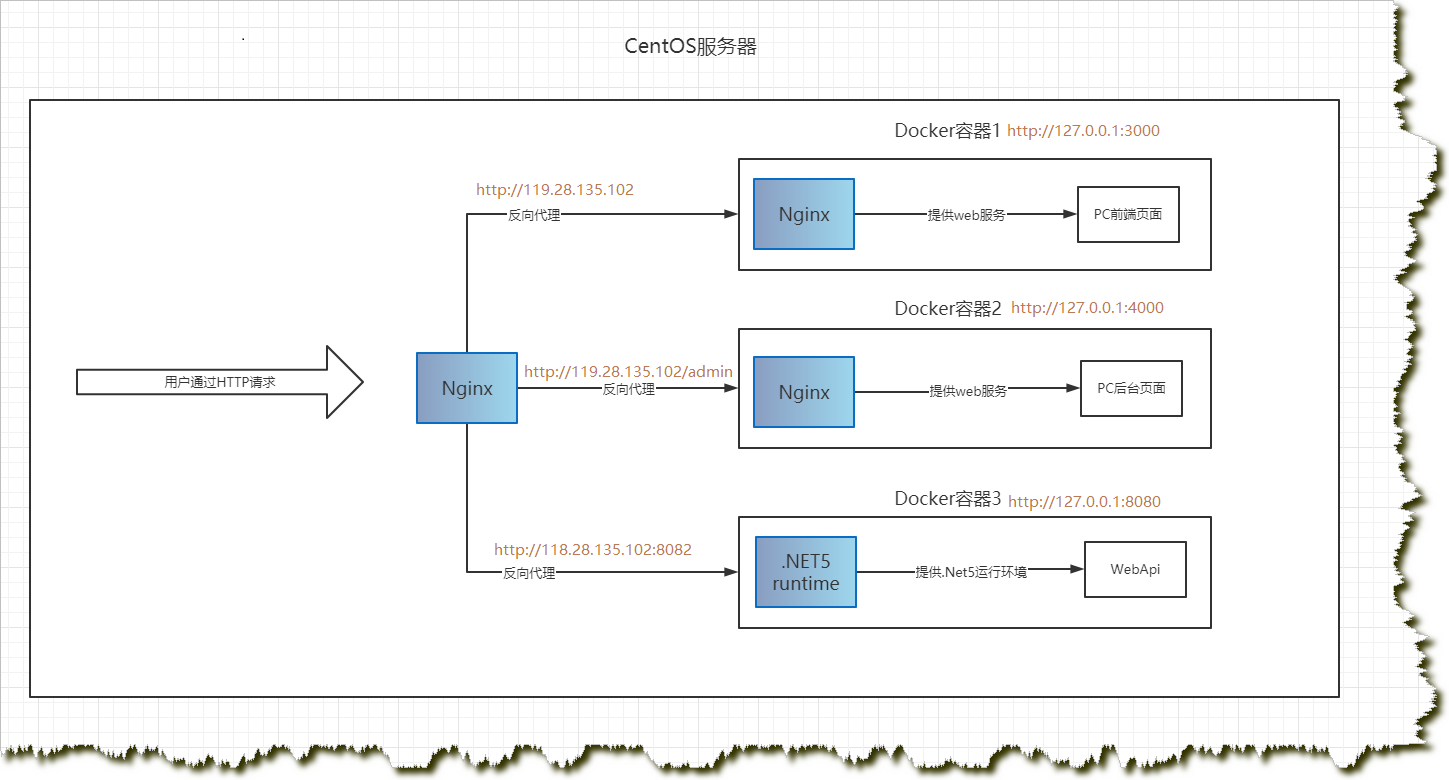
思考了一番后大致流程如下图所示,用户请求Centos服务器上的Nginx服务器,然后该Nginx服务器通过对用户请求的路径进行匹配并反向代理到不同的Docker中。
当匹配到用户请求URL是 / 时,反向代理到Docker容器1,当请求URL为 /admin 时,反向代理到 Docker容器2 ,当请求URL端口为8082时,反向代理到 Docker容器3.
Docker容器1和Docker容器2里面也需要安装nginx,作为前端和后台页面的web服务器。Docker容器3需要安装.NET5运行时,用来运行WebApi。
操作开始前首先确保系统已经正确安装了Docker,参考链接:https://www.cnblogs.com/fuhua/p/15043177.html#%E5%AE%89%E8%A3%85Docker
一、制作网站前端页面的Docker镜像
pc文件夹目录结构
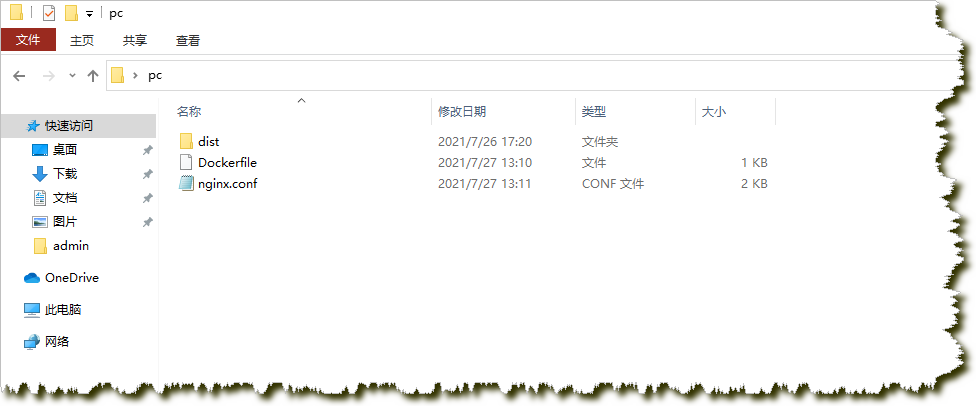
dist文件夹里就是vue项目build之后的静态页面。

Dockerfile内容:
# Base Image设置基础镜像
FROM nginx

# 将dist目录复制到 Docker容器中的/usr/share/nginx/html/目录下
COPY dist/  /usr/share/nginx/html/

# 将nginx.conf文件复制到/etc/nginx/nginx.conf
COPY nginx.conf /etc/nginx/nginx.conf
nginx.conf内容:
user  nginx;
worker_processes  auto;

error_log  /var/log/nginx/error.log notice;
pid        /var/run/nginx.pid;


events {
    worker_connections  1024;
}


http {
    include       /etc/nginx/mime.types;
    default_type  application/octet-stream;

    log_format  main  '$remote_addr - $remote_user [$time_local] "$request" ' '$status $body_bytes_sent "$http_referer" ' '"$http_user_agent" "$http_x_forwarded_for"';

    access_log  /var/log/nginx/access.log  main;

    sendfile        on;

    keepalive_timeout  65;

    #注意这句话一定要注释掉,否则vue history路由会导致刷新的时候提示404页面找不到
    #include /etc/nginx/conf.d/*.conf;

   server {
        listen       80;
        server_name  localhost;

        #charset koi8-r;
        access_log  /var/log/nginx/host.access.log ;
        error_log  /var/log/nginx/error.log;

        location / {
           root /usr/share/nginx/html; #配置Vue项目根路径,与
           index index.html index.html; #配置首页
           #vue history模式专用
           try_files $uri $uri/ /index.html;
        }

        #error_page  404              /404.html;

        # redirect server error pages to the static page /50x.html
        #
        error_page   500 502 503 504  /50x.html;
        location = /50x.html {
            root   /usr/share/nginx/html;
        }
 }
}
接下来用 FileZilla Client 远程连接到服务器

连接成功后把pc目录拷贝到 /home 目录下,然后进入到/home/pc目录,执行命令 【docker build -t pc .】构建PC前端页面的docker镜像。
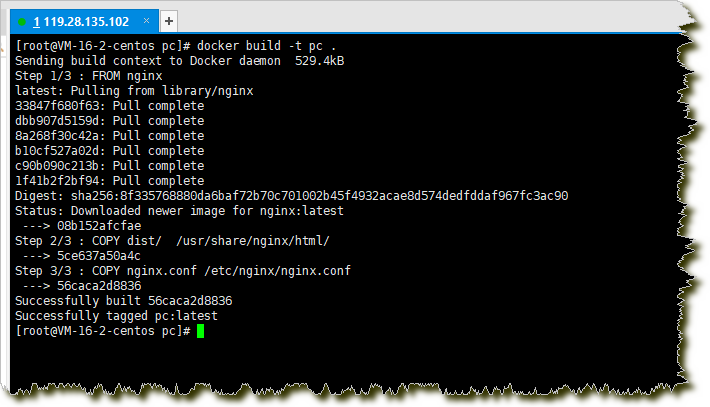
镜像构建完成后
【docker images】:查看镜像
【docker run -d -p 127.0.0.1:3000:80 -v /home/pc/nginx_log:/var/log/nginx pc】:启动一个容器
-d:后台运行
-p 127.0.0.1:3000:80 以内网方式运行,并且把宿主机的3000端口映射到容器的80端口上
-v /home/pc/nginx_log:/var/log/nginx:将宿主机的/home/pc/nginx_log路径映射到容器的/var/log/nginx,因为docker不保存数据,所以日志文件需要挂载到本机存储。
pc:镜像名
【curl http://127.0.0.1:3000】:测试网页是否能访问,可以看到,页面已经能返回正确数据了。

二、制作网站后台页面的Docker镜像
后台镜像的制作和前端镜像制作流程是一样的,最重要的区别就是vue项目编译之前必须设置为相对路径,否则会出现CSS和js等资源文件找不到。
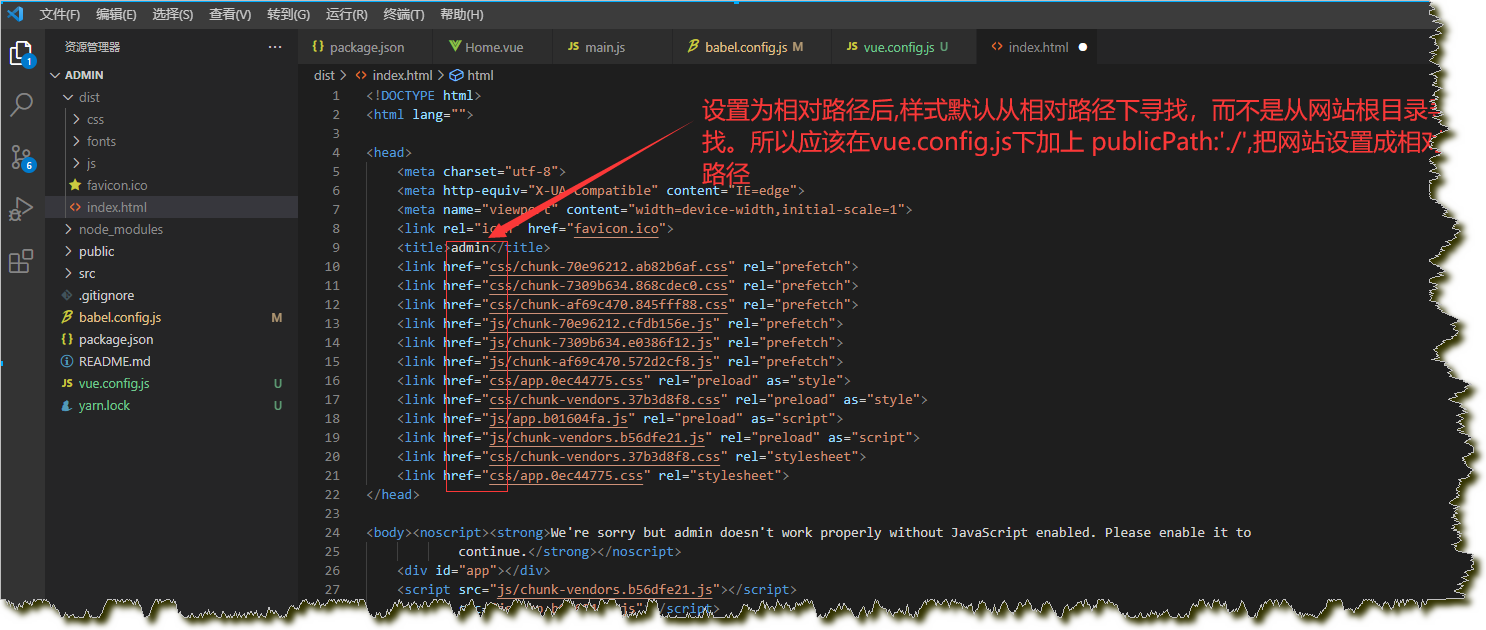
设置相对路径的方法是给项目根目录增加 vue.config.js 文件。并设置 publicPath的值为 './' 。

我们来看看设置相对路径之前和之后的代码有什么区别:
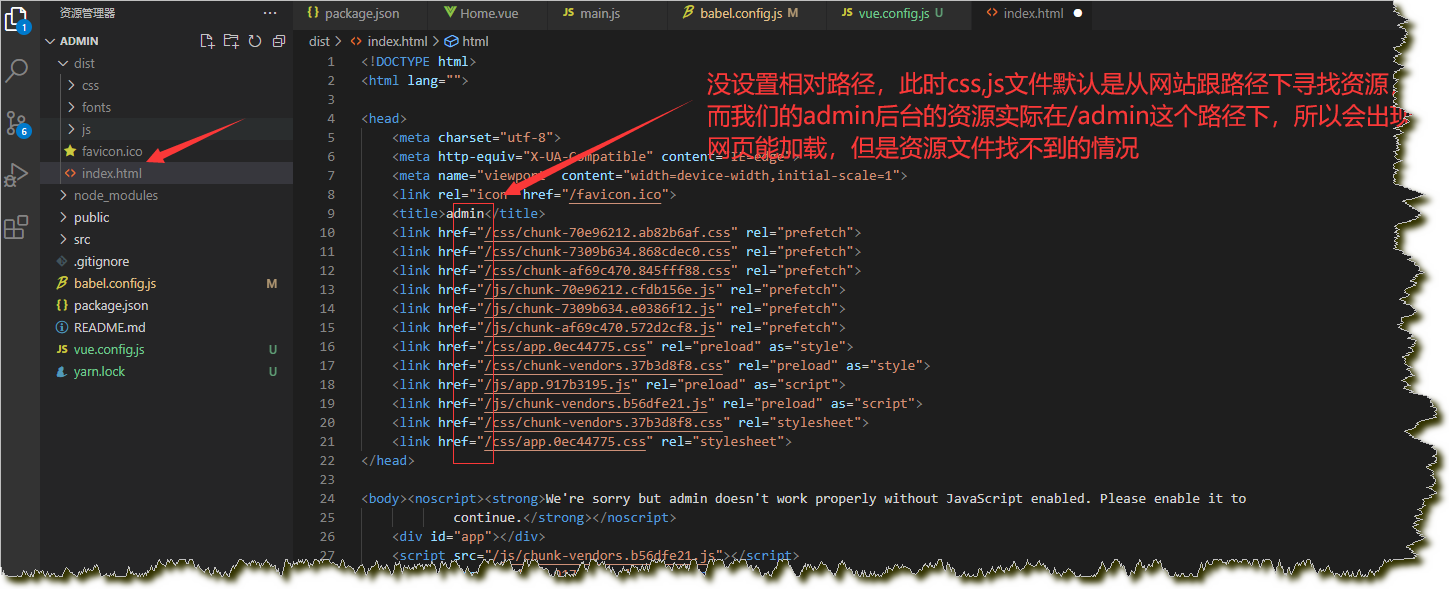
设置相对路径之前:
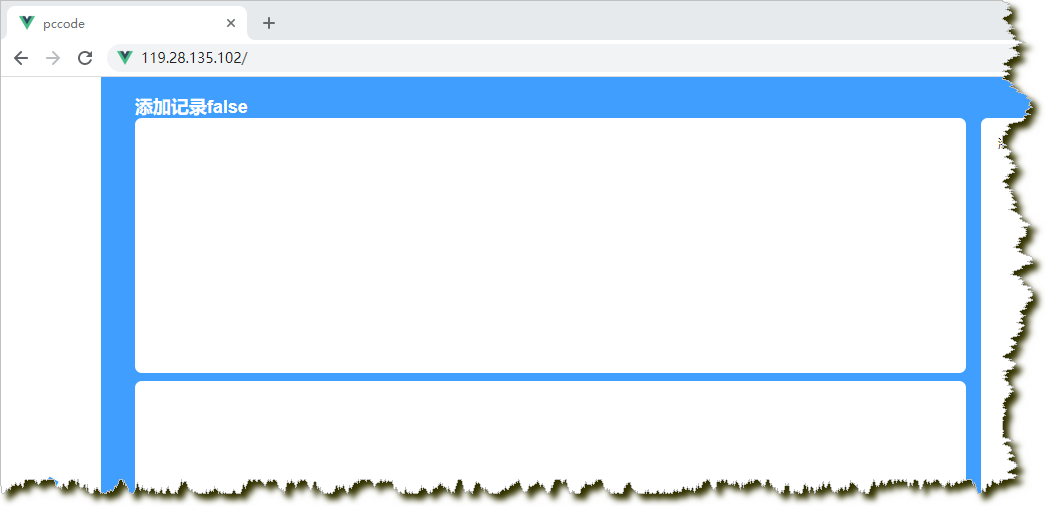
我们可以看到,样式文件默认是从网站根目录下去加载,也就是http://119.28.135.102/css/xxxx,而后台页面实际目录应该是在 http://119.28.135.102/admin/,所以需要修改成相对路径。
设置了相对路径:
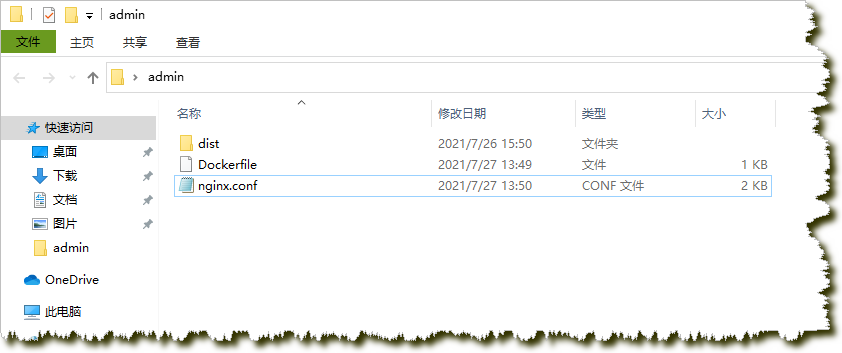
将admin文件夹上传到服务器 /home目录下,Dockerfile和nginx.conf内容和前端页面的一样。

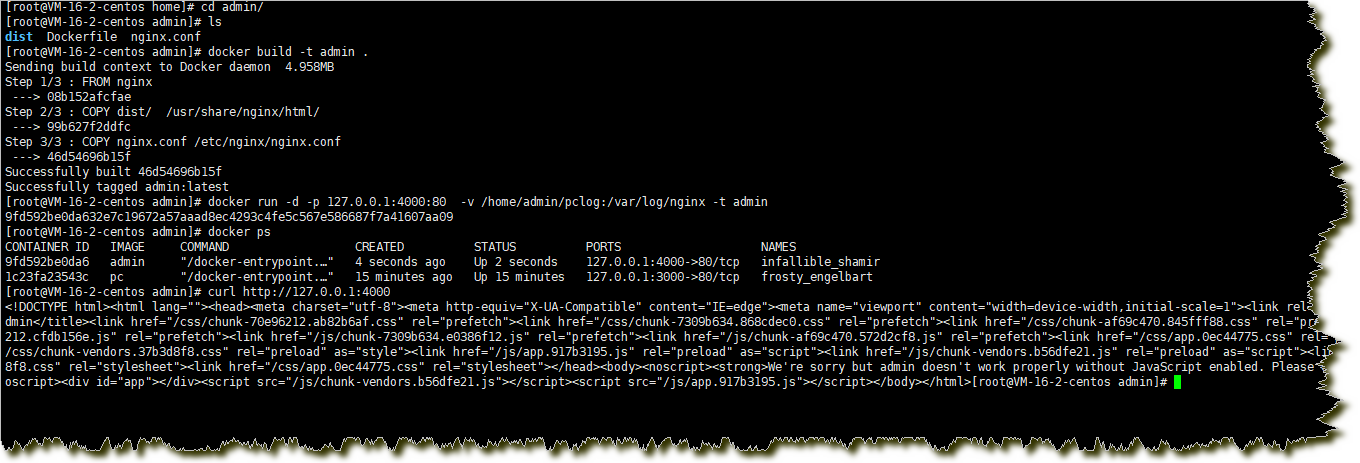
进入到服务器的 /home/admin输入命令【docker build -t admin .】

制作完成镜像后输入命令 【docker run -d -p 127.0.0.1:4000:80 -v /home/admin/nginx_log:/var/log/nginx -t admin】启动一个容器。
此时docker ps可以看到有两个正在运行的容器,并且输入命令【curl http://127.0.0.1:4000】可以正确返回网页数据。
三、制作WebApi的Docker镜像。
WebApi发布在名字叫webapi的文件夹里,webapi文件目录如下:
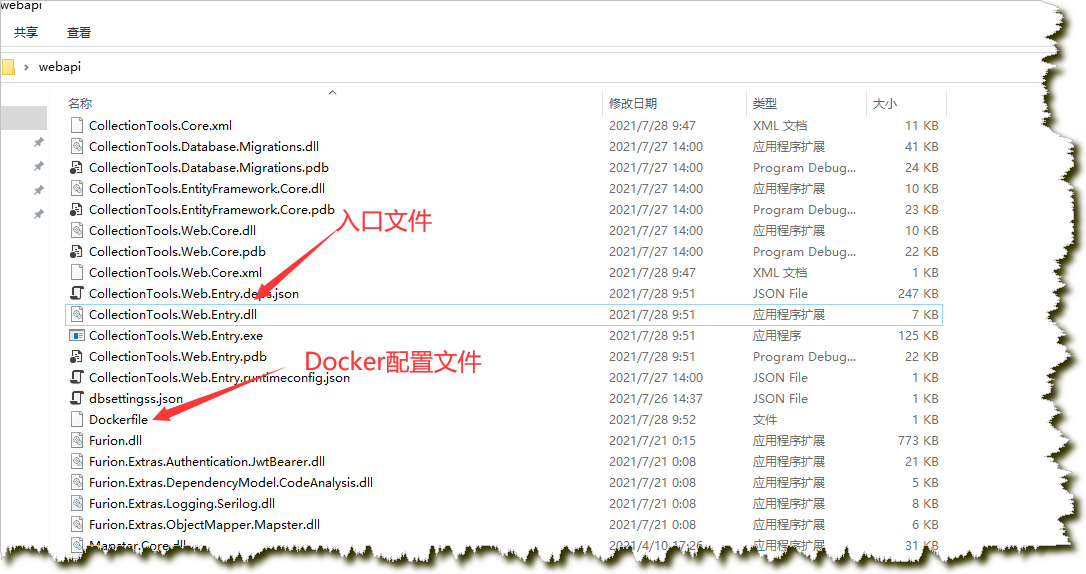
Dockerfile内容如下:
#基于 microsoft/dotnet:5.0.0-core 来构建我们的镜像
FROM mcr.microsoft.com/dotnet/sdk:5.0

#创建项目在docker容器内的工作目录,容器启动时执行的命令会在该目录下执行
#WORKDIR 命令为后续的RUN、CMD、COPY、ADD等命令配置工作目录。设置后,接下来的COPY和ADD命令中的相对路径就是相对于WORKDIR指定的路径
WORKDIR /app
#EXPOSE 是声明运行时容器提供服务端口,将在docker run -p <宿主端口>:<容器端口>时用到
EXPOSE 5000
#点并不是指本机目录下的文件,而是 docker引擎中展开的构建上下文中的文件
#即当前执行docker build构建时的所在目录,即在目录testah目录
#将当前上文下的文件复制到容器内的当前目录下
COPY . .
#使用dotnet webapi.dll来运行应用程序
CMD ["dotnet", "CollectionTools.Web.Entry.dll"]
把webapi文件夹上传到 /home 路径下

进入 /home/webapi 目录 执行命令【docker build -t webapi .】构建完成镜像
再执行【docker run -d -p 127.0.0.1:8080:5000 -t webapi】运行容器。
可以通过命令【docker logs 容器id】查看容器shell数据

执行【curl http://127.0.0.1:8080/api/system/system/list】可以看到接口调用成功返回了数据。

四、配置宿主机的nginx
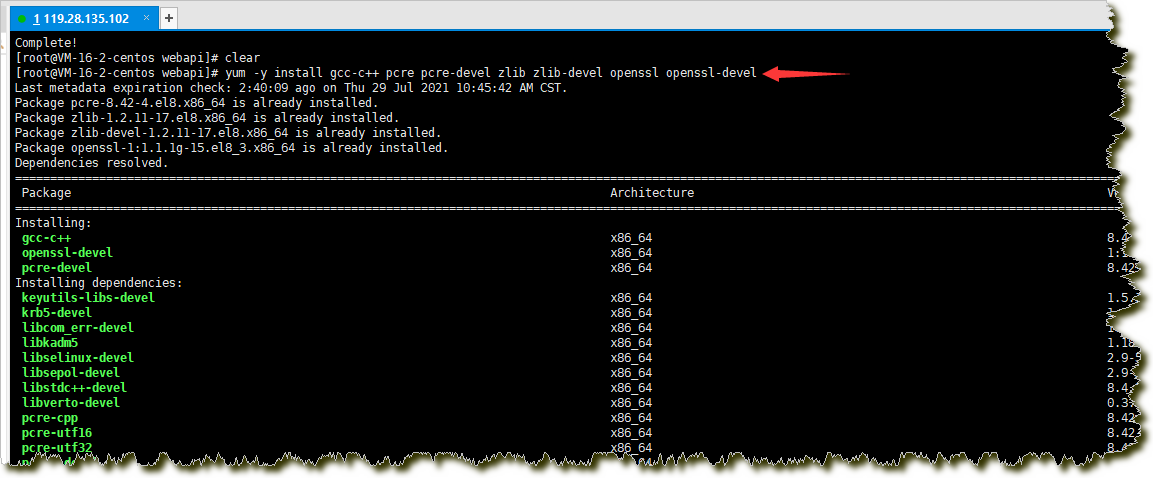
1.执行命令【yum -y install gcc-c++ pcre pcre-devel zlib zlib-devel openssl openssl-devel】安装nginx编译需要的工具
2.到http://nginx.org/en/download.html nginx的官网找到稳定版本nginx-1.20.1,并复制其链接。【cd /home】到home目录下执行 【wget -c http://nginx.org/download/nginx-1.20.1.tar.gz】下载安装包。


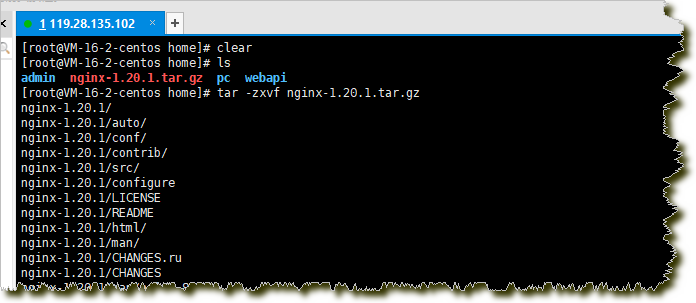
执行命令【tar -zxvf nginx-1.20.1.tar.gz】解压安装包
执行【cd nginx-1.20.1/】进入到文件夹后,执行命令【./configure --prefix=/usr/local/nginx --with-http_stub_status_module --with-http_ssl_module --with-http_v2_module --with-http_sub_module --with-http_gzip_static_module --with-pcre】配置模块
#--prefix 指定安装路径
#--with-http_stub_status_module 允许查看nginx状态的模块
# --with-http_ssl_module 支持https的模块

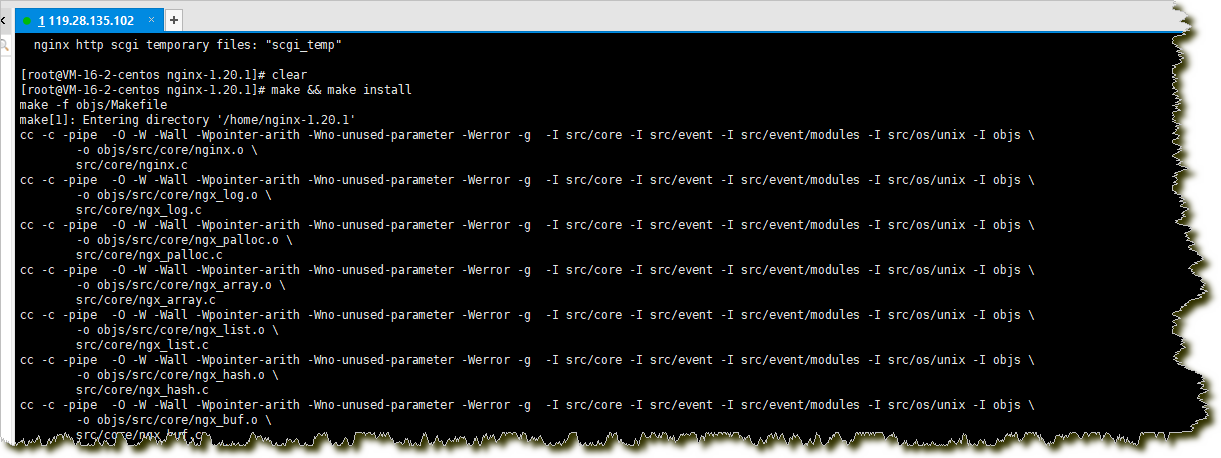
执行【make && make install】进行安装。安装完成后,在可以看到 /usr/local/nginx 这个目录。

下面将nginx配置到环境变量
执行【vim /etc/profile】编辑文件
在最后一行添加,然后:wq保存文件
PATH=$PATH:/usr/local/nginx/sbin
export PATH

然后执行【source /etc/profile】让设置立即生效。
输入【nginx -v】即可看到nginx的版本。至此Nginx已经安装完成。

下面开始配置Nginx反向代理,分别代理到不同的Docker
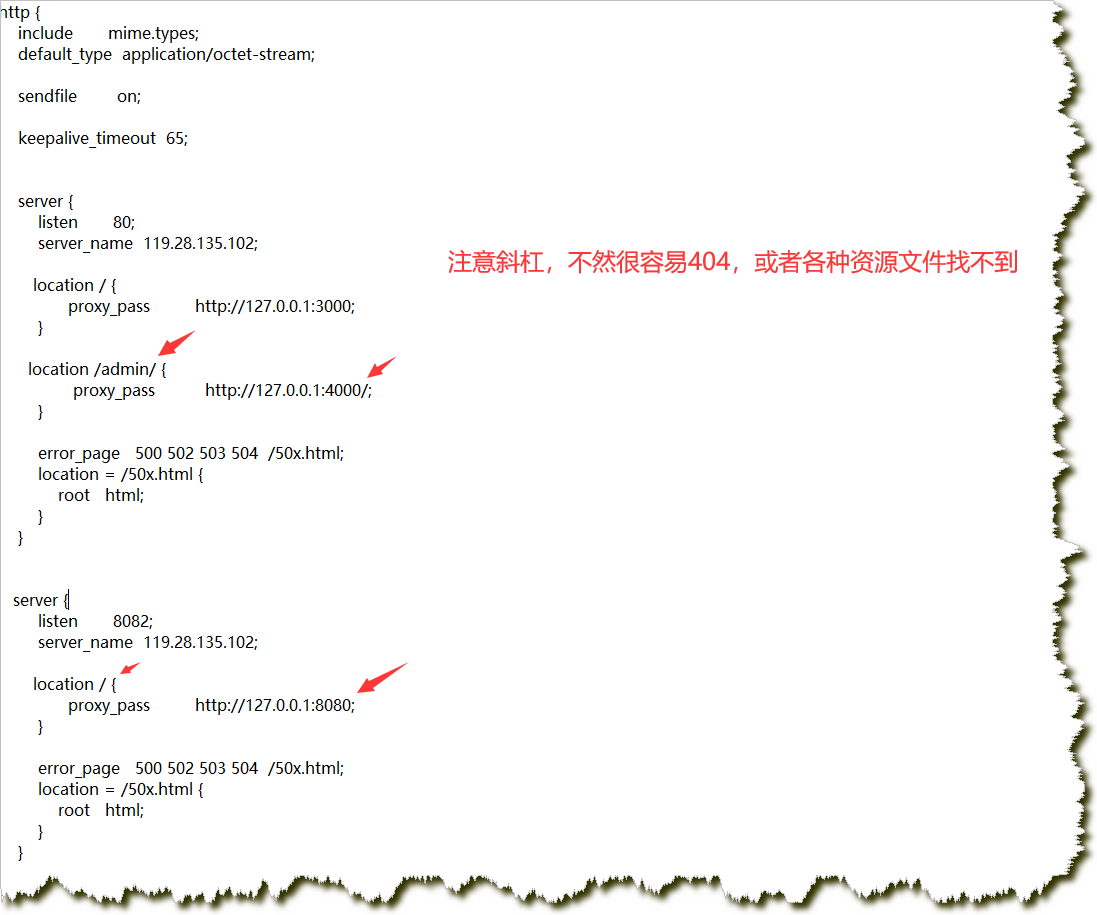
修改 /usr/local/nginx/conf/nginx.conf 的内容:
worker_processes  1;

events {
    worker_connections  1024;
}


http {
    include       mime.types;
    default_type  application/octet-stream;

    sendfile        on;

    keepalive_timeout  65;


    server {
        listen       80;
        server_name  119.28.135.102;

       location / {
              proxy_pass         http://127.0.0.1:3000;
        }

      location /admin/ {
               proxy_pass          http://127.0.0.1:4000/;
        }

        error_page   500 502 503 504  /50x.html;
        location = /50x.html {
            root   html;
        }
    }


   server {
        listen       8082;
        server_name  119.28.135.102;

       location / {
              proxy_pass         http://127.0.0.1:8080;
        }

        error_page   500 502 503 504  /50x.html;
        location = /50x.html {
            root   html;
        }
    }

}
之后执行 【nginx -s reload】重新加载nginx的配置。此时有可能会报错,nginx: [error] open() "/usr/local/nginx/logs/nginx.pid" failed (2: No such file or directory),参考链接:https://blog.csdn.net/weixin_44352609/article/details/93242894
当reload执行完成后,发布就算完成了,此时从外网已经能正常访问了。


总结:
nginx反向代理到多个docker容器最重要的是一定要处理好路径,前端要写成相对路径。以及nginx的斜杠问题一定要特别注意。
