
k8s-dashboard、helm
dashboard
我们之前操作集群都是在命令行里面进行操作的,他有没有像OpenStack平台那样的dashboard呢?也是有的
安装dashboard
我们可以直接进入官网按照教程来 https://kubernetes.io/zh-cn/docs/tasks/access-application-cluster/web-ui-dashboard/
[root@master dashboard]#  kubectl apply -f https://raw.githubusercontent.com/kubernetes/dashboard/v2.7.0/aio/deploy/recommended.yaml
[root@master dashboard]# kubectl get pods -n kubernetes-dashboard
NAME                                        READY   STATUS    RESTARTS   AGE
dashboard-metrics-scraper-7bc864c59-gzqvp   1/1     Running   0          69s
kubernetes-dashboard-6c7ccbcf87-lj6hr       1/1     Running   0          69s
两个pod都running之后我们还需要修改一下svc的类型,它默认是clusterIP,我们将他改成NodePort
[root@master dashboard]# kubectl edit -n kubernetes-dashboard svc/kubernetes-dashboard
# 找到type那一行,将clusterIP改成NodePort
[root@master dashboard]# kubectl  -n kubernetes-dashboard get svc/kubernetes-dashboard
NAME                   TYPE       CLUSTER-IP     EXTERNAL-IP   PORT(S)         AGE
kubernetes-dashboard   NodePort   10.98.60.181   <none>        443:32760/TCP   10m
这里他会给我们映射一个端口,我们来访问一下
打开浏览器输入https://集群内任意节点IP:32760,注意你自己的端口,你的端口是多少就写多少
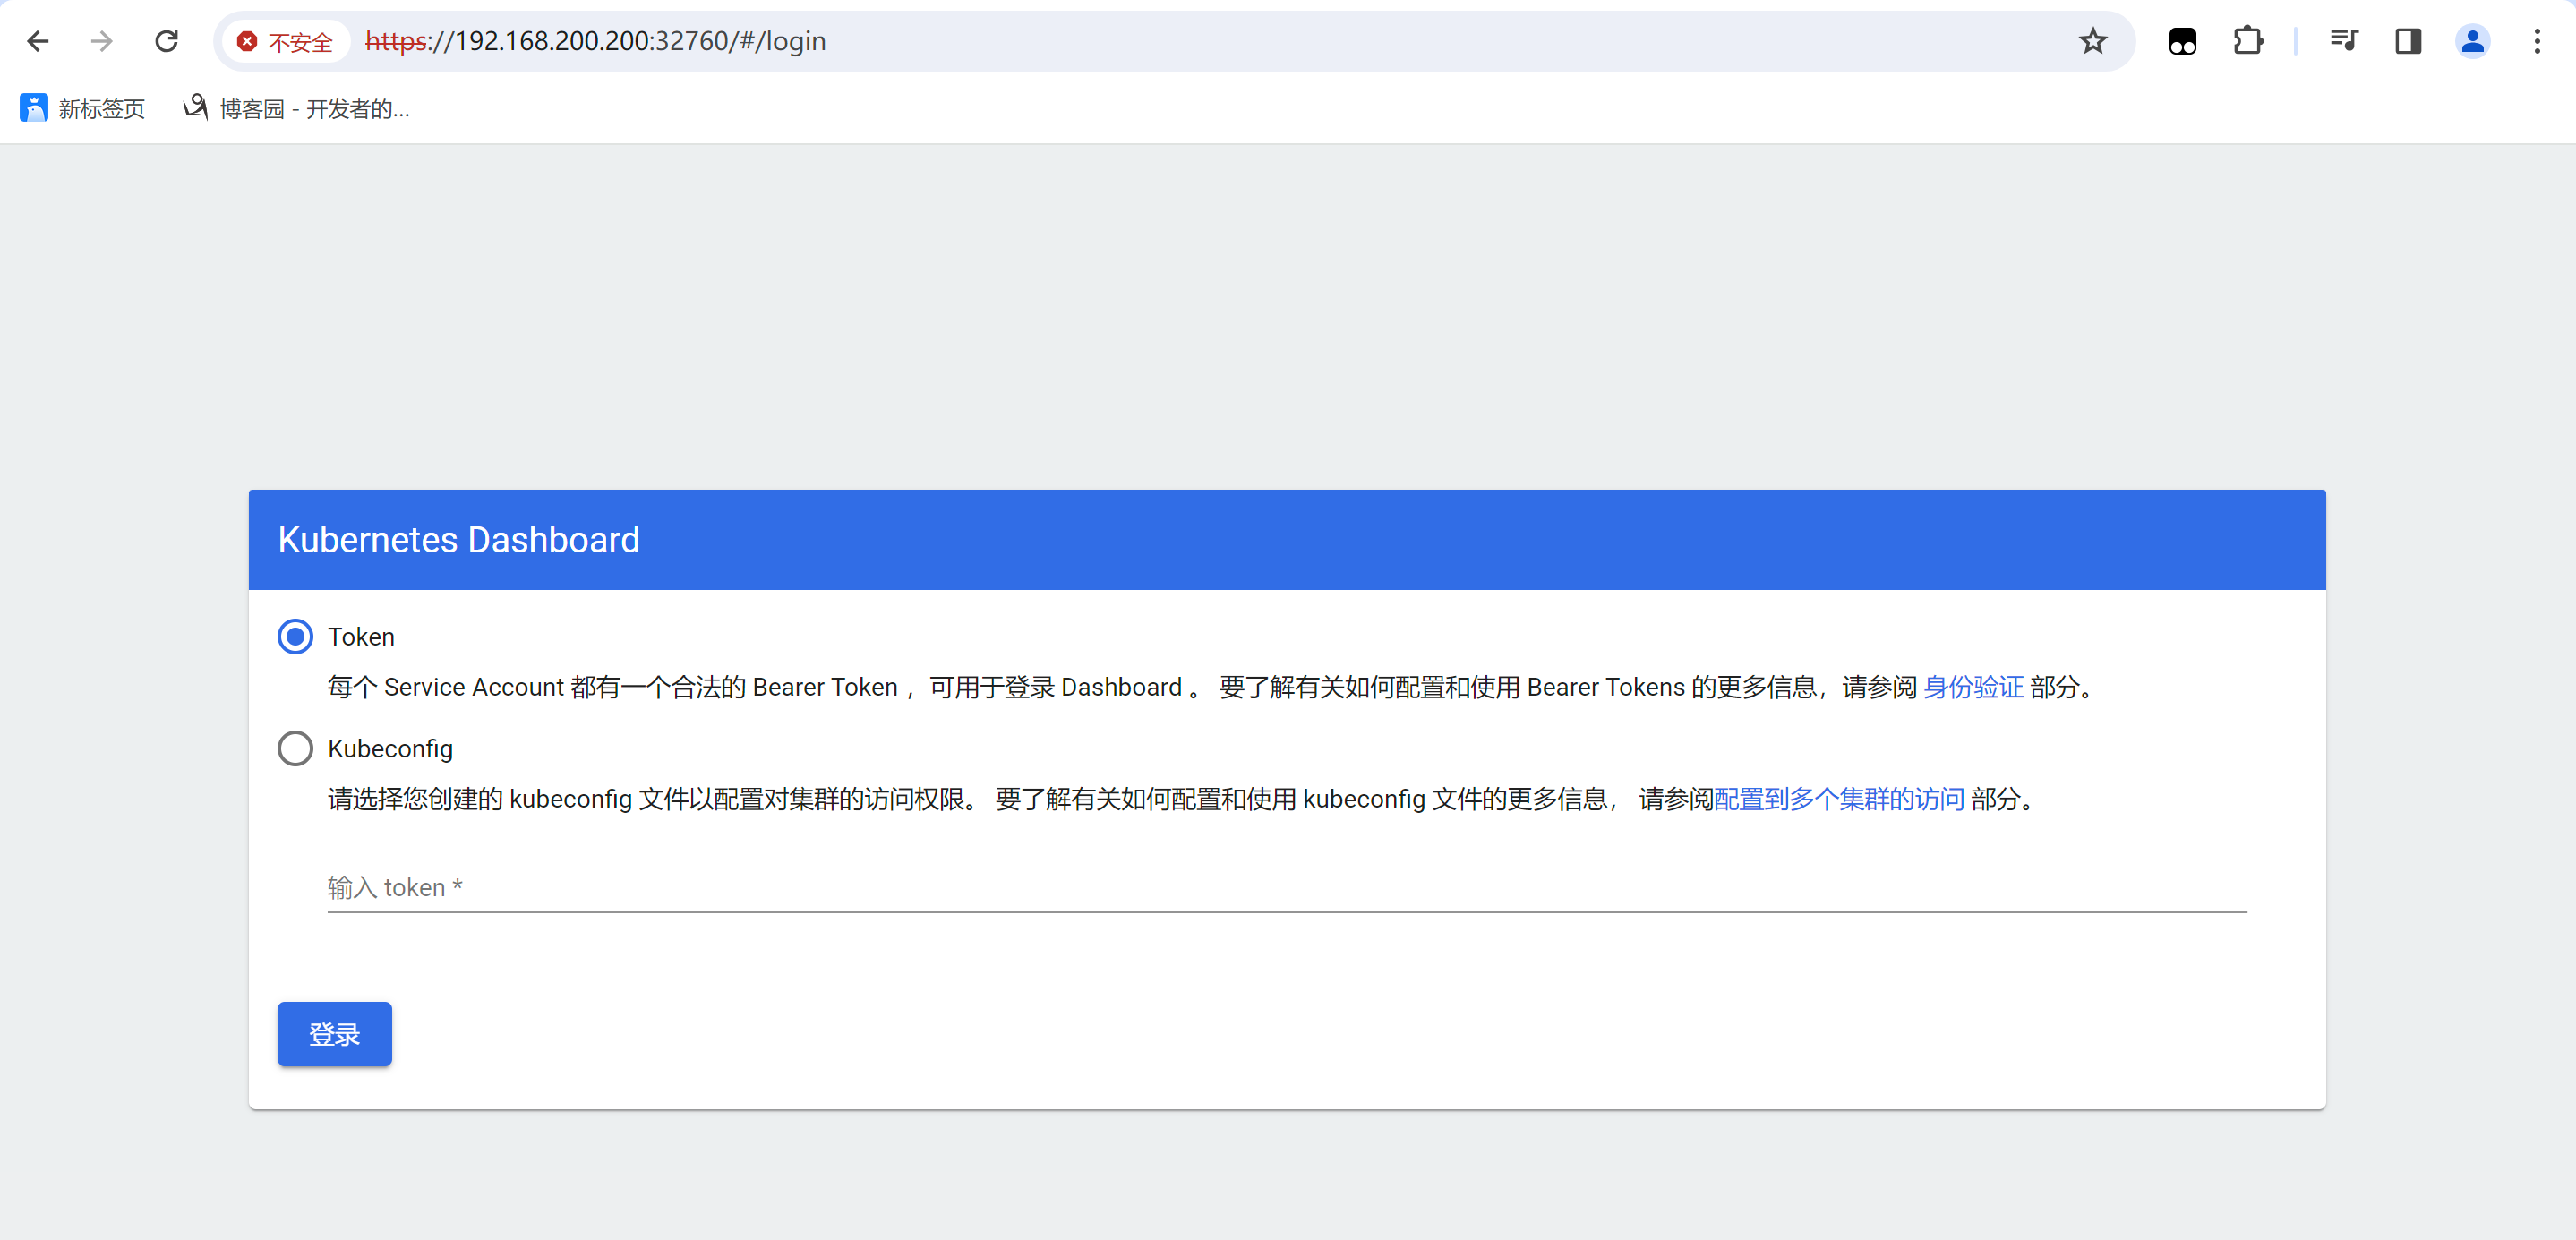
这个时候他需要我们登录,需要提供token,并且他还写了是SA的token,我们来创建一个SA
1. 创建SA
[root@master ~]# kubectl create sa dashboard -n kube-system
serviceaccount/dashboard created
2. 集群角色绑定
[root@master ~]# kubectl create clusterrolebinding dashboard-role --clusterrole admin --serviceaccount kube-system:dashboard -n kube-system
clusterrolebinding.rbac.authorization.k8s.io/dashboard-role created
3. 创建secret
apiVersion: v1
kind: Secret
metadata:
  name: dashboard-sec
  namespace: kube-system
  annotations:
    kubernetes.io/service-account.name: "dashboard"
type: kubernetes.io/service-account-token
[root@master dashboard]# kubectl apply -f secret.yaml -n kube-system
secret/dashboard-sec created
这样我们的secret就创建好了
4. 查看token
# 先查看一下secret
[root@master dashboard]# kubectl get secret -n kube-system
NAME            TYPE                                  DATA   AGE
dashboard-sec   kubernetes.io/service-account-token   3      83s
# 查看token
[root@master dashboard]# kubectl describe secret/dashboard-sec -n kube-system | tail -1
token:      eyJhbGciOiJSUzI1NiIsImtpZCI6InhaZDhHalByWHMxUmdudmlNRXJyVEJLN00tY3dvRW01blFUR3BkZnhwd0EifQ.eyJpc3MiOiJrdWJlcm5ldGVzL3NlcnZpY2VhY2NvdW50Iiwia3ViZXJuZXRlcy5pby9zZXJ2aWNlYWNjb3VudC9uYW1lc3BhY2UiOiJrdWJlLXN5c3RlbSIsImt1YmVybmV0ZXMuaW8vc2VydmljZWFjY291bnQvc2VjcmV0Lm5hbWUiOiJkYXNoYm9hcmQtc2VjIiwia3ViZXJuZXRlcy5pby9zZXJ2aWNlYWNjb3VudC9zZXJ2aWNlLWFjY291bnQubmFtZSI6ImRhc2hib2FyZCIsImt1YmVybmV0ZXMuaW8vc2VydmljZWFjY291bnQvc2VydmljZS1hY2NvdW50LnVpZCI6IjA4MmQ4ZDU2LTJhZjgtNDYzZC05NmNlLWY5NjRkOWExNjA1YiIsInN1YiI6InN5c3RlbTpzZXJ2aWNlYWNjb3VudDprdWJlLXN5c3RlbTpkYXNoYm9hcmQifQ.LY2KNuMDuC9UubrE0-BoMM2jNOVFAdgTGEFIwLL8q1G-HGQgb1L5Ou5FlpvLMH7lGM-vf8KyE6hjwpVeYuCP4DltXYy_bI6fLJJ8AA8-JTreeaBg4_RSi1ZiC8LbFZ-ZvDjHqyJA3xPv-Z-flUO6QcNxZTz3H3zI9fHx_jCxeaGiU1qcTpT1F9rApu9qQnQTWOCQtUlHgiephW4Co_40Vx_TNBowBCDynNeF8PkmXyrdUXQLb6OnIgPJe2DG5e0EH5EWzKWXqBqHczbfIXueGOfwkTWu-pim_ZSKc3LAwjPCVWcm4RzraBfS2Q4Ps3MeNtWuublCNxT5CvNeH_YaLw
这里就是我们所需要的token了,将他复制到登录页面
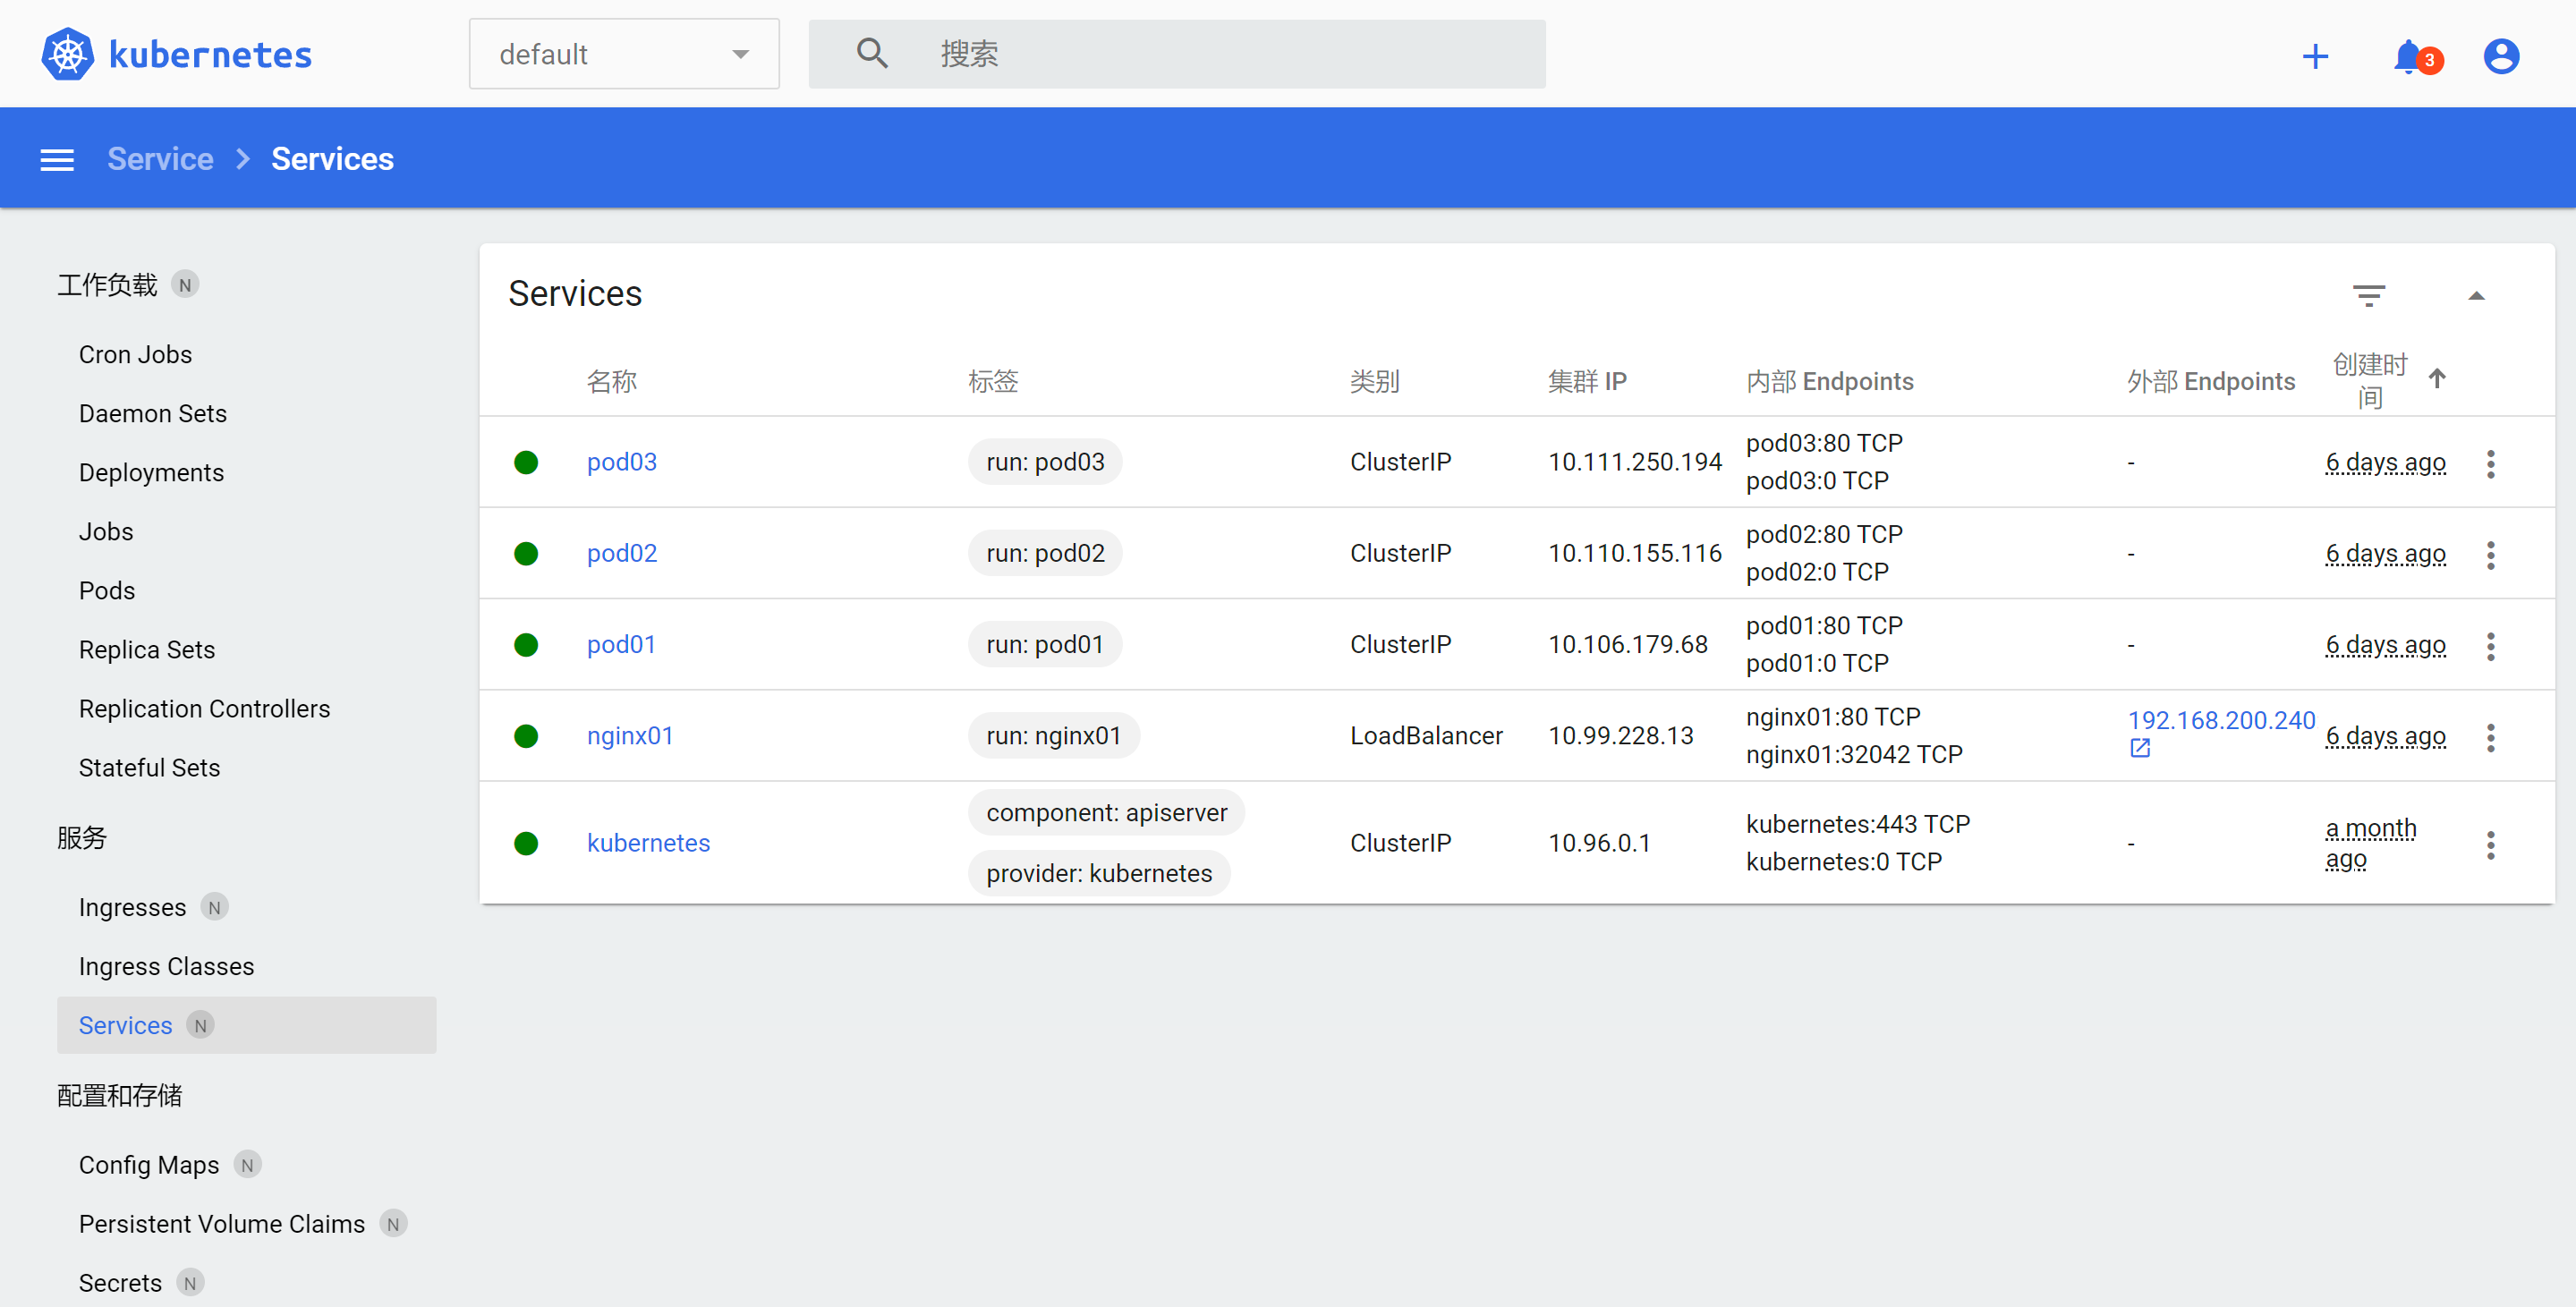
登录之后就是这样的了,在这里面也可以去创建pod,deployment之类的资源,但我认为这里创建比命令行更麻烦
图形化界面就安装完成了
helm
helm就类似于centos/redhat里面的yum包管理工具,或者说像OpenStack里边的heat,以及Ansible自动化运维都是跟这个类似的,看你怎么理解方便
我们先来说Anisble吧,在Ansible里面,你需要部署服务的话需要自己去编写playbook,但是你又觉得从头开始写比较的麻烦,怎么办呢?是可以这样的,Ansible里面有一个galaxy,这个工具可以从指定的源里面去下载别人写好的playbook,你只要保证网络能通,那么你下载好了之后就可以直接去使用了
helm也是这样,比如你想搞一个wordpress博客系统起来,你得自己做持久化存储,自己搭数据库,自己对接数据库,各种操作相当麻烦,但是helm可以让我们从指定的源里面下载别人已经写好的,我们直接拿回来用就可以了
当然,下载别人的helm只是其实的一个功能而已,并不是说他只能下载,就像Ansible一样,你也可以自己写playbook,不一定要去下载别人的,你写完之后去执行,那么Ansible就会按照你的剧本(playbook)里面写的步骤去帮你完成服务的部署
说起来麻烦,我们直接来使用就知道效果是什么了
安装helm
1. 下载tar包
[root@master opt]# wget https://get.helm.sh/helm-v3.14.1-linux-amd64.tar.gz
2. 解压
[root@master opt]# tar -zxvf helm-v3.14.1-linux-amd64.tar.gz
3. 配置环境变量
[root@master opt]# cd linux-amd64/
[root@master linux-amd64]# cp helm /usr/local/bin/
4. 配置helm补全
helm默认是和k8s一样没有补全的,你想要补全的话需要做一些配置
[root@master ~]# echo "source <(helm completion bash)" >> /etc/profile
这样helm就安装完成了,并且也是可以使用tab键补全的
配置helm源
我们先来看一下当前有没有源
[root@master ~]# helm repo list
Error: no repositories to show
他告诉我我们现在是没有源的
那么我们来添加一个
[root@master ~]# helm repo add Micro http://mirror.azure.cn/kubernetes/charts
"Micro" has been added to your repositories
[root@master ~]# helm repo list
NAME 	URL
Micro	http://mirror.azure.cn/kubernetes/charts
使用helm
我们配置好源了之后我们就可以来看看如何去使用了
1. search
[root@master ~]# helm search repo wordpress
NAME           	CHART VERSION	APP VERSION	DESCRIPTION
Micro/wordpress	9.0.3        	5.3.2      	DEPRECATED Web publishing platform for building...
2. pull
[root@master ~]# helm pull Micro/wordpress
[root@master ~]# ls
anaconda-ks.cfg  docker  k8s  off.sh  prometheus  wordpress-9.0.3.tgz
执行pull之后他就会将别人打包好的chart包下载到本地
3. 执行安装
3.1 解压
# 1. 将包进行解压
[root@master ~]# tar -zxvf wordpress-9.0.3.tgz
[root@master ~]# ls
anaconda-ks.cfg  docker  k8s  off.sh  prometheus  wordpress  wordpress-9.0.3.tgz
3.2 将pv持久化存储关闭
关闭pv是因为我们目前并没有定义,如果不关闭的话pod的状态会一直是pending
[root@master ~]# vim wordpress/values.yaml
321 persistence:
# 将322行的enabled 的 true改为false
322   enabled: false
# 还有这个地方
370     persistence:
371       enabled: false

# 关闭mysql的pv
[root@master ~]# vim wordpress/charts/mariadb/values.yaml
219   persistence:
220     ## If true, use a Persistent Volume Claim, If false, use emptyDir
221     ##
# 这个在222行
222     enabled: false
367   persistence:
368     ## If true, use a Persistent Volume Claim, If false, use emptyDir
369     ##
# 还有370行
370     enabled: false
# 另一个文件
[root@master ~]# vim wordpress/charts/mariadb/values-production.yaml
# 在222行和369行
219   persistence:
222     enabled: false
366   persistence:
369     enabled: false
3.3 安装
# 改完之后我们就可以开始安装了
[root@master ~]# helm install word ./wordpress
WARNING: This chart is deprecated
NAME: word
LAST DEPLOYED: Wed Feb 21 14:37:50 2024
NAMESPACE: zhangsan
STATUS: deployed
REVISION: 1
NOTES:
This Helm chart is deprecated

Given the `stable` deprecation timeline (https://github.com/helm/charts#deprecation-timeline), the Bitnami maintained Helm chart is now located at bitnami/charts (https://github.com/bitnami/charts/).

The Bitnami repository is already included in the Hubs and we will continue providing the same cadence of updates, support, etc that we've been keeping here these years. Installation instructions are very similar, just adding the _bitnami_ repo and using it during the installation (`bitnami/<chart>` instead of `stable/<chart>`)

```bash
$ helm repo add bitnami https://charts.bitnami.com/bitnami
$ helm install my-release bitnami/<chart>           # Helm 3
$ helm install --name my-release bitnami/<chart>    # Helm 2
To update an exisiting stable deployment with a chart hosted in the bitnami repository you can execute
$ helm repo add bitnami https://charts.bitnami.com/bitnami
$ helm upgrade my-release bitnami/<chart>
Issues and PRs related to the chart itself will be redirected to bitnami/charts GitHub repository. In the same way, we'll be happy to answer questions related to this migration process in this issue (https://github.com/helm/charts/issues/20969) created as a common place for discussion.
** Please be patient while the chart is being deployed **
To access your WordPress site from outside the cluster follow the steps below:
- Get the WordPress URL by running these commands:
NOTE: It may take a few minutes for the LoadBalancer IP to be available.
Watch the status with: 'kubectl get svc --namespace zhangsan -w word-wordpress'
export SERVICE_IP=$(kubectl get svc --namespace zhangsan word-wordpress --template "{{ range (index .status.loadBalancer.ingress 0) }}{{.}}{{ end }}")
echo "WordPress URL: http://$SERVICE_IP/"
echo "WordPress Admin URL: http://$SERVICE_IP/admin"
-
Open a browser and access WordPress using the obtained URL.
-
Login with the following credentials below to see your blog:
echo Username: user
echo Password: $(kubectl get secret --namespace zhangsan word-wordpress -o jsonpath="{.data.wordpress-password}" | base64 --decode)
你会看到这么一大串信息,这些并不是报错,这是他给出的提示信息

然后我们来看看pod的状态
```bash
[root@master ~]# kubectl get pods
NAME                              READY   STATUS    RESTARTS        AGE
word-mariadb-0                    1/1     Running   0               2m56s
word-wordpress-587fd89696-zj4c6   1/1     Running   1 (2m11s ago)   2m56s
正常情况下就都是running,如果状态是pending,那么说明你还有pv没有关闭,找到他关闭掉
3.4 访问
查看端口映射
[root@master ~]# kubectl get svc
NAME             TYPE           CLUSTER-IP      EXTERNAL-IP       PORT(S)                      AGE
word-mariadb     ClusterIP      10.105.148.14   <none>            3306/TCP                     3m6s
word-wordpress   LoadBalancer   10.98.198.201   192.168.200.242   80:31332/TCP,443:32209/TCP   3m6s
访问,因为我们之前配置过Load Balancer的地址池,所以这里会分配一个地址,可以直接通过这个地址去访问,或者你直接将这个svc的type改成nodeport也是可以的
3.5 获取登录的用户名和密码
在我们执行安装的时候给出的信息其实就包含了账号和密码
echo Username: user
echo Password: $(kubectl get secret --namespace zhangsan word-wordpress -o jsonpath="{.data.wordpress-password}" | base64 --decode)
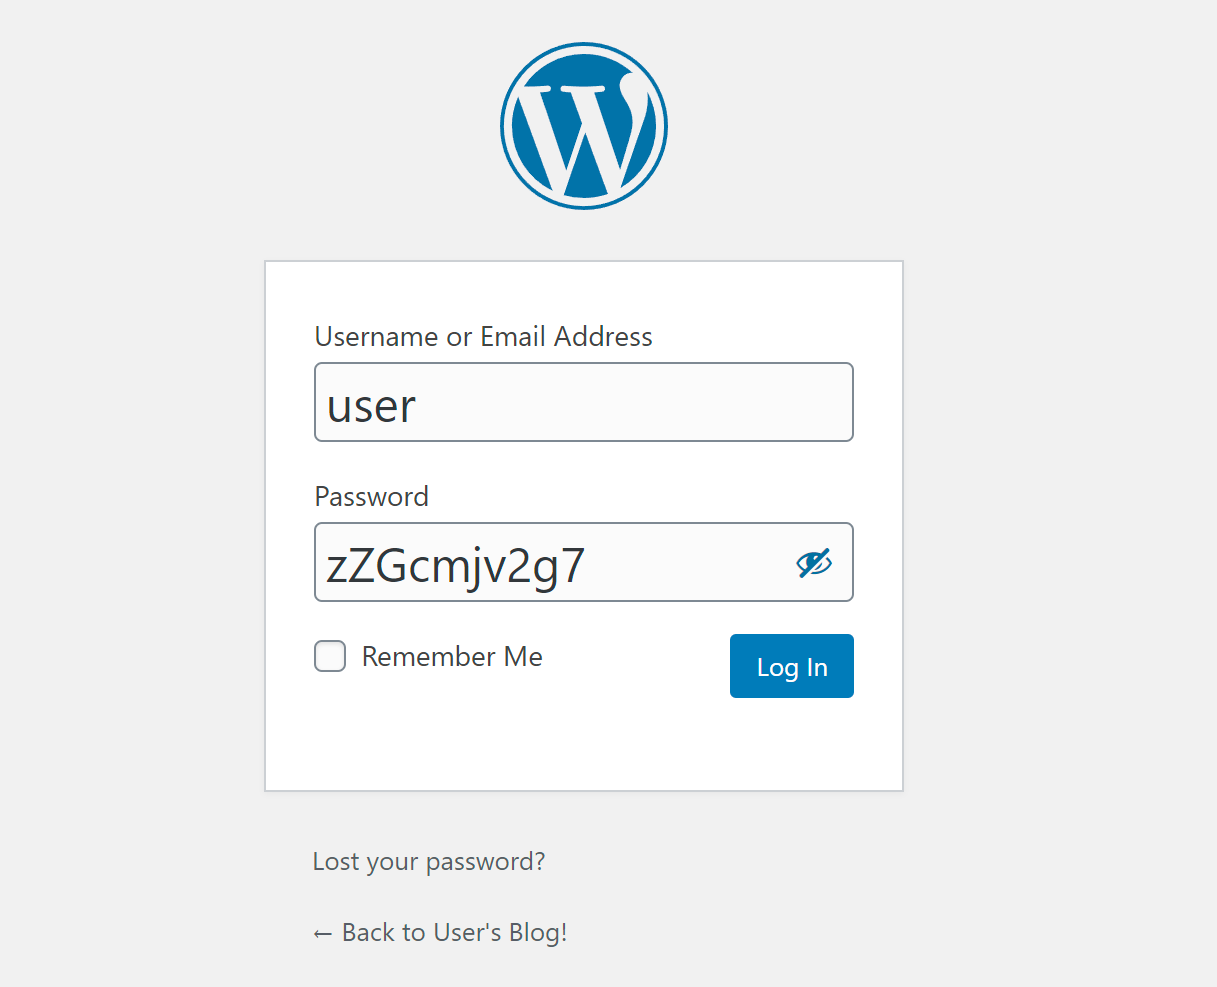
用户名就是user
密码是加密过的,我们通过他给出的这个命令来执行一下
[root@master ~]# echo Password: $(kubectl get secret --namespace zhangsan word-wordpress -o jsonpath="{.data.wordpress-password}" | base64 --decode)
Password: zZGcmjv2g7
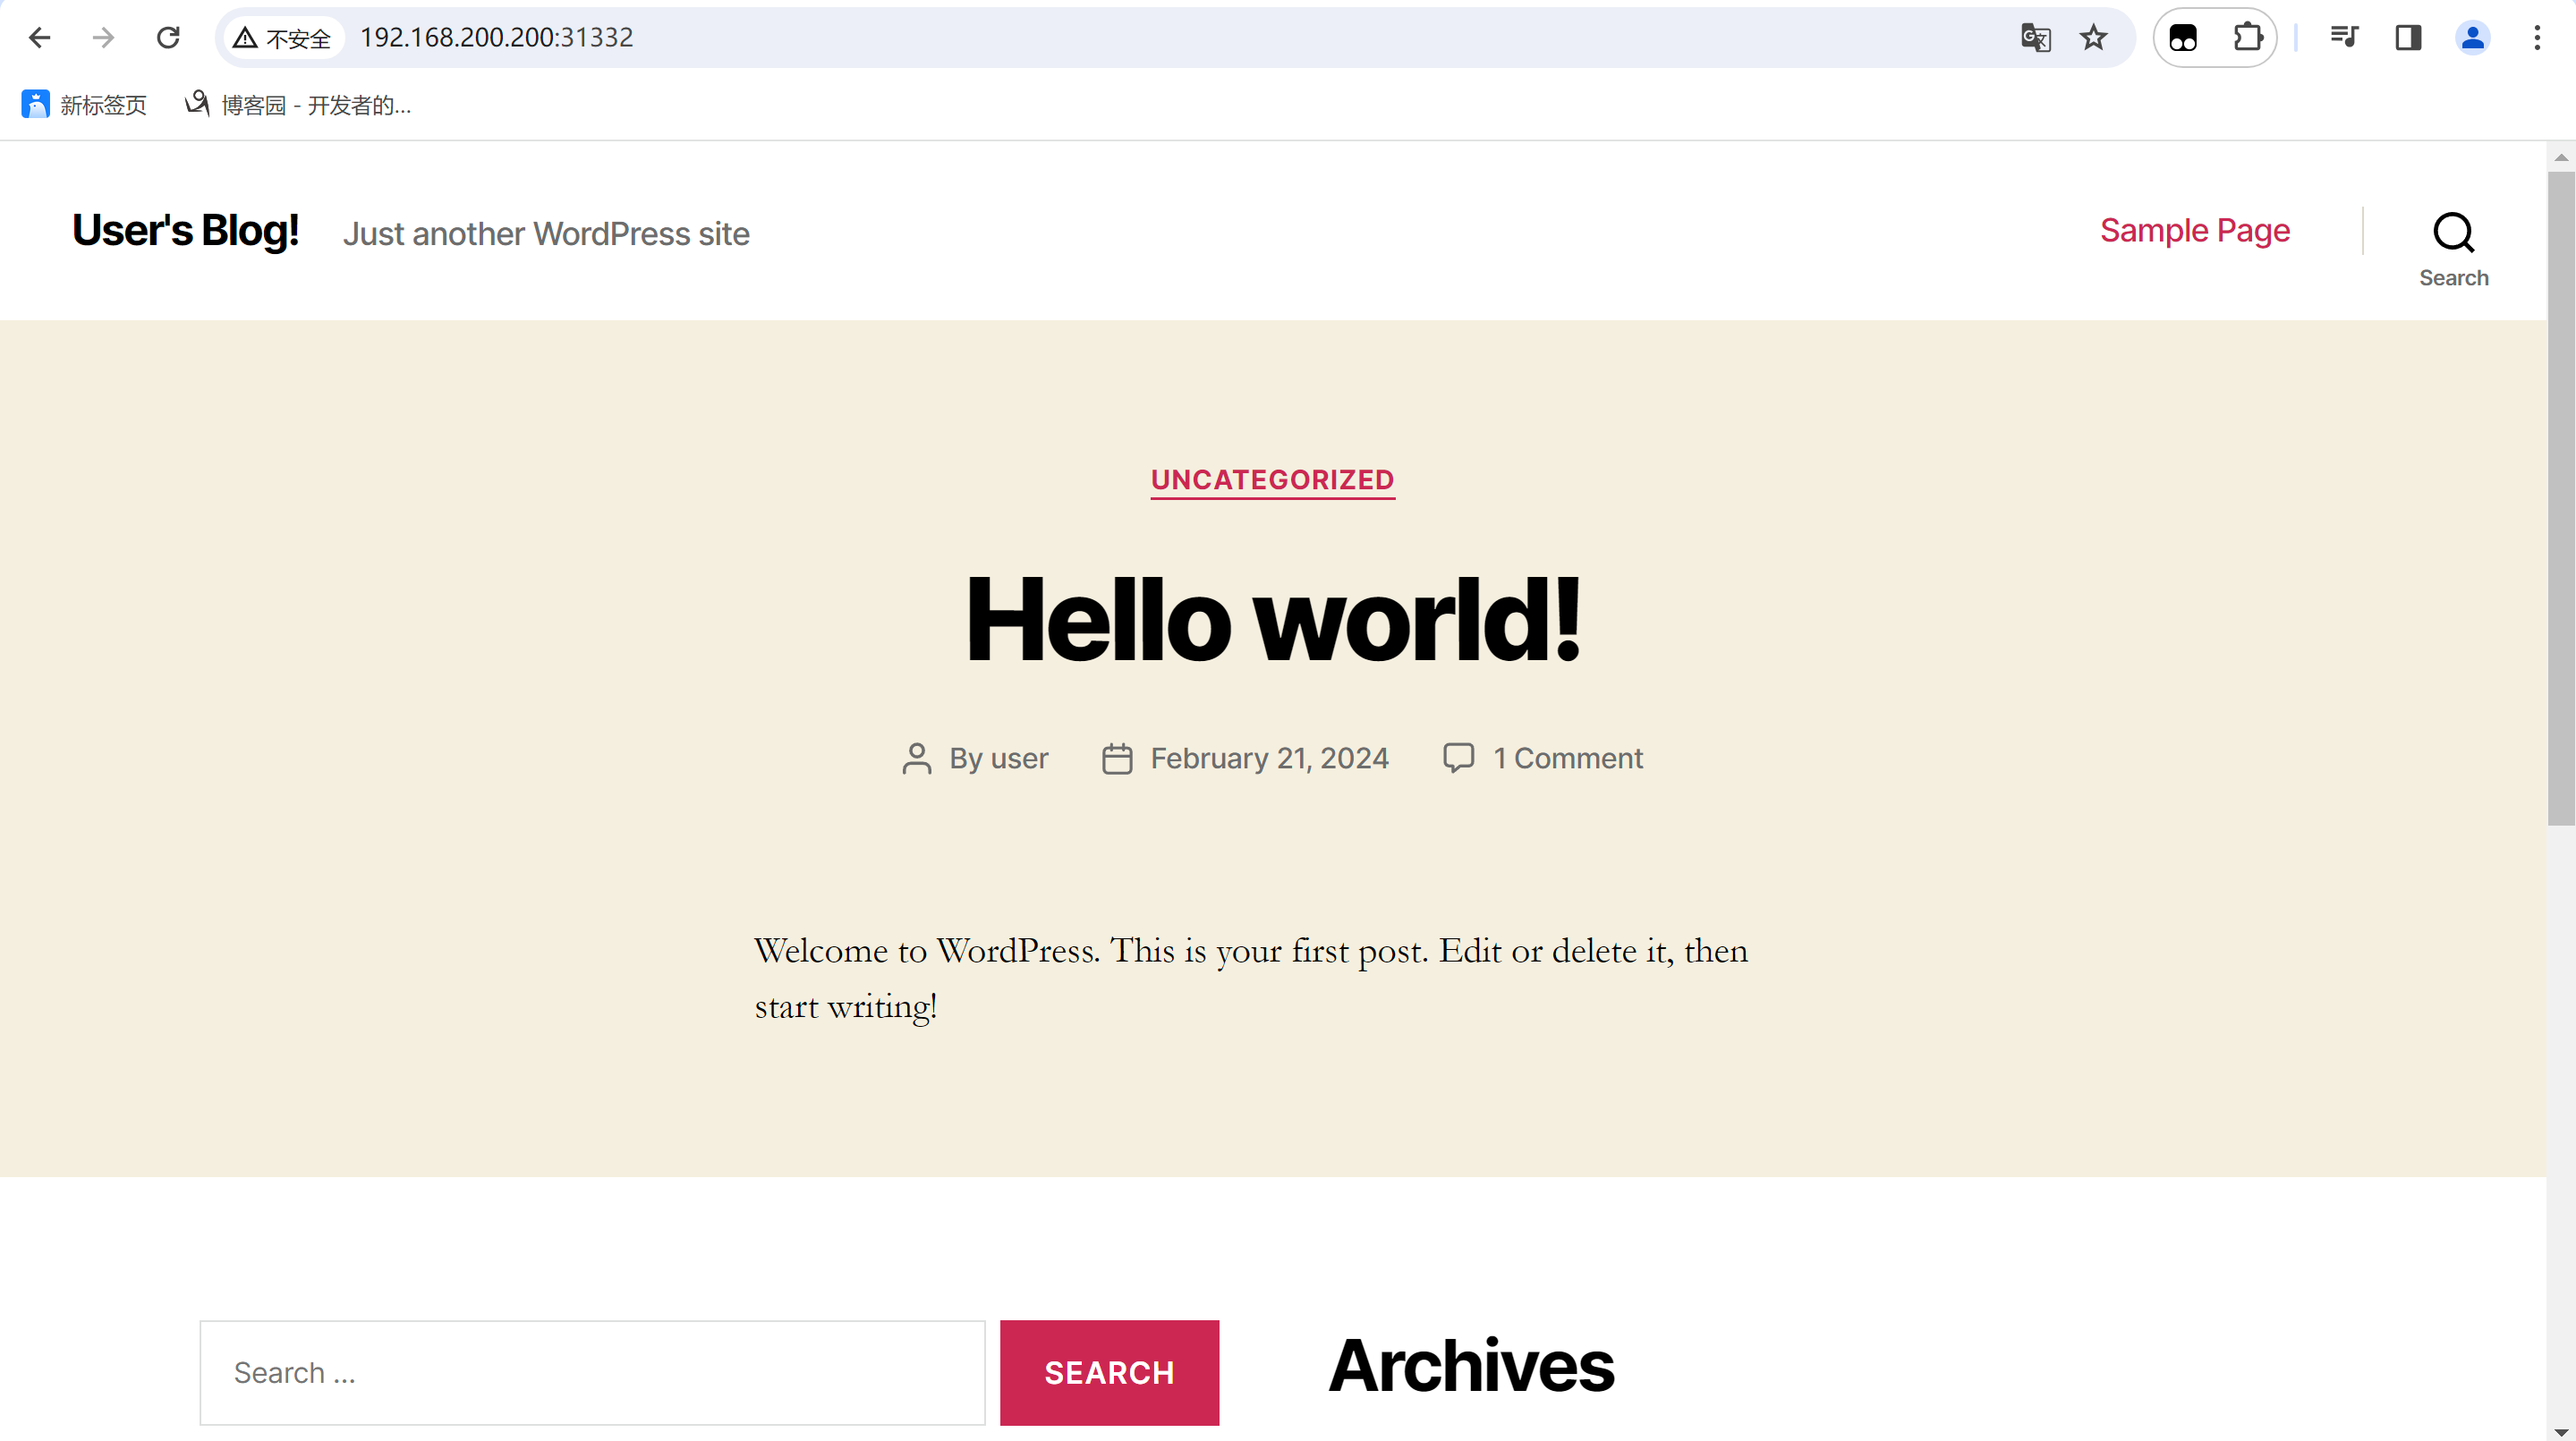
好的,我们现在知道了用户名和密码了来登录一下看看是不是的呢?
我们通过浏览器访问
http://节点ip:端口/wp-login.php
确实登录了,没有任何的问题
我们在安装的时候是关闭了pv的,如果你需要数据存储下来,那么你就自己创建pv就可以了,就不用将true改成false了
好了,这些就是helm的简单使用方法了,当然你也可以自己去写chart包
本文来自博客园,作者:FuShudi,转载请注明原文链接:https://www.cnblogs.com/fsdstudy/p/18025222

 浙公网安备 33010602011771号