[转]Power Automate Email Templates Made Easy
本文转自:Power Automate Email Templates Made Easy (matthewdevaney.com)
Power Automate email templates can show dynamic values from SharePoint as part of a beautifully formatted message. I’ve researched the best method to create responsive Power Automate email templates and I’ll show you where to find templates, how to add dynamic values and include images. You can customize it even further with your knowledge of HTML and CSS.
Table of Contents
• Introduction: The New Project Task Email Notification
• Setup The SharePoint List
• Trigger The Flow When An Item Is Created
• Select An HTML Email Template
• Send The Email Template To The Assigned Person
• Fill-In The Email Template With Dynamic Values
• Link The "Open Project Task Button" To The SharePoint List Item
• Get A Logo Image From A SharePoint Document Library
• Embed A Logo Image Into An Email Template
• Send An Email Template With A Logo Image
Introduction: The New Project Task Email Notification
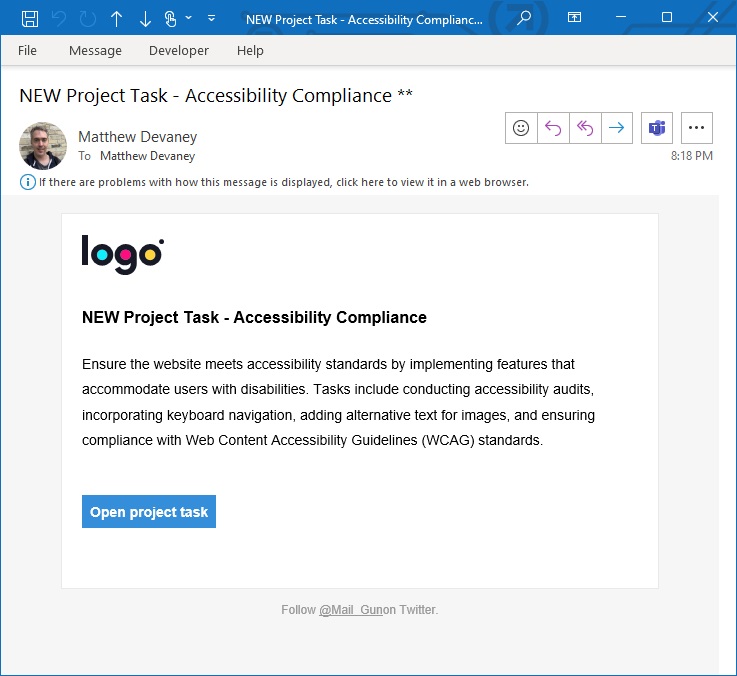
The project management department of a company uses Power Automate to notify team members when a new task is assigned to them. An responsive HTML email is sent with the company’s logo, details about the project task and a clickable button to open the task in a web browser.
Setup The SharePoint List
Create a SharePoint list named Project Tasks with the following columns:
- Title (single line of text)
- Description (multiple lines of text)
- Status (choices: Not Started, In Progress, Completed)
- AssignedTo (person type)
Populate the SharePoint list with this data:
| Title | Description | Status | AssignedTo |
| Homepage Redesign | Overhaul the homepage layout and content to create a more engaging user experience. Tasks include redesigning visual elements, optimizing call-to-action buttons, updating featured content, and ensuring mobile responsiveness for seamless viewing across devices. | Completed | Matthew Devaney |
| Navigation Restructuring | Improve website navigation by reorganizing menu structures, categorizing content more effectively, and implementing intuitive search functionality. Responsibilities include conducting user experience (UX) audits, creating new navigation pathways, and testing usability across various browser platforms. | In Progress | Sarah Green |
| Content Migration | Transfer and update existing website content to align with the new design and branding guidelines. Tasks involve reviewing and editing content for accuracy and relevance, optimizing images and multimedia elements, and ensuring consistent formatting throughout the site. | Not Started | Mary Baker |
| Performance Optimization | Enhance website performance by optimizing page load times, implementing caching strategies, and minimizing server requests. Responsibilities include conducting performance audits, optimizing codebase, and integrating Content Delivery Network (CDN) solutions for faster content delivery. | Completed | Matthew Devaney |
| Accessibility Compliance | Ensure the website meets accessibility standards by implementing features that accommodate users with disabilities. Tasks include conducting accessibility audits, incorporating keyboard navigation, adding alternative text for images, and ensuring compliance with Web Content Accessibility Guidelines (WCAG) standards. | In Progress | David Johnson |
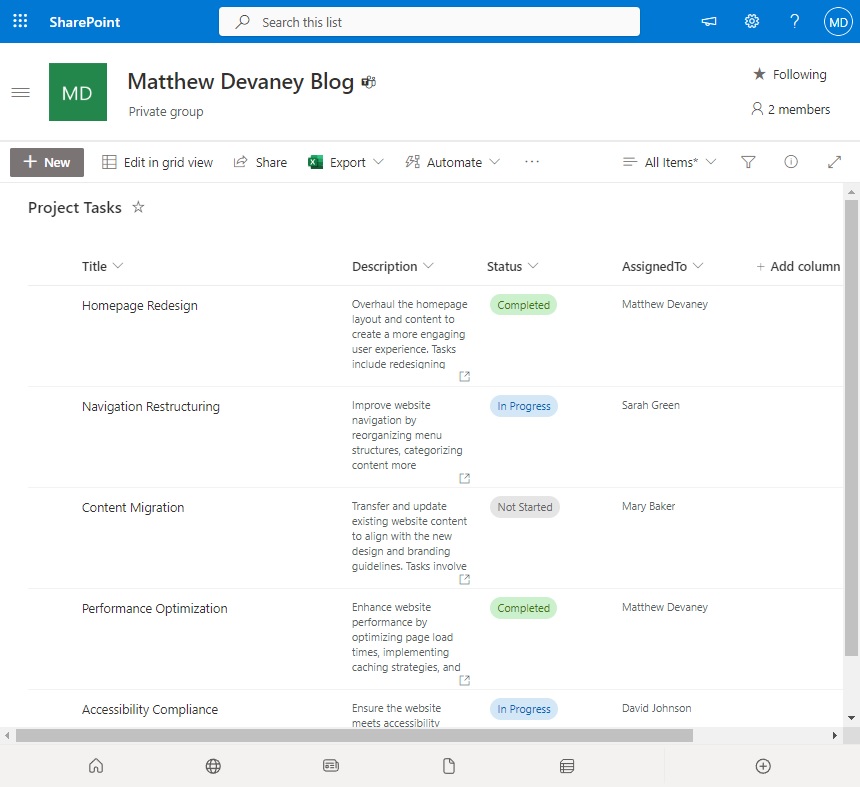
The Project Tasks list will look like this after it is setup.
Trigger The Flow When An Item Is Created
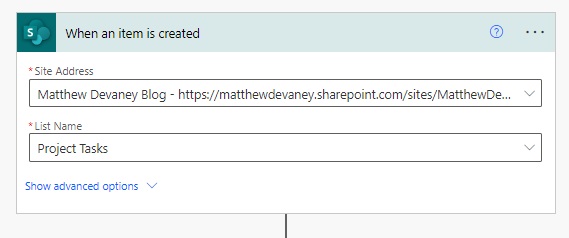
Open Power Automate and create a new automated flow. Select the trigger named SharePoint – When An Item Is Created and choose the Project Tasks list.
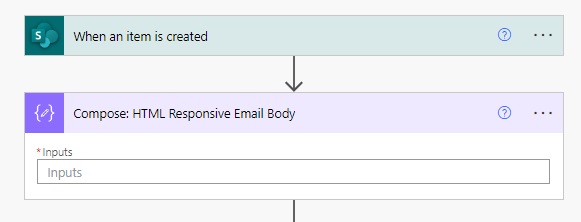
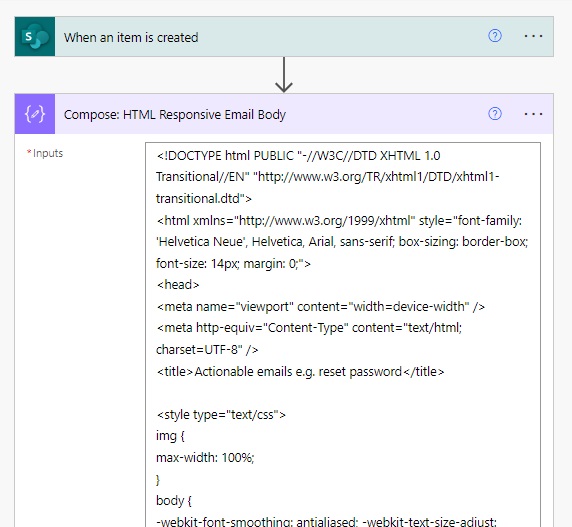
Add a Data Operations – Compose action beneath the trigger. We will fill the inputs field of the compose action with the email template body.
Select An HTML Email Template
There are many places on the internet to find email templates. Using the Google search terms “Responsive Transactional Email Templates” I found several good options. We will use a free template provided by Mailgun. Go to Mailgun’s transactional email templates Github repository and open the templates folder.
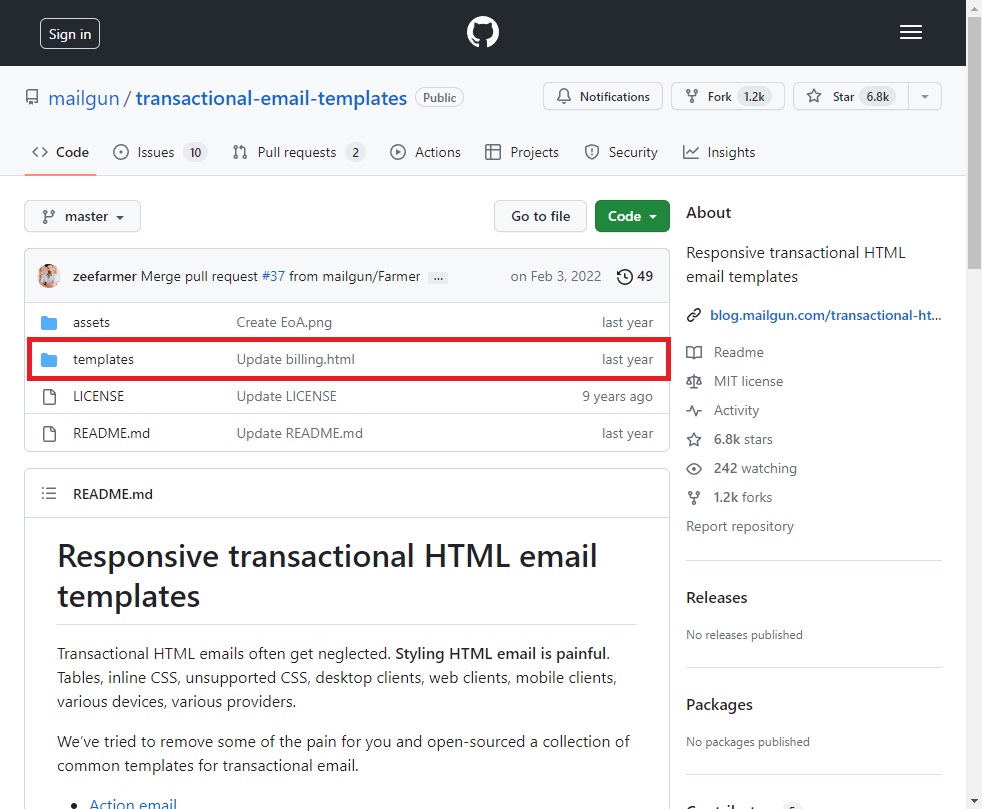
Browse to the location mailgun/transactional-email-templates/templates/inlined/action.html. This template has the CSS inlined which is required for sending HTML email.
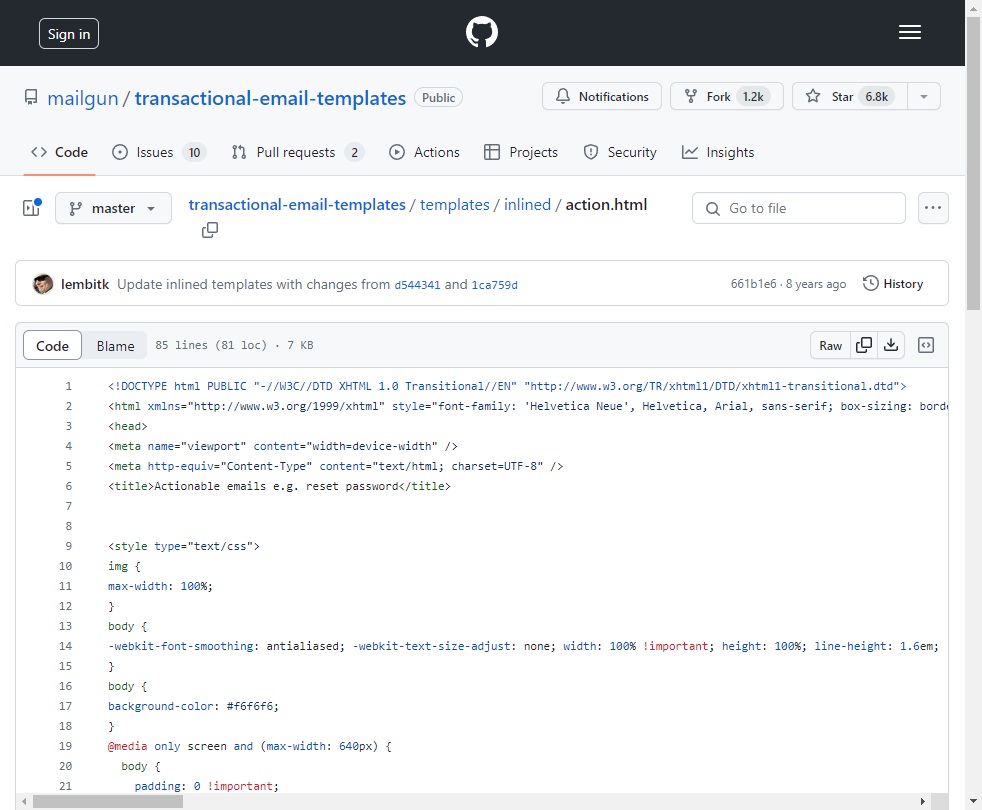
Copy and paste the HTML of the email template into the Compose action in Power Automate.
Send The Email Template To The Assigned Person
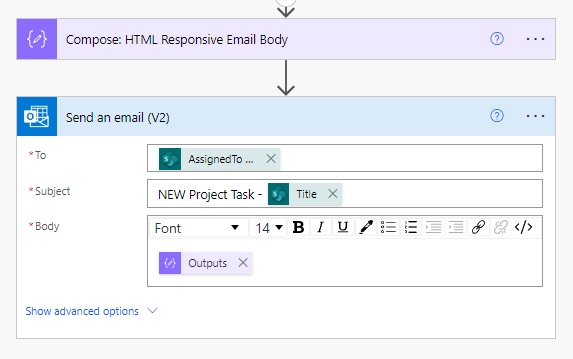
Before we fill-in the email template let’s try to send it to a recipient to ensure it works. Add an Office 365 Outlook – Send An Email (V2) action with the AssignedTo column in the To field. Include the Title column in the Subject line and use the Outputs of the Compose action in the email Body.
Test run the flow.
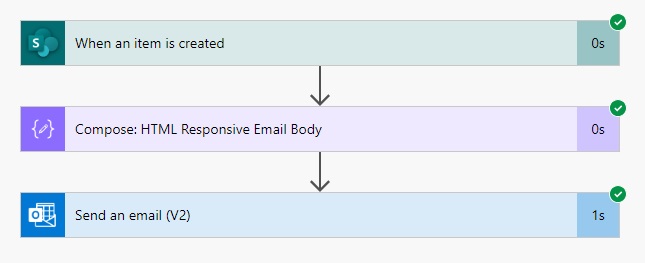
The HTML responsive email template looks like this.
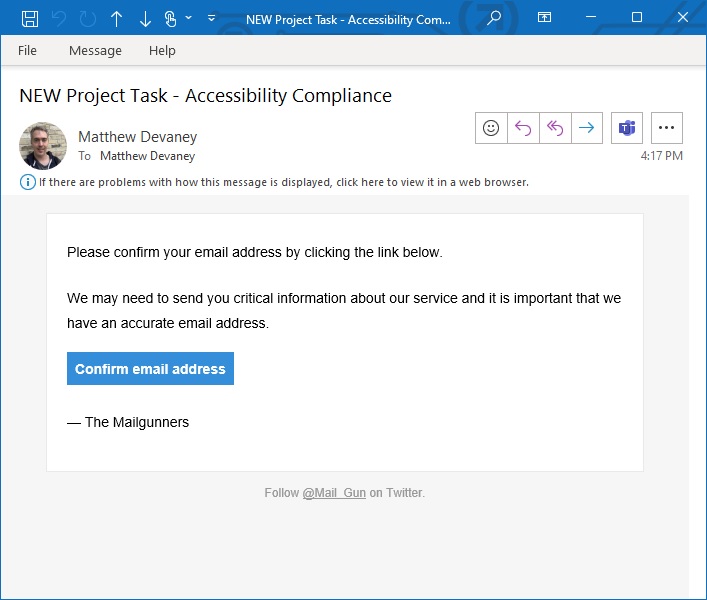
Fill-In The Email Template With Dynamic Values
We want Power Automate to fill-in the email template with values from the new SharePoint list item. First we will insert the Title into the template. Locate the text “Please confirm your email address…” inside of the Compose action.
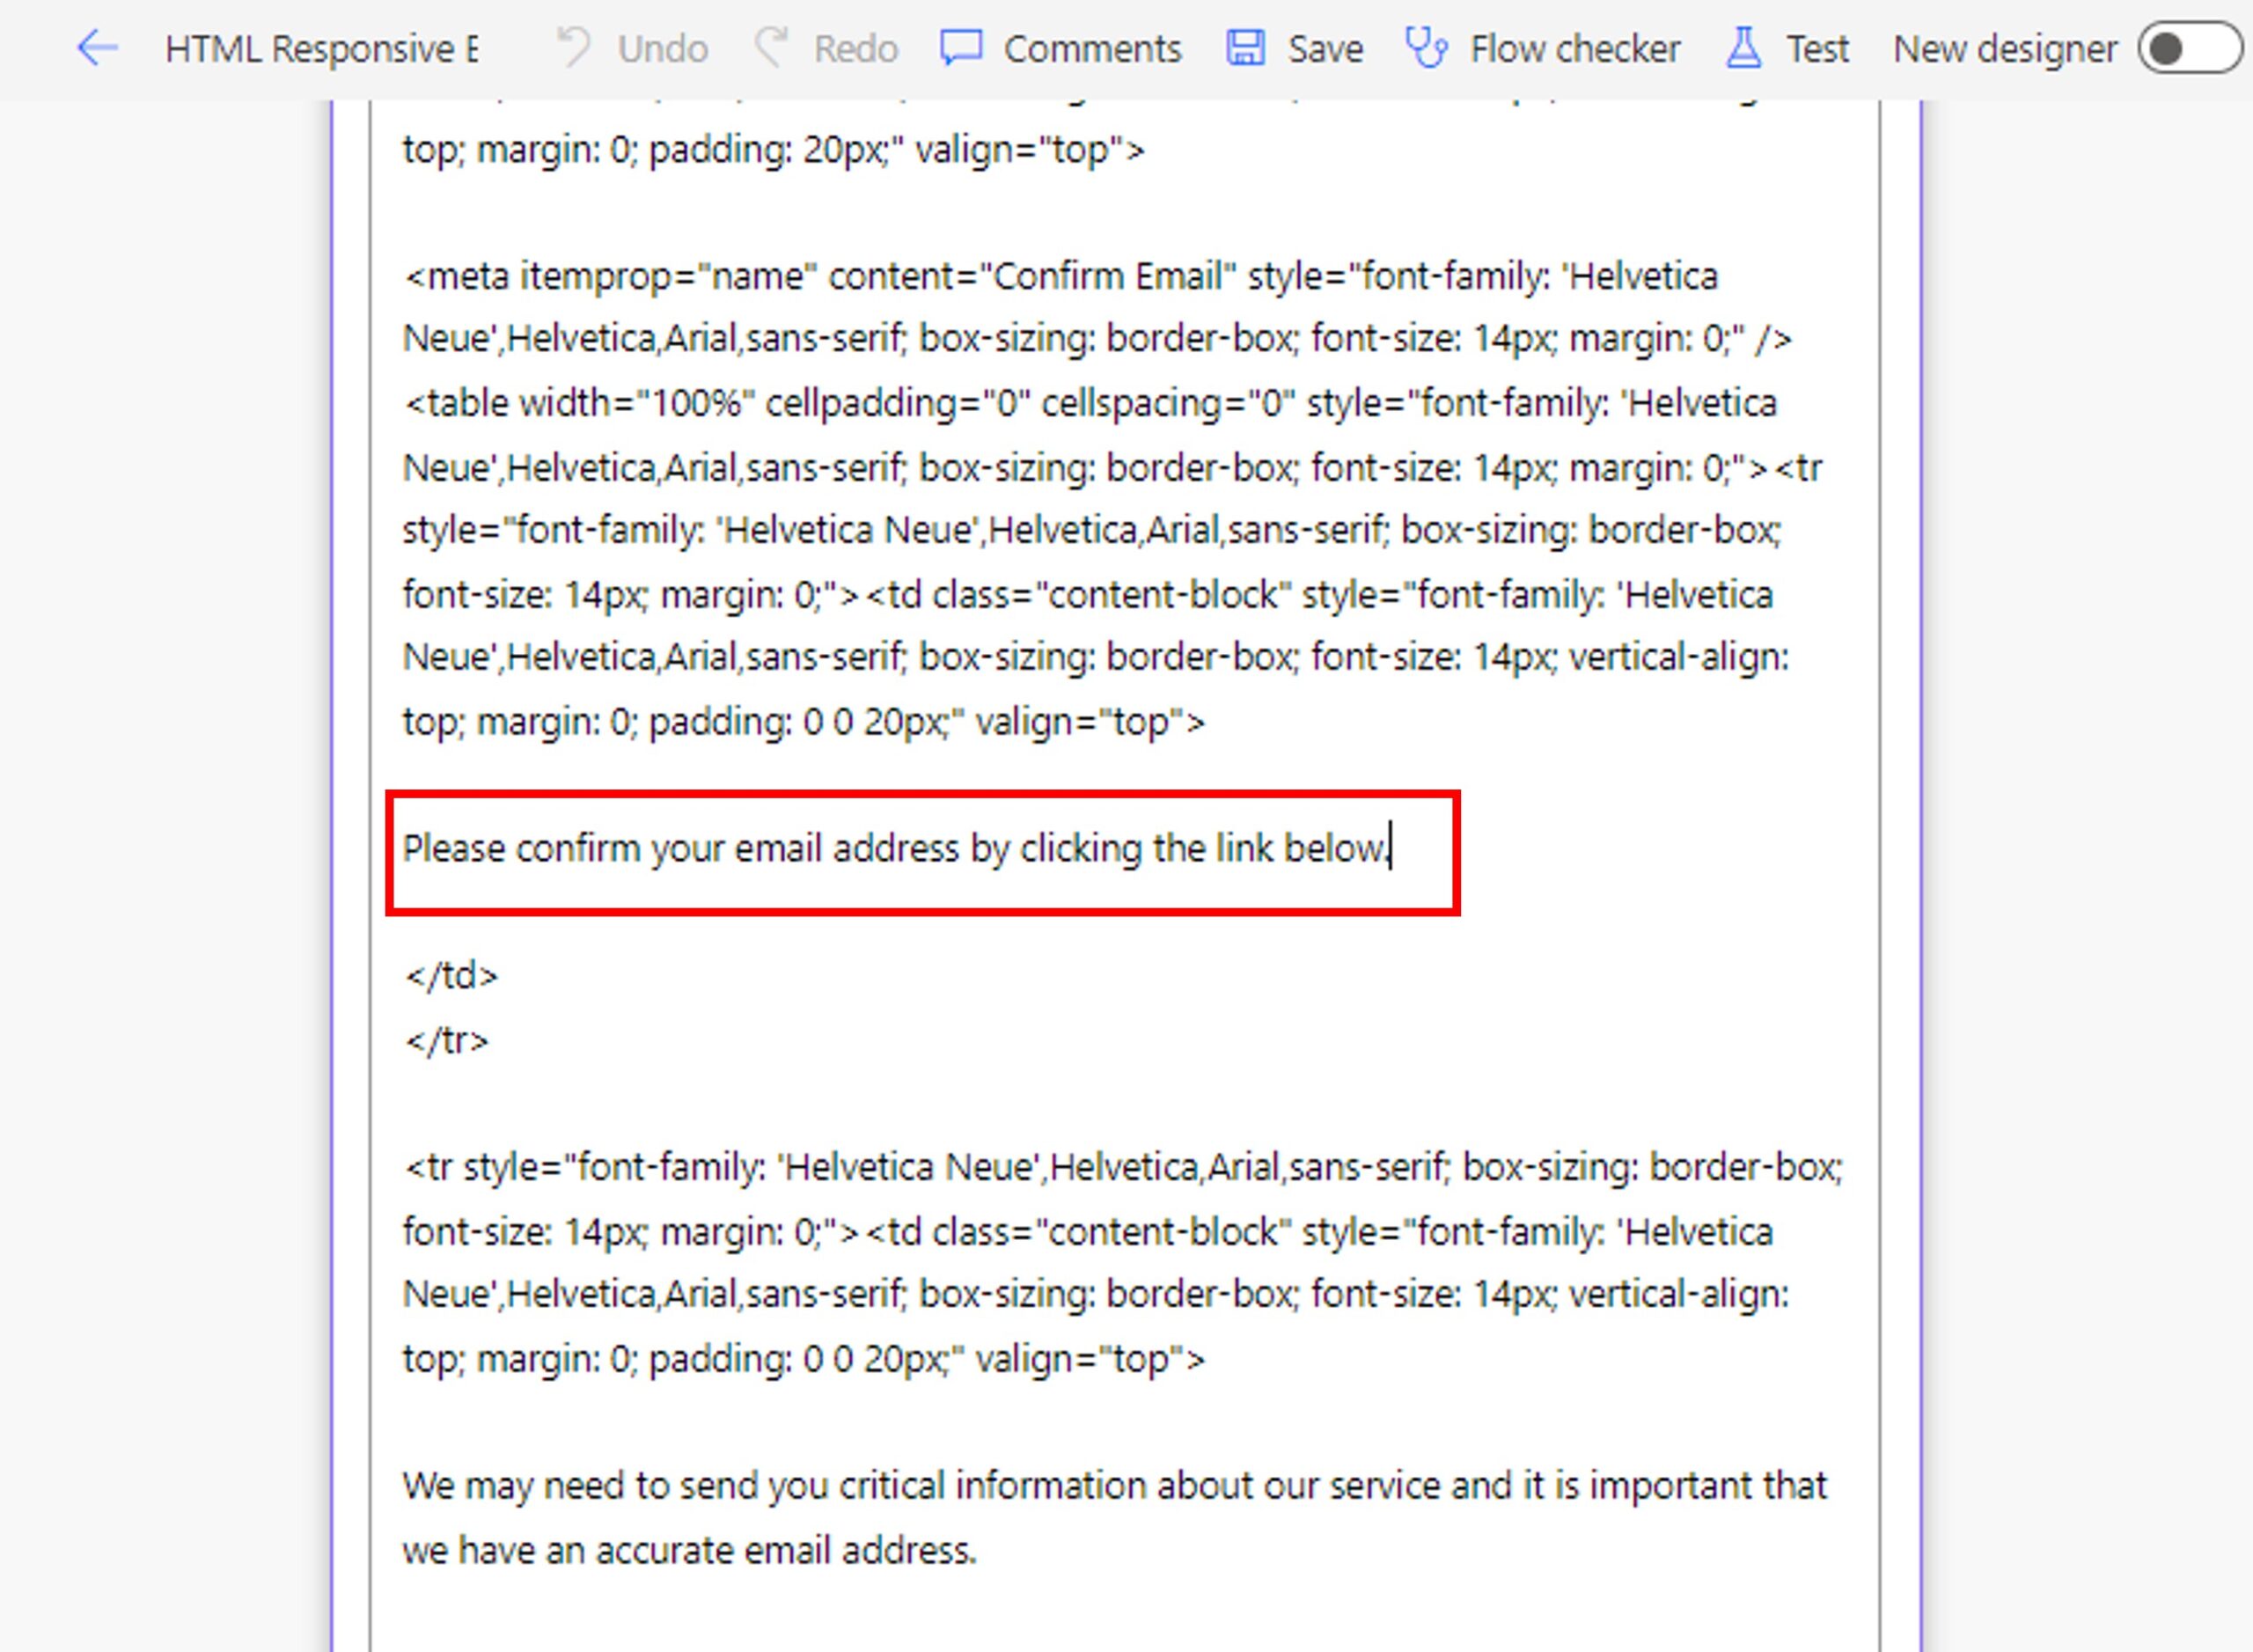
Then replace it with this code:
<h4>NEW Project Task - @{triggerOutputs()?['body/Title']}</h4>
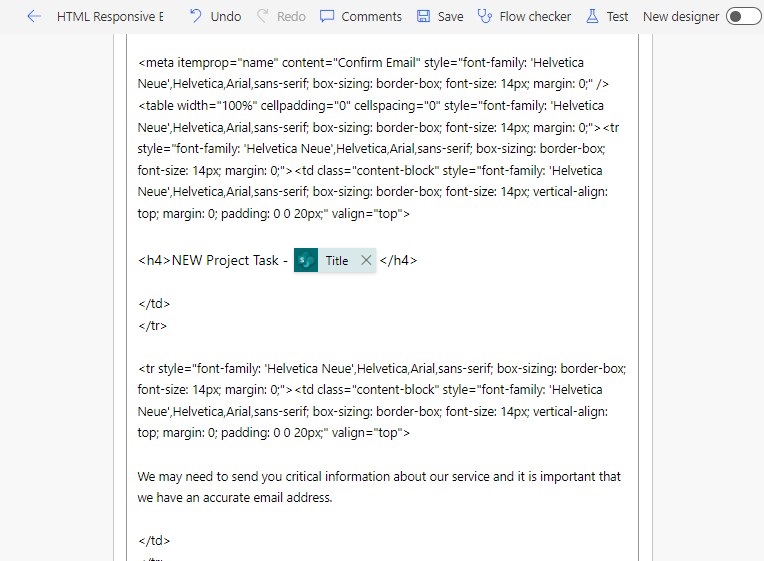
Next, find the text “We many need to send you critical information…”.
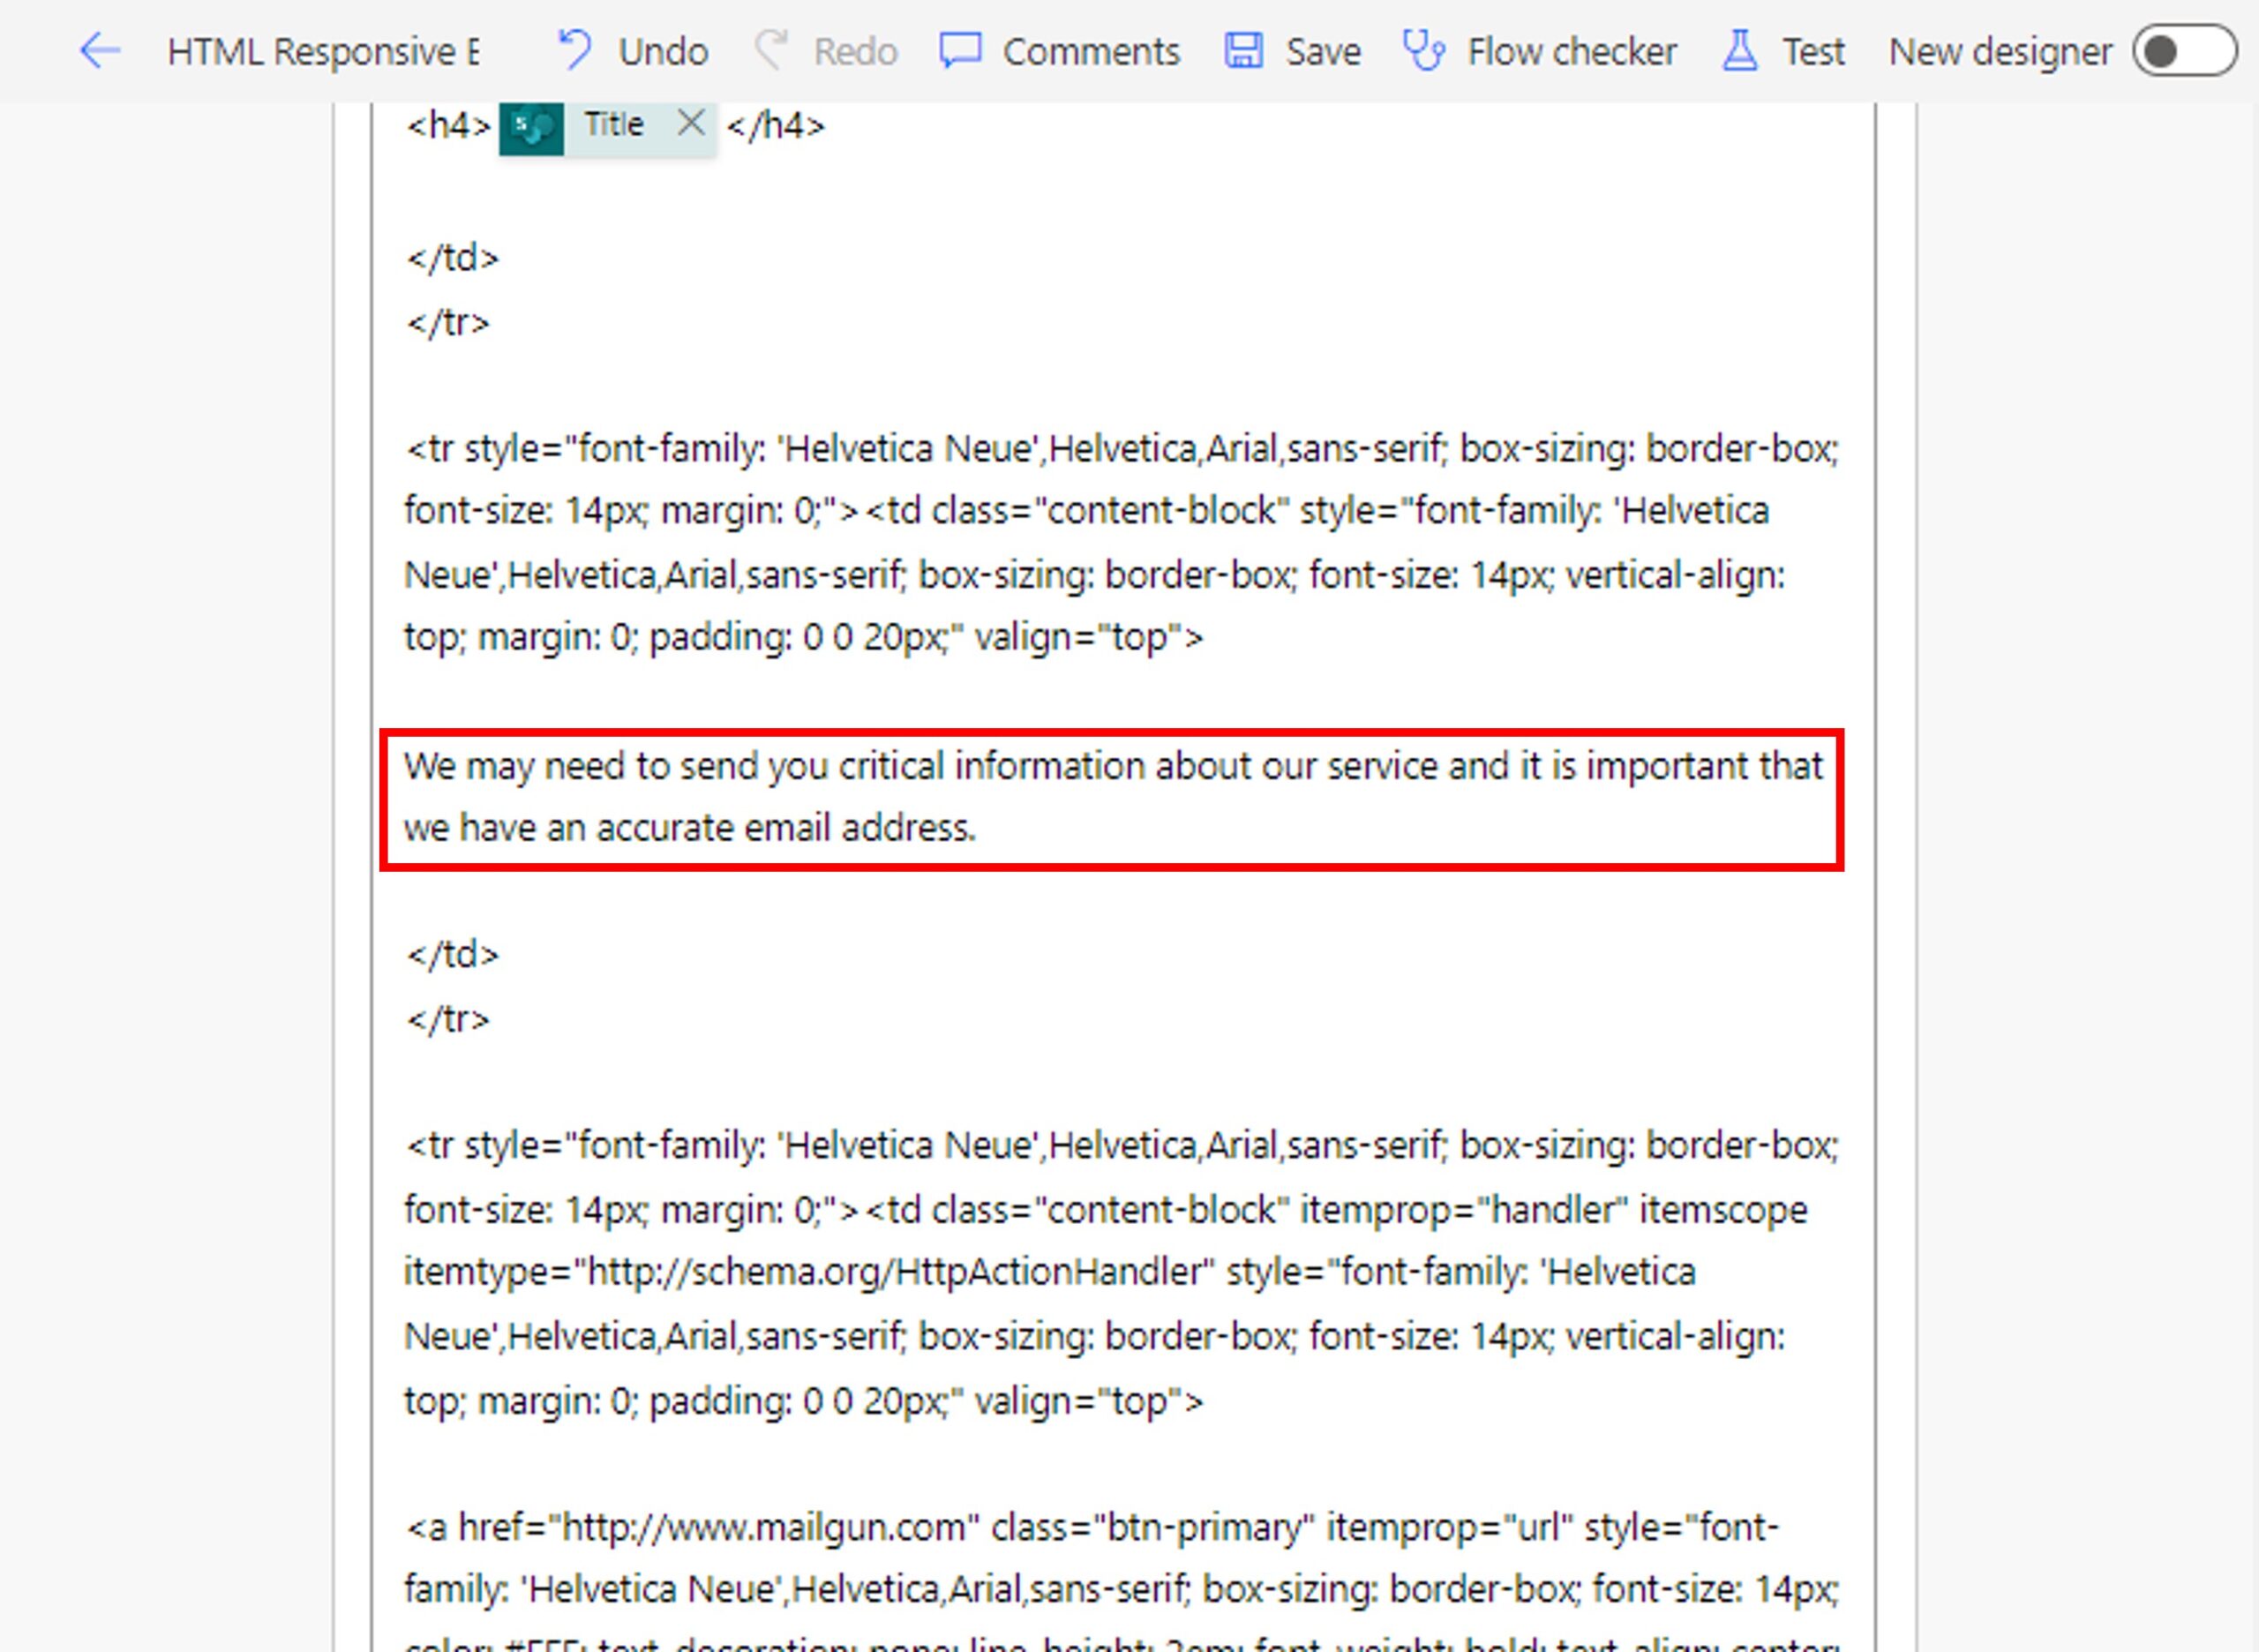
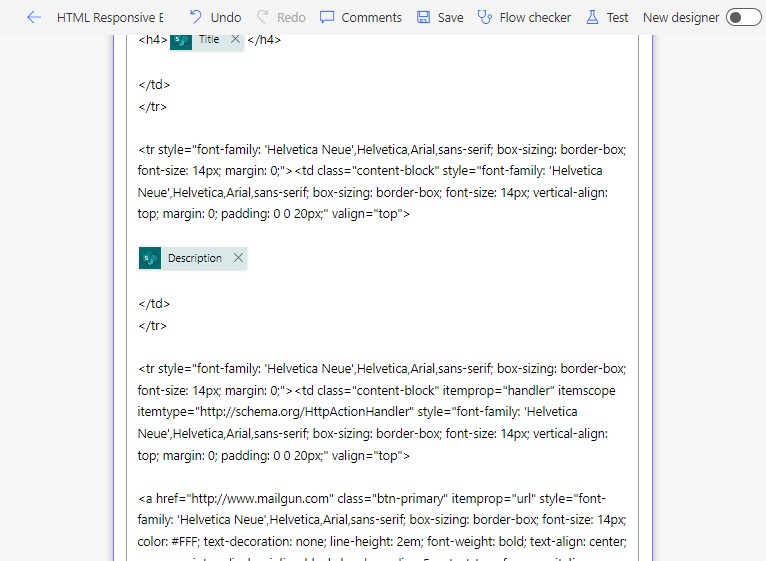
And replace it with the Description of the SharePoint list item instead.
Link The “Open Project Task Button” To The SharePoint List Item
When the email recipient presses the “Open Project Task” button it should navigate them the SharePoint list item in a web browser. Find the the HTML <a> tag with a link to mailgun.com and the text “Confirm Email Address.”
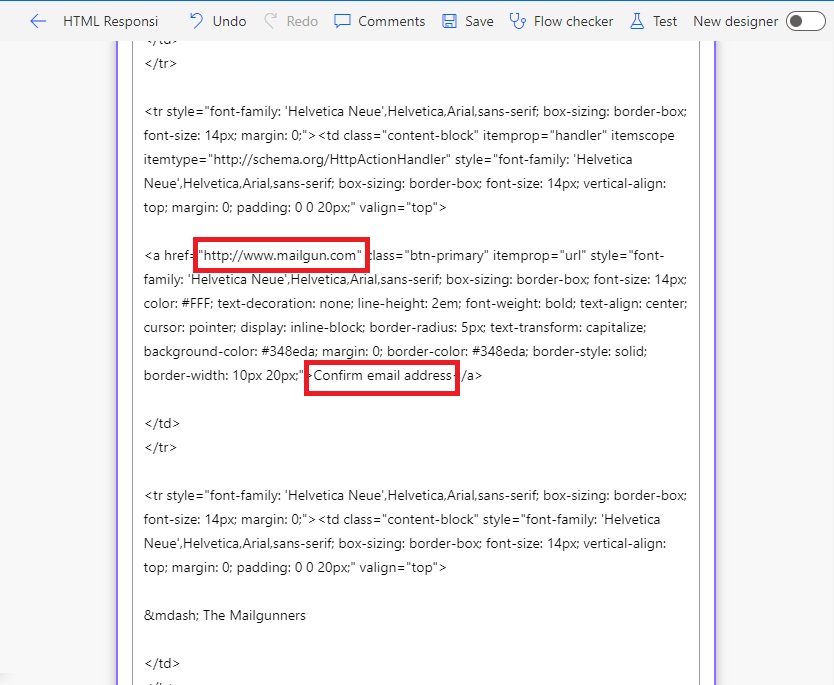
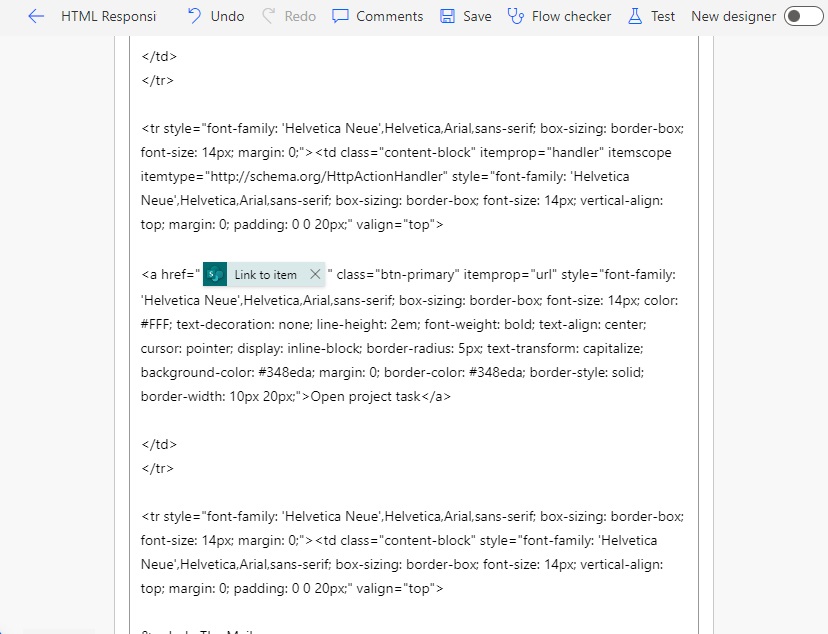
Replace the mailgun.com link with the SharePoint Link to item value and use the text “Open project task” instead.
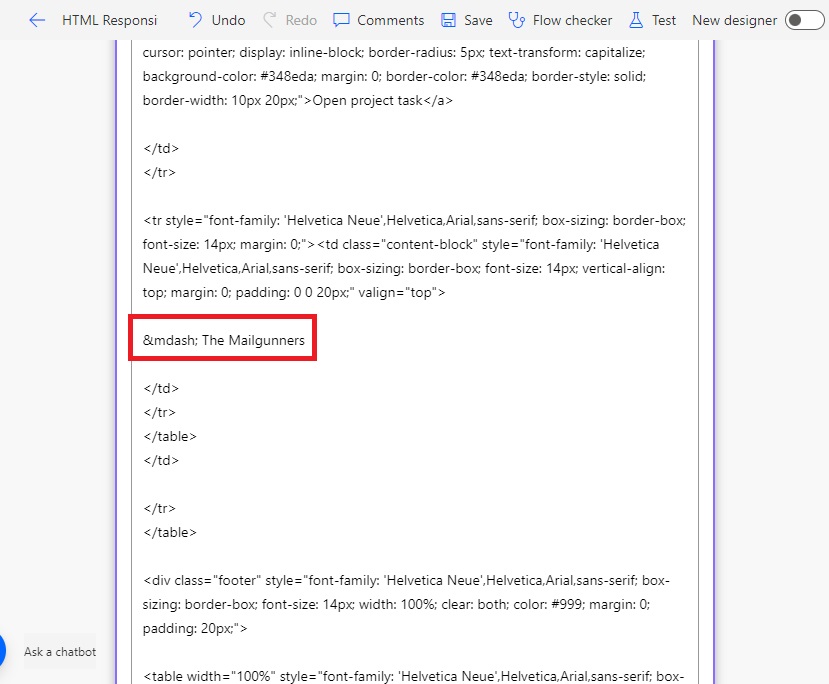
Remove “— The Mailgunners” from the HTML code.
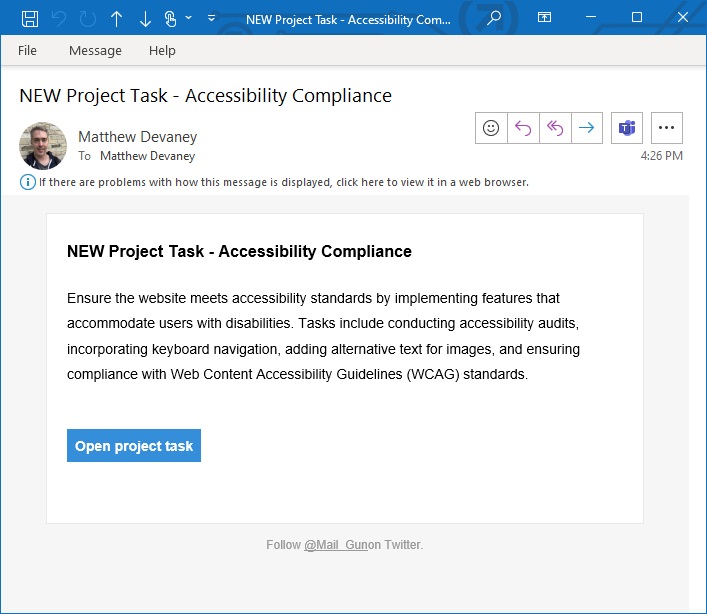
Resend the test email. The email template is now filled with dynamic values from SharePoint
Get A Logo Image From A SharePoint Document Library
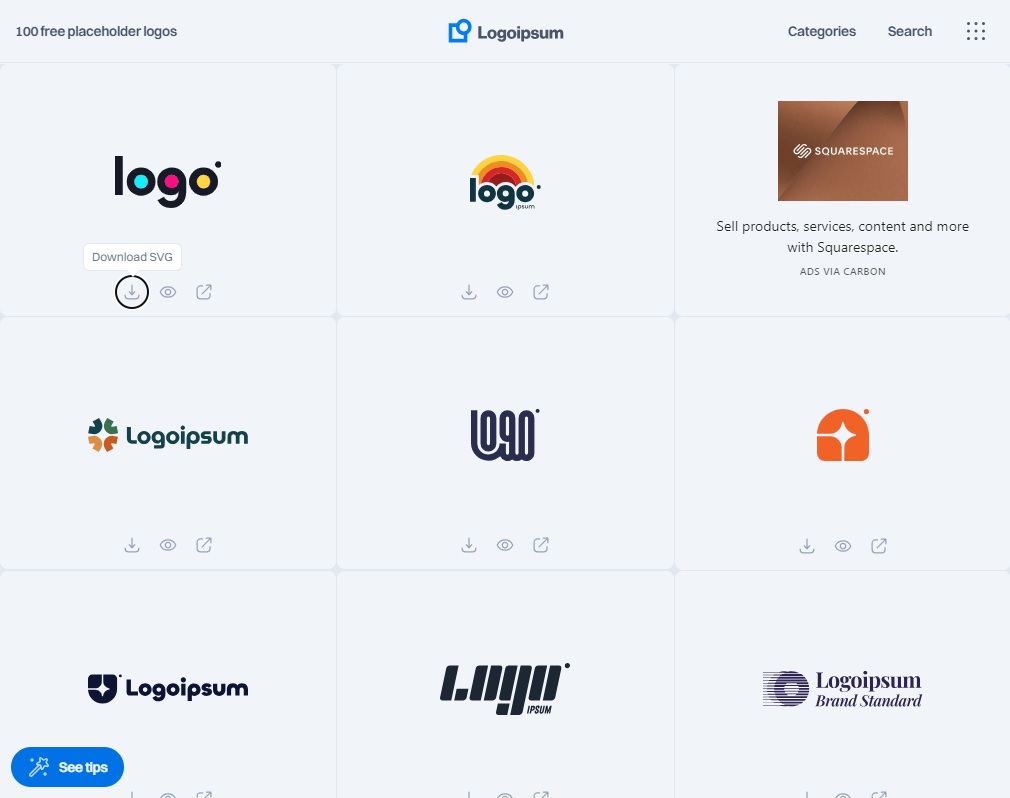
As a final touch we can add a company logo image to the email template. Go to logoipsum.com and download any sample svg image.
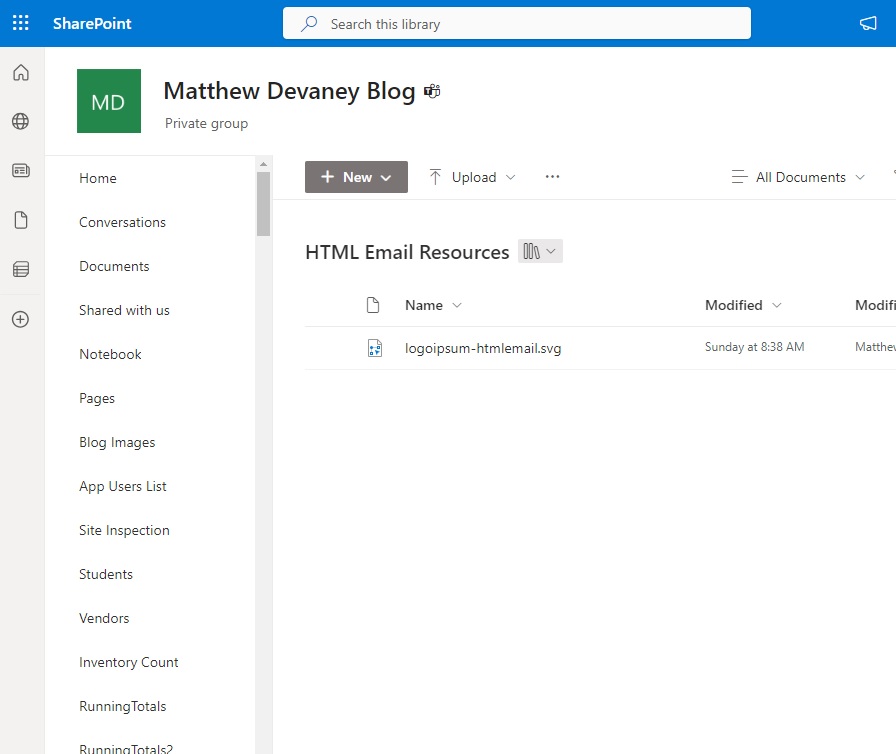
Create a new SharePoint document library named HTML Email Resources and save the logo image to it.
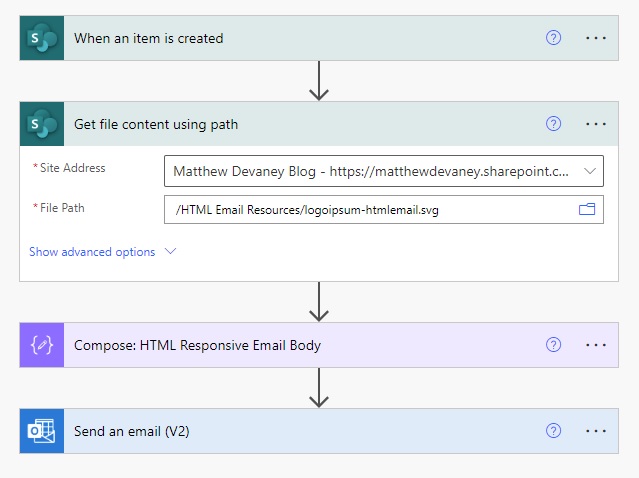
Then go back into the flow an add a SharePoint – Get File Content Using Path step after the trigger. Select the logo image we just uploaded to SharePoint.
Embed A Logo Image Into An Email Template
Now we will embed the logo image into the email template using the Content-ID method. Locate the table tag shown in the screenshot below and insert the new <img> tag code inside of the red box.
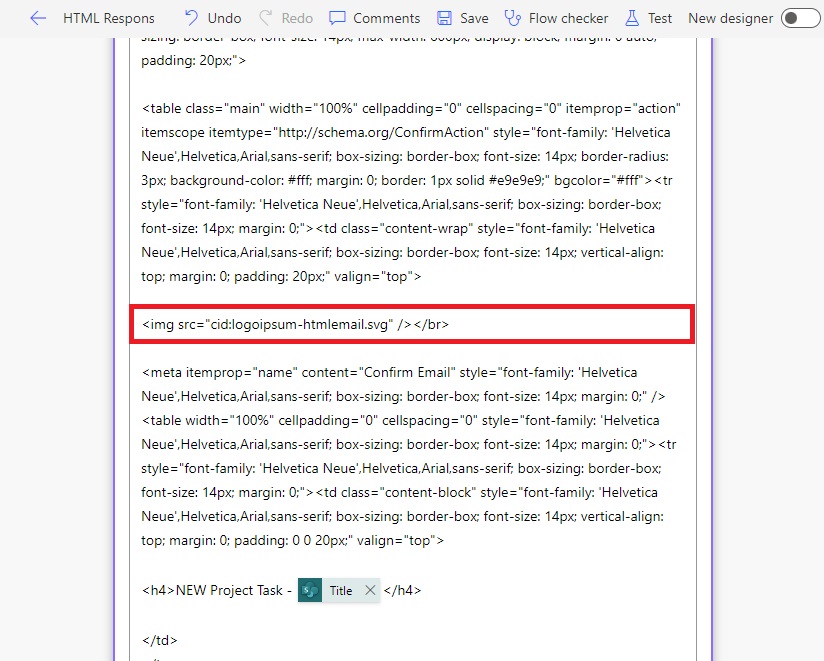
Copy and paste this code into the Compose action. Make sure the filename matches the logo image stored in SharePoint.
<img src="cid:logoipsum-htmlemail.svg" /></br>
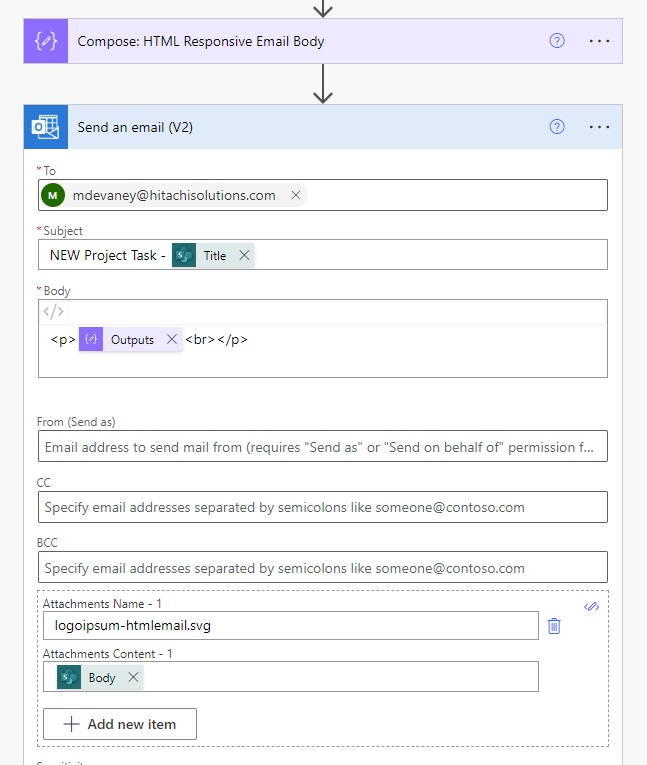
Update the Send An Email action to include an attachment. Use the same attachment name and extension as in SharePoint and supply the Body of the get content action to the attachments field.
Send An Email Template With A Logo Image
To see the logo image appear in the email give the flow a test run.
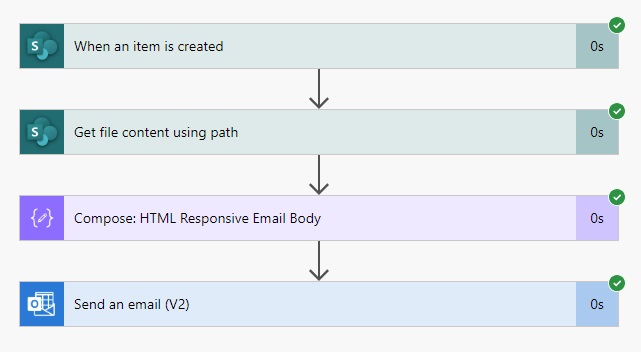
The logo image appears at the top of the email.

posted on 2024-06-28 22:49 freeliver54 阅读(7) 评论(0) 编辑 收藏 举报


