[转]How to Add Bootstrap to an Angular CLI project
本文转自:https://loiane.com/2017/08/how-to-add-bootstrap-to-an-angular-cli-project/
In this article we will learn how to setup an Angular project with Bootstrap 3 or Bootstrap 4.
Update May 2018: code updated to Angular v6. Stackblitz link also available at the end of this article.
Contents
Although the setup seems simple, I still get a lot of questions on how to setup an Angular project generated with Angular CLI with Bootstrap. So let’s see the step by step in the sections below.
1: Creating an Angular project with Angular CLI
The first step is creating your Angular project using Angular CLI.
For this example we will use the following command:
ng new angular-bootstrap-example
2: Installing Bootstrap from NPM
Next, we need to install Bootstrap. Change the directory to the project we created (cd angular-bootstrap-example) and execute the following command:
For Bootstrap 3:
npm install bootstrap@3.3.7
For Bootstrap 4:
npm install bootstrap
2.1: Alternative: Local Bootstrap CSS
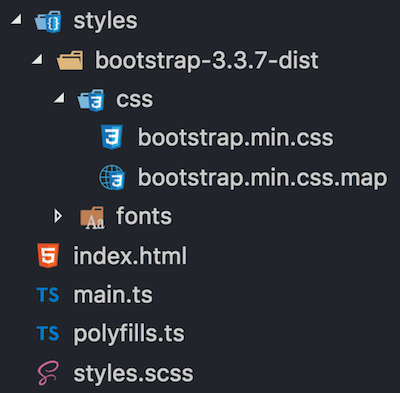
As an alternative, you can also download the Bootstrap CSS and add it locally to your project. I donwloaded Bootstrap from the website and created a folder styles (same level as styles.css):

Don’t place your local CSS files under
assetsfolder. When we do the production build with Angular CLI, the CSS files declared in theangular.jsonwill be minified and all styles will be bundled into a single styles.css. The assets folder is copied to the dist folder during the build process (the CSS code will be duplicated). Only place your local CSS files underassetsin case you are importing them directly in theindex.html.
3: Importing the CSS
We have two options to import the CSS from Bootstrap that was installed from NPM:
1: Configure angular.json:
"styles": [
  "node_modules/bootstrap/dist/css/bootstrap.min.css",
  "styles.scss"
]
2: Import directly in src/style.css or src/style.scss:
@import '~bootstrap/dist/css/bootstrap.min.css';
I personally prefer to import all my styles in src/style.css since it’s been declared in angular.json already.
3.1 Alternative: Local Bootstrap CSS
If you added the Bootstrap CSS file locally, just import it in angular.json
"styles": [
  "styles/bootstrap-3.3.7-dist/css/bootstrap.min.css",
  "styles.scss"
],
or src/style.css:
@import './styles/bootstrap-3.3.7-dist/css/bootstrap.min.css';
With this setup we are able to start using the Bootstrap CSS classes in our project.
4: Bootstrap JavaScript Components with ngx-bootstrap (Option 1)
In case you don’t need to use Bootstrap JavaScript components (that require JQuery), this is all the setup you need. But if you need to use modals, accordion, datepicker, tooltips or any other component, how can we use these components without installing jQuery?
There is an Angular wrapper library for Bootstrap called ngx-bootstrap that we can also install from NPM:
npm install ngx-bootstrap --save
ng2-bootstrapandngx-bootstrapare the same package. ng2-bootstrap was renamed to ngx-bootstrap after#itsJustAngular.
In case you want to install Bootstrap and ngx-bootstrap at the same time when you create your Angular CLI project:
npm install bootstrap ngx-bootstrap --save
4.1: Adding the required Bootstrap modules in app.module.ts
Go through the ngx-bootstrap and add the modules needed in your app.module.ts. For example, suppose we want to use the Dropdown, Tooltip and Modal components:
import { BsDropdownModule } from 'ngx-bootstrap/dropdown';
import { TooltipModule } from 'ngx-bootstrap/tooltip';
import { ModalModule } from 'ngx-bootstrap/modal';

@NgModule({
  imports: [
    BrowserModule,
    BsDropdownModule.forRoot(),
    TooltipModule.forRoot(),
    ModalModule.forRoot()
  ],
  // ...
})
export class AppBootstrapModule {}
Because we call the .forRoot() method for each module (due the ngx-bootstrap module providers), the functionalities will be available in all components and modules of your project (global scope).
As an alternative, if you would like to organize the ngx-bootstrap in a different module (just for organization purposes in case you need to import many bs modules and don’t want to clutter your app.module), you can create a module app-bootstrap.module.ts, import the Bootstrap modules (using forRoot()) and also declare them in the exports section (so they become available to other modules as well).
import { NgModule } from '@angular/core';
import { CommonModule } from '@angular/common';

import { BsDropdownModule } from 'ngx-bootstrap/dropdown';
import { TooltipModule } from 'ngx-bootstrap/tooltip';
import { ModalModule } from 'ngx-bootstrap/modal';

@NgModule({
  imports: [
    CommonModule,
    BsDropdownModule.forRoot(),
    TooltipModule.forRoot(),
    ModalModule.forRoot()
  ],
  exports: [BsDropdownModule, TooltipModule, ModalModule]
})
export class AppBootstrapModule {}
At last, don’t forget to import your bootstrap module in you app.module.ts.
import { AppBootstrapModule } from './app-bootstrap/app-bootstrap.module';

@NgModule({
  imports: [BrowserModule, AppBootstrapModule],
  // ...
})
export class AppModule {}
ngx-bootstrap works with Bootstrap 3 and 4. And I also made some tests and most of the functionalities also work with Bootstrap 2.x (yes, I still have some legacy code to maintain).
5: Let’s code!
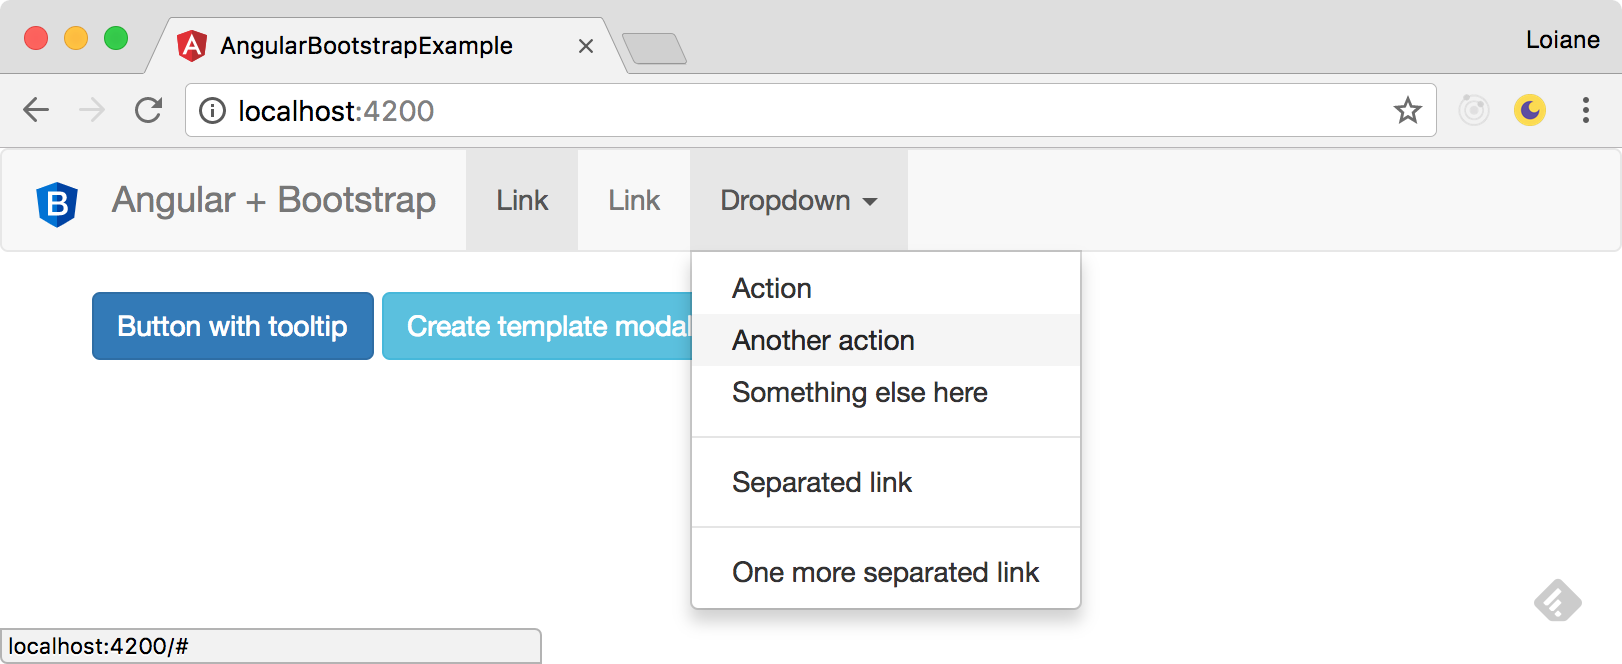
Now that we have the setup for CSS and JavaScript components completed, let’s add some code to our app.component.html:
<nav class="navbar navbar-default">
    <div class="container-fluid">
        <div class="navbar-header">
            <a class="navbar-brand">
              <img src="assets/img/ngx-bootstrap.svg" class="logo">
            </a>
            <span class="navbar-brand">Angular + Bootstrap</span>
        </div>
        <ul class="nav navbar-nav">
            <li class="active"><a href="#">
              Link <span class="sr-only">(current)</span>
            </a></li>
            <li><a href="#">Link</a></li>
            <li class="dropdown" dropdown> <!-- {1} -->
                <a dropdownToggle role="button"> <!-- {2} -->
                  Dropdown <span class="caret"></span></a>
                <ul *dropdownMenu class="dropdown-menu"> <!-- {3} -->
                    <li><a href="#">Action</a></li>
                    <li><a href="#">Another action</a></li>
                    <li><a href="#">Something else here</a></li>
                    <li role="separator" class="divider"></li>
                    <li><a href="#">Separated link</a></li>
                    <li role="separator" class="divider"></li>
                    <li><a href="#">One more separated link</a></li>
                </ul>
            </li>
        </ul>
    </div>
</nav>
For the DropDown component, ngx-bootstrap provides some directives:
{1}: dropdown directive: use this directive instead of class="dropdown".
{2}: dropdownToggle directive: use this directive instead of class="dropdown-toggle" data-toggle="dropdown". It will also add the aria atributes to the HTML element.
{3}: dropdownMenu directive: use this directive instead of class="dropdown-menu".
And you’ll have the same behavior as Bootstrap + Jquery:

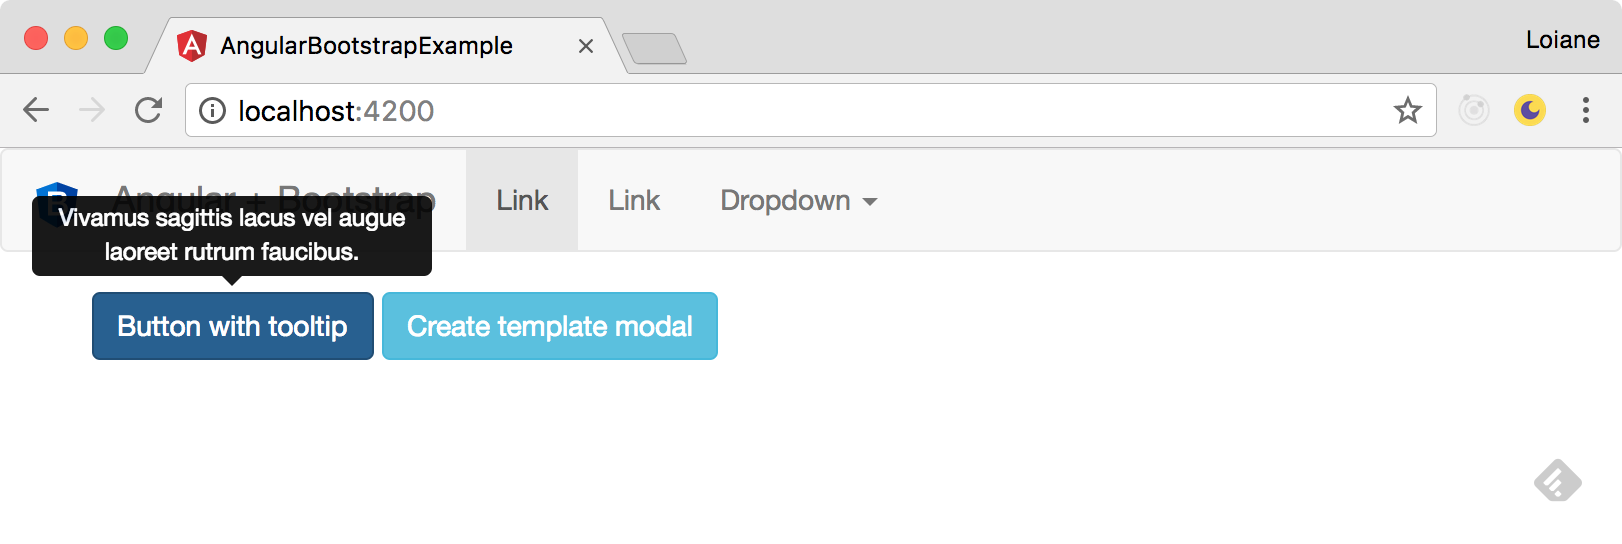
Let’s also develop a button with a tooltip:
<button type="button" class="btn btn-primary"
        tooltip="Vivamus sagittis lacus vel augue laoreet rutrum faucibus.">
Button with tooltip
</button>
The tooptip directive has the same effect as data-toggle="tooltip" title="Tooltip text".

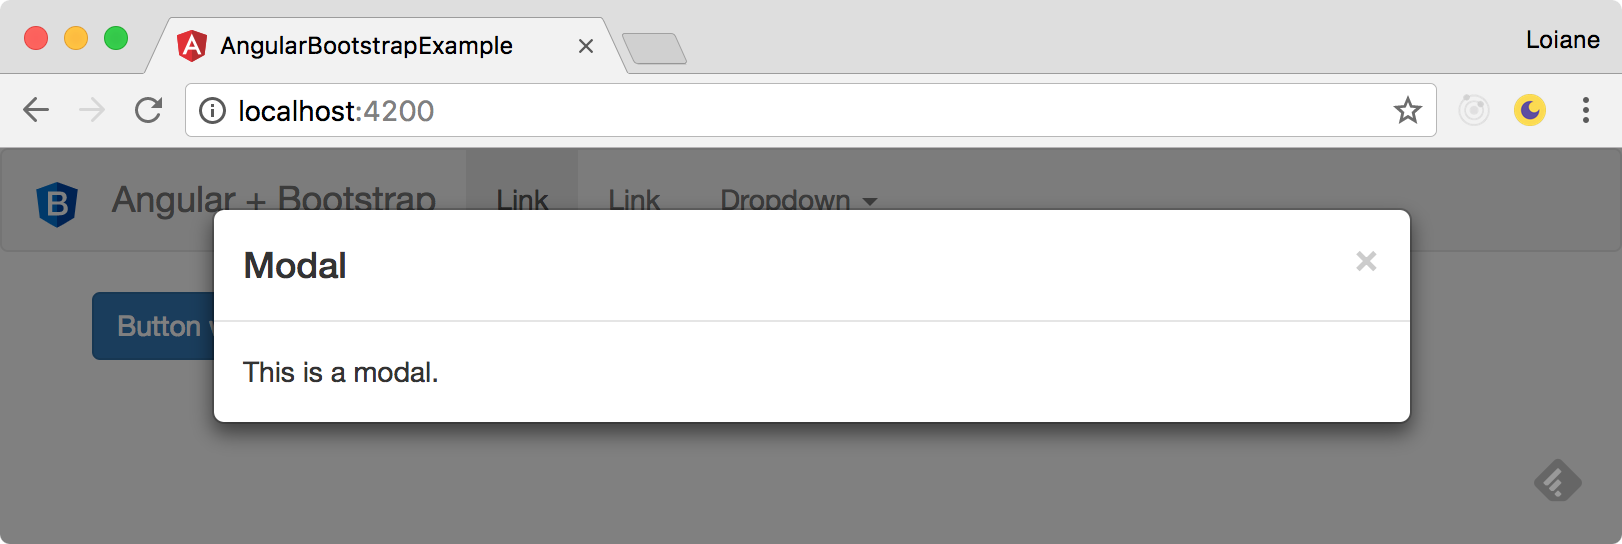
Let’s also take a look how to use a Modal component:
<button type="button" class="btn btn-info"
(click)="openModal(template)">Create template modal</button>
<ng-template #template>
<div class="modal-header">
<h4 class="modal-title pull-left">Modal</h4>
<button type="button" class="close pull-right"
aria-label="Close" (click)="modalRef.hide()">
<span aria-hidden="true">×</span>
</button>
</div>
<div class="modal-body">
This is a modal.
</div>
</ng-template>
In the code above, note the we are using a ng-template as container of our modal template. This template is being referenced by a template local variable template. When the user clicks on the button, we tell our code to open the modal referenced by template (you can have as many modals as needed, just give different names to your local variables).
There is also a close button in the modal that is calling modalRef.hide().
So we need some TypeScript code in our app.component.ts as well:
import { BsModalRef, BsModalService } from 'ngx-bootstrap/modal';

@Component({
  // ..
})
export class AppComponent {
  public modalRef: BsModalRef; // {1}
  constructor(private modalService: BsModalService) {} // {2}

  public openModal(template: TemplateRef<any>) {
    this.modalRef = this.modalService.show(template); // {3}
  }
}
{1}: first we need a variable to keep a reference of our modal. This is going to be used to close the modal.
{2}: to show the modal, we also need the ngx-bootstrap service
{3}: and when the user clicks on the button to open the popup we keep the modal reference and pass the template local name to the modalService.

ngx-bootstrap source code is still using Angular v2.x. Since there were no major breaking changes from v2.x to v.4x, it’s ok to use with v4.x. However, some ngx-bootstrap components use
<template>instead of<ng-template>, so you might get warnings in your browser console related totemplatebeing deprecated. For the examples, such as the modal, replacetemplatewithng-templatein your code and you should be fine.
We have an Angular project using Bootstrap and did not need to import JQuery to have the same behavior!
6: Bootstrap 4 JavaScript Components with ng-bootstrap (Option 2)
There is also a second option to use Bootstrap JavaScript components in Angular without JQuery in case you are using Bootstrap 4: ng-bootstrap.
You can install ng-bootstrap in your project from NPM:
npm install --save @ng-bootstrap/ng-bootstrap
In your app.module.ts you need to import the NgbModule.forRoot() using the forRoot() method.
import { NgbModule } from '@ng-bootstrap/ng-bootstrap';

@NgModule({
  imports: [ NgbModule.forRoot(), ... ],
  // ...
})
export class AppModule {}
If you have feature modules in your application, you also need to import NgbModule, but without the forRoot() method:
Other modules in your application can simply import NgbModule:
import {NgbModule} from '@ng-bootstrap/ng-bootstrap';

@NgModule({
 // ...
  imports: [NgbModule, ...],
})
export class OtherModule {
}
Source code + live demo + Stackblitz
Source code available on GitHub
References:
Happy coding!
posted on 2019-02-21 09:22 freeliver54 阅读(352) 评论(0) 编辑 收藏 举报


