Linux Ubuntu安装Nginx 1.22.1
准备工作
1、一台崭新的云服务器(你也可以在虚拟机上搞),Ubuntu系统,我的是这样的
![]()
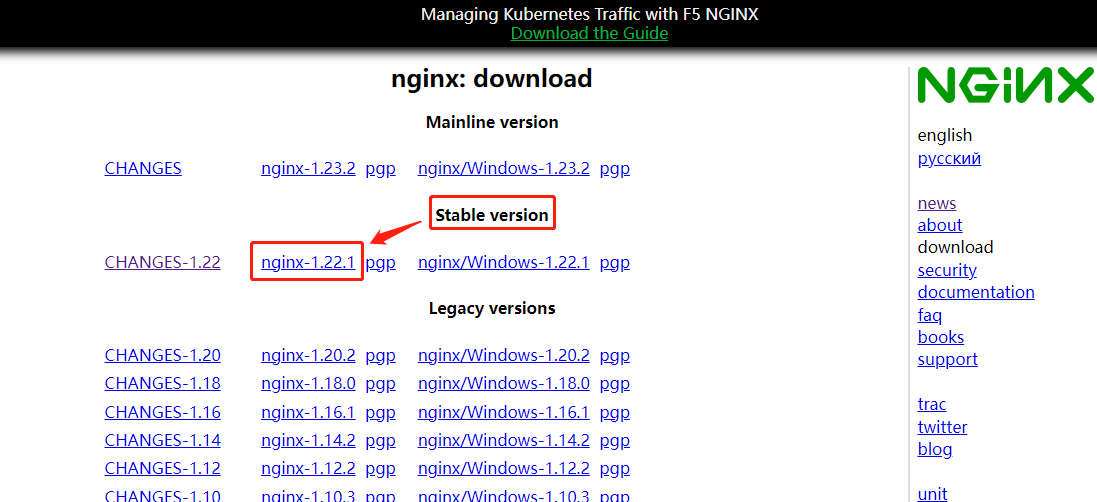
2、下载Nginx 1.22.1,地址:http://nginx.org/en/download.html
3、安装一些会用到的包
sudo apt-get install openssl libssl-dev zlib1g-dev libpcre3 libpcre3-dev
ok,开始安装Nginx
1、把下载好的Nginx压缩文件上传到 /tmp 文件夹
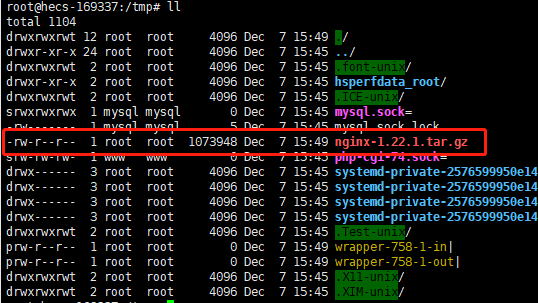
2、解压缩
tar -zxvf nginx-1.22.1.tar.gz3、进入到解压后的文件夹内
cd nginx-1.22.1/4、搞一搞配置,就是选安装位置啊,需要添加什么模块啊,日志地址啊
如果都按照默认值来,直接执行下面这个就行了
./configure安装路径啥的呢,我就用默认的,如果要添加模块的话,就像这样
./configure
--with-pcre \
--with-http_ssl_module \
--with-http_v2_module \
--with-http_realip_module \
--with-http_addition_module \
--with-http_sub_module \
--with-http_dav_module \
--with-http_flv_module \
--with-http_mp4_module \
--with-http_gunzip_module \
--with-http_gzip_static_module \
--with-http_random_index_module \
--with-http_secure_link_module \
--with-http_stub_status_module \
--with-http_auth_request_module \
--with-http_image_filter_module \
--with-http_slice_module \
--with-threads \
--with-file-aio \
--with-stream \
--with-stream_ssl_module
执行完之后是这样滴,他会告诉你安装目录在哪啊,二进制文件在哪啊,模块在哪个文件夹下啊,pid啊,日志啊等等
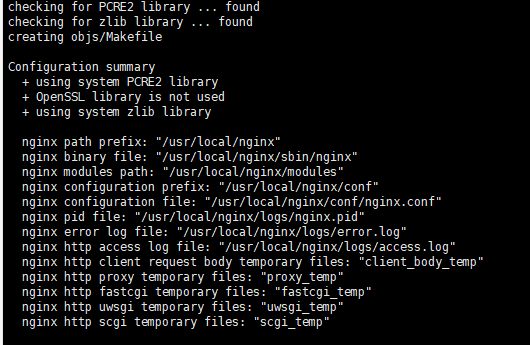
这时候你在看文件夹,多出了一个Makfile文件

5、编译并安装
make && make install6、等一会,等他执行完之后,没有报错,显示这行就ok了
![]()
7、然后可以用命令查看一下状态,在这里有命令 https://www.cnblogs.com/freejx/p/16962716.html
8、用浏览器打开公网ip看看

 不对劲......
9、是不是咱刚才没启动,先启动看看
/usr/local/nginx/sbin/nginx完了之后,端口占用


嗯......,如图,都给他kill掉
kill -9 [pid]完了之后再启动一下
![]()
焯,摔纸巾......
咱按照上面那个目录新建一下这个pid文件,然后在里面加一串数字,我加的是6222,随便点[生气],加完保存退出来
完了吧,在启动一下

嘿嘿......搞定啦
配置文件嘛,下一篇再讲吧

 浙公网安备 33010602011771号