
windows 两台机器同步备份的部署
公司有台备份的windows服务器,主要用于备份另一台服务器上的文件,于是使用了rsync备份工具,再加上windows任务计划来达到更新并备份的目的。
第一步:下载rsync服务端与客户端。
链接: https://pan.baidu.com/s/19iQeBKcyugbpQZJO6ViuRg 提取码: cdd9
第二步:安装服务端
安装服务端软件cwRsyncServer_4.0.5,安装时需要输一个用户名和密码,输入本机administrator的用户名密码即可
配置rsync服务端
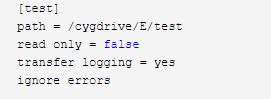
use chroot = false
strict modes = false
read only = yes
list = no
hosts allow =*
port =873
max connections = 10
lock file = rsyncd.lock
motd file = rsyncd.motd
log file = rsyncd.log
transfer logging = yes
uid = 0
gid = 0
auth users= rsyncuser
secrets file = rsyncd.secrets
# Module definitions
# Remember cygwin naming conventions : c:\work becomes /cygwin/c/work
#
[test]
path = /cygdrive/E/test
read only = false
transfer logging = yes
ignore errors
注意:每一行后面都不要有空格,注释最好删除,避免一些问题
以上配置只允许192.168.0.2访问,这里按需修改。
strict modes = false 不验证用户密码,
pid = 0,uid = 0指定匿名访问
hosts allow =* # 哪些电脑可以访问rsync服务
hosts deny = 192.168.100.0/24 # 哪些电脑不可以访问rsync服务
port =873 #默认端口为873可更改为其它端口
secrets file = rsyncd.secrets #指定密码文件
需要在目录中新建文件rsyncd.secrets,内容如下:
rsyncuser:rsyncuser
secrets文件的格式为:用户名:密码
在服务管理器中,找到服务 RsyncServer 服务,并启动服务。
如果开启了防火墙,则防火墙规则中要添加Tcp端口 允许通信。
安装客户端:
安装完成后,新建文件password.txt,内容如下,代表需要连接服务端的密码
rsyncuser
新建autoback.bat
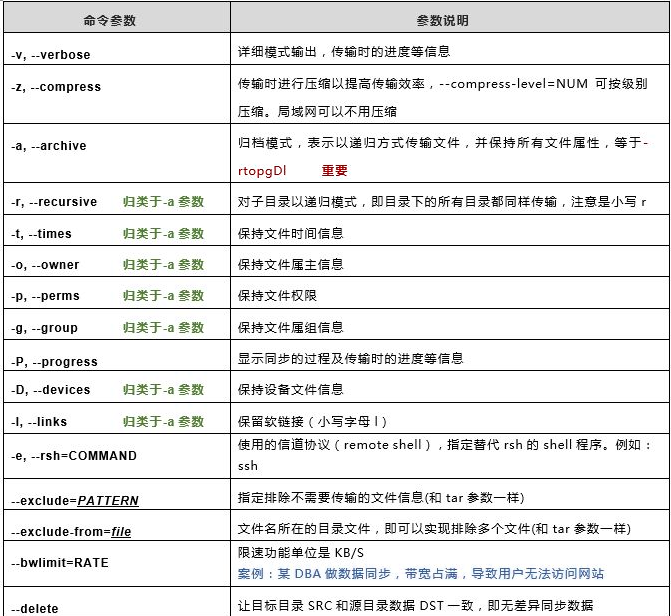
@echo off "C:\Program Files (x86)\cwRsync\bin\rsync.exe" -vzrtopg --progress --port=873 rsyncuser@192.168.0.1::test "/cygdrive/E/test" < c:\password.txt
相关说明:
--port 为指定连接远程服务器的端口,如果是默认端口873,可不写
c:\password.txt为password.txt文件所放位置
也可以用
--password-file=file 来指定password.txt位置
企业常用参数组合:-avz或者-vzrtopg
如果只做增量备份:请加-u 只同步增加或者更新的文件
rsyncuser@192.168.0.1::test
格式为:用户名:ip地址::服务器配置文件中需要备份的目录 文件
在windows在新建计划即可定时执行自动备份任务
相关参考:
rsync教程:https://www.ruanyifeng.com/blog/2020/08/rsync.html
U-NAS文件备份:https://www.cnblogs.com/fogwang/p/11671415.html

 浙公网安备 33010602011771号