入门
框架
抽取出来可重用的一套代码设计方案。可包含多个模块,形成某一领域问题的整体解决方案。
使用springframework
1.创建Project(Maven)
2.Pom文件中添加springframework


<dependency>
    <groupId>org.springframework</groupId>
    <artifactId>spring-context</artifactId>
    <version>5.1.1.RELEASE</version>
</dependency>
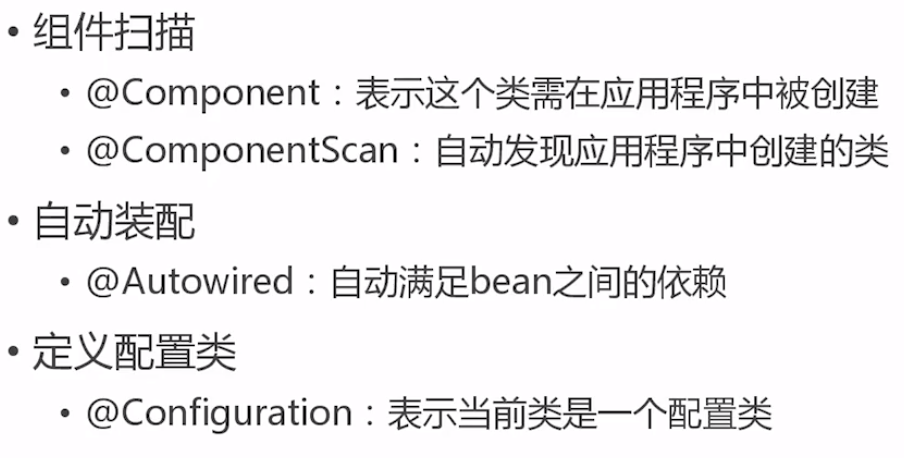
3.类添加@Componet注解 @ComponentScan
4.setter方法添加 @Autowired 管理对象之间的关联关系
@Autowired可以用在四个地方:
- 构造函数(效率最高)
- 成员变量(最方便)
- setter方法
- 任意方法
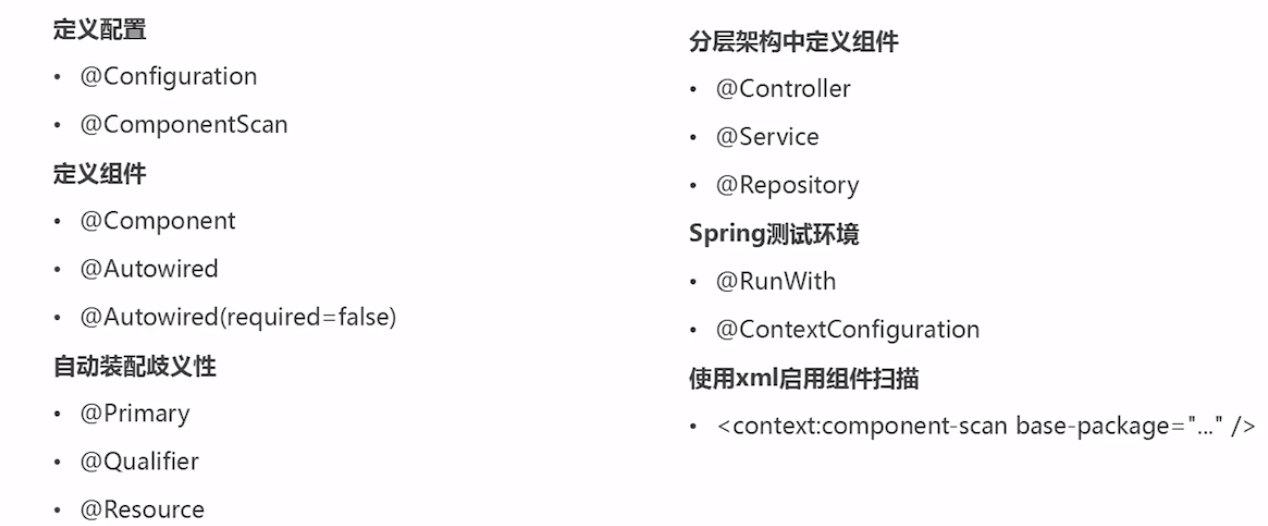
@Autowired(required=false)不强制该对象注入
防止一个service存在多个实现类组件不能确定注入哪一个的问题?
- 使用@Primary,将@Primary 用在Component上作为首选Bean(局限性,只能用在类定义时)
- 使用限定符:1.@Qualifier('name1') ,@Qualifier('name2') 用在不同的具体Component上(相当于起一个别名); 2.在需要注入的时候继续使用@Qualifier('name1')声明注入哪一个。
@Component('componentId')的使用(指定bean的id);默认componetId是组件的类名
如果没有在Component上指定@Qualifier() ,而只是指定@Component('Id'),在需要注入的时候使用@Qualifier('Id')此时会去匹配到响应的Component(‘Id’) - jdk自带的标准(import javax.annotation.Resource)@Resource("name=name1")可替代以下两个注解实现注入
spring标准使用@Autowired和@Qualifier("name") 实现注入
@Controller @Service @Repository 可以代替@Component更加明确了层次
5.通过ApplicationContext获取Bean对象
代码示例:
MessageService.java
package hello;

import  org.springframework.stereotype.*;

/**
 *
 */
@Component
public class MessageService {
    public  MessageService(){
        super();
        System.out.println("MessageService");
    }
    public String getMessage() {
        return "hello world";
    }
}
MessagePrinter.java
package hello;

import org.springframework.beans.factory.annotation.Autowired;
import org.springframework.stereotype.Component;

/**
 *
 */
@Component
public class MessagePrinter {
    public MessagePrinter() {
        super();
        System.out.println("MessagePrinter");
    }

    @Autowired
    public void setService(MessageService service) {
        this.service = service;
    }

    public MessageService getService() {
        return service;
    }

    private MessageService service;

    public void printMessage() {
        System.out.println(this.service.getMessage());
    }
}
ApplicationSpring.java
import org.springframework.context.ApplicationContext;
import org.springframework.context.annotation.AnnotationConfigApplicationContext;
import org.springframework.context.annotation.ComponentScan;

@ComponentScan
public class ApplicationSpring {
    public static void main(String[] args) {
        ApplicationContext context = new AnnotationConfigApplicationContext(AppConfig.class);
        MessagePrinter printer = context.getBean(MessagePrinter.class);
        printer.printMessage();
    }
}
使用XML配置容器
ClassPathXmlApplicationContext()
xml配置文件
<?xml version="1.0" encoding="UTF-8"?>
<beans xmlns="http://www.springframework.org/schema/beans"
       xmlns:xsi="http://www.w3.org/2001/XMLSchema-instance"
       xsi:schemaLocation="http://www.springframework.org/schema/beans
        http://www.springframework.org/schema/beans/spring-beans.xsd">

    <bean id="user" name="user2" class="com.wyan.entity.User" ></bean>

</beans>
问题:右击resources--new--没有XML Configuration File选项卡(如何设置)
设置组件扫描的基础包
@ComponentScan("packagename")
@ComponentScan(basePackages={"package1","pakage2","package3"})
@ComponetScan(basePackageClass={MessageService.class,MessagePrinter.class})

 浙公网安备 33010602011771号