在SpringBoot中使用Junit测试
一:加入依赖
1         <dependency>
2             <groupId>junit</groupId>
3             <artifactId>junit</artifactId>
4             <version>4.12</version>
5             <scope>test</scope>
6         </dependency>
二:
假设我们要对Mapper做测试,在将鼠标放在类名上使用快捷键 ALT + ENTER,选择Create Test,或者 在类中鼠标右键,选Go To都行


OK 然后会发现,生成的测试类在 src/test 目录下,测试类和源代码的包名 是一致的。
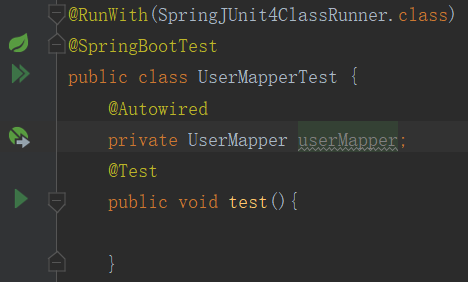
三:添加SpringBoot的注释:
 1 import org.junit.Test;
 2 import org.junit.runner.RunWith;
 3 import org.springframework.beans.factory.annotation.Autowired;
 4 import org.springframework.boot.test.context.SpringBootTest;
 5 import org.springframework.test.context.junit4.SpringJUnit4ClassRunner;
 6
 7 import static org.junit.Assert.*;
 8 @RunWith(SpringJUnit4ClassRunner.class)
 9 @SpringBootTest
10 public class UserMapperTest {
11     @Autowired
12     private UserMapper userMapper;
13     @Test
14     public void test(){
15
16     }
17 }
四:具体使用就和junit一样的了,运行时,点右边的绿色小三角就行

五:Junit提供参数化测试,套件测试等多种使用的功能。


 浙公网安备 33010602011771号