
Ubuntu20.04 部署 ORB SLAM2 并运行
安装基础库
sudo apt update
sudo apt install cmake gcc g++ git
sudo apt install pkg-config
创建源码目录
在 home 目录下新建 repos 文件夹用于存放源码。
cd ~
mkdir repos
安装 eigen3 3.2.10
安装 eigen 3.2.10 版本。
cd ~/repos
git clone https://gitlab.com/libeigen/eigen.git
cd eigen
git checkout 3.2.1
mkdir build && cd build
cmake .. -DCMAKE_INSTALL_PREFIX=/usr/local
sudo cmake --build . --target install
卸载方法:
eigen3 是仅头部库,没有 uninstall 脚本。
sudo rm -rf /usr/local/share/pkgconfig/eigen3.pc
sudo rm -rf /usr/local/include/eigen3/
安装 Pangolin 0.6
安装依赖:
# Glew
sudo apt install libglew-dev
# Wayland
sudo apt install libegl1-mesa-dev libwayland-dev libxkbcommon-dev wayland-protocols
# FFMPEG (For video decoding and image rescaling)
sudo apt install ffmpeg libavcodec-dev libavutil-dev libavformat-dev libswscale-dev libavdevice-dev
# DC1394 (For firewire input)
sudo apt install libdc1394-22-dev libraw1394-dev
# libjpeg, libpng, libtiff, libopenexr (For reading still-image sequences)
# libpng12-dev 安装失败
sudo apt install libjpeg-dev libpng12-dev libtiff5-dev libopenexr-dev
安装 Pangolin:
cd ~/repos
git clone https://github.com/stevenlovegrove/Pangolin.git
cd Pangolin
git checkout v0.6
mkdir build && cd build
cmake .. -DCMAKE_INSTALL_PREFIX=/usr/local
sudo cmake --build . --target install
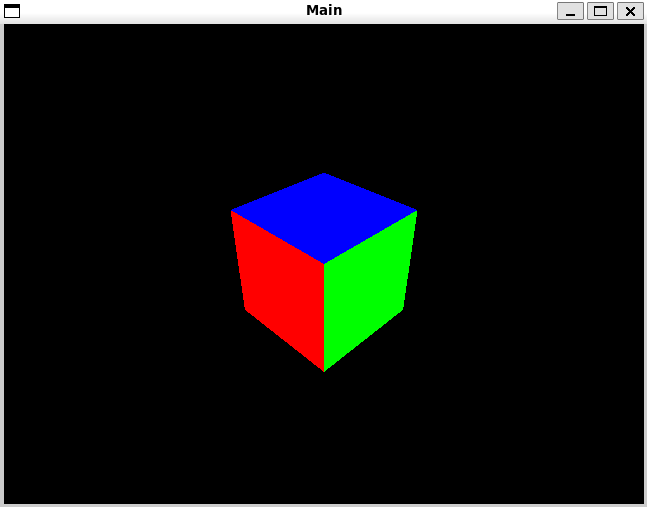
安装完成后进行测试:
cd ~/repos/Pangolin/examples/HelloPangolin/
mkdir build && cd build
cmake ..
make
./HelloPangolin
运行成功会显示一个立方体。
安装 opencv3
添加额外源
sudo apt-add-repository universe
sudo apt-get update
安装依赖
sudo apt-get install libglew-dev libtiff5-dev zlib1g-dev libjpeg-dev libpng-dev libavcodec-dev libavformat-dev libavutil-dev libpostproc-dev libswscale-dev libeigen3-dev libtbb-dev libgtk2.0-dev pkg-config
安装 opencv
cd ~/repos
git clone https://github.com/opencv/opencv.git
cd opencv
git checkout 3.4.16
mkdir build && cd build
cmake .. -DCMAKE_INSTALL_PREFIX=/usr/local
sudo cmake --build . --target install
添加环境变量
1、添加库路径
在 /etc/ld.so.conf.d/ 目录下新建文件 opencv3.conf。并输入以下内容:
/usr/local/lib
2、添加环境变量
在 /etc/profile.d 新建文件 opencv3.sh。并输入以下内容:
export PKG_CONFIG_PATH=$PKG_CONFIG_PATH:/usr/local/lib/pkgconfig
export LD_LIBRARY_PATH=$LD_LIBRARY_PATH:/usr/local/lib
3、更新环境变量:
source /etc/profile.d/opencv3.sh
4、验证安装是否成功
重启并输入命令:
pkg-config --modversion opencv
# 输出
# 3.4.16
运行测试程序:
cd ~/repos/opencv/samples/cpp/example_cmake/
mkdir build && cd build
cmake ..
make
./opencv_example
安装 ORB_SLAM2
原库地址:https://github.com/raulmur/ORB_SLAM2.git。原库直接编译会有一些问题,因此对其做了一些修复,代码地址:https://github.com/FLYPoPo7/ORB_SLAM2.git
cd ~/repos
git clone https://github.com/FLYPoPo7/ORB_SLAM2.git
cd ORB_SLAM2
chmod +x build.sh
./build.sh
编译过程可能会有警告。
测试
下载数据集:Computer Vision Group - Dataset Download (tum.de)
在 ORB_SLAM2 目录下创建 data 目录,下载并解压数据集。
cd ~/repos/ORB_SLAM2/
mkdir data && cd data
wget https://cvg.cit.tum.de/rgbd/dataset/freiburg1/rgbd_dataset_freiburg1_xyz.tgz
tar -xvzf rgbd_dataset_freiburg1_xyz.tgz
# 运行数据集
cd ~/repos/ORB_SLAM2/
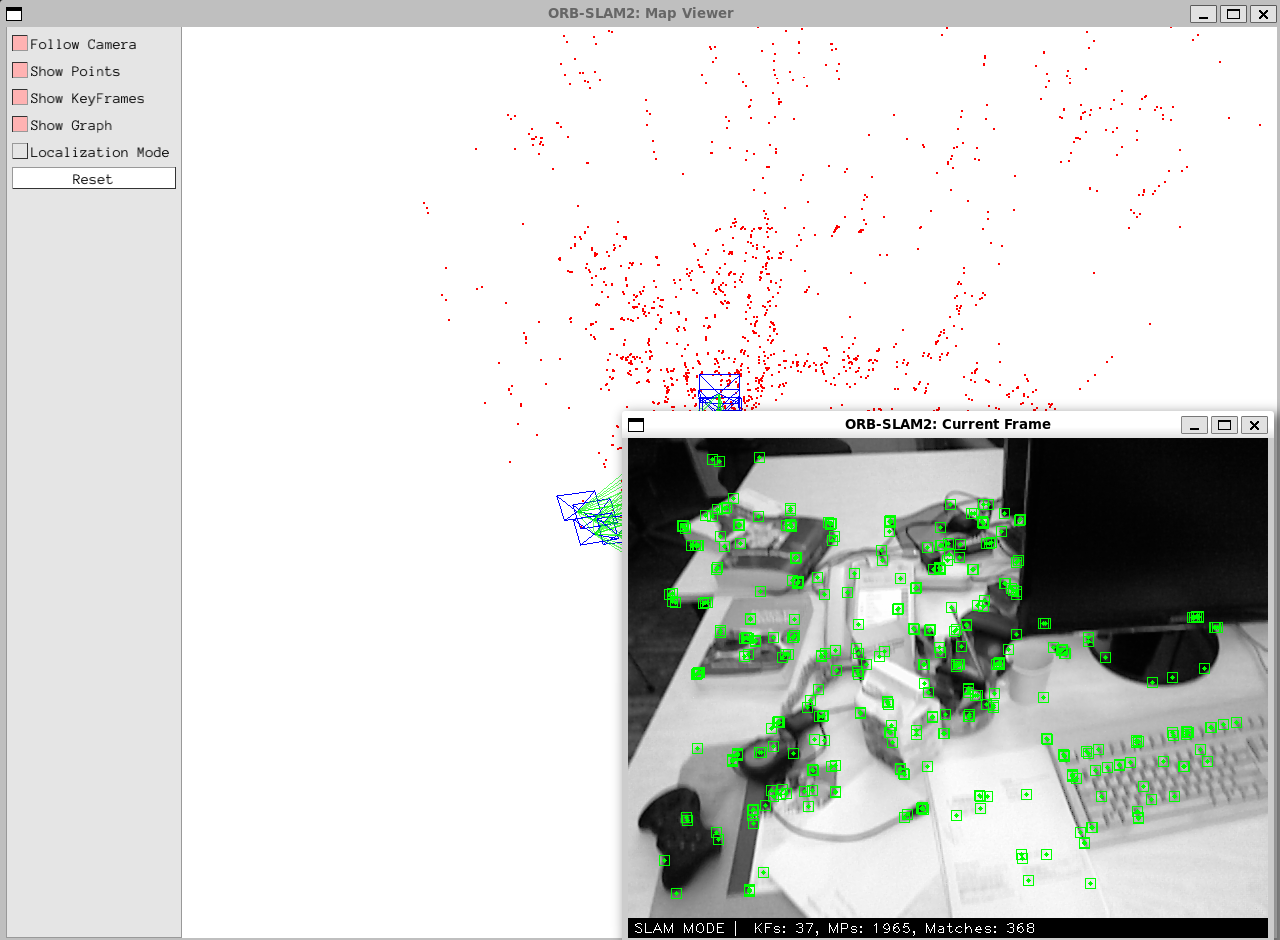
./Examples/Monocular/mono_tum Vocabulary/ORBvoc.txt Examples/Monocular/TUM1.yaml data/rgbd_dataset_freiburg1_xyz
运行成功如下截图如下:
参考
主要参考
Ubuntu20.04配置ORBSLAM2并运行(保姆级教程)_在ubuntu20.04上安装并运行orb-slam2(保姆级教程)-CSDN博客
OpenCV 按照以下的来,主要是配置环境变量
【OpenCV 】Ubuntu系统下配置安装OpenCV开发环境_ubuntu opencv环境变量配置-CSDN博客
踩坑参考
WSL 特殊的坑

其他参考
ORB SLAM3 和 数据集
【算法】跑ORB-SLAM3遇到的问题、解决方法、效果展示(环境:Ubuntu18.04+ROS melodic)_fail to track local map!-CSDN博客
