使用Nexus搭建Maven私服
使用Nexus搭建Maven私服
-
使用Nexus版本为nexus-2.12.0-01-bundle.zip
链接:https://pan.baidu.com/s/1VlL-qLiZ7u2JSGLyFlXhZA
提取码:6yfn -
将压缩包解压到任意非中文目录中

-
根据电脑型号选择相应的批处理文件安装开启Nexus私服。如我的电脑是Win64故选择D:\nexus\nexus-2.12.0-01\bin\jsw\windows-x86-64目录下的批处理文件。
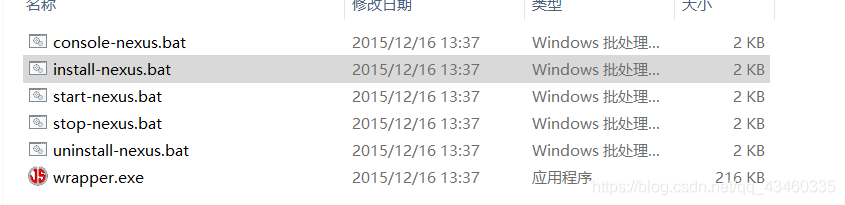
install-nexus.bat:安装私服
start-nexus.bat:运行私服
stop-nexus.bat:关闭私服
uninstall-nexus.bat:卸载私服
注意:若提示以下错误,以管理员权限运行文件即可

-
启动后默认端口为8081,可在浏览器查看,显示此页面代表安装成功。
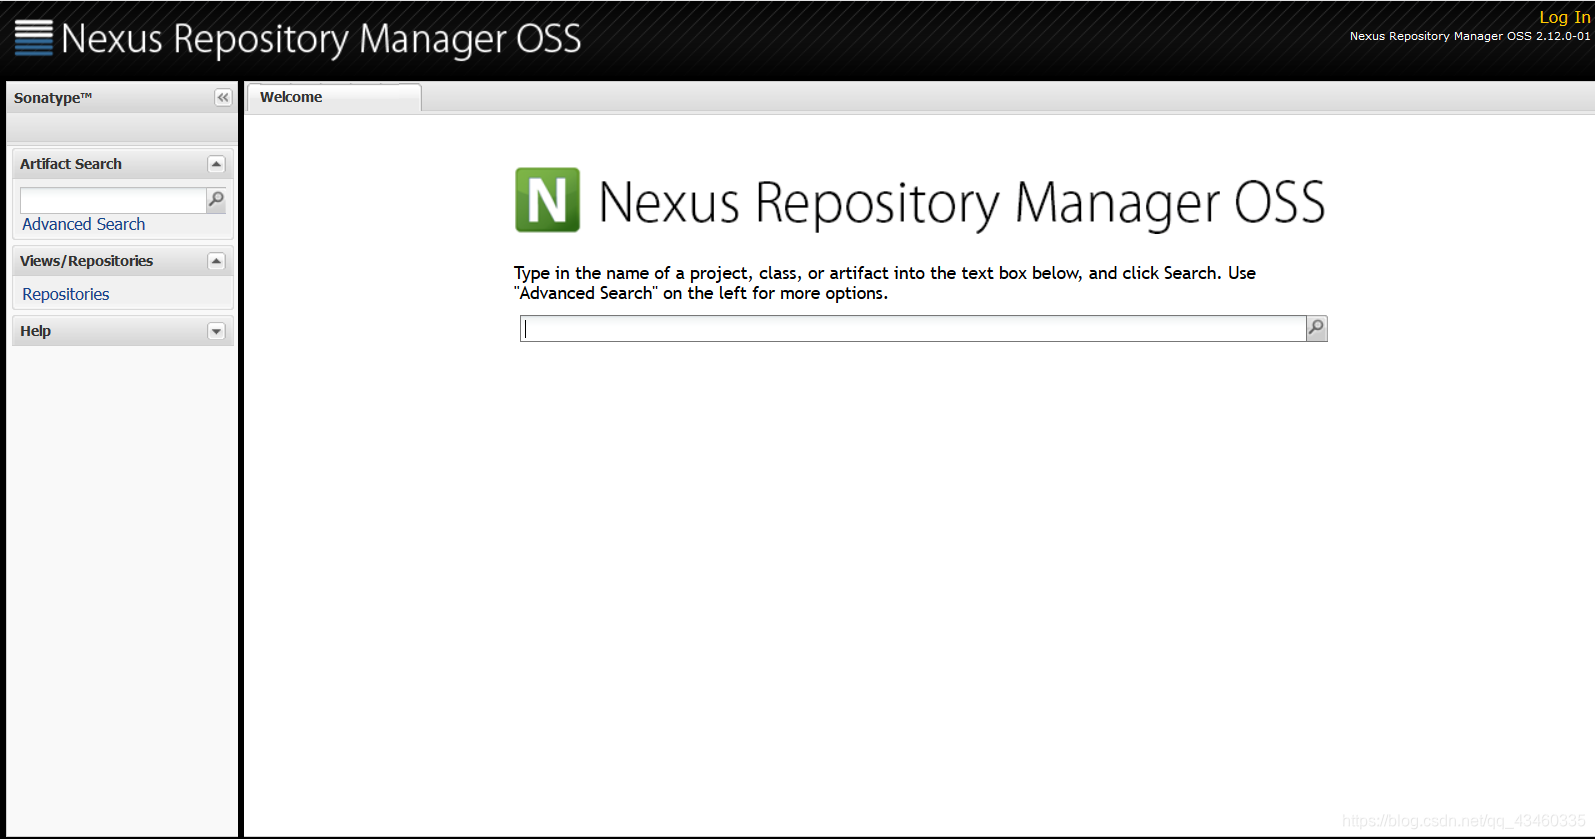
-
可点击右上方的log in登录,默认
用户名:admin
密码:admin123 -
此时未配置索引则不可进行搜索服务,下面搜索框无效果
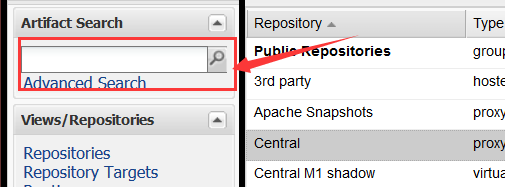
最简单的下载索引:把此位置false改为true即可
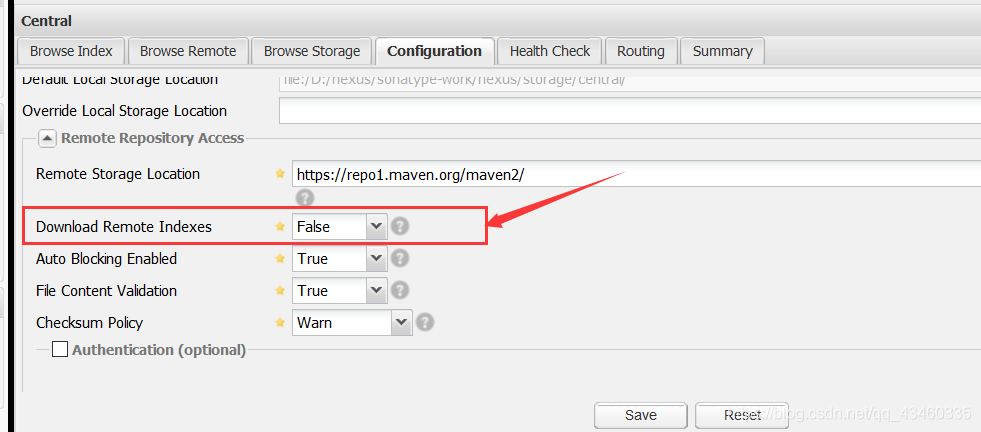
下载完成后即可实现搜索功能,如下所示
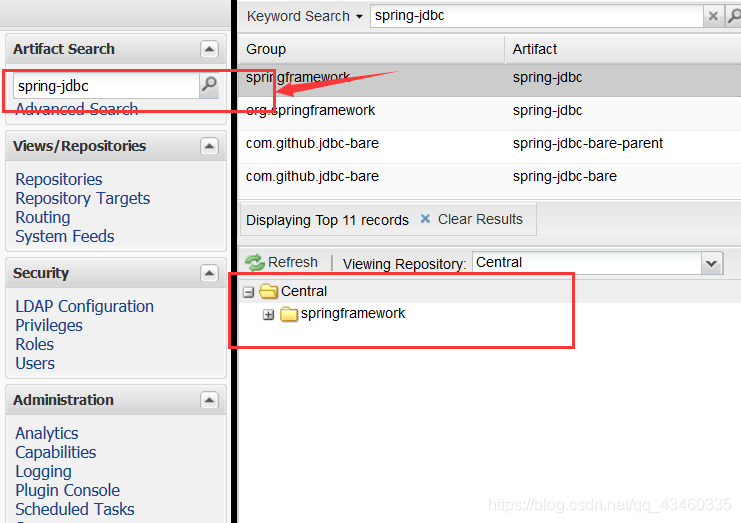
到这里Maven私服即搭建完毕! -
使用Maven连接私服
首先下载Maven并搭建好Maven环境引用setting.xml
配置setting.xml
7.1 本地仓库路径<localRepository>D:/Maven/repository</localRepository>7.2 配置jdk
<profile>
    <id>jdk-1.8</id>
	<activation>
		<activeByDefault>true</activeByDefault>
		<jdk>1.8</jdk>
	</activation>
	<properties>
			<maven.compiler.source>1.8</maven.compiler.source>
			<maven.compiler.target>1.8</maven.compiler.target>
			<maven.compiler.compilerVersion>1.8</maven.compiler.compilerVersion>
		</properties>
</profile>
7.3 配置私服构建(连接私服用的到jar等内容)
<profile>
	<id>nexusTest</id>
	<repositories>
		<repository>
			<id>local-nexus</id>
			<url>http://127.0.0.1:8091/nexus/content/groups/public/</url>
			<releases>
				<enabled>true</enabled>
			</releases>
			<snapshots>
				<enabled>true</enabled>
			</snapshots>
		</repository>
	</repositories>
</profile>
7.4 配置让私服构建生效(nexusTest为上面的)
<activeProfiles> <!--激活id为nexusTest的profile-->
	<activeProfile>nexusTest</activeProfile>
</activeProfiles>
7.5 配置镜像Maven连接私服
<mirror> <id>nexus-releases</id> <mirrorOf>*</mirrorOf> <url>http://localhost:8091/nexus/content/groups/public</url> </mirror> <mirror> <id>nexus-snapshots</id> <mirrorOf>*</mirrorOf> <url>http://localhost:8091/nexus/content/repositories/apache-snapshots/</url> </mirror> -
把项目发布到私服上步骤
8.1 在Maven项目pom.xml中配置私服路径<distributionManagement> <repository> <id>releases</id> <url>http://localhost:8091/nexus/content/repositories/releases</url> </repository> <snapshotRepository> <id>snapshots</id> <url>http://localhost:8091/nexus/content/repositories/snapshots</url> </snapshotRepository> </distributionManagement>8.2 在setting.xml中配置连接私服仓库的用户名和密码
**<server>中<id>和pom.xml中<repository>中 <id>对应**<server> <id>releases</id> <username>admin</username> <password>admin123</password> </server> <server> <id>snapshots</id> <username>admin</username> <password>admin123</password> </server> </servers>8.3 执行Maven的deploy命令即可发布项目到私服
项目默认为SNAPSHOT版本,可自行更换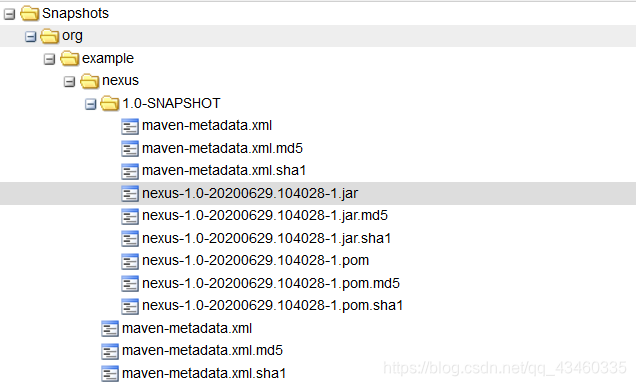
-
从私服获取项目直接添加依赖即可。

 浙公网安备 33010602011771号