
16.Ubuntu16.04安装Nexus
Ubuntu16.04安装Nexus
1.准备环境
linux16.04版本
安装JDK8
2.下载安装包
官网:https://www.sonatype.com/nexus/repository-oss
下载地址:https://sonatype-download.global.ssl.fastly.net/repository/downloads-prod-group/3/nexus-3.29.2-02-unix.tar.gz(强烈推荐用迅雷)
根据需要自行下载
3.上传到你的linux服务器并进行解压

tar xvzf nexus-3.29.2-02-unix.tar.gz

4.启动Nexus
cd /nexus/nexus-3.29.2-02/bin/
sudo ./nexus run
其他命令:
Usage: ./nexus { console | start | stop | restart | status | dump }
启动nexus:
#./nexus start
关闭nexus:
#./nexus stop

运行成功后,会出现
Started Sonatype Nexus OSS 3.29.2-02
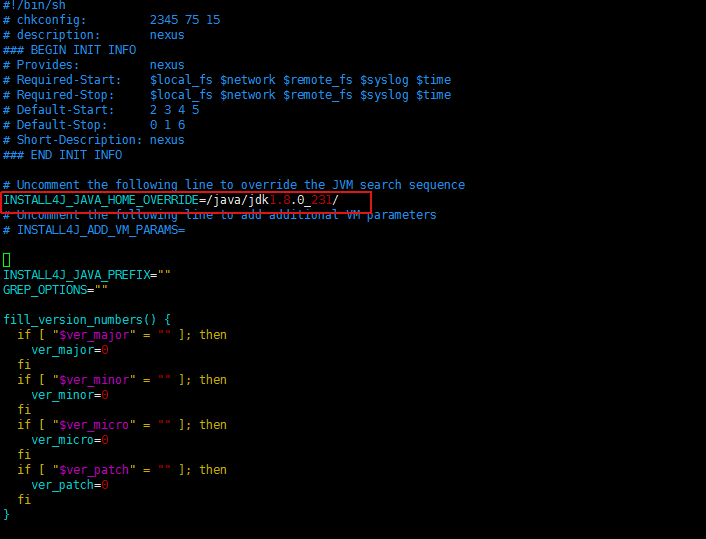
注意:如果遇到
Please define INSTALL4J_JAVA_HOME to point to a suitable JVM.
请重新配置下jdk路径
vi /nexus/nexus-3.29.2-02/bin/nexus
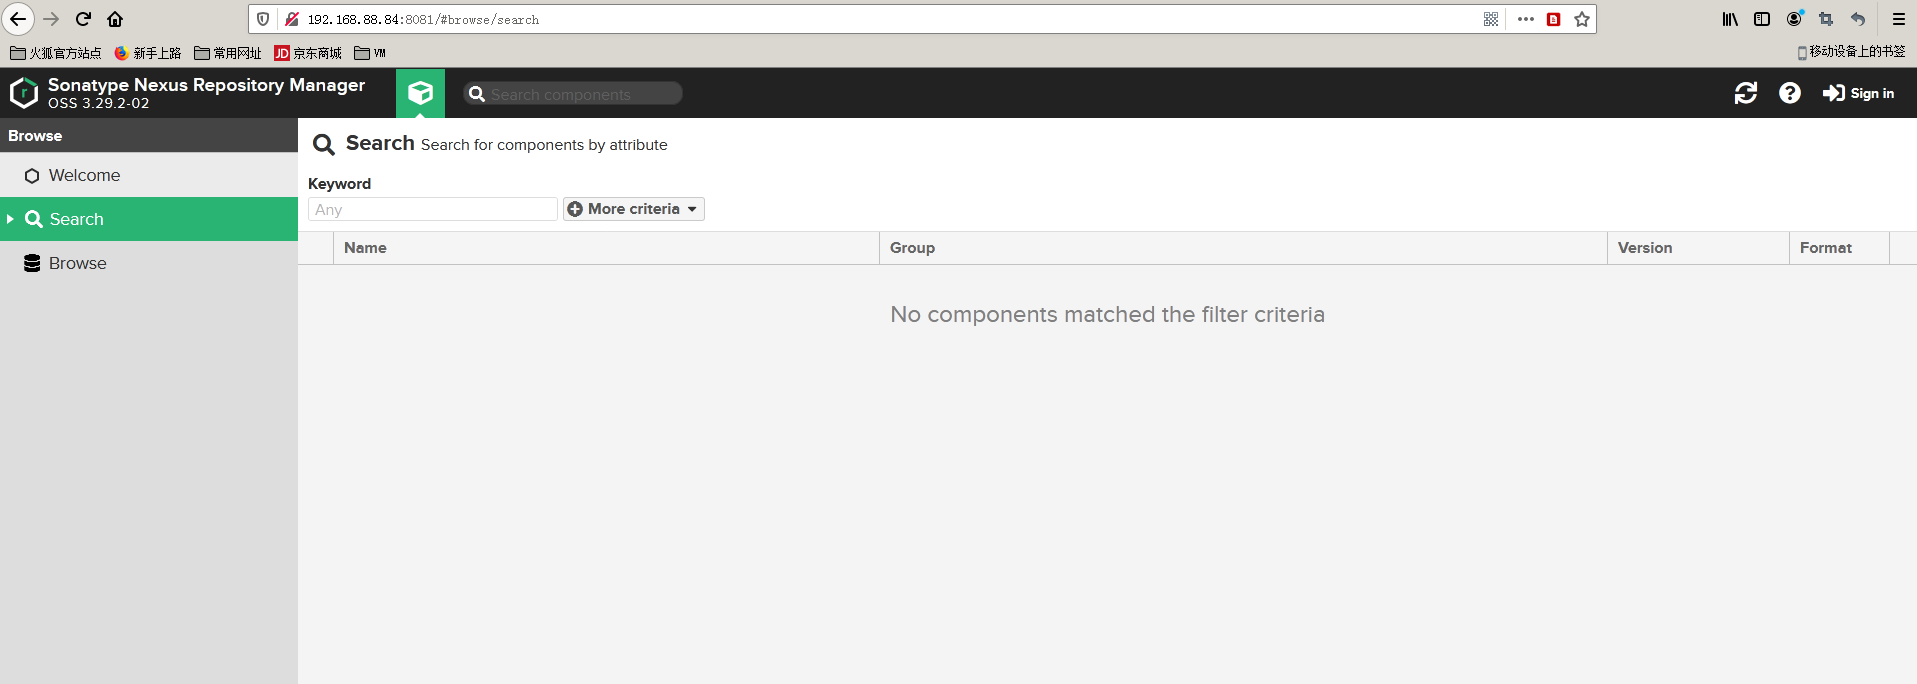
5.访问nexus UI界面
6.配置为Linux Service
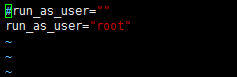
编辑bin/nexus.rc:
vi /nexus/nexus-3.29.2-02/bin/nexus.rc
#run_as_user=""
run_as_user="root"
注意:红色部分是用什么用户去执行
在/etc/init.d放nexus软连接
ln -s /nexus/nexus-3.29.2-02/bin/nexus /etc/init.d/nexus
运行服务
update-rc.d 参见:https://www.cnblogs.com/EasonJim/p/7573292.html
cd /etc/init.d
chmod 755 /etc/init.d/nexus  修改权限
update-rc.d nexus defaults  设置开启启动
service nexus start 启动服务(或者关机重启)
第一次查看密码:


复制这个密码,账号:admin
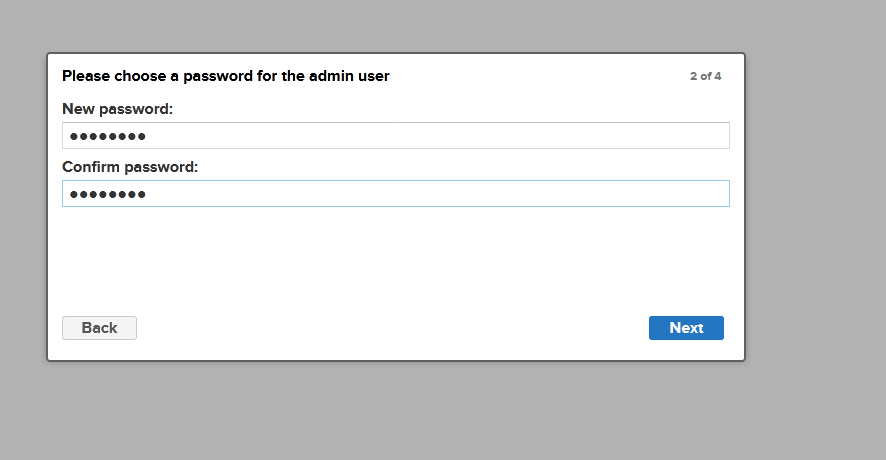
第一次登录修改密码
其他Nexus操作参考
https://www.jianshu.com/p/9740778b154f
https://blog.csdn.net/worn_xiao/article/details/79187982
https://www.cnblogs.com/shook/p/13268284.html
解决文件最大限制问题

vi /etc/security/limits.conf
* soft nproc 65536
* hard nproc 65536
* soft nofile 65536
* hard nofile 65536
root soft nproc 65536
root hard nproc 65536
root soft nofile 65536
root hard nofile 65536
数字对齐
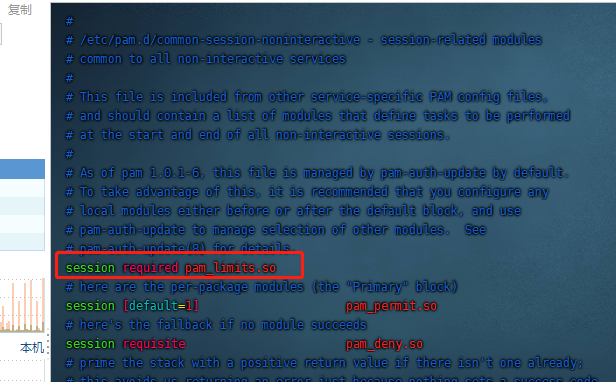
vim /etc/pam.d/common-session-noninteractive
首行增加一行
session required pam_limits.so
以上都是网上乱七八糟的
这是重点,网上乱七八糟没一个好使
直接将/etc/systemd/system.conf 和 /etc/systemd/user.conf 的参数DefaultLimitNOFILE修改为65536,默认是注释的。
DefaultLimitNOFILE=65536
重启
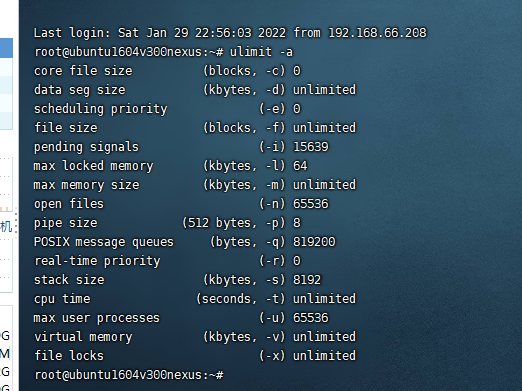
查看
ulimit -a
附:
1.打包上传私库配置
maven setting 文件配置
<?xml version="1.0" encoding="UTF-8"?>

<settings xmlns="http://maven.apache.org/SETTINGS/1.0.0"
          xmlns:xsi="http://www.w3.org/2001/XMLSchema-instance"
          xsi:schemaLocation="http://maven.apache.org/SETTINGS/1.0.0 http://maven.apache.org/xsd/settings-1.0.0.xsd">
  <!--设置本地仓库-->
  <!--<localRepository>${user.home}/.m2/repository</localRepository>-->
  <!-- localRepository
   | The path to the local repository maven will use to store artifacts.
   |
   | Default: ${user.home}/.m2/repository
  <localRepository>/path/to/local/repo</localRepository>
  -->

  <!-- interactiveMode
   | This will determine whether maven prompts you when it needs input. If set to false,
   | maven will use a sensible default value, perhaps based on some other setting, for
   | the parameter in question.
   |
   | Default: true
  <interactiveMode>true</interactiveMode>
  -->

  <!-- offline
   | Determines whether maven should attempt to connect to the network when executing a build.
   | This will have an effect on artifact downloads, artifact deployment, and others.
   |
   | Default: false
  <offline>false</offline>
  -->

  <!-- pluginGroups
   | This is a list of additional group identifiers that will be searched when resolving plugins by their prefix, i.e.
   | when invoking a command line like "mvn prefix:goal". Maven will automatically add the group identifiers
   | "org.apache.maven.plugins" and "org.codehaus.mojo" if these are not already contained in the list.
   |-->
  <pluginGroups>
    <!-- pluginGroup
     | Specifies a further group identifier to use for plugin lookup.
    <pluginGroup>com.your.plugins</pluginGroup>
    -->
  </pluginGroups>

  <!-- proxies
   | This is a list of proxies which can be used on this machine to connect to the network.
   | Unless otherwise specified (by system property or command-line switch), the first proxy
   | specification in this list marked as active will be used.
   |-->
  <proxies>
    <!-- proxy
     | Specification for one proxy, to be used in connecting to the network.
     |
    <proxy>
      <id>optional</id>
      <active>true</active>
      <protocol>http</protocol>
      <username>proxyuser</username>
      <password>proxypass</password>
      <host>proxy.host.net</host>
      <port>80</port>
      <nonProxyHosts>local.net|some.host.com</nonProxyHosts>
    </proxy>
    -->
  </proxies>


  <!--设置私库认证信息-->
  <servers>
    <server>
        <id>releases</id>
        <username>admin</username>
        <password>admin123</password>
    </server>
    <server>
        <id>snapshots</id>
        <username>admin</username>
        <password>admin123</password>
    </server>
	<server>
		<id>nexus-public</id>
		<username>admin</username>
		<password>admin123</password>
	</server>
  </servers>

  <!--设置私库mirror 表示maven所有的请求都由nexus来处理-->
  <mirrors>
   <mirror>
        <id>nexus-public</id>
        <name>nexus public</name>
		<mirrorOf>*</mirrorOf>
        <url>http://192.168.88.84:8081/repository/maven-public/</url>
    </mirror>
	<mirror>
		<id>alimaven</id>
		<name>aliyun maven</name>
		<url>http://maven.aliyun.com/nexus/content/groups/public/</url>
		<mirrorOf>central</mirrorOf>
		</mirror>
  </mirrors>
</settings>
代码jar包配置
<?xml version="1.0" encoding="UTF-8"?>
<project xmlns="http://maven.apache.org/POM/4.0.0"
         xmlns:xsi="http://www.w3.org/2001/XMLSchema-instance"
         xsi:schemaLocation="http://maven.apache.org/POM/4.0.0 http://maven.apache.org/xsd/maven-4.0.0.xsd">
    <parent>
        <groupId>org.springframework.boot</groupId>
        <artifactId>spring-boot-starter-parent</artifactId>
        <version>2.0.6.RELEASE</version>
        <relativePath/>
    </parent>
    <modelVersion>4.0.0</modelVersion>
    <groupId>com.llhu</groupId>
    <artifactId>spring-boot-api</artifactId>
    <name>spring-boot-api</name>
    <version>0.1.0-SNAPSHOT</version>
    <packaging>jar</packaging>
    <dependencies>
        <dependency>
            <groupId>org.springframework.cloud</groupId>
            <artifactId>spring-cloud-starter-openfeign</artifactId>
            <optional>true</optional>
            <version>2.0.2.RELEASE</version>
        </dependency>
        <dependency>
            <groupId>org.projectlombok</groupId>
            <artifactId>lombok</artifactId>
            <version>1.18.8</version>
        </dependency>
        <dependency>
            <groupId>com.alibaba</groupId>
            <artifactId>fastjson</artifactId>
            <version>1.2.68</version>
            <scope>provided</scope>
        </dependency>
        <!--添加Swagger依赖 -->
        <dependency>
            <groupId>io.springfox</groupId>
            <artifactId>springfox-swagger2</artifactId>
            <version>2.7.0</version>
        </dependency>
        <dependency>
            <groupId>io.springfox</groupId>
            <artifactId>springfox-swagger-ui</artifactId>
            <version>2.7.0</version>
        </dependency>
    </dependencies>
    <distributionManagement>
        <repository>
            <id>releases</id>
            <name>Nexus Release Repository</name>
            <url>http://192.168.88.84:8081/repository/maven-releases/</url>
        </repository>
        <snapshotRepository>
            <id>snapshots</id>
            <name>Nexus Snapshot Repository</name>
            <url>http://192.168.88.84:8081/repository/maven-snapshots/</url>
        </snapshotRepository>
    </distributionManagement>
</project>
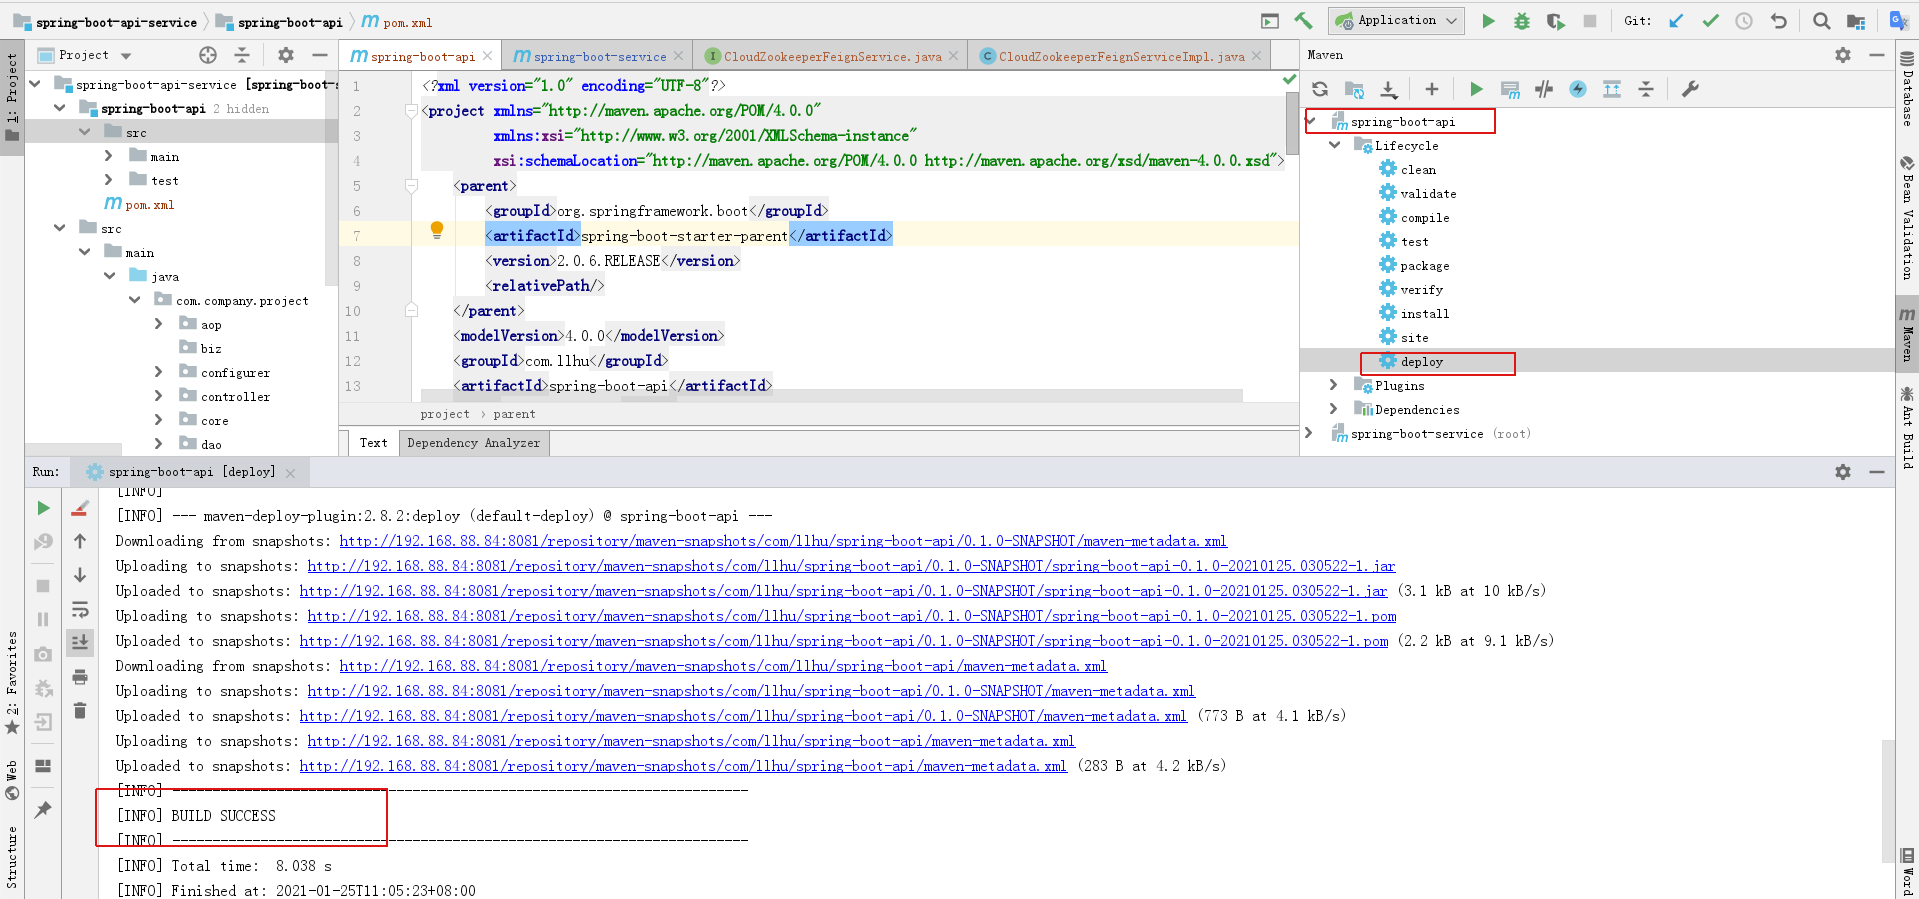
idea 打包
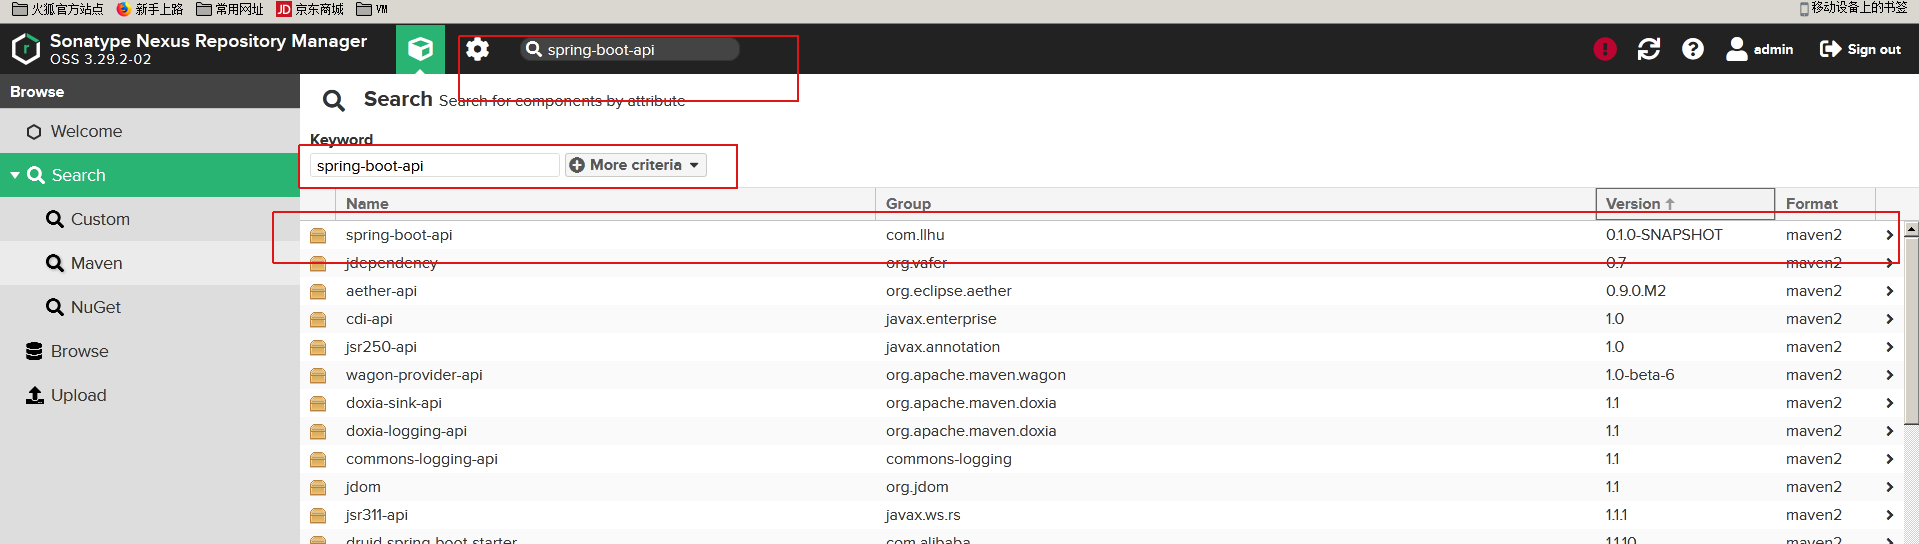
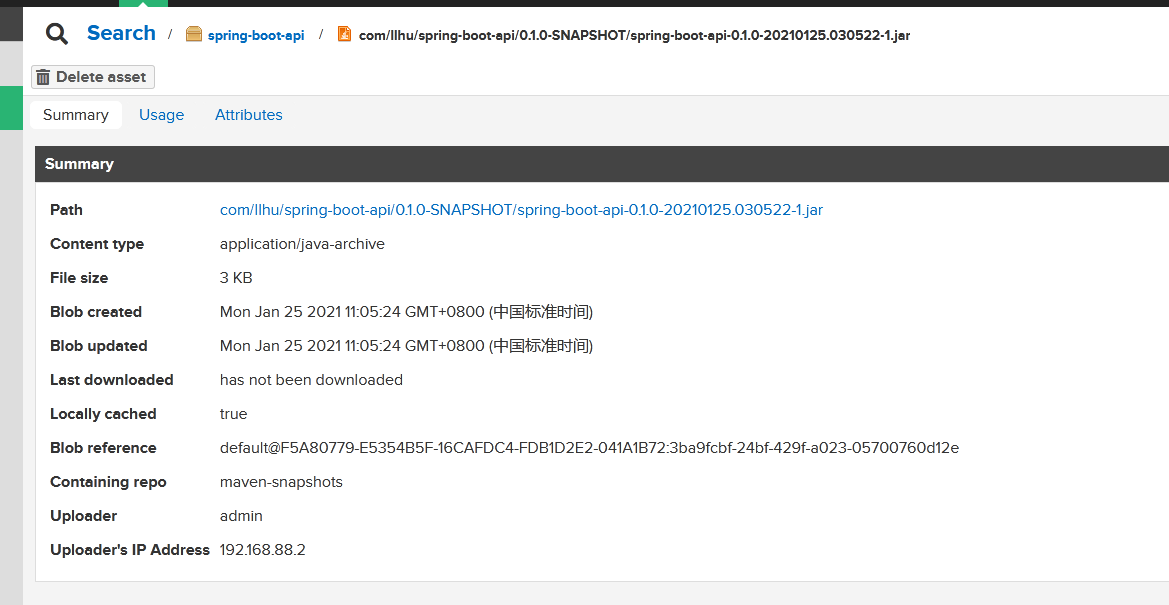
仓库
遇到无法从私服下载jar包问题可以参考:https://blog.csdn.net/huqiankunlol/article/details/103250535
阿里仓库代理表:https://developer.aliyun.com/mvn/view
常见错误
Connect to sonatype-download.global.ssl.fastly.net:443
登陆系统》点击齿轮图标》System 》Capabilities 点击“Outreach:Management”

点击 “Disable”,之后重启 nexus

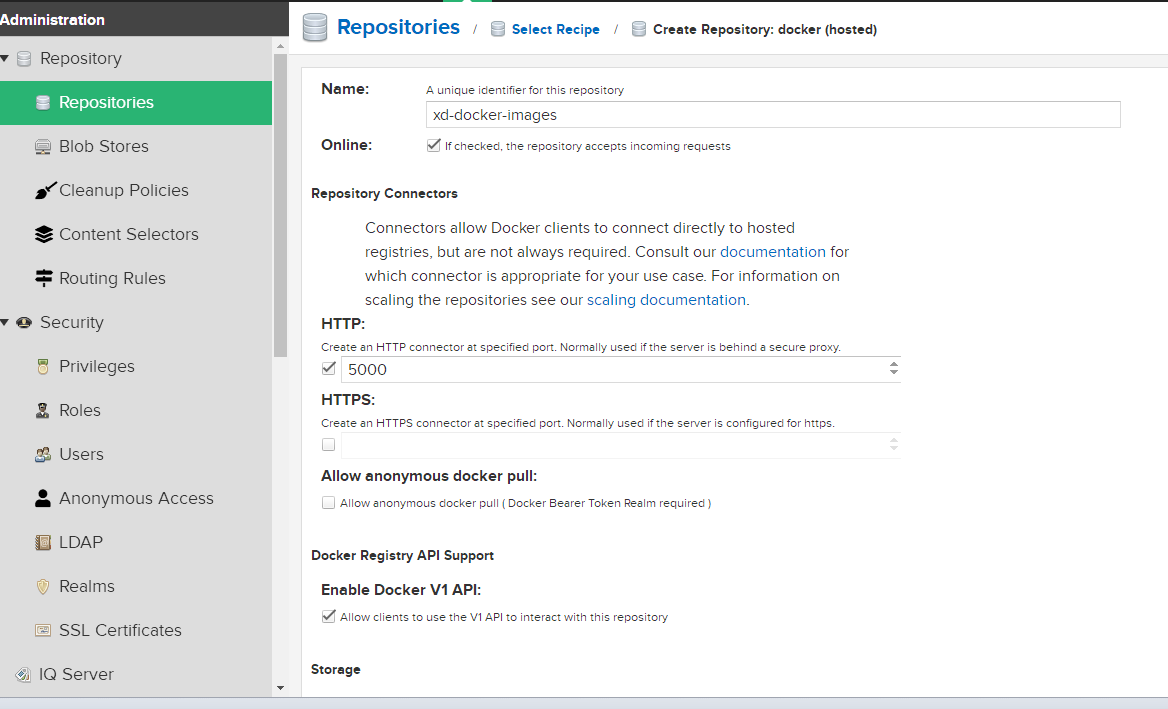
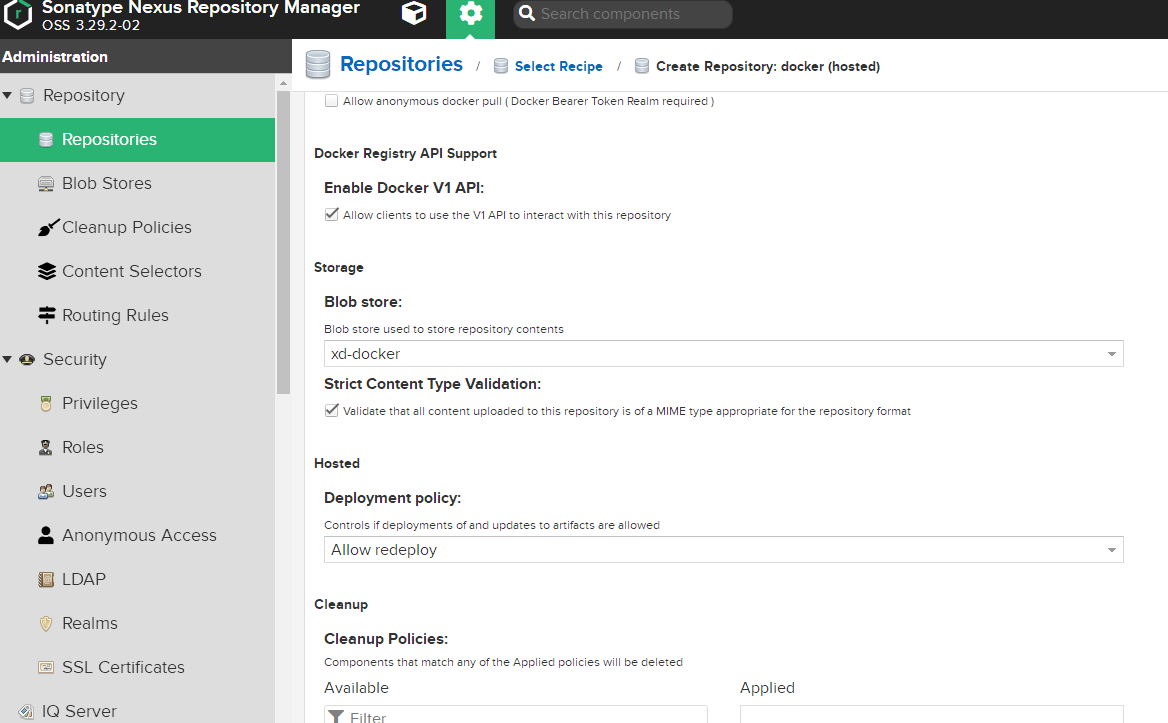
[root@localhost nexus-data]# cat /etc/docker/daemon.json
{
  "insecure-registries":["10.86.8.14:5000"]
}

[root@localhost nexus-data]# systemctl restart docker
5.推送遇到 no basic auth credentials
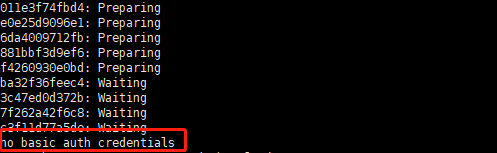
需要先登录下

推送成功
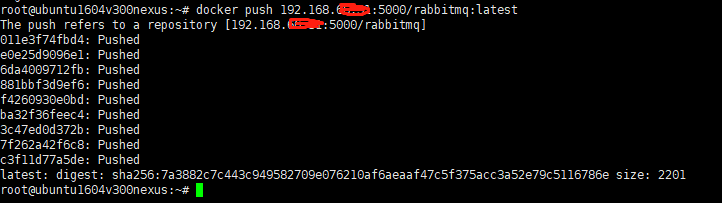
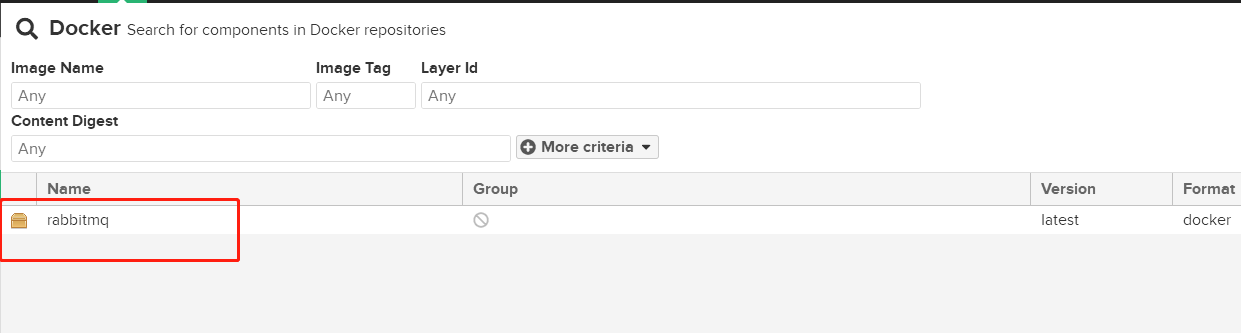
去nexus去查看下
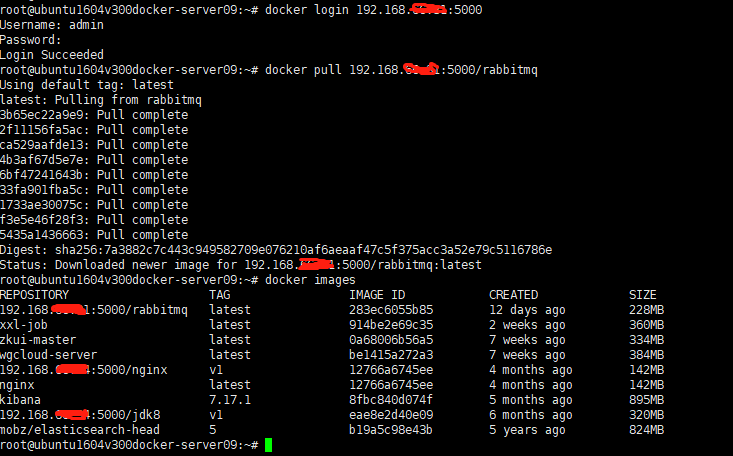
再去找个机器拉取下

 浙公网安备 33010602011771号