【本地云测平台】atxserver2环境搭建
atxserver2是根据开源的云测平台openstf,通过python重写的一套平台
了解openstf可通过github查看安装和使用说明
github地址:https://github.com/openstf/stf
atxserver2部署:
docker部署方式:
1.git clone https://github.com/openatx/atxserver2.git 将代码克隆到本地
2.cd到项目目录下
3.docker-compose up
手动部署方式:
一.rethinkdb
安装:
rethinkdb官网安装教程:https://rethinkdb.com/docs/install/
不使用docker安装,使用手动安装,如mac下安装,直接敲brew update && brew install rethinkdb
启动:
rethinkdb
二.atxserver2
python>=3.6
安装:
1.git clone https://github.com/openatx/atxserver2.git 将代码克隆到本地
2.cd到项目目录下
3.安装所需依赖包
pip3 install -r requirements.txt
启动:
python3 main.py
启动之后,打开浏览器http://localhost:4000

暂时还没有设备连进来
三.安卓设备接入
python>=3.6
nodejs=8(必须)
附:node版本切换:https://blog.csdn.net/weixin_38173313/article/details/108006258
安装:
1.git clone https://github.com/openatx/atxserver2-android-provider.git 将代码克隆到本地
2.cd atxserver2-android-provider
3.npm install
4.pip3 install -r requirements.txt
启动:
python3 main.py --server localhost:4000
四.IOS设备接入(只能在苹果系统上安装,需要先有xcode)
python>=3.6
WebDriverAgent(appium)
nodejs=8(必须)
1.安装libimobiledevice工具包
brew uninstall --ignore-dependencies libimobiledevice
brew uninstall --ignore-dependencies usbmuxd
brew install --HEAD usbmuxd
brew unlink usbmuxd
brew link usbmuxd
brew install --HEAD libimobiledevice
brew install ideviceinstaller
brew link --overwrite ideviceinstaller
2.git clone https://github.com/openatx/atxserver2-ios-provider.git 将代码克隆到本地
3.cd atxserver2-ios-provider
4.pip3 install -r requirements.txt
5.npm install
6.brew install carthage
7.git clone https://github.com/appium/WebDriverAgent Appium-WebDriverAgent
8.cd Appium-WebDriverAgent && ./Scripts/bootstrap.sh
9.open WebDriverAgent.xcodeproj
10.xcode打开项目后,通过https://testerhome.com/topics/7220配置
11.sudo xcode-select -s /Application/Xcode.app/Contents/Developer
12.security unlock-keychain ~/Library/Keychains/login.keychain
13.SERVER_URL="http://localhost:4000"
14.WDA_DIRECTORY="./Appium-WebDriverAgent"#WDA项目地址,直接用绝对路径也行,但一定要保证正确
启动:
python3 main.py -s $SERVER_URL -W $WDA_DIRECTORY
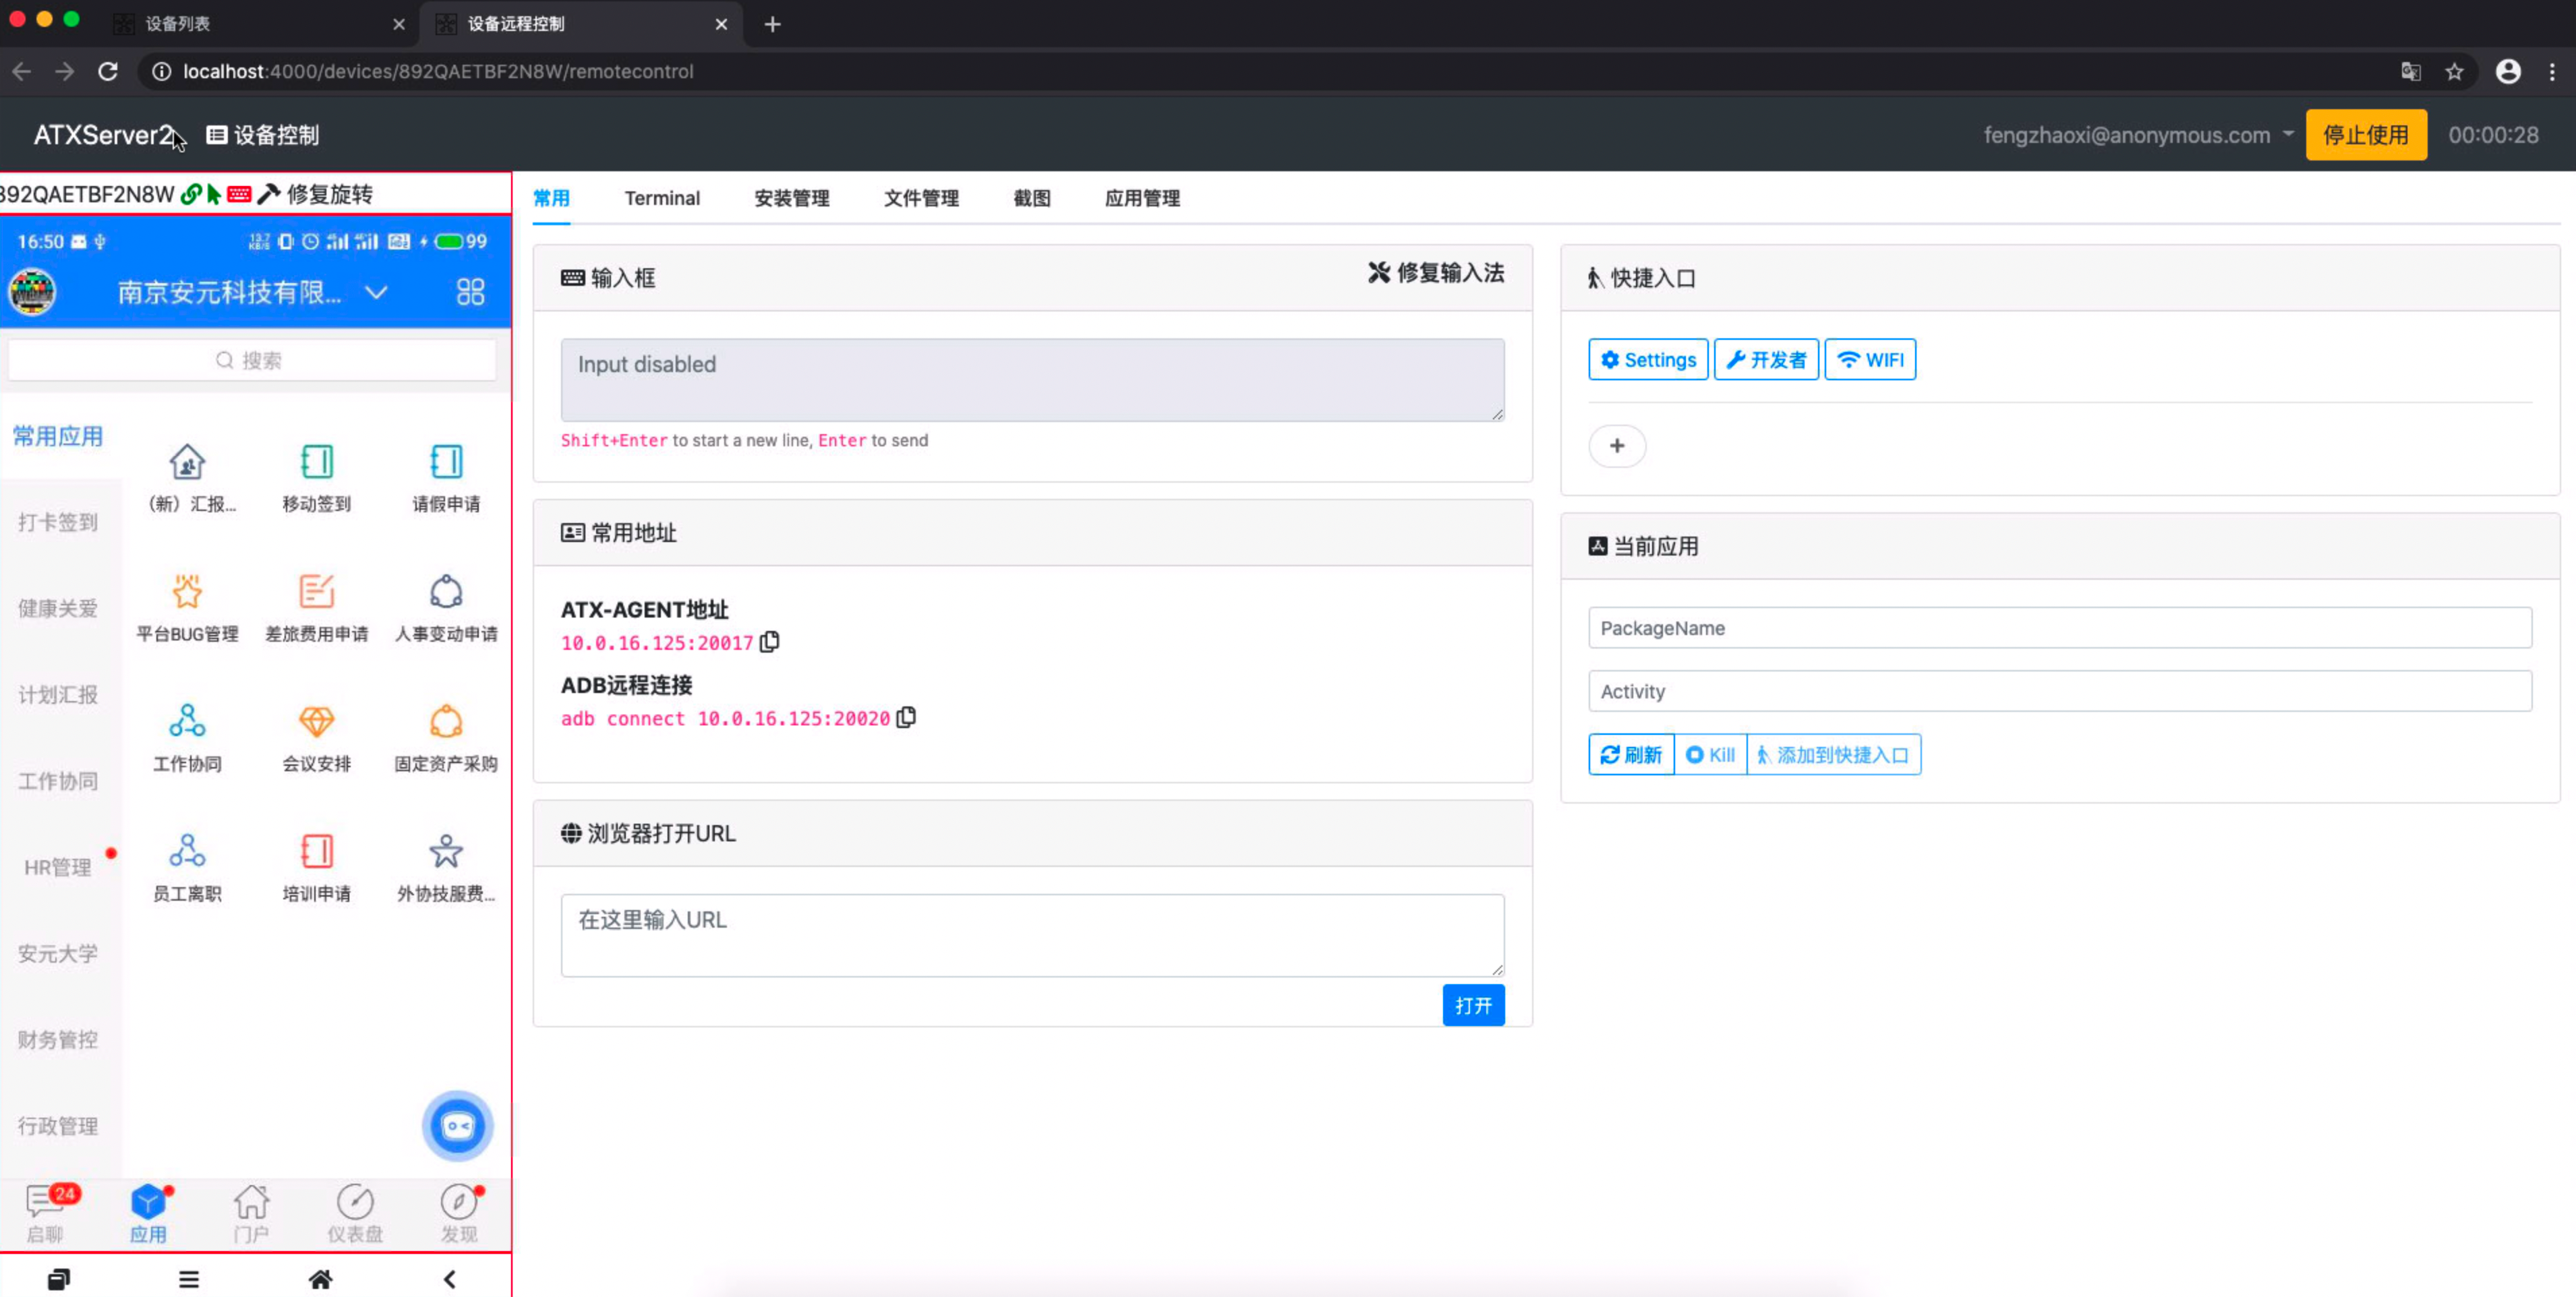
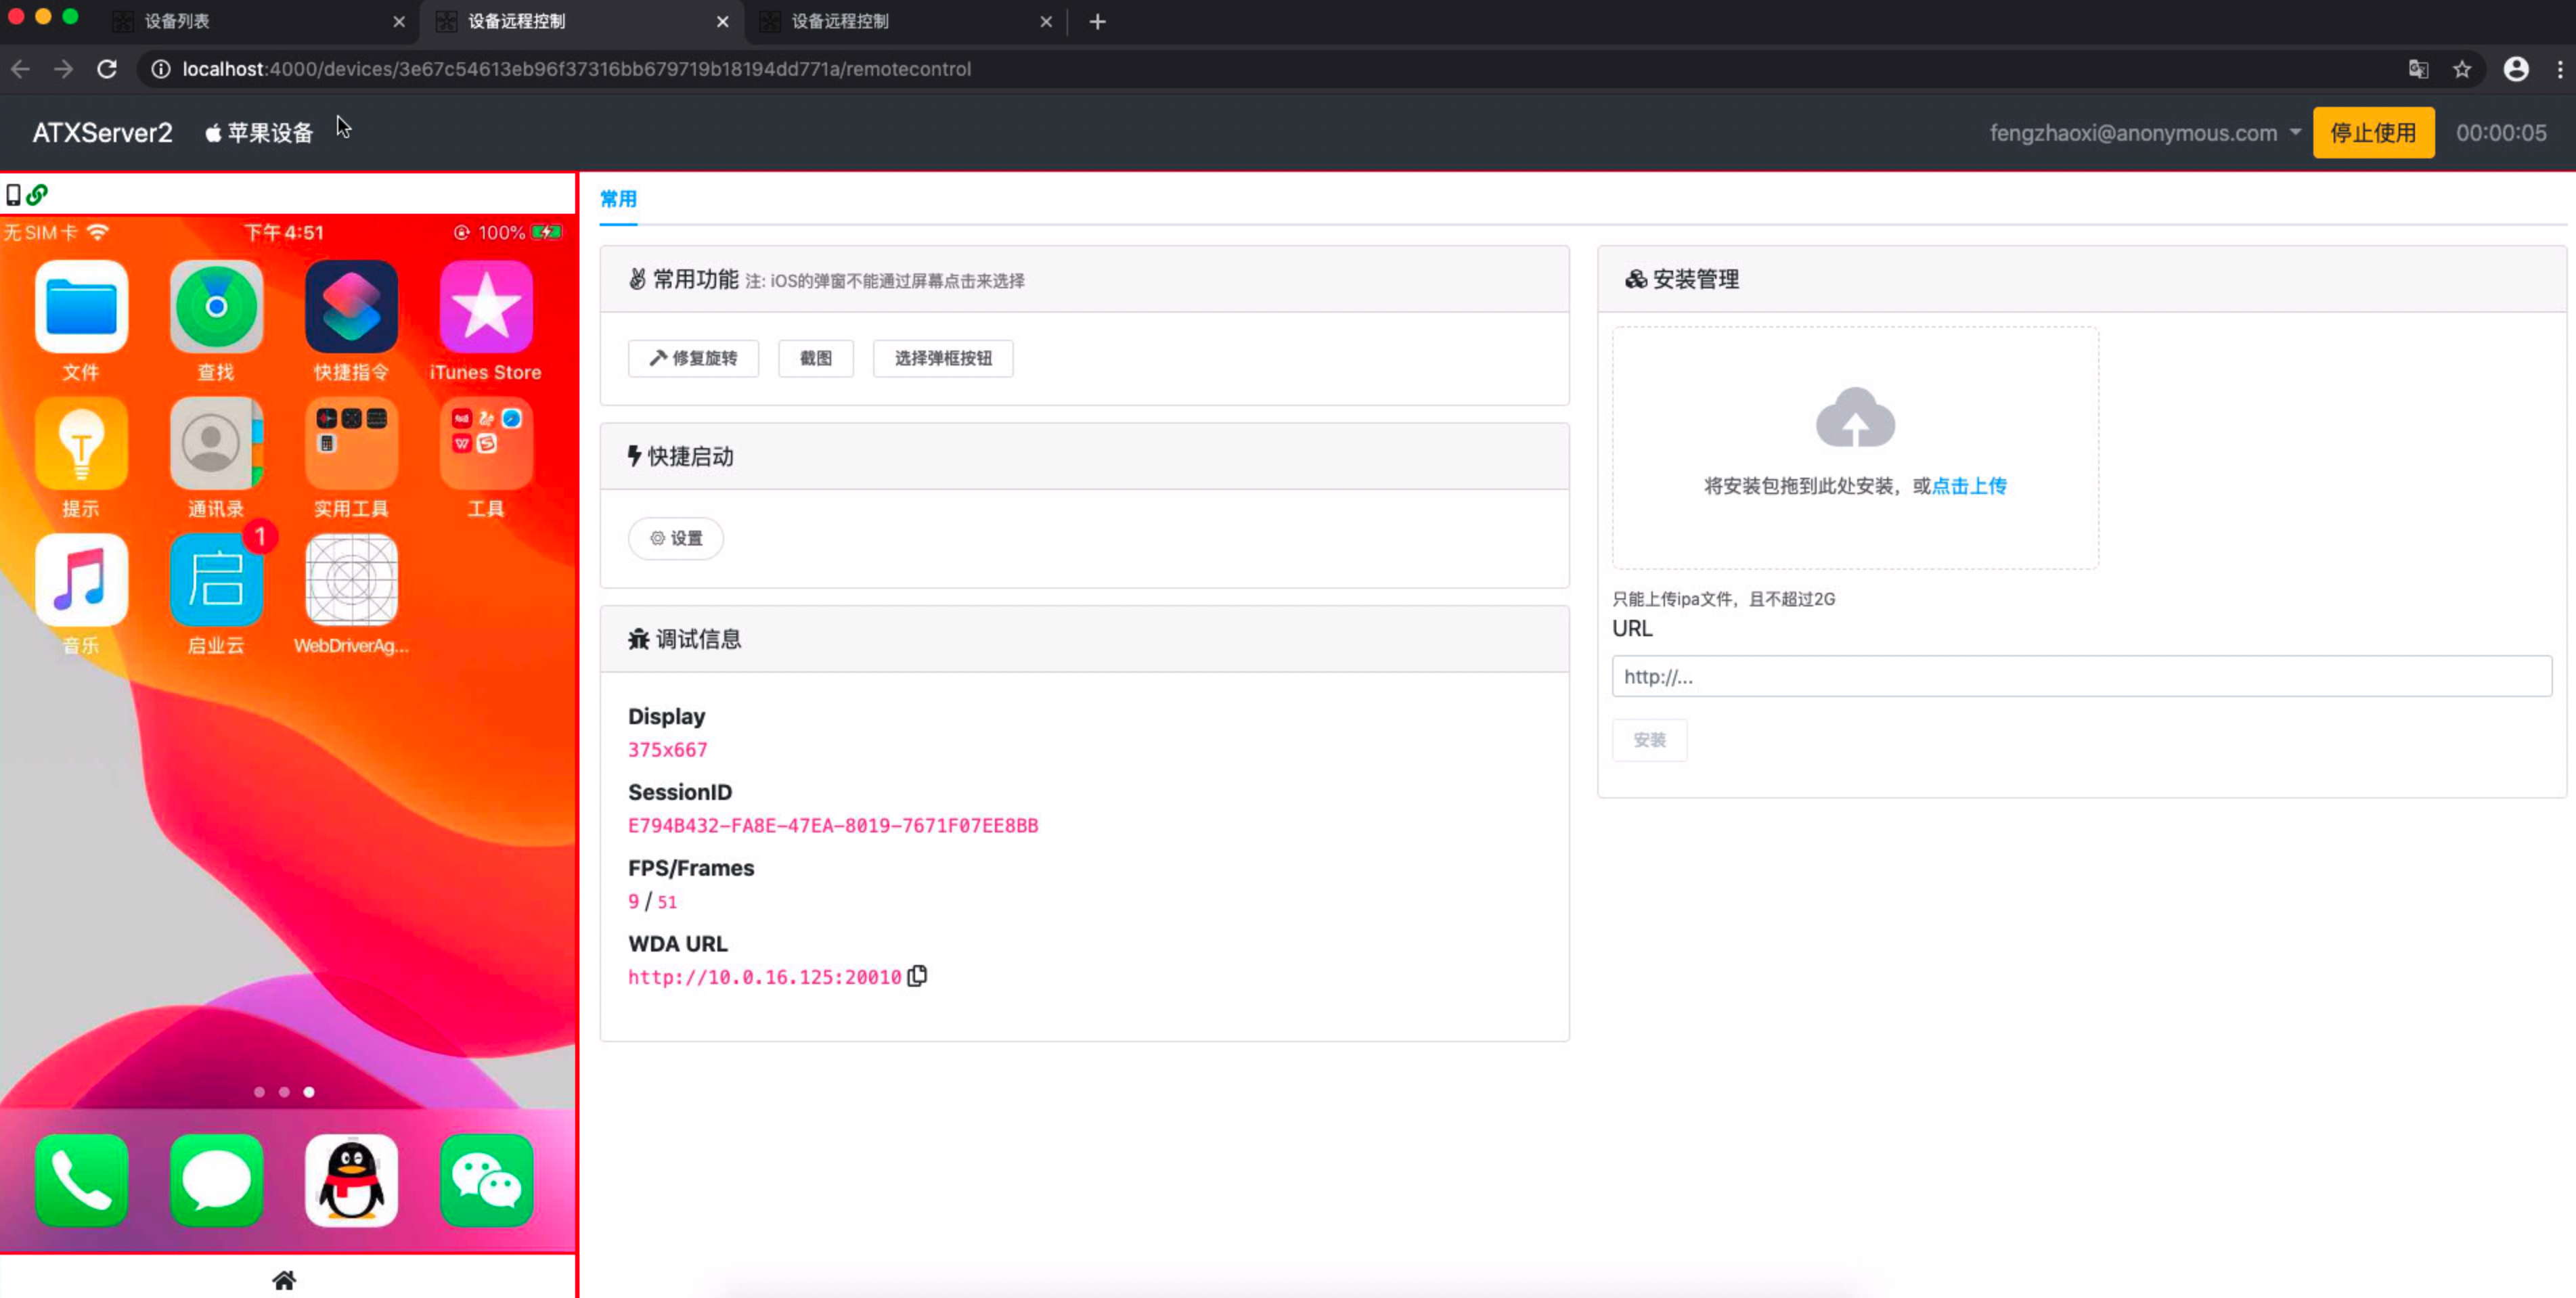
安卓和IOS设备就都出来了

点击使用


