nginx与Haproxy的四层端口转发实现负载均衡
一、实验规划
haproxy
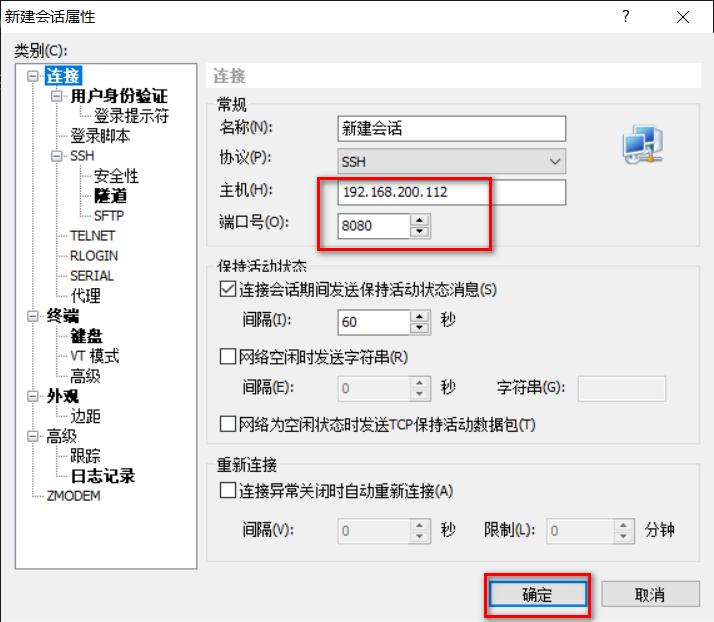
通过8080端口转到192.168.200.113的22端口,通过xshell登录
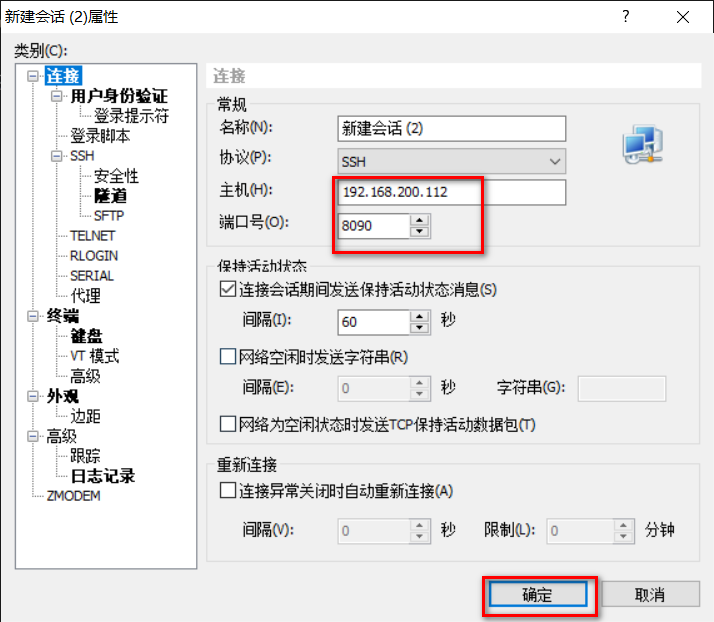
通过8090端口转到192.168.200.114的22端口,通过xshell登录
nginx
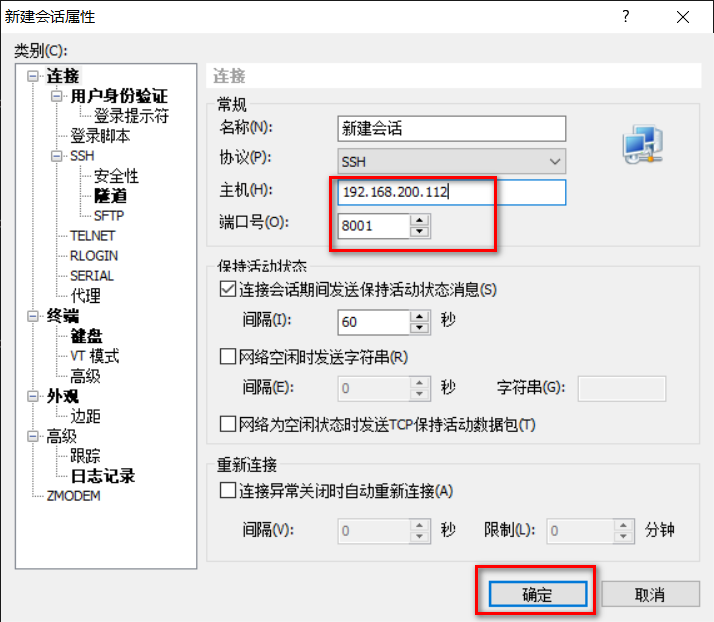
通过8001端口转到192.168.200.113的22端口,通过xshell登录
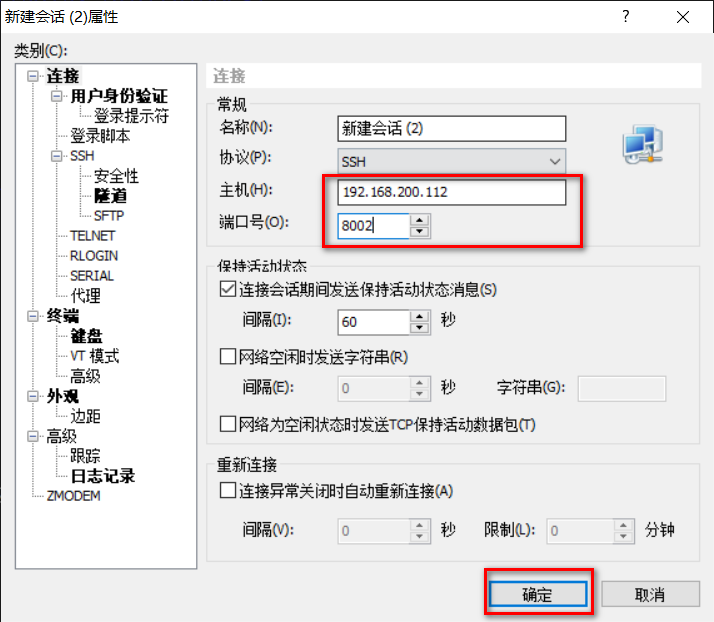
通过8002端口转到192.168.200.114的22端口,通过xshell登录
二、nginx配置(nginx使用9以上的版本)
#直接使用yum安装,如果使用源码安装编译时加上 --with-stream
yum -y instsll nginx
#配置nginx
vim /etc/nginx/nginx.conf
stream {
        server {
                listen 8001;
                proxy_connect_timeout 10s;
                proxy_timeout 5s; #连接保持5秒
                proxy_pass 192.168.200.113:22;
        }
        server {
                listen 8002;
                proxy_connect_timeout 10s;
                proxy_timeout 5s; #连接保持5秒
                proxy_pass 192.168.200.114:22;
        }
}
http 段上面配置
三、haproxy配置
#安装haproxy
yum -y instsll haproxy
#配置haproxy
vim /etc/haproxy/haproxy.cfg
global  #全局参数
    log         127.0.0.1 local2

    chroot      /var/lib/haproxy
    pidfile     /var/run/haproxy.pid
    maxconn     4000
    user        haproxy
    group       haproxy
    daemon

    stats socket /var/lib/haproxy/stats
defaults  #默认的配置
    mode                    tcp  #采用tcp四层的协议
    log                     global
    option                  httplog
    option                  dontlognull
    option http-server-close
    option forwardfor       except 127.0.0.0/8
    option                  redispatch
    retries                 3
    timeout http-request    10s
    timeout queue           1m
    timeout connect         10s
    timeout client          1m
    timeout server          1m
    timeout http-keep-alive 10s
    timeout check           10s
    maxconn                 3000

########113配置#################
listen ssh113
bind 0.0.0.0:8080
mode tcp
balance roundrobin
server s1 192.168.200.113:22 weight 1 maxconn 10000 check inter 10s

########114配置#################
listen ssh114
bind 0.0.0.0:8090
mode tcp
balance roundrobin
server s2 192.168.200.114:22 weight 1 maxconn 10000 check inter 10s
四、测试
haproxy


nginx


