实验:LNMP
实验:LNMP
规划:两台机器centos7.9
A:192.168.37.105 业务:Nginx php-fpm 运行web服务
B:192.168.37.107 业务:运行MySQL数据库,Redis服务
数据库版本:mariadb-10.2.25-linux-x86_64.tar.gz(二进制安装包)
php版本:php-7.4.11.tar.xz
nginx版本:nginx-1.18.0.tar.gz
wordpress版本:
1)安装配置数据库
脚本安装:
#!/bin/bash

#

#########################################################################

#File Name: instmysql.sh

#Author: LiJian

#QQ: 516104658

#Created Time: 2021-07-21 18:17:53

#role: The test script

#########################################################################

PS=lijian

. /etc/init.d/functions

PA=mariadb-10.2.25-linux-x86_64.tar.gz

[ -e $PA ] || echo "请将安装包放在当前目录下。"

. /etc/init.d/functions

if [ `getent passwd mysql &>/dev/null; echo $?` -eq 0 ] ;then

action "mysql用户已存在"

else

groupadd -r -g 306 mysql && useradd -r -u 306 -g 306 -d /data/mysql -s /sbin/nologin mysql &>/dev/null

action "mysql用户创建成功"

fi

echo "开始解压包..."

tar xf ${PA} -C /usr/local/ && action "文件已解压至$INPATH" || action "解压失败" fales

cd /usr/local/

ln -sv ` echo $PA | sed -nr 's@(.*)\.tar\.gz@\1@p'` mysql &> /dev/null && action "创建软链接成功"

chown -R root.root mysql/

cd /usr/local/mysql/

./scripts/mysql_install_db --datadir=/data/mysql --user=mysql

mkdir /etc/mysql/

cp support-files/my-huge.cnf /etc/mysql/my.cnf

sed -i '/\[mysqld\]/a\datadir=/data/mysql' /etc/mysql/my.cnf && action "已配置文件完成"

\cp -f /usr/local/mysql/support-files/mysql.server /etc/init.d/mysqld

chkconfig --add mysqld

\cp -f /usr/local/mysql/support-files/mysql.server /usr/lib/systemd/system/

systemctl daemon-reload

echo 'PATH=/usr/local/mysql/bin:$PATH' > /etc/profile.d/mysql.sh

. /etc/profile.d/mysql.sh

systemctl start mysqld.service && action "mysql程序启动成功"

wait

mysqladmin -uroot password $PS

#创建数据库并授权

mysql -uroot -plijian -e "create database wordpress;"

mysql -uroot -plijian -e "create database discuz;"

mysql -uroot -plijian -e "grant all on wordpress.* to wordpress@'192.168.37.%' identified by 'lijian';"

mysql -uroot -plijian -e "grant all on discuz.* to discuz@'192.168.37.%' identified by 'lijian';"

cd
2)安装
yum -y install redis
3)编译安装php
yum -y install gcc openssl-devel libxml2-devel bzip2-devel libmcrypt-devel sqlite-devel oniguruma-devel

cd /usr/local/src

wget https://www.php.net/distributions/php-7.4.11.tar.xz

tar xvf php-7.4.11.tar.xz

cd php-7.4.11

./configure --prefix=/apps/php74 --enable-mysqlnd --with-mysqli=mysqlnd --with-pdo-mysql=mysqlnd --with-openssl   --with-zlib --with-config-file-path=/etc --with-config-file-scan-dir=/etc/php.d --enable-mbstring --enable-xml --enable-sockets --enable-fpm --enable-maintainer-zts --disable-fileinfo

make -j 2 && make install
#配置php
cp /usr/local/src/php-7.4.11/php.ini-production /etc/php.ini

cd /apps/php74/

mv php-fpm.conf.default php-fpm.conf

cd php-fpm.d/

mv www.conf.default www.conf

vim www.conf #修改这么几行

grep '^[^;]' www.conf

[www]

user = nginx

group = nginx

listen = 127.0.0.1:9000

pm = dynamic

pm.max_children = 5

pm.start_servers = 2

pm.min_spare_servers = 1

pm.max_spare_servers = 3

pm.status_path = /status

ping.path = /ping

access.log = log/$pool.access.log

slowlog = log/$pool.log.slow

clipboard

#创建用户和访问日志文件路径

mkdir /apps/php74/log

useradd -r -s /sbin/nologin www

/apps/php74/sbin/php-fpm -t #检查配置文件的语法

#配置启动脚本

cp /usr/local/src/php-7.4.11/sapi/fpm/php-fpm.service /usr/lib/systemd/system/

systemctl daemon-reload

systemctl enable --now php-fpm

#检查运行

pstree -p |grep php

ps -ef |grep php
![]()
4)安装nginx
yum -y install gcc pcre-devel openssl-devel zlib-devel
wget http://nginx.org/download/nginx-1.18.0.tar.gz
useradd  -s  /sbin/nologin nginx
mv nginx-1.18.0.tar.gz  /usr/local/src/
cd /usr/local/src/
tar xvf  nginx-1.18.0.tar.gz
cd nginx-1.18.0/
./configure --prefix=/apps/nginx \
--user=nginx  \
--group=nginx \
--with-http_ssl_module \
--with-http_v2_module \
--with-http_realip_module \
--with-http_stub_status_module  \
--with-http_gzip_static_module \
--with-pcre \
--with-stream \
--with-stream_ssl_module
make && make install
ln -s /apps/nginx/sbin/nginx /usr/sbin/
nginx -v
创建 Nginx 自启动文件
#复制同一版本的nginx的yum安装生成的service文件
vim  /usr/lib/systemd/system/nginx.service
[Unit]
Description=nginx - high performance web server
Documentation=http://nginx.org/en/docs/
After=network-online.target remote-fs.target nss-lookup.target
Wants=network-online.target

[Service]
Type=forking
PIDFile=/apps/nginx/run/nginx.pid
ExecStart=/apps/nginx/sbin/nginx -c /apps/nginx/conf/nginx.conf
ExecReload=/bin/kill -s HUP $MAINPID
ExecStop=/bin/kill -s TERM $MAINPID
[Install]
WantedBy=multi-user.target
#创建目录
mkdir /apps/nginx/run/

#修改配置文件
sed -i s@'#pid        logs/nginx.pid;'@'pid   /apps/nginx/run/nginx.pid;'@ /apps/nginx/conf/nginx.conf
#nginx启动使用
systemctl daemon-reload
systemctl enable --now  nginx
#修改nginx的主配置文件,在http语句块下最后面添加
     include /apps/nginx/conf/conf.d/*.conf;

#增加辅配置文件
mkdir /apps/nginx/conf/conf.d
cat > /apps/nginx/conf/conf.d/fastcgi.conf << EOF
> server {
>     listen 80;
>     server_name www.lijian.com;
>     location / {
>         root    /data/nginx/wordpress;
>         index   index.php index.html index.htm;
>     }
>     location ~ \.php$ {
>         root            /data/nginx/wordpress;
>         fastcgi_pass    127.0.0.1:9000;
>         fastcgi_index   index.php;
>         #fastcgi_param  SCRIPT_FILENAME  $document_root$fastcgi_script_name;
>         fastcgi_param PATH_TRANSLATED $document_root$fastcgi_script_name;
>         include         fastcgi_params;
>     }
>     location ~ ^/(ping|status)$ {
>         include fastcgi_params;
>         fastcgi_pass 127.0.0.1:9000;
>         fastcgi_param PATH_TRANSLATED $document_root$fastcgi_script_name;
>     }
> }
> EOF
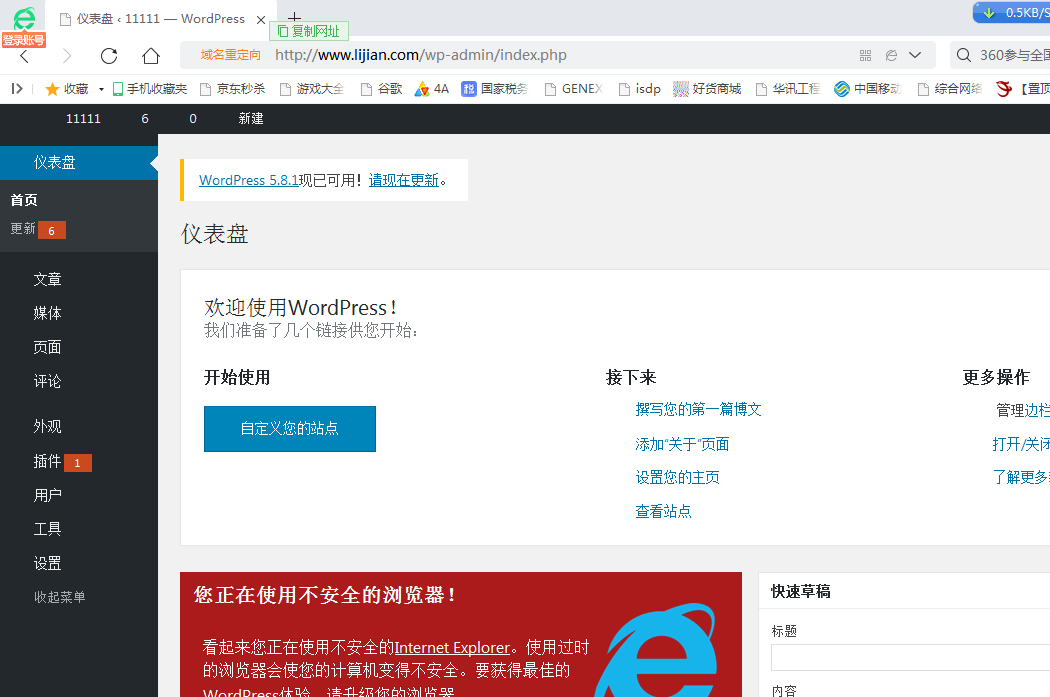
5)安装wordpress
tar xvf  wordpress-5.2.2-zh_CN.tar.gz
mv wordpress/* /data/nginx/wordpress
chown -R www.www /data/nginx/wordpress/
实验成功: