构建一个MAT
 1 #include<iostream>
 2 #include<vector>
 3 using namespace std;
 4
 5 #include<opencv2/opencv.hpp>
 6
 7
 8
 9 namespace myMat
10 {
11     class Mat
12     {
13     public:
14         Mat(int rows, int cols) :rows_(rows), cols_(cols)
15         {
16             for (int j = 1; j <= rows_; j++)
17             {
18                 for (int i = 1; i <= cols_; i++)
19                 {
20                     arraycols_.push_back(125);
21                 }
22                 matrix2d_.push_back(arraycols_);
23                 arraycols_.clear();
24             }
25         }
26
27         uchar at(int rows, int cols) //【注意:这里可用模板来代替】
28         {
29             return matrix2d_[rows][cols];
30             //return matrix2d.at(rows).at(cols);
31         }
32         //通过成员函数来获取私有数据
33         int getCols() const
34         {
35             return cols_;
36         }
37
38         int getRows() const
39         {
40             return rows_;
41         }
42
43         ~Mat() {};
44
45     private:
46         int cols_;
47         int rows_;
48         vector<vector<uchar>> matrix2d_;
49         vector<uchar> arraycols_;
50     };
51 }
52
53
54 int main()
55 {
56     myMat::Mat matrix(3, 4);
57     int pixels = matrix.at(2, 2);
58     int cols = matrix.getCols();
59     int rows = matrix.getRows();
60
61     myMat::Mat matrix_(400, 800);//行、列
62     const int cols_ = matrix_.getCols();
63     const int rows_ = matrix_.getRows();
64
65     //测试与opencv数据传递
66     cv::Mat image = cv::Mat::zeros(rows_, cols_, CV_8UC1);//行、列
67     cv::imshow("初始化图", image);
68     for (int j = 0; j < rows_; j++)
69     {
70         for (int i = 0; i < cols_; i++)
71         {
72             image.at<uchar>(j, i) = matrix_.at(j, i);
73             /*cout.width(8);
74             cout << matrix_.at(j, i) ;*/
75         }
76         /*cout << endl;*/
77     }
78     cv::imshow("传递数据后", image);
79     cv::waitKey(0);
80     return 1;
81 }
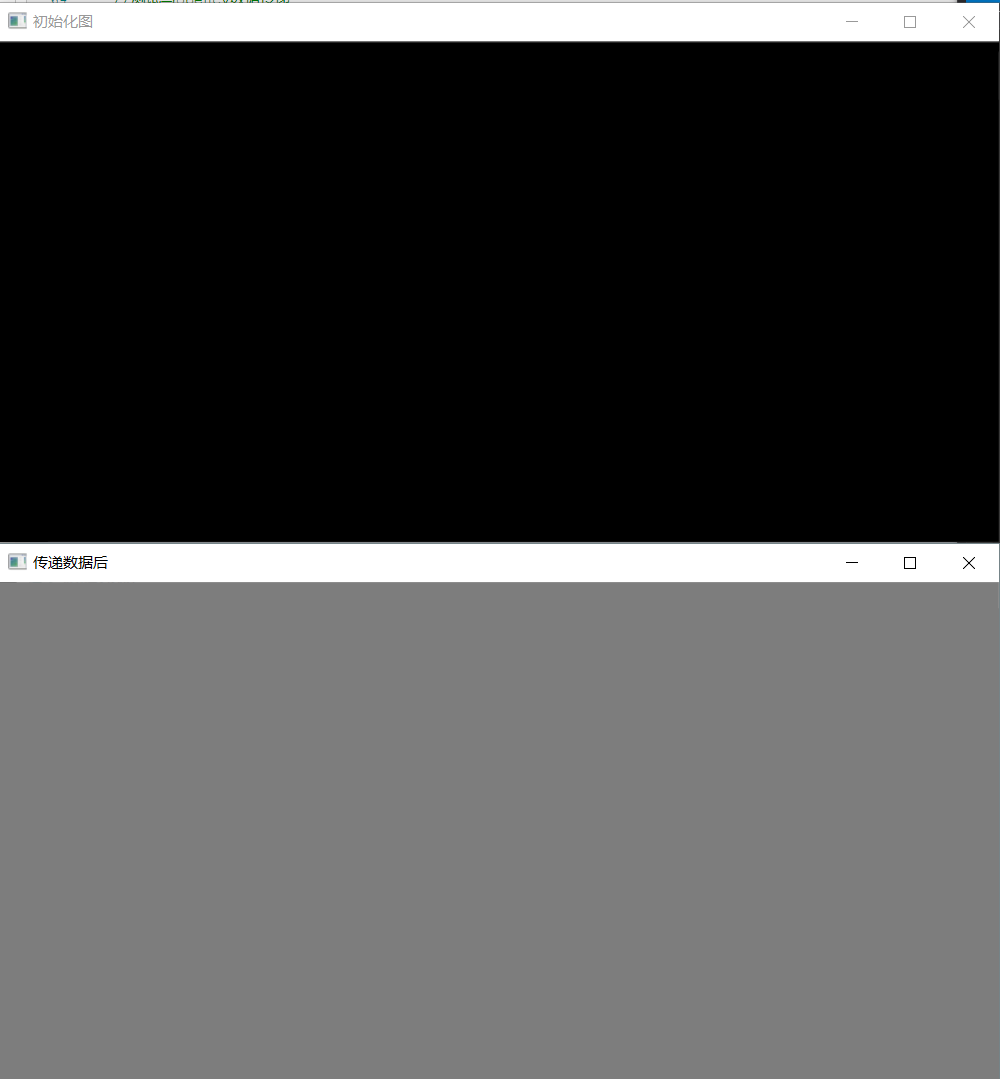
现象如下:用opencv创建一张空白图,然后通过自定义Mat将像素导入
CV&DL

 浙公网安备 33010602011771号