
springboot入门程序
1.在myecipse中创建一个maven工程
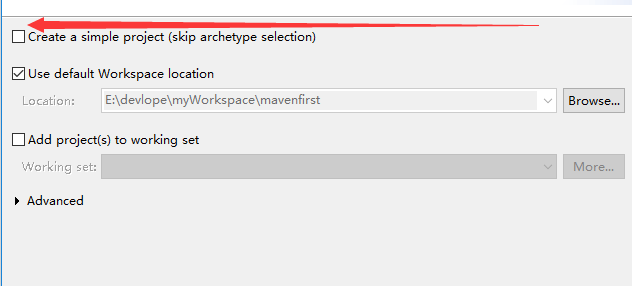
勾选这个,建立一个简单的maven工程
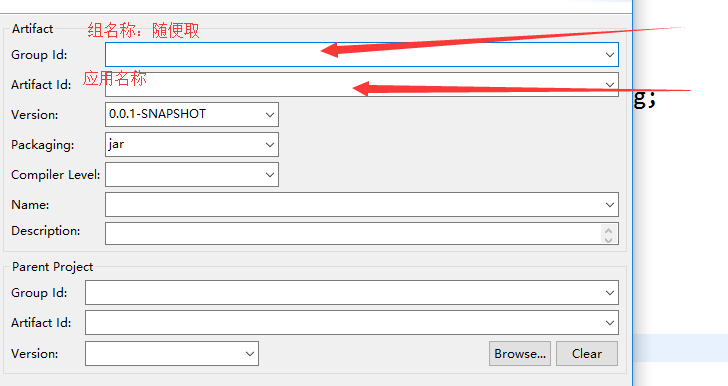
2.
3.编辑pom文件
<project xmlns="http://maven.apache.org/POM/4.0.0" xmlns:xsi="http://www.w3.org/2001/XMLSchema-instance" xsi:schemaLocation="http://maven.apache.org/POM/4.0.0 http://maven.apache.org/xsd/maven-4.0.0.xsd">
<modelVersion>4.0.0</modelVersion>
<groupId>com.it</groupId>
<artifactId>mavenfirst</artifactId>
<version>0.0.1-SNAPSHOT</version>
<!-- 继承springboot -->
<parent>
<groupId>org.springframework.boot</groupId>
<artifactId>spring-boot-starter-parent</artifactId>
<version>1.5.8.RELEASE</version>
</parent>
<!-- 配置我们的编码集、JDK版本、springboot版本、数据库版本 -->
<!-- 注:还可以配置更多的版本信息,在这里就不多说了,有兴趣的朋友可以进一步研究一下 -->
<properties>
<project.build.sourceEncoding>UTF-8</project.build.sourceEncoding>
<java.version>1.8</java.version>
<mybatis-spring-boot.version>1.2.0</mybatis-spring-boot.version>
<mysql-connector.version>5.1.39</mysql-connector.version>
</properties>
<!-- 下面我们就要引入相关的jar包了 -->
<dependencies>
<!-- springboot 基础包 -->
<dependency>
<groupId>org.springframework.boot</groupId>
<artifactId>spring-boot-starter</artifactId>
</dependency>
<!-- springboot web 包 -->
<dependency>
<groupId>org.springframework.boot</groupId>
<artifactId>spring-boot-starter-web</artifactId>
</dependency>
<!-- springboot web开发thymeleaf模板 -->
<dependency>
<groupId>org.springframework.boot</groupId>
<artifactId>spring-boot-starter-thymeleaf</artifactId>
</dependency>
</dependencies>
<build>
<plugins>
<plugin>
<groupId>org.springframework.boot</groupId>
<artifactId>spring-boot-maven-plugin</artifactId>
</plugin>
</plugins>
</build>
</project>
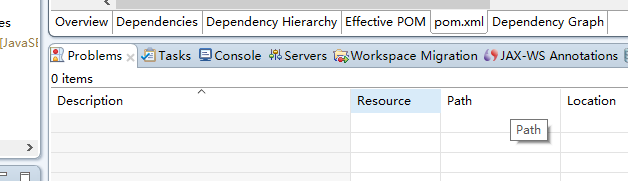
4.调错,右键项目名称,找到maven,选中,updateproject,然后看下面problem的问题,调错
5.创建一个主类,在src文件夹下的main包下创建,内容如下
package main;
import org.springframework.boot.SpringApplication;
import org.springframework.boot.autoconfigure.SpringBootApplication;
//告诉大家这是一个springboot的程序
@SpringBootApplication
public class Zhulei {
public static void main(String[] args) {
System.out.println("---------");
SpringApplication.run(Zhulei.class, args);
}
}
6.创建一个controller的包,必须在原包下,在controller包下创建一个类,内容如下
package main.controller;
import org.springframework.stereotype.Controller;
import org.springframework.web.bind.annotation.RequestMapping;
import org.springframework.web.bind.annotation.ResponseBody;
@Controller
public class ControllerDemo {
@ResponseBody
@RequestMapping("/hello")
public String hello(){
return "hello ";
}
}
7.运行你的工程,在浏览器输入http://localhost:8080/hello

 浙公网安备 33010602011771号