记 Vue + Element-UI 上传组件上传图片到 https 图床接口(sm_ms)
1. 上传组件
action 表示上传的地址,这里使用 http-request 覆盖默认的上传行为,自定义上传的实现
<el-upload
	action=""
	class="alignContainer"
	:http-request="upload"
	:show-file-list="false"
	:before-upload="beforeAvatarUpload"
>
	<div class="avatar-update">修改头像</div>
</el-upload>
2. 上传实现
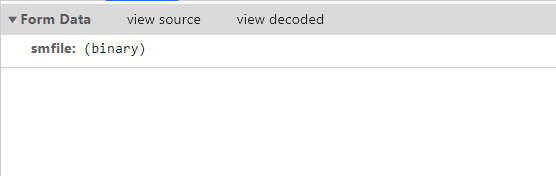
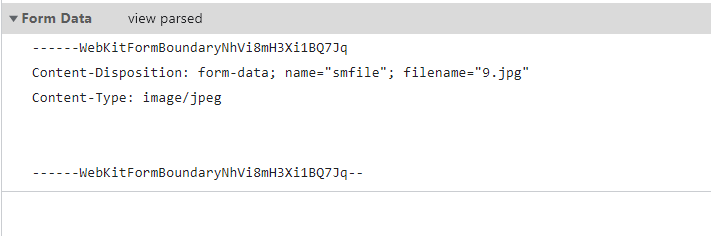
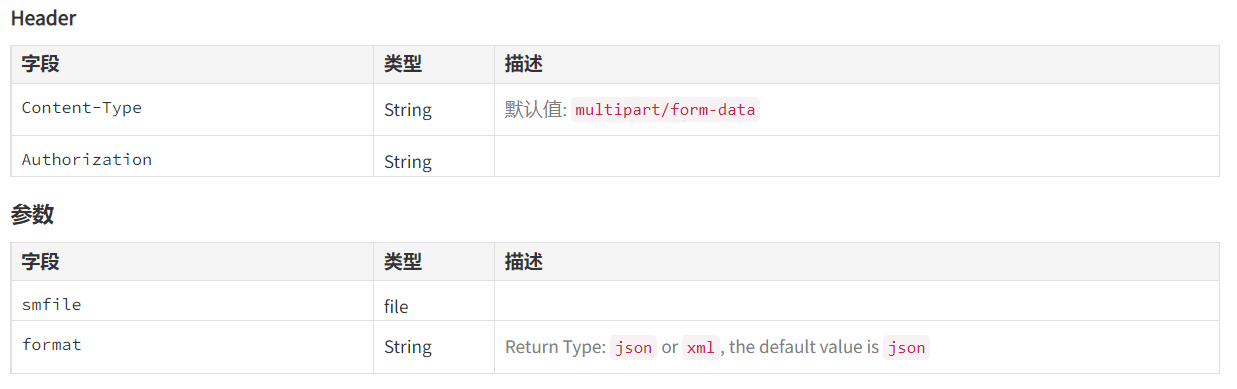
创建一个 formData 对象,然后将 组件传进来的文件 file 传进去。这里的参数名 smfile 是图床接口所需要的参数,类型为 file
upload(file) {
      const formData = new FormData()
      formData.append('smfile', file.file)

      axios.post('/api/v2/upload', formData, {
        headers: {
          'Content-Type': 'multipart/form-data',
          'Authorization': 'xxx'
        }
      }, { timeout: 30000 }).then(res => {
        if (res.data.code === 'image_repeated') {
          this.userInfo.avatar = res.data.images;
        } else {
          this.userInfo.avatar = res.data.data.url;
        }

        this.$axios.put('/hrms/employee/updateEmployee', this.userInfo).then(() => {
          this.$message.success('修改头像成功');
          this.$bus.$emit('refreshNavHeader');
        })
      })
}
3. https 代理设置
secure 表示安全证书校验,设为 false。然后设置 Referer,表示请求来源(重要)
const { defineConfig } = require('@vue/cli-service')
module.exports = defineConfig({
  transpileDependencies: true,
  lintOnSave: false,
  devServer: {
    port: 8080,
    proxy: {
      '/hrms': {
        target: 'http://localhost:8888',
        ws: true,
        changeOrigin: true
      },
      "/api": {
        target: 'https://sm.ms',
        changeOrigin: true,
        secure: false,
        headers: {
          Referer: 'https://sm.ms'
        }
      },
    }
  }
})
注: 重点是 https 设置,其次是文件类型,一般浏览器会默认转为 multipart/form-data,使用 FormData 来进行传输