Harbor是什么东西,这里不做阐述,有兴趣的同学可以去网上搜搜,
下面我们直接开门见山,看看Harbor怎么安装和使用
一,下载安装包:
下载地址:https://github.com/goharbor/harbor/releases
进入页面后可以根据需要下载不同版本的安装包
我们这里直接安装最新版本的Harbor
进入/usr/local/目录执行下面的命令:
wget https://github.com/goharbor/harbor/releases/download/v2.1.2/harbor-offline-installer-v2.1.2.tgz
下载完成后直接解压缩:
tar -xvf harbor-offline-installer-v2.1.2.tgz
[root@tennel01 harbor]# tree
.
├── common.sh
├── harbor.v2.1.2.tar.gz
├── harbor.yml.tmpl
├── install.sh
├── LICENSE
└── prepare
二,copy harbor.yml.tmpl文件到 harbor.yml
cp harbor.yml.tmpl ./harbor.yml
修改harbor.yml文件,修改以下内容,本文以http 协议开启服务,
hostname: 192.168.56.123
http:
  port: 8999
#https:  注释掉https部分
    #port:443
    #certificate: /your/certificate/path
    #private_key: /your/private/key/path
三,执行./install.sh
[root@tennel01 harbor]# ./install.sh

[Step 0]: checking if docker is installed ...

Note: docker version: 19.03.13

[Step 1]: checking docker-compose is installed ...

Note: docker-compose version: 1.18.0

[Step 2]: loading Harbor images ...
Loaded image: goharbor/chartmuseum-photon:v2.1.2
Loaded image: goharbor/prepare:v2.1.2
Loaded image: goharbor/harbor-log:v2.1.2
Loaded image: goharbor/harbor-registryctl:v2.1.2
Loaded image: goharbor/clair-adapter-photon:v2.1.2
Loaded image: goharbor/harbor-db:v2.1.2
Loaded image: goharbor/harbor-jobservice:v2.1.2
Loaded image: goharbor/clair-photon:v2.1.2
Loaded image: goharbor/notary-signer-photon:v2.1.2
Loaded image: goharbor/harbor-portal:v2.1.2
Loaded image: goharbor/redis-photon:v2.1.2
Loaded image: goharbor/nginx-photon:v2.1.2
Loaded image: goharbor/trivy-adapter-photon:v2.1.2
Loaded image: goharbor/harbor-core:v2.1.2
Loaded image: goharbor/registry-photon:v2.1.2
Loaded image: goharbor/notary-server-photon:v2.1.2


[Step 3]: preparing environment ...

[Step 4]: preparing harbor configs ...
prepare base dir is set to /usr/local/harbor
WARNING: IPv4 forwarding is disabled. Networking will not work.
WARNING:root:WARNING: HTTP protocol is insecure. Harbor will deprecate http protocol in the future. Please make sure to upgrade to https
Generated configuration file: /config/portal/nginx.conf
Generated configuration file: /config/log/logrotate.conf
Generated configuration file: /config/log/rsyslog_docker.conf
Generated configuration file: /config/nginx/nginx.conf
Generated configuration file: /config/core/env
Generated configuration file: /config/core/app.conf
Generated configuration file: /config/registry/config.yml
Generated configuration file: /config/registryctl/env
Generated configuration file: /config/registryctl/config.yml
Generated configuration file: /config/db/env
Generated configuration file: /config/jobservice/env
Generated configuration file: /config/jobservice/config.yml
Generated and saved secret to file: /data/secret/keys/secretkey
Creating harbor-log ... done
Generated configuration file: /compose_location/docker-compose.yml
Clean up the input dir


Creating registry ... done
Creating harbor-core ... done
Creating network "harbor_harbor" with the default driver
Creating nginx ... done
Creating redis ...
Creating harbor-portal ...
Creating registry ...
Creating harbor-db ...
Creating registryctl ...
Creating harbor-core ...
Creating nginx ...
Creating harbor-jobservice ...
✔ ----Harbor has been installed and started successfully.----
此脚本会初始化,和装载harbor所需的镜像,并根据harbor.yml 调用./perpare 程序生成所需要的配置文件和docker-compose.yml文件
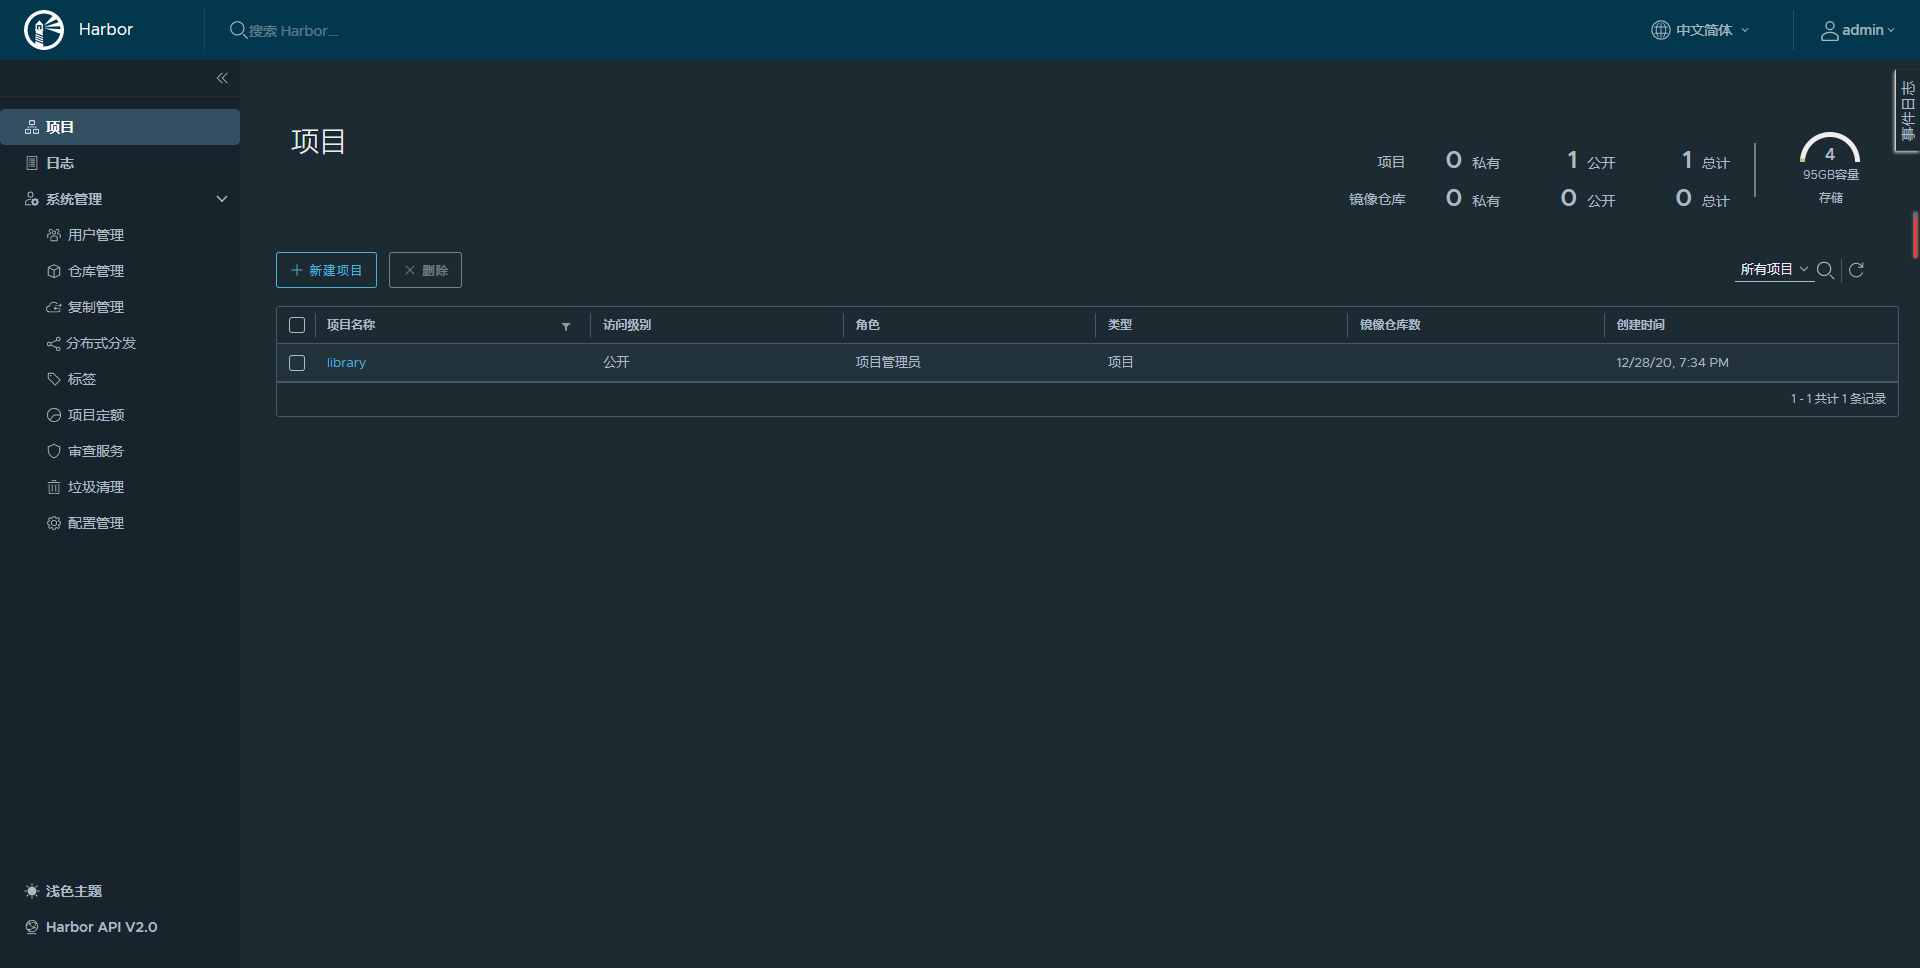
现在我们已经成功安装了harbor可以打开页面验证下:
输入初始化默认用户名密码(admin/Harbor12345):

至此我们成功安装了harbor ,现在我们可以将我们的镜像推行至此
其他管理命令如下:
启动harbor: `docker-compose up -d`
停止harbor:  `docker-compose stop`
重启harbor: `docker-compose restart`
查看harbor状态: `docker-compose ps`
更新harbor配置:
1,重新修改harbor.yml文件
2,docker-compose down 停掉harbor服务
3,把harbor.yml转化为容器配置文件:./prepare --with-clair --with-chartmuseum
4, 如果是http+nginx代理模式: sed -i 's/proxy_set_header\ X-Forwarded-Proto $scheme/#proxy_set_header X-Forwarded-Proto $scheme/' common/config/nginx/nginx.conf
5, 重新启动 harbor : docker-compose up -d
注意:数据库密码在第一次初始化后,后面再修改配置的密码,通过prepare更新配置后,会导致容器连接不上数据库,可通过install.sh重新安装处理,记得执行前备份数据
参考文档:https://www.jianshu.com/p/ad34458212ec


