
Maven私服搭建教程
一、nexus安装
1,解压安装包 安装包下载地址
2,以管理员身份打开cmd
3,进入到nexus的bin目录
(1) 安装:nexus install

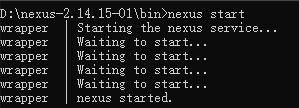
(2) 启动:nexus start
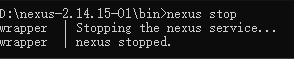
(3) 停止的命令:nexus stop
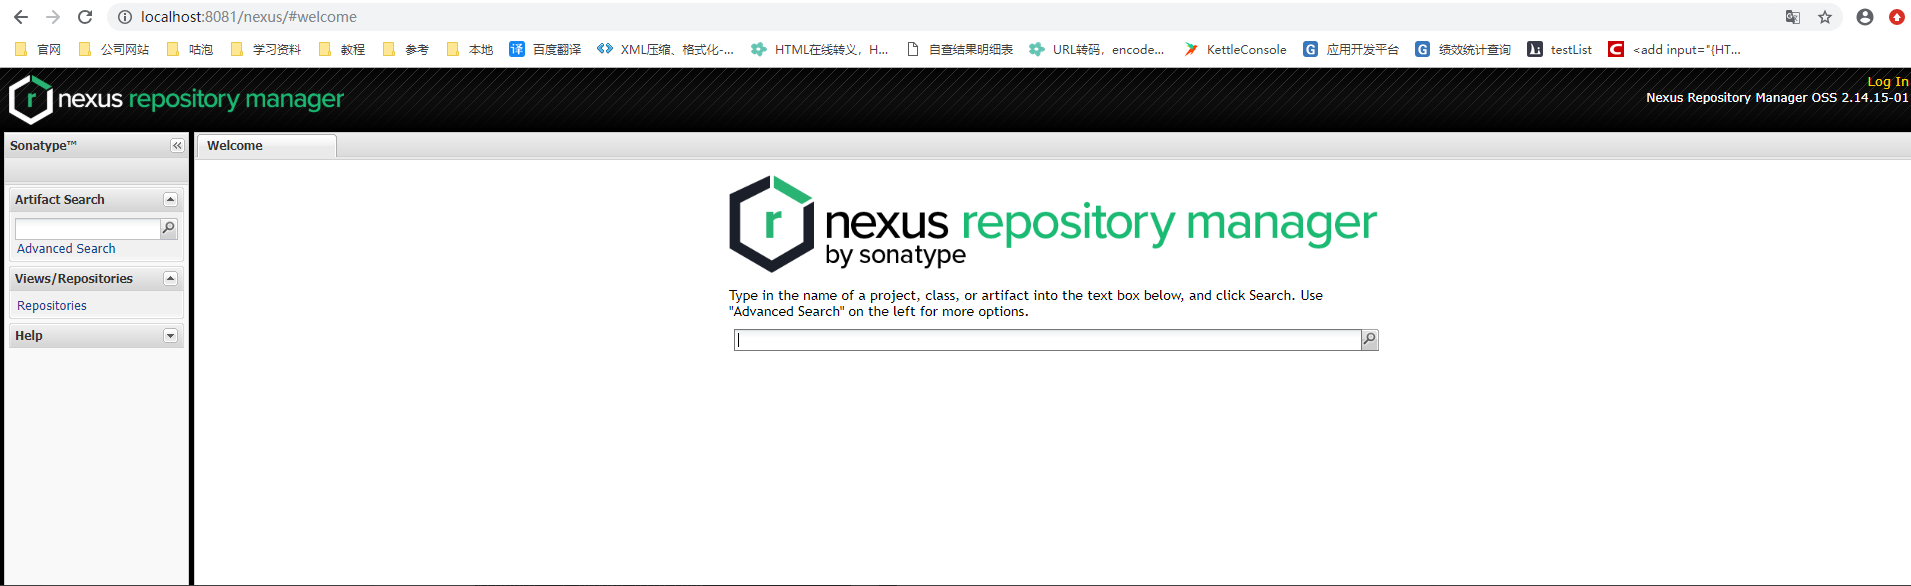
4,访问:http://localhost:8081/nexus
登录:用户名/密码 admin/admin123

5,查看仓库
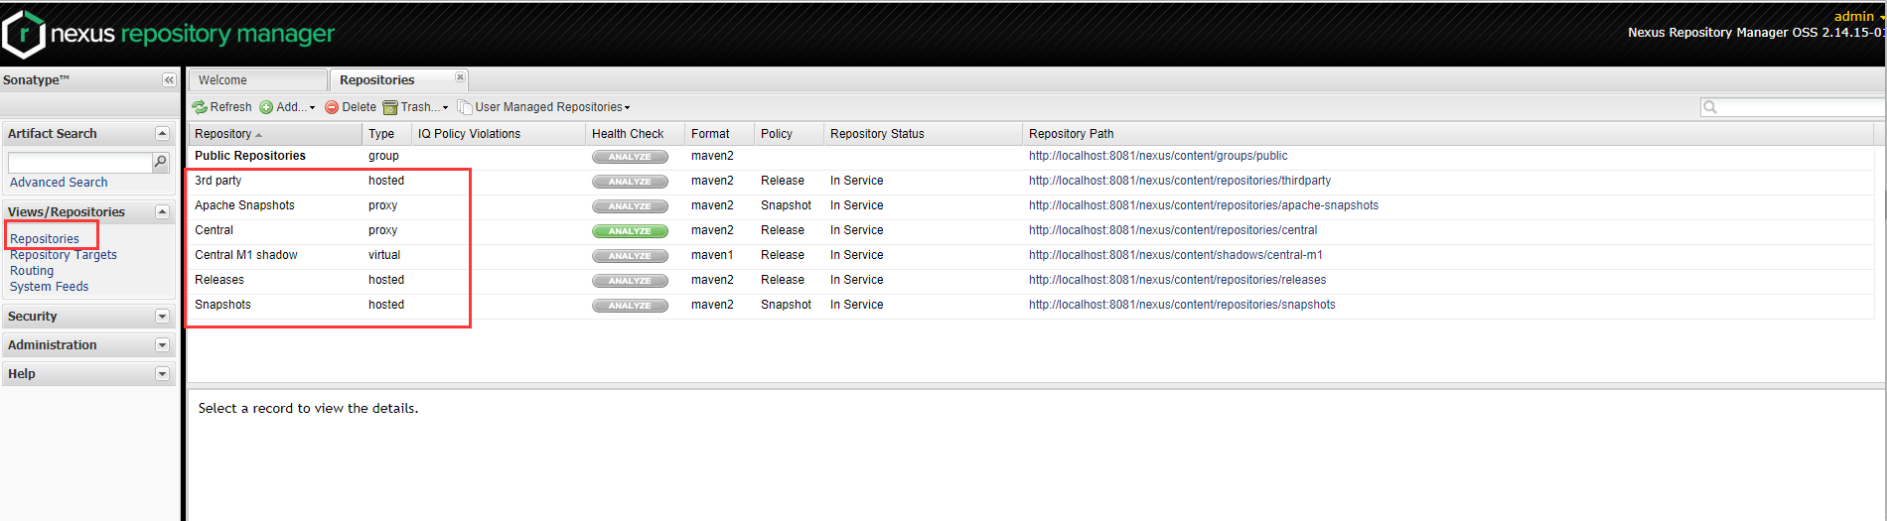
(1) 每个仓库的作用
① 3rd party: 无法从公共仓库获得的第三方发布版本的构件仓库
② Apache Snapshots: 用了代理ApacheMaven仓库快照版本的构件仓库
③ Central: 用来代理maven中央仓库中发布版本构件的仓库
④ Central M1 shadow: 用于提供中央仓库中M1格式的发布版本的构件镜像仓库
⑤ Codehaus Snapshots: 用来代理CodehausMaven 仓库的快照版本构件的仓库
⑥ Releases: 用来部署管理内部的发布版本构件的宿主类型仓库
⑦ Snapshots:用来部署管理内部的快照版本构件的宿主类型仓库
二、更新索引
- 停止服务 使用管理员身份进入bin目录,执行:nexus stop
- 解压压缩包 压缩包地址
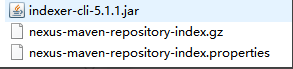
3.以管理员身份在此目录打开cmd,执行: java -jar indexer-cli-5.1.1.jar -u nexus-maven-repository-index.gz -d indexer(这个过程会比较慢)

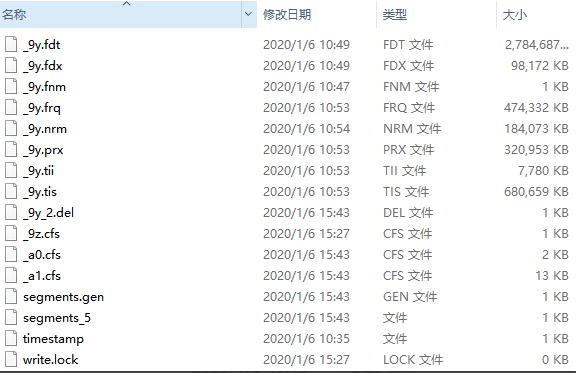
执行完成之后会在该目录生成一个文件夹indexer

4.打开nexus 的central-ctx目录,例:D:\sonatype-work\nexus\indexer\central-ctx,清空该文件夹,将新生成的indexer中的内容考到该目录
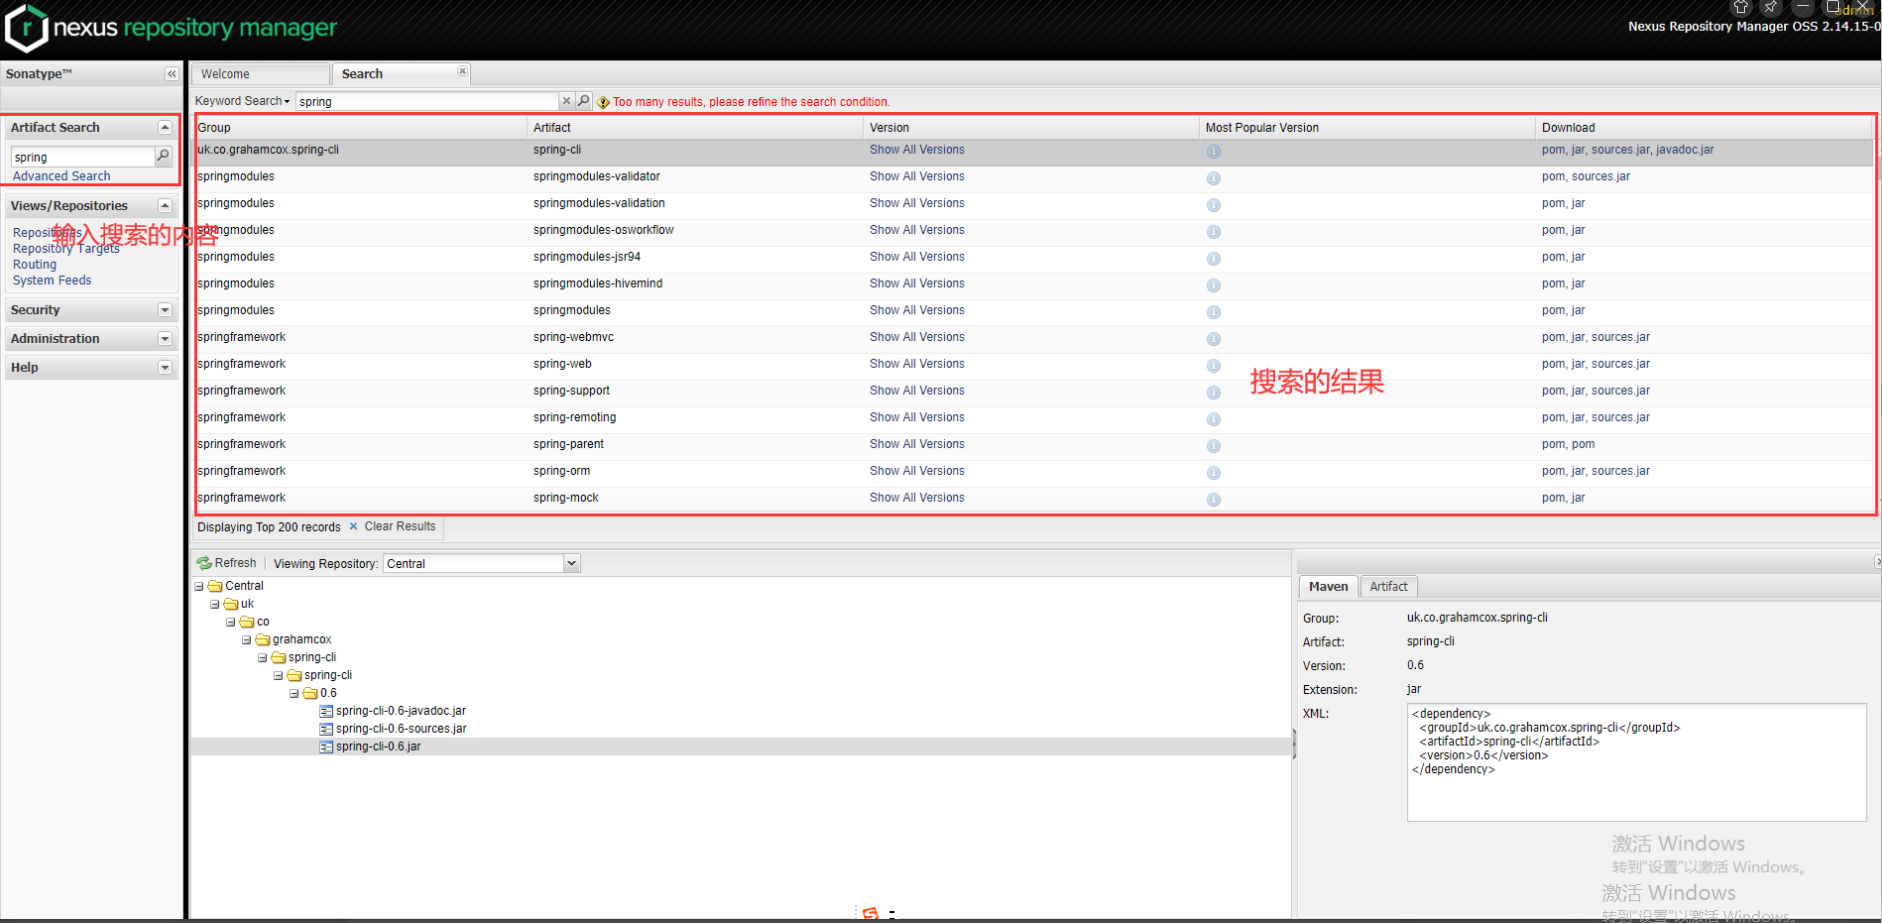
5.重新启动nexus -登陆-按照如下进行搜索-出现右侧结果说明索引更新成功
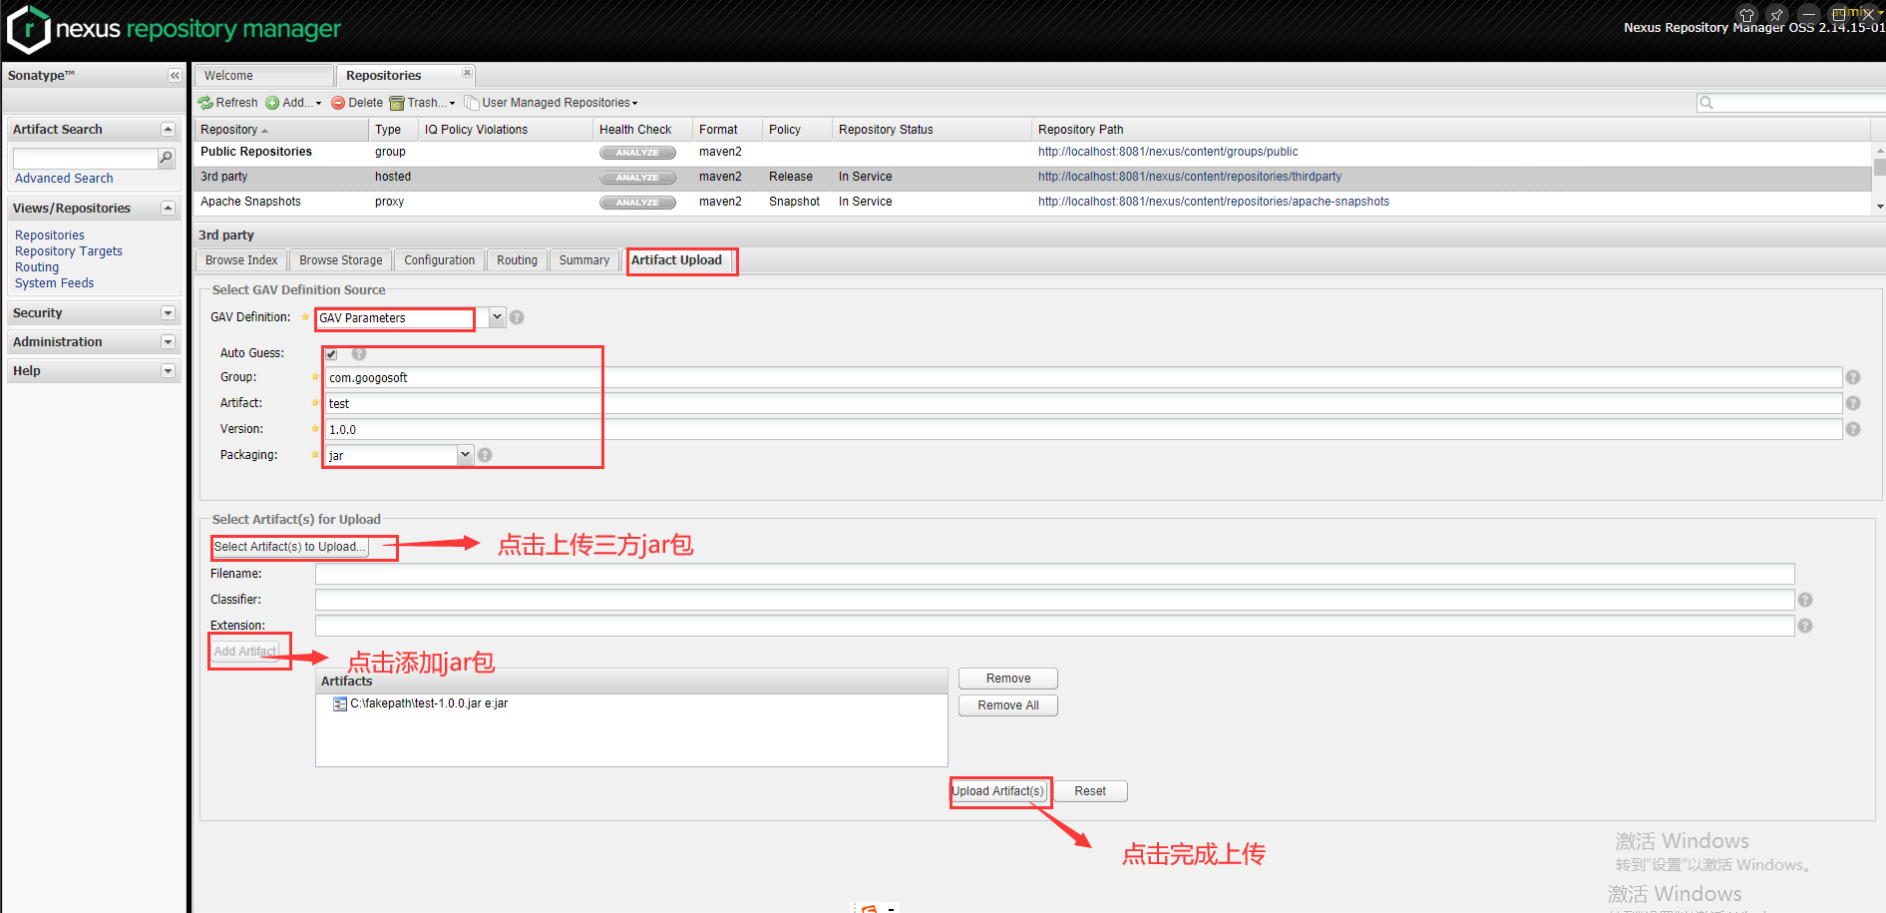
三、上传jar包到3rd party(上传三方jar包):
- 选中3rd party
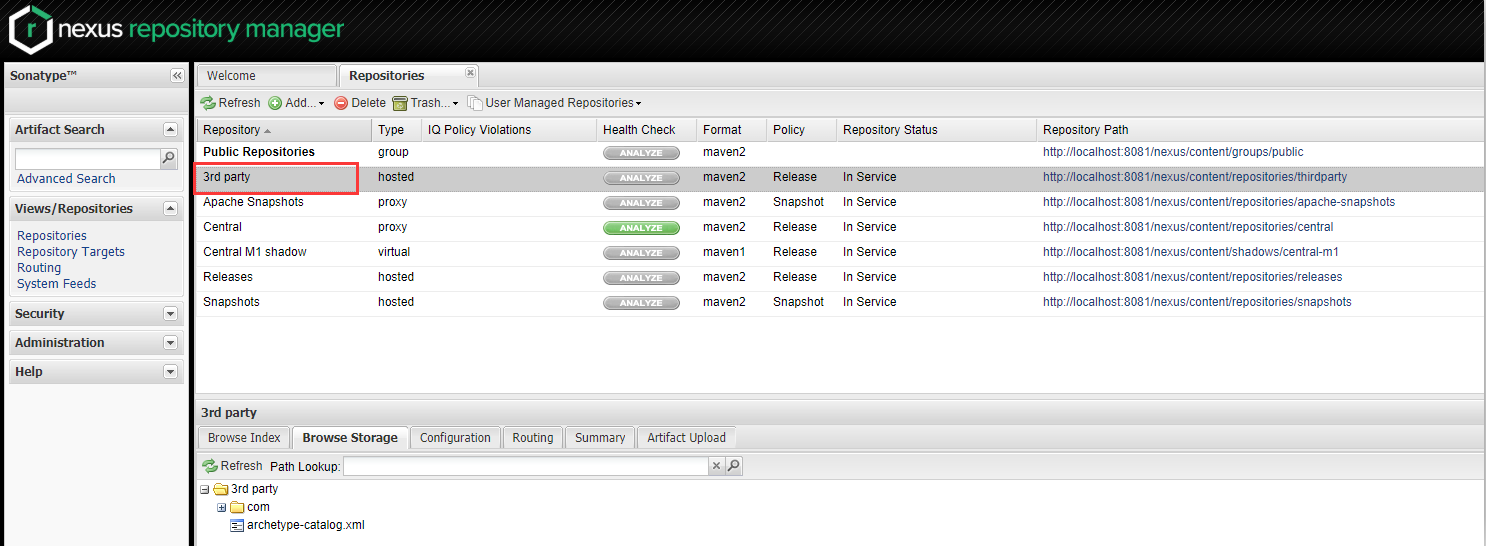
2.按照下图上传三方jar包
四、修改 Maven 镜像配置
- 找到项目中使用的settings.xml,加入:
        <profile>
            <repositories>
                <profile>
                    <repositories>
                        <repository>
                            <!--仓库id,可以配置多个仓库要保证id不重复-->
                            <id>public</id>
                            <!--仓库地址,也就是我们私服的仓库组地址-->
                            <url>http://192.168.11.3:8081/nexus/content/groups/public/</url>
                            <!--是否下载releases版本的jar-->
                            <releases>
                                    <enabled>true</enabled>
                            </releases>
                            <!--是否下载snapshots版本的jar-->
                            <snapshots>
                                    <enabled>true</enabled>
                            </snapshots>
                        </repository>
                    </repositories>
                </profile>
            </repositories>
            <!--插件仓库,maven运行时的命令依赖的插件jar包,也从私服下载-->
             <pluginRepositories>
                <pluginRepository>
                    <id>public</id>
                    <url>http://192.168.11.3:8081/nexus/content/groups/public/</url>
                </pluginRepository>
            </pluginRepositories>
        </profile>
2.以及下面红框中内容:
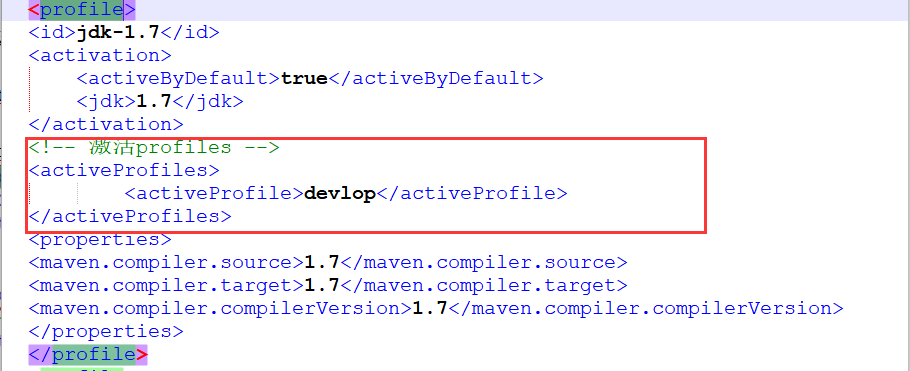
<!-- 激活profiles -->
    <activeProfiles>
            <activeProfile>devlop</activeProfile>
    </activeProfiles>
五、在maven项目中使用
在项目中加入以下内容:
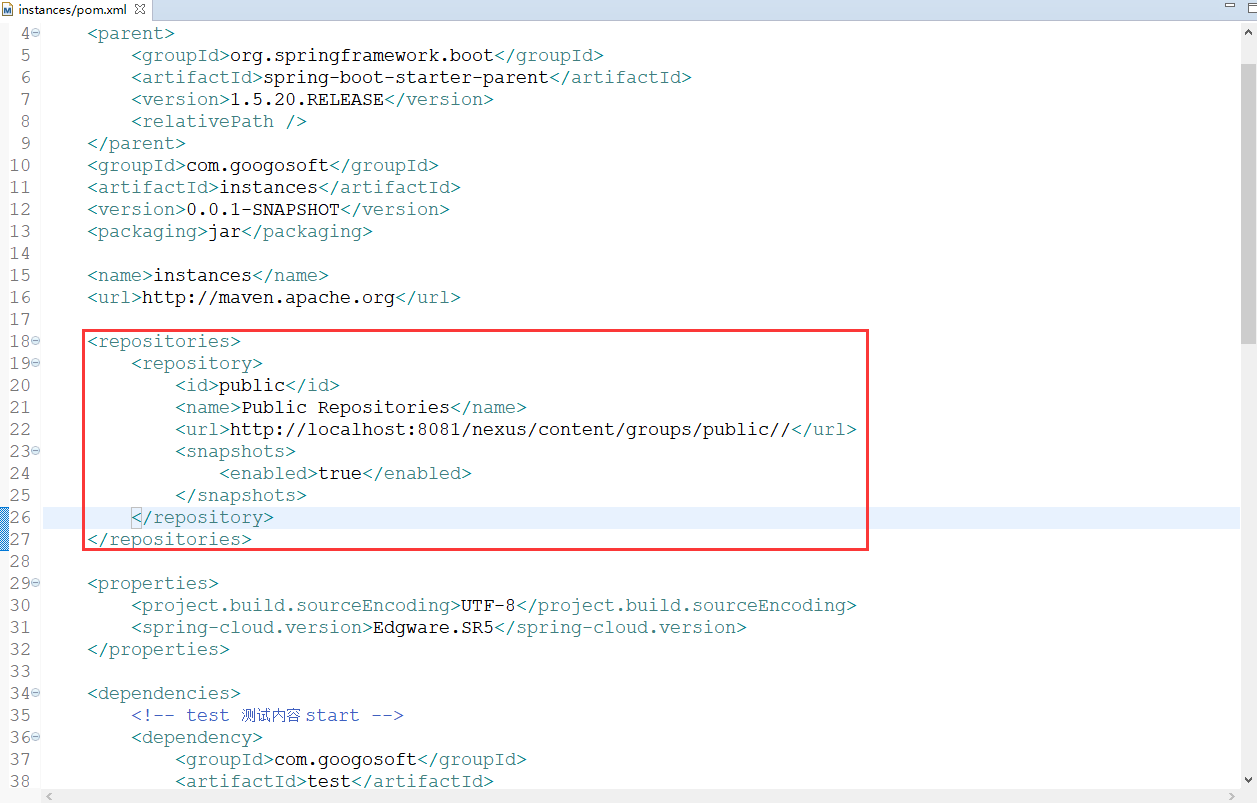
    <repositories>
        <repository>
            <id>public</id>
            <name>Public Repositories</name>
            <url>http://localhost:8081/nexus/content/groups/public//</url>
            <snapshots>
                <enabled>true</enabled>
            </snapshots>
        </repository>
    </repositories>

 浙公网安备 33010602011771号