远程使用 jupyter notebook
远程访问jupyter notebook
jupyter notebook是一个基于浏览器的python数据分析工具,使用起来非常方便,具有极强的交互方式和富文本的展示效果。它的安装也非常方便,一般Anaconda安装包中会自带。安装好以后直接输入jupyter notebook便可以在浏览器中使用。但是它默认只能在本地访问,如果想把它安装在服务器上,然后在本地远程访问,则需要进行如下配置:
1. 登陆远程服务器
xshell , ssh 登录
2. 生成配置文件
$cd /home/software/anaconda3/
cd /home/software/anaconda3/bin
jupyter notebook --generate-config
Writing default config to: /root/.jupyter/jupyter_notebook_config.py
3. 生成密码
打开ipython,创建一个密文的密码:
# pwd
/home/software/anaconda3/bin
# ipython
Python 3.8.5 (default, Sep 4 2020, 07:30:14)
Type 'copyright', 'credits' or 'license' for more information
IPython 7.19.0 -- An enhanced Interactive Python. Type '?' for help.
In [1]:
In [1]: from notebook.auth import passwd
In [2]: passwd()
Enter password:
Verify password:
Out[2]: 'sha1:xxxxxxxxxxxxxxxxxxxxxxxxxxxxxxxx'
exit()
把生成的密文‘sha:ce…’复制下来
4. 修改默认配置文件
$vim ~/.jupyter/jupyter_notebook_config.py
进行如下修改:
c.NotebookApp.ip='*'
c.NotebookApp.password = u'sha:ce...刚才复制的那个密文'
c.NotebookApp.open_browser = False
c.NotebookApp.port =8888 #随便指定一个端口
修改之后保存, esc,wq!
原来的默认值如下:


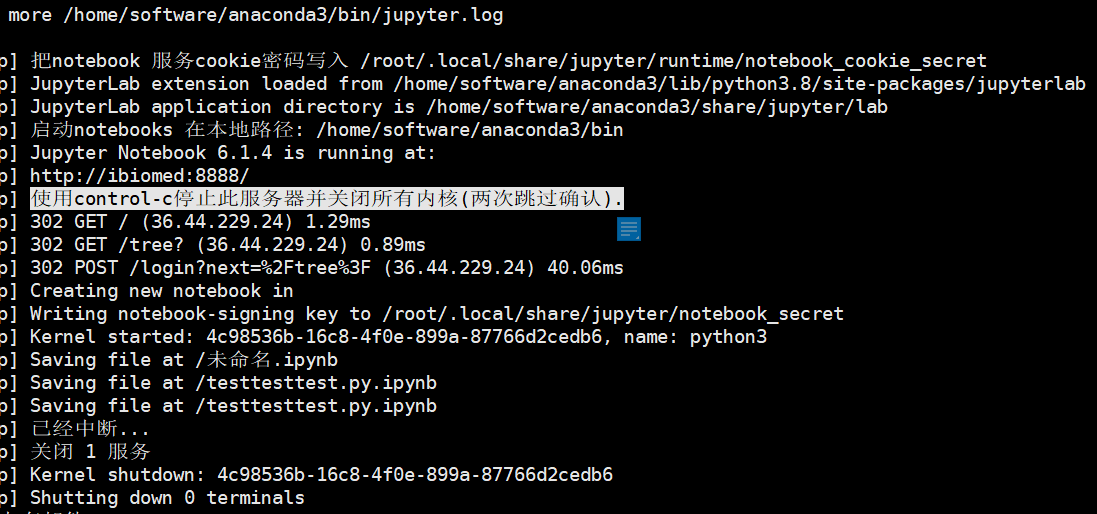
5. 启动jupyter notebook:
6. 开启防火墙,8888端口:
[root@aaa]# firewall-cmd --query-port=8888/tcp # 查看8888端口是否开启
no
[root@aaa]# firewall-cmd --zone=public --add-port=8888/tcp --permanent # 开启3306端口
success
[root@aaa]# firewall-cmd --reload # 重启防火墙
success
[root@aaa]# firewall-cmd --query-port=8888/tcp # 查看3306端口是否开启
yes
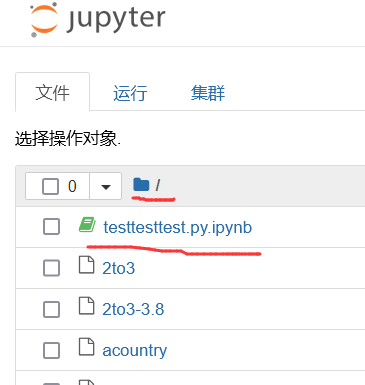
7. 远程访问
此时应该可以直接从本地浏览器直接访问 http://address_of_remote:8888 就可以看到jupyter的登陆界面。


8. 关闭
REF:
https://www.cnblogs.com/yangxiaolan/p/5778305.html
https://blog.csdn.net/weixin_42726887/article/details/121855224
https://blog.csdn.net/lijf2001/article/details/125667539


【推荐】国内首个AI IDE,深度理解中文开发场景,立即下载体验Trae
【推荐】编程新体验,更懂你的AI,立即体验豆包MarsCode编程助手
【推荐】抖音旗下AI助手豆包,你的智能百科全书,全免费不限次数
【推荐】轻量又高性能的 SSH 工具 IShell:AI 加持,快人一步
· 开源Multi-agent AI智能体框架aevatar.ai,欢迎大家贡献代码
· Manus重磅发布:全球首款通用AI代理技术深度解析与实战指南
· 被坑几百块钱后,我竟然真的恢复了删除的微信聊天记录!
· 没有Manus邀请码?试试免邀请码的MGX或者开源的OpenManus吧
· 园子的第一款AI主题卫衣上架——"HELLO! HOW CAN I ASSIST YOU TODAY
2022-01-28 Django 模型(与数据库交互) Models *****
2022-01-28 Django 模板标签(if for 注释 include)
2022-01-28 Django 模板标签(过滤器)
2022-01-28 Django 模板标签(变量 列表 字典)
2022-01-28 Django 简单示例
2022-01-28 Django 安装
2021-01-28 pip 安装turtle