redis安装和后台使用redis(不会关闭界面就关闭redis)
redis使用
跳转到redis根目录文件夹中
cd /usr/local/bin
根据conf配置文件启动redis
redis-server /etc/redis.conf
查看redis状态
ps -ef | grep redis
进入redis操作界面(-a 123456(添加在后验证密码) -p 6379(设置端口6379)-h 173.231.22.1(设置真实ip地址))
redis-cli
关闭redis
shutdown
使用密码登录
使用auth password验证密码
auth 123456
安装与配置
进入redis官方网站下载redis
https://redis.io/

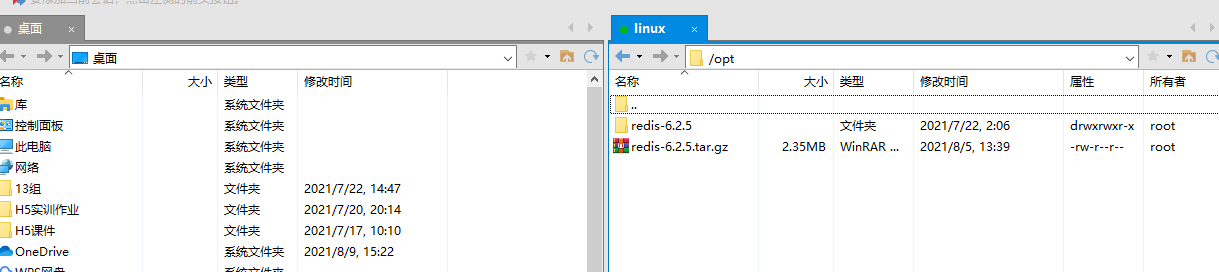
使用Xftp将redis安装包放入Linux系统中的/opt文件夹中(向Linux系统中传文件)
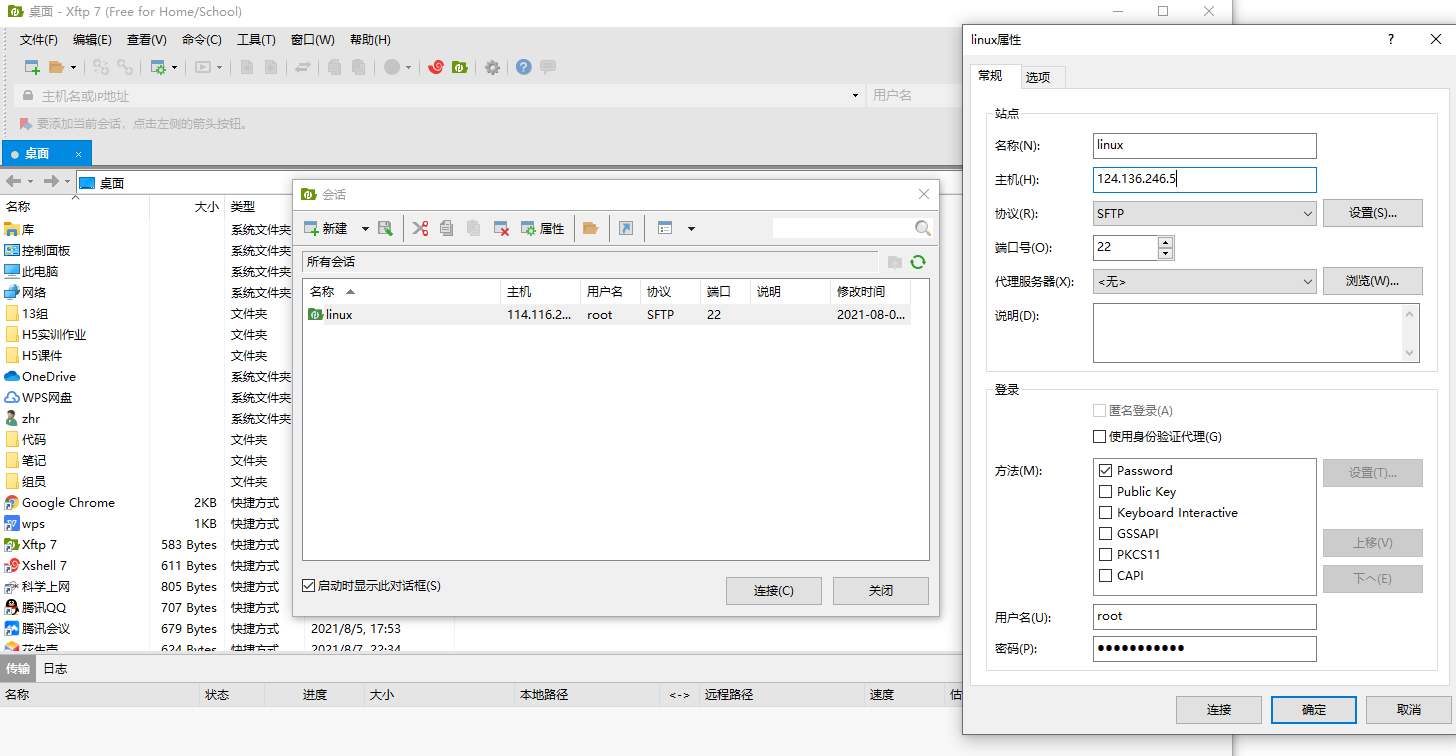
使用Xshell连接Linux系统
安装gcc(因为redis安装包是c语言编写,需要c语言环境)
yum install gcc
查看版本号,看是否安装成功
gcc --version
解压redis安装包
cd /opt
tar -zxvf redis-6.2.5.tar.gz
查看当前文件夹文件(多出了redis-6.2.5)
ls
编译安装redis文件
cd redis-6.2.5
make
make install
修改复制保存在etc中redis.conf中的daemonize改为yes(设置后台启动)
cp redis.conf /etc/redis.conf
cd /etc
编辑redis.conf(使用ESC键+ :wq 可保存 )
vi redis.conf
进入redis,conf 查找daem
/daem
修改后值
daemonize yes
进入redis.conf修改redis配置文件
vi redis.conf
/bind 127(linux使用/进行全文查找)
在前面加上#注释掉这句话(这句话用于固定只能在自己的主机上操作)
#bind 127.0.0.1 -::1
开放6379端口
/sbin/iptables -I INPUT -p tcp --dport 6379 -j ACCEPT
附加:关闭端口
/sbin/iptables -I INPUT -p tcp --dport 6379 -j DROP
配置文件设置密码(推荐使用)
在redis根目录下找到redis.conf配置文件,搜索requirepass,找到注释密码行,添加密码如下://注意,行前不能有空格
requirepass 123456
按esc 后输入:wq保存退出
:wq
root@ecs-sn3-medium-2-win-20200206213403:/# cd /usr/local/bin
后台启动redis
redis-server /etc/redis.conf
查看redis状态
ps -ef | grep redis
root 7430 1 0 14:33 ? 00:00:00 redis-server 127.0.0.1:6379
root 7436 7400 0 14:34 pts/0 00:00:00 grep --color=auto redis
集群的配置
先删除持久化文件(*为匹配通配符,dump63*代表前缀带dump63的文件)
rm -rf dump63*
创建配置文件(开启集群模式)(在其他的文件夹中 制作6个实例配置文件,6379,6380,6381,6389,6390,6391)
#引用原redis.conf
include /etc/redis.conf
#Pid文件名字pidfile(后台运行时写入pid的文件)
pidfile /var/run/redis_6391.pid
#开启daemonize yes(守护线程 即后台运行)
daemonize yes
#dump.rdb名字dbfilename
dbfilename dump6391.rdb
#30秒中有5个key修改了就进行持久化
save 30 5
#设置自己redis的密码
requirepass 123456
#给从机设置主机的密码
masterauth 123456
#指定端口port
port 6391
#打开集群模式
cluster-enabled yes
#设定节点配置文件名
cluster-config-file nodes-6391.conf
#设定节点失联时间,超过该时间(毫秒),集群自动进行主从切换。
cluster-node-timeout 15000
#设置某块主从都挂掉,是否挂掉整个集群(默认为no 某块主从的使用不了,其他的可以用)
#cluster-require-full-coverage yes
启动6个redis服务实例(重新启动节点时必须要先进入最开始开启redis的文件中 cd /myredis)
redis-server /myredis/redis6379.conf
redis-server /myredis/redis6380.conf
redis-server /myredis/redis6381.conf
redis-server /myredis/redis6389.conf
redis-server /myredis/redis6390.conf
redis-server /myredis/redis6391.conf
查看redis进程状态
ps -ef | grep redis
开放端口(需要防火墙开放6379到6391端口,以及redis总线(前面端口+10000):16379到16391:)
/sbin/iptables -I INPUT -p tcp --dport 6379:6381 -j ACCEPT
/sbin/iptables -I INPUT -p tcp --dport 6389:6391 -j ACCEPT
/sbin/iptables -I INPUT -p tcp --dport 16379:16381 -j ACCEPT
/sbin/iptables -I INPUT -p tcp --dport 16389:16391 -j ACCEPT
备注:关闭端口(将ACCEPT 换为 DROP)
将六个节点合成一个集群
组合之前,请确保所有redis实例启动后,nodes-xxxx.conf文件都生成正常。
跳转位置(需要先查看redis文件夹名称)
cd /opt/redis-6.2.5/src
合成集群(-a后的123456是密码 --cluster-replicas后的1为 主机和从机比例为1:1(ip必须使用真实的公网ip地址(使用云服务器情况) 后面ip不能为127.0.0.1 6381端口为主机对应6389端口从机,切两半对应最近的))
redis-cli -a 123456 --cluster create --cluster-replicas 1 112.126.246.5:6379 112.126.246.5:6380 112.126.246.5:6381 112.126.246.5:6389 112.126.246.5:6390 112.126.246.5:6391
成功后
普通方式登录redis-cli -p 6379
可能直接进入读主机,存储数据时,会出现MOVED重定向操作。所以,应该以集群方式登录
进入集群操作(多了-c 需要-a添加密码,跳转后放入数据不会报没有权限)
redis-cli -c -p 6379 -a 123456
查看节点状态
cluster nodes

 浙公网安备 33010602011771号