nginx ssl docker
关于nginx的nginx.conf配置可以看:
然后申请ssl
关于ssl nginx docker的流程参考了 https://medium.com/faun/setting-up-ssl-certificates-for-nginx-in-docker-environ-e7eec5ebb418
即添加ports 443 宿主机重定向到容器443 ,挂载了数据卷。
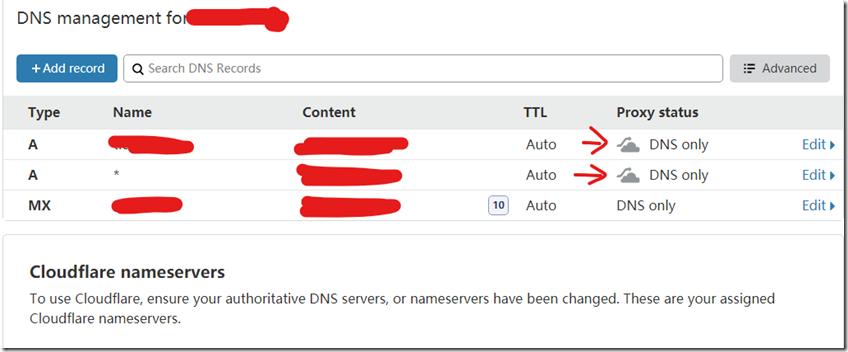
首先设置一下dns
然后 使用acme申请ssl证书
参考https://blog.csdn.net/miw__/article/details/89355720
由于安装acme需要socat所以执行
su
切换到root下【已经在root的就直接】执行
apt-get install -y socat #acme提示安装socat 参考 https://www.hi-linux.com/posts/61543.html 安装
安装acme
curl https://get.acme.sh | sh执行:参考 https://github.com/acmesh-official/acme.sh
acme.sh --issue --force -d example.com -d *.example.com --dns --yes-I-know-dns-manual-mode-enough-go-ahead-please
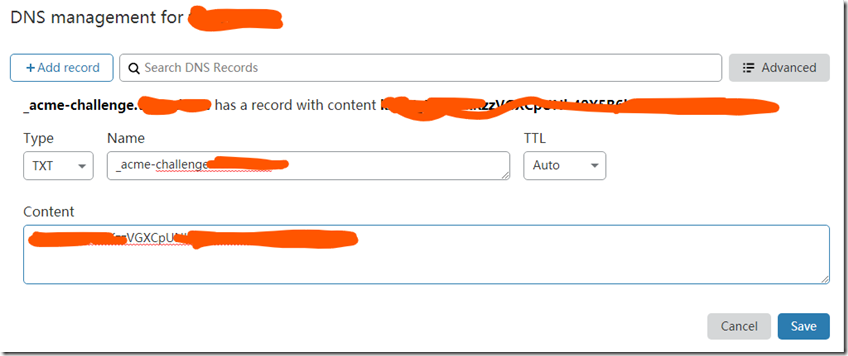
根据红绿字提示添加txt记录
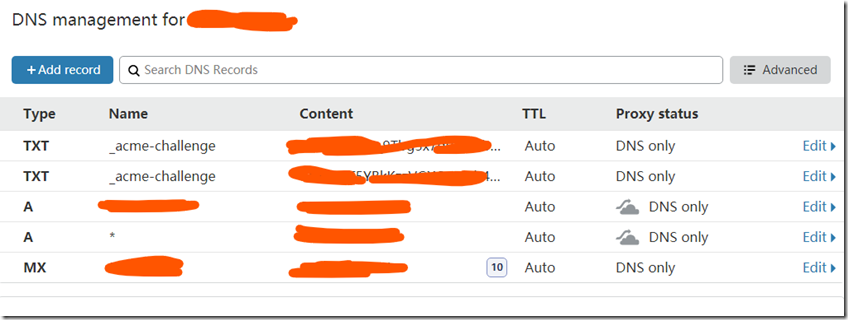
两条txt添加完毕:
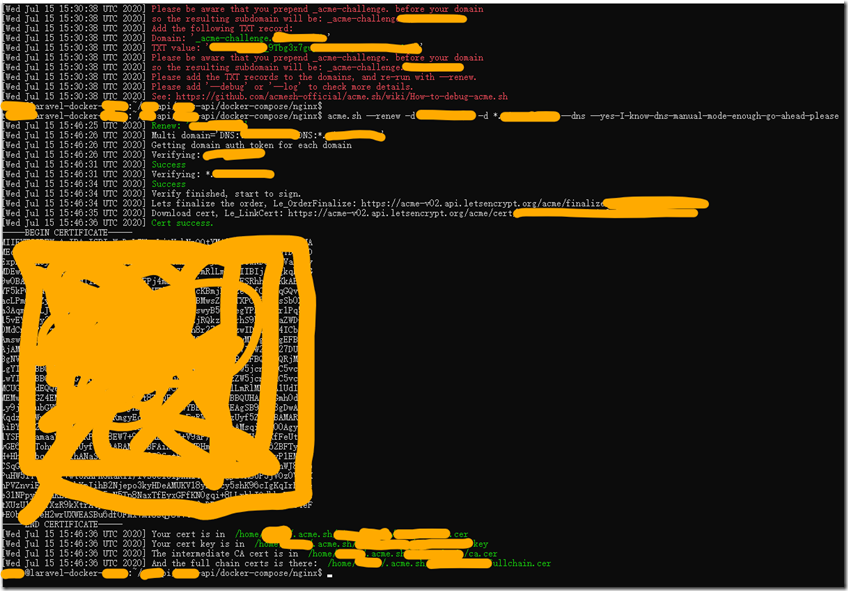
参考红字提示执行:
acme.sh --renew -d example.com -d *.example.com --dns --yes-I-know-dns-manual-mode-enough-go-ahead-please
免费证书申请好了
安装到指定目录:
执行
acme.sh --install-cert -d example.com \
--key-file       ~/***api/***s-api/docker-compose/nginx/certs/key.pem  \
--fullchain-file ~/***api/***s-api/docker-compose/nginx/certs/cert.pem
在更新容器和nginx配置前,关停一下容器:
docker-compose -f docker-compose.prod.yml down
目前申请到的ssl是在laravel app 的docker-compose/nginx/certs目录下,需要挂载到nginx docker容器里面,之前的容器docker-compose.prod.yml更新如下:
切换到 docker-compose.prod.yml 文件所在目录 执行
nano docker-compose.prod.yml
仅仅添加到nginx部分:
nginx:
    image: nginx:1.19.1-alpine
    container_name: ***api-nginx
    restart: unless-stopped
    ports:
      - 80:80
      - 443:443
    volumes:
      - ./:/var/www
      - ./docker-compose/nginx:/etc/nginx/conf.d
    networks:
      - ***apin
修改完成启动容器运行:
docker-compose -f docker-compose.prod.yml up -d
以及nginx.conf修改如下:
server {
        listen 80;
        listen [::]:80; #ipv6
        server_name api.example.com;
        return 301 https://$http_host$request_uri;
        #rewrite ^(.*)$ https://$host$1 permanent; we just replace request to https
}
server{
        listen 443 ssl;
        listen [::]:443 ssl; #ipv6
        server_name api.example.com;
        #ssl on; no need this anymore please change use listen 443 ssl only
        ssl_certificate /etc/nginx/certs/cert.pem;
        ssl_certificate_key /etc/nginx/certs/key.pem;
        #ssl_session_timeout 5m;
        #ssl_protocols read blow info please;
        # By default nginx uses “ssl_protocols TLSv1 TLSv1.1 TLSv1.2” and “ssl_ciphers HIGH:!aNULL:!MD5”, so configuring them explicitly is generally not needed.
        index index.php index.html;
        error_log /var/log/nginx/error.log;
        access_log /var/log/nginx/access.log;
        root /var/www/public;
        location ~ \.php$ {
                try_files $uri =404;
                fastcgi_split_path_info ^(.+\.php)(/.+)$;
                fastcgi_pass app:9000;
                fastcgi_index index.php;
                include fastcgi_params;
                fastcgi_param SCRIPT_FILENAME $document_root$fastcgi_script_name;
                fastcgi_param PATH_INFO $fastcgi_path_info;
                }

        location / {
                try_files $uri $uri/ /index.php?$query_string;
                gzip_static on;
                }
        }
#####################这个部分是不重要的############################
以下只是记录找问题修复的过程,实际解决方案在最后。真实的原因在于,不是权限问题,而是文件名确实错了。一开始按照的是权限错误的方向在修改。
弄一宿,因为conf配置里
ssl_certificate /etc/nginx/certs/cert.pem; ssl_certificate_key /etc/nginx/certs/cert.key;因为这里文件名错了 应该是 ssl_certificate /etc/nginx/certs/cert.pem; ssl_certificate_key /etc/nginx/certs/key.pem;
文件名错了,一直报错
***api-nginx | /docker-entrypoint.sh: Configuration complete; ready for start up ***api-nginx | 2020/07/16 05:55:38 [emerg] 1#1: cannot load certificate key "/etc/nginx/certs/cert.key": BIO_new_file() failed (SSL: error:02001002:system library:fopen:No such file or directory:fopen('/etc/nginx/certs/cert.key','r') error:2006D080:BIO routines:BIO_new_file:no such file)
***api-nginx | nginx: [emerg] cannot load certificate key "/etc/nginx/certs/cert.key": BIO_new_file() failed (SSL: error:02001002:system library:fopen:No such file or directory:fopen('/etc/nginx/certs/cert.key','r') error:2006D080:BIO routines:BIO_new_file:no such file)
***api-nginx exited with code 1
最开始以为是权限问题,尝试添加了一个nginx的Dockerfile:如下:
FROM nginx:1.19.1-alpine

COPY --chown=101:101 ./certs/key.pem /etc/nginx/certs/key.pem
COPY --chown=101:101 ./certs/cert.pem /etc/nginx/certs/cert.pem

RUN chmod a+r /etc/nginx/certs/key.pem
RUN chmod a+wr /etc/nginx/certs/cert.pem
其中101是参阅 https://hub.docker.com/_/nginx 说明
User and group id
Since 1.17.0, both alpine- and debian-based images variants use the same user and group ids to drop the privileges for worker processes:$ id
uid=101(nginx) gid=101(nginx) groups=101(nginx)
用nginx应该也是可以:
因为执行
docker exec -it haaapi-nginx sh进入nginx容器之后,
用户及用户组都就是nginx
注意,如果需要更改权限,
可以容器内shell执行
sudo chmod a+r 文件/文件夹

sudo CHOWN 改拥有者
Dockerfile里面复制ssl的cert和key到nginx容器里并改好文件权限之后,conf先换成了80的,因为443的找不到文件导致nginx一直重启,然后就进不了nginx容器,然后就执行不了shlle改不了权限,80换好,权限改完,换成443,再执行
nginx -s reload
发现还是不行,怎么权限改了还是不行,再看确实是文件名错误了,让conf里的文件名和实际文件夹里的文件名对应好。
然后就ok了
因为改用了Dockerfile来build nginx的image,所以需要改改docker-compose.prod.yml文件:
nginx部分改动如下【其余不变】:
version: "3.7"
services:
  app:
    build:
      args:
        user: haaapi
        uid: 1000
      context: ./
      dockerfile: Dockerfile
    image: haaapii
    container_name: haaapi-app
    restart: unless-stopped
    working_dir: /var/www/
    volumes:
      - ./:/var/www
    networks:
      - haaapin
  db:
    image: mysql:5.7
    container_name: haaapi-db
    restart: unless-stopped
    environment:
      MYSQL_DATABASE: ${DB_DATABASE}
      MYSQL_ROOT_PASSWORD: ${DB_PASSWORD}
      MYSQL_PASSWORD: ${DB_PASSWORD}
      MYSQL_USER: ${DB_USERNAME}
      SERVICE_TAGS: dev
      SERVICE_NAME: mysql
    volumes:
      - ./docker-compose/mysql:/docker-entrypoint-initdb.d
    networks:
      - haaapin
  nginx:
    build:
     context: ./dockerfiles/nginx/
     dockerfile: Dockerfile
    image: nginx:1.19.1-alpine-custom
    container_name: haaapi-nginx
    restart: always
    depends_on:
      - app
    ports:
      - 80:80
      - 443:443
    volumes:
      - ./:/var/www
      - ./docker-compose/nginx:/etc/nginx/conf.d
    networks:
      - haaapin
networks:
  haaapin:
    driver: bridge
重新启动容器
docker-compose –f docker-compose.prod.yml up –d
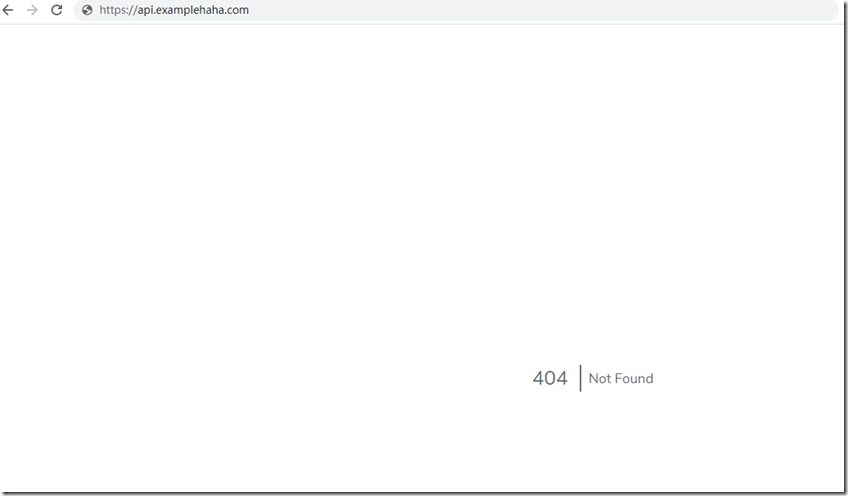
开网页,ok
因为没有内容,所以显示404;
#####################不重要的部分结束############################
docker-compose.prod.yml
version: "3.7"
services:
  app:
    build:
      args:
        user: haaapi
        uid: 1000
      context: ./
      dockerfile: Dockerfile
    image: haaapii
    container_name: haaapi-app
    restart: unless-stopped
    working_dir: /var/www/
    volumes:
      - ./:/var/www
    networks:
      - haaapin
  db:
    image: mysql:5.7
    container_name: haaapi-db
    restart: unless-stopped
    environment:
      MYSQL_DATABASE: ${DB_DATABASE}
      MYSQL_ROOT_PASSWORD: ${DB_PASSWORD}
      MYSQL_PASSWORD: ${DB_PASSWORD}
      MYSQL_USER: ${DB_USERNAME}
      SERVICE_TAGS: dev
      SERVICE_NAME: mysql
    volumes:
      - ./docker-compose/mysql:/docker-entrypoint-initdb.d
    networks:
      - haaapin
  nginx:
   # build:
    # context: ./dockerfiles/nginx/
   #  dockerfile: Dockerfile
  #  image: nginx:1.19.1-alpine-custom
    image: nginx:1.19.1-alpine
    container_name: haaapi-nginx
    restart: always
    depends_on:
      - app
    ports:
      - 80:80
      - 443:443
    volumes:
      - ./:/var/www
      - ./docker-compose/nginx:/etc/nginx/conf.d
      - ./docker-compose/nginx/certs:/etc/nginx/certs #直接把此文件夹下安装好的ssl文件加载到nginx容器的etc/nginx/certs文件夹内,网站的conf里配置的就是在这个文件夹里加载的key和cert两个文件。
    networks:
      - haaapin
networks:
  haaapin:
    driver: bridge
然后执行
docker-compose -f docker-compose.prod.yml up -d
OK了


