Laravel 6.X + Vue.js 2.X + Element UI +vue-router 配置
Laravel 版本:6.X
Vue 版本:2.X
Laravel配置:
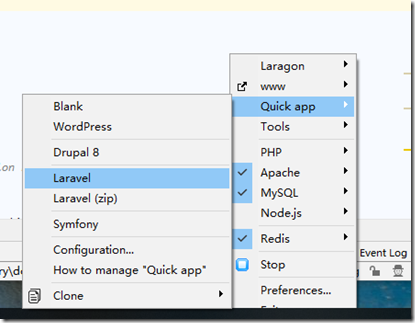
Laravel使用的是Laragon安装
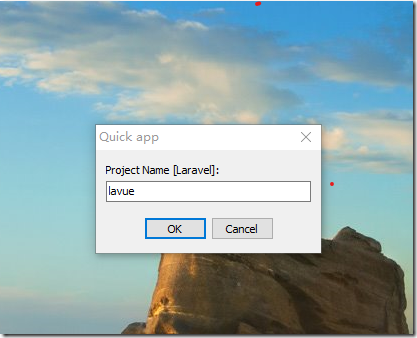
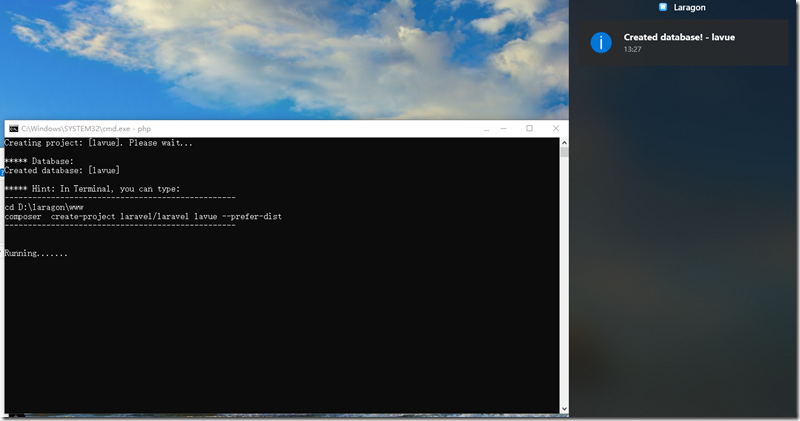
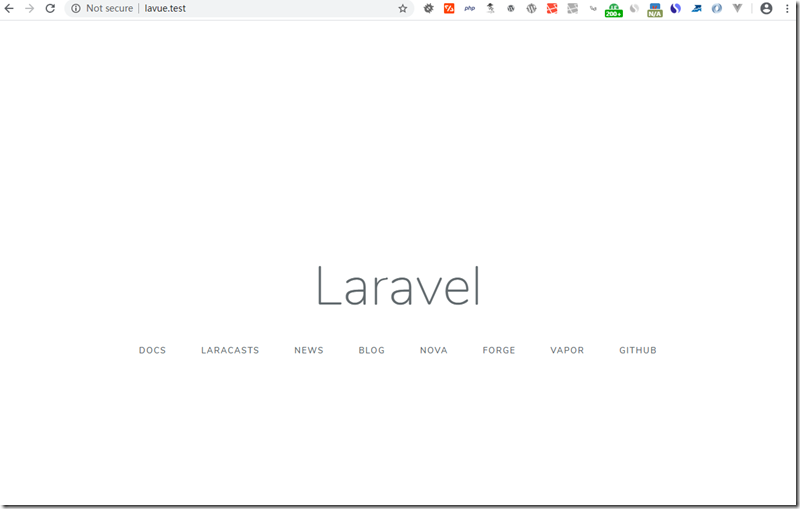
选择Laravel;接下来弹出框,输入项目名,laravel会自动创建一个数据库,数据库名与项目名相同,
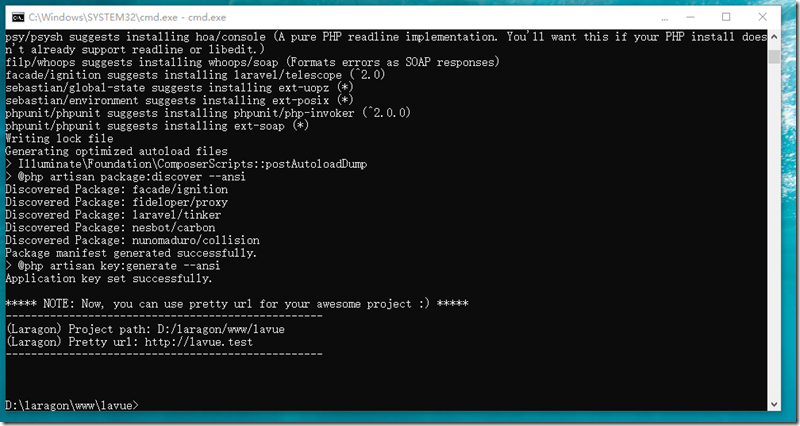
安装开始
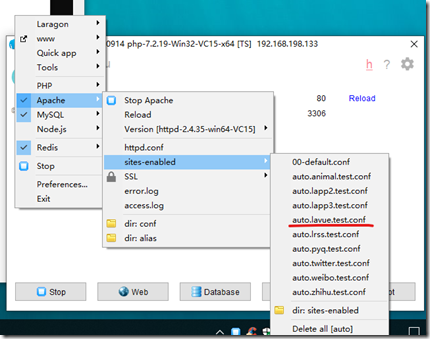
过程中会弹出命令提示框,选择OK就行,忘记选择的话需要自己配置host
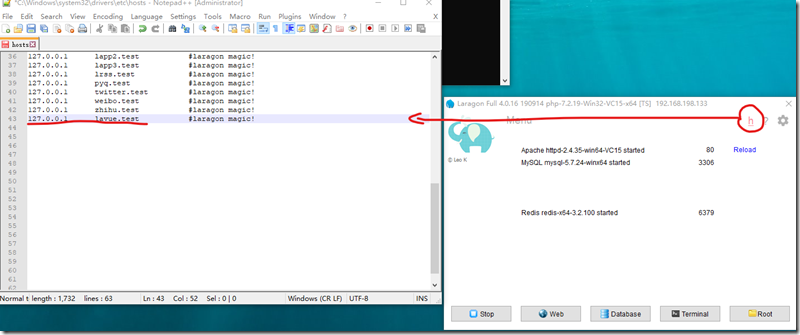
还要注意 弹出命令提示框如果没有选,后续可能需要自己生成一个conf【直接去目录copy一个其他的,文件名和文件内部的内容改成lavue.test的,然后reload重启Apache】,我这里已经生成了,
Vue 配置
自从5.7版本之后 vue bootstrap 以及auth都需要额外安装包
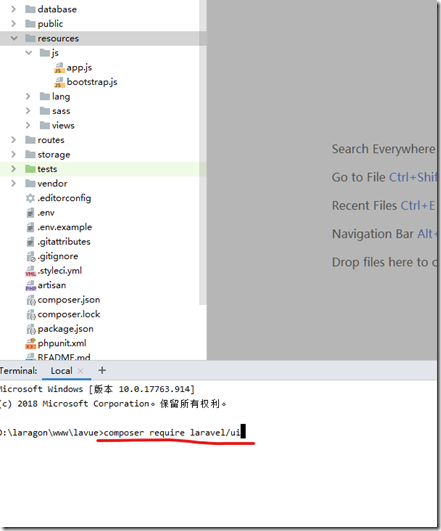
打开Terminal命令行管理工具;
输入:
1 composer require laravel/ui安装完毕
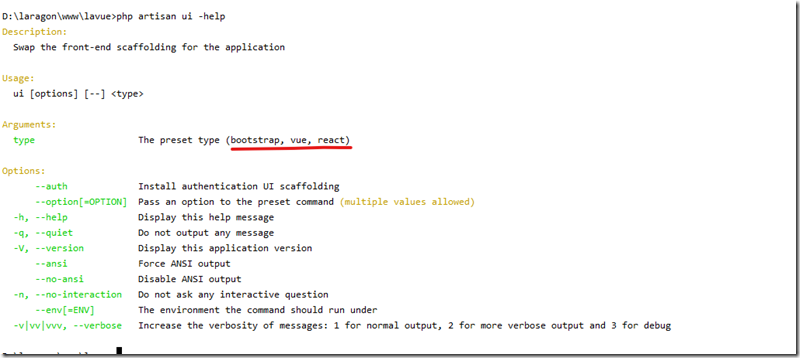
键入
1 php artisan ui –help可以查看帮助
//支持类型有 bootstrap vue react

php artisan ui vue

php artisan ui bootstrap

php artisan ui react

//如果要一次支持auth 可以附加 --auth

php artisan ui vue --auth
然后执行 npm install 使用node.js安装相关依赖
可以同时使用npm run dev 配置
也可以使用 npm run watch-poll 这样在vue组件发生改变的时候,会自动generate
键入:
  1 npm install & npm run dev
  2
  3 或
  4
  5  npm install & npm run watch-poll
  6
安装完毕:
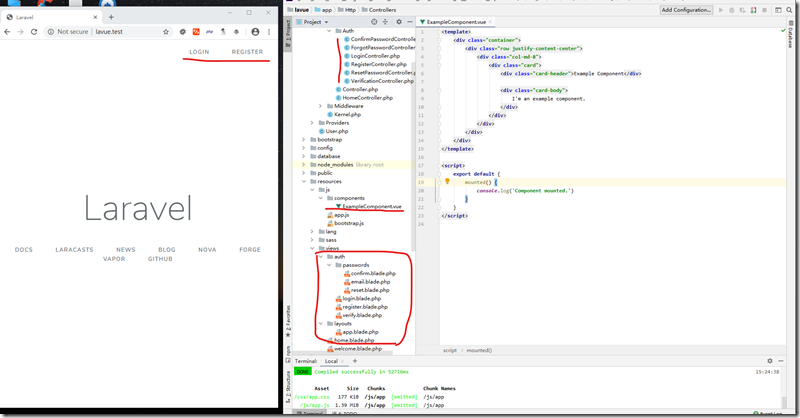
(1) 在resources/js路径下自动新建了一个components文件夹,以及一个ExampleComponent.vue文件
(2) 在views文件夹下自动现金auth文件夹 passwords子文件夹 以及layouts文件夹
(3) app/Http/Controllers/Auth文件夹内新增几个Controller
(4) 打开主页http://lavue.test/ 出现register和login链接
还有一些文件发生了改变
详见:https://www.techiediaries.com/laravel-authentication-tutorial/
翻译文章:https://www.cnblogs.com/dzkjz/p/12362101.html 【没有翻译完成】
ExampleComponent.vue文件时自动生成的示例,
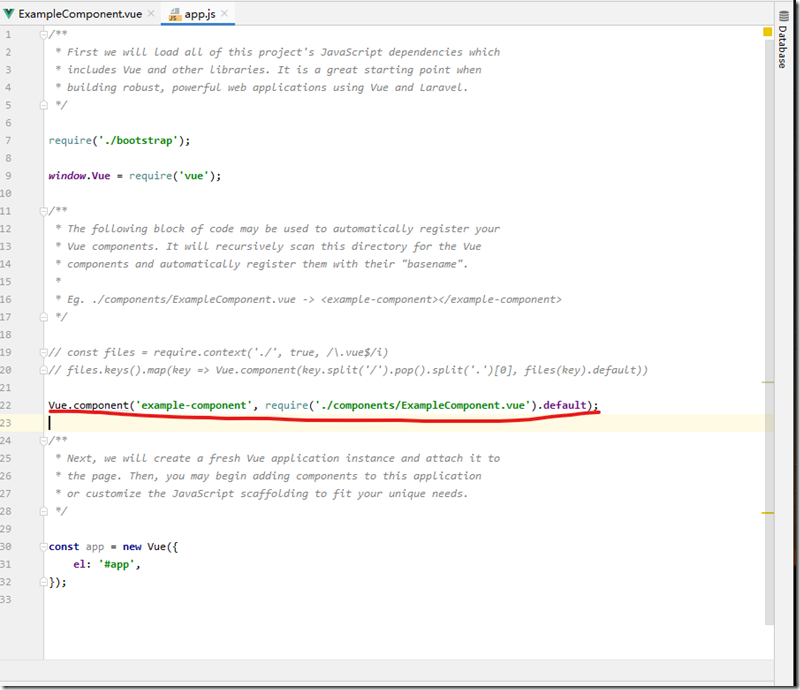
打开resources/js/app.js,可以发现在里面引入了示例组件
为了便于体会效果,我们新建一个view及route:
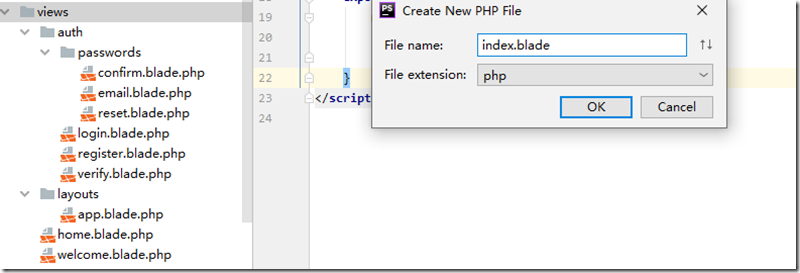
【view部分:】在 resources 文件夹中的 view 文件夹 创建 index.blade.php
键入:
  1 <!doctype html>
  2 <html lang="{{ app()->getlocale()}}">
  3  <head>
  4      <meta charset="UTF-8">
  5      <meta name="viewport"
  6            content="width=device-width, user-scalable=no, initial-scale=1.0, maximum-scale=1.0, minimum-scale=1.0">
  7      <meta http-equiv="X-UA-Compatible" content="ie=edge">
  8      {{--  防止CSRF攻击 可以赋值给ajax header 如果是form中直接使用@csrf即可 --}}
  9      <meta name="csrf-token" content="{{ csrf_token() }}">
 10      <link rel="stylesheet" href="{{ mix('css/app.css') }}">
 11      <title>Document</title>
 12  </head>
 13  <body>
 14  {{--id 为 app与 app.js中const app = new Vue({el: '#app',<<=【这个一致】});--}}
 15
 16 <div id="app">
 17      {{--   app.js中 组件名为example-component Vue.component('example-component', require('./components/ExampleComponent.vue').default);--}}
 18      <example-component></example-component>
 19  </div>
 20  {{--必须放置在下方--}}
 21  <script src="{{ mix('js/app.js') }}"></script>
 22  </body>
 23  </html>
 24
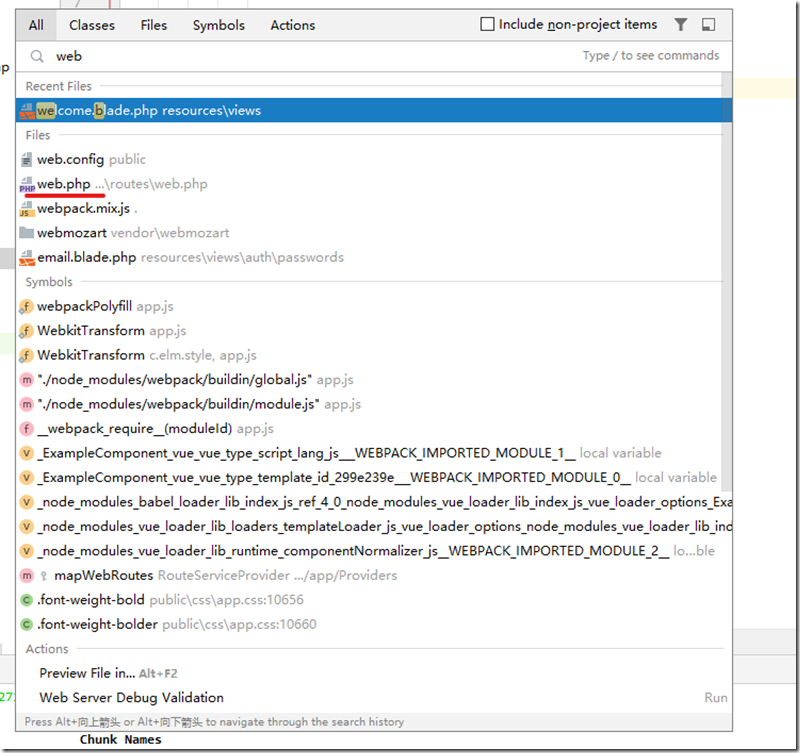
【route部分:】在phpstorm中 按两下shift弹出搜索框,键入web
从结果中选择web.php打开
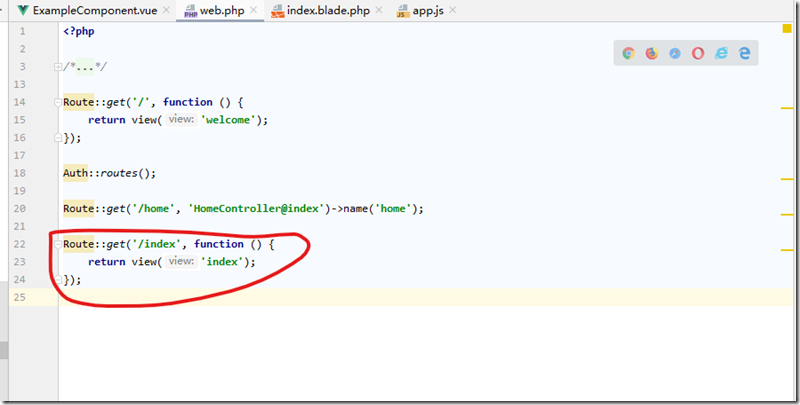
我们通过在web.php中键入下列代码增加一个route【或者修改一个其他route】
  1 Route::get('/index', function () {
  2      return view('index');
  3  });
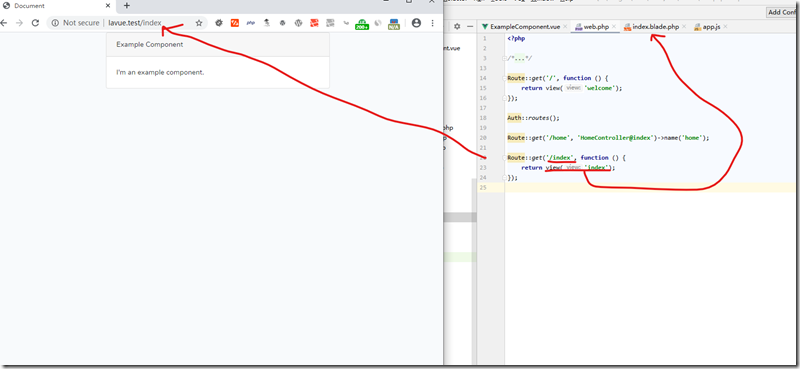
接下来打开 http://lavue.test/index 即可查看
Element-UI 配置
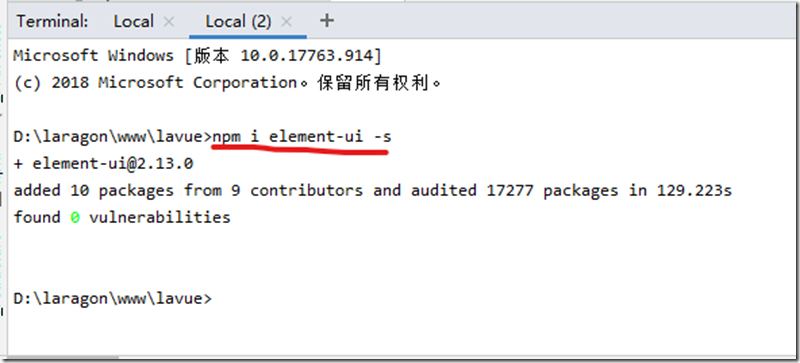
打开控制台,键入
1 npm i element-ui -s安装成功界面:
安装完成后,需要在我们的项目中
(1)引入Element组件:
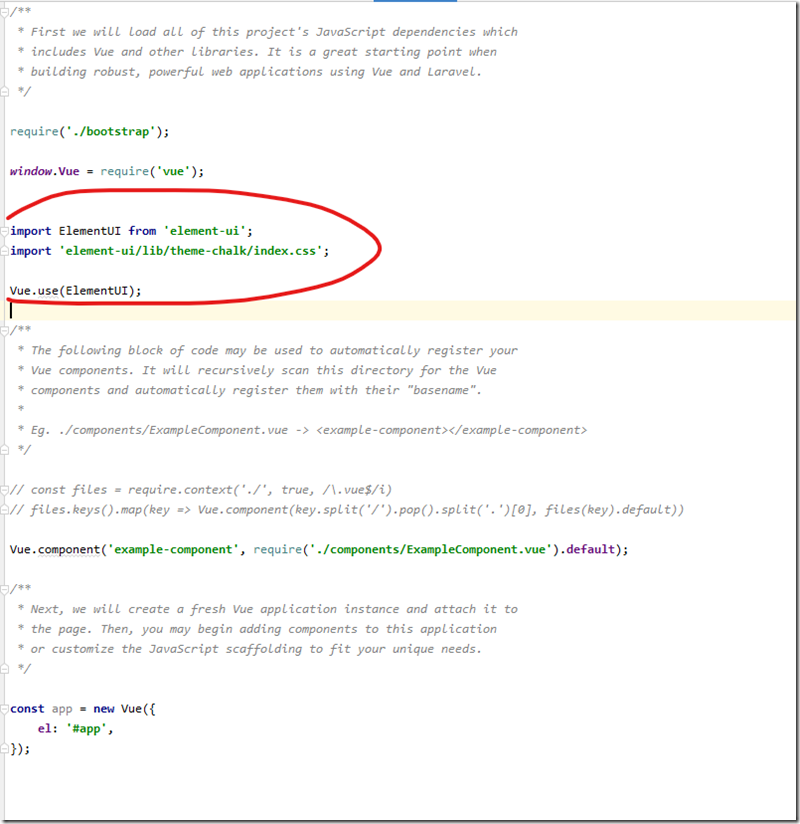
修改resources/js/app.js文件,在其中添加以下代码:
  1 import ElementUI from 'element-ui';
  2 import 'element-ui/lib/theme-chalk/index.css';
  3
  4 Vue.use(ElementUI);
  5
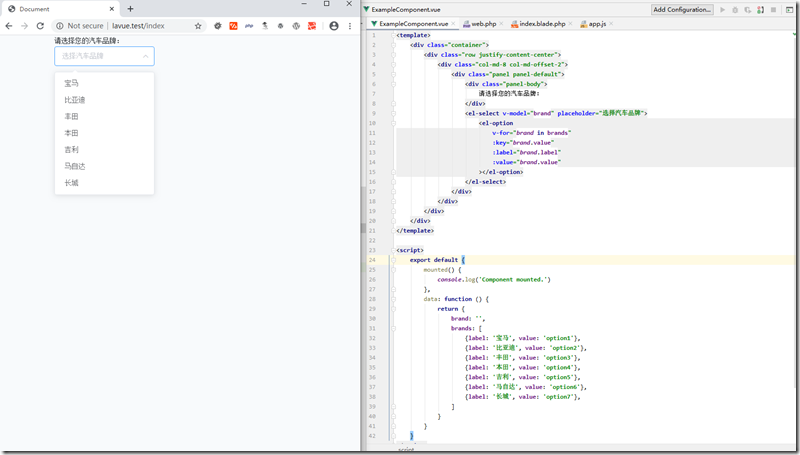
(2)测试使用:修改ExampleComponnet.vue文件,在文件中任意添加一个element组件试试效果:
  1 <template>
  2     <div class="container">
  3          <div class="row justify-content-center">
  4              <div class="col-md-8 col-md-offset-2">
  5                  <div class="panel panel-default">
  6                      <div class="panel-body">
  7                          请选择您的汽车品牌:
  8                     </div>
  9                      <el-select v-model="brand" placeholder="选择汽车品牌">
 10                          <el-option
 11                              v-for="brand in brands"
 12                              :key="brand.value"
 13                              :label="brand.label"
 14                              :value="brand.value"
 15                          ></el-option>
 16                      </el-select>
 17                  </div>
 18              </div>
 19          </div>
 20      </div>
 21  </template>
 22
 23 <script>
 24      export default {
 25          mounted() {
 26              console.log('Component mounted.')
 27          },
 28          data: function () {
 29              return {
 30                  brand: '',
 31                  brands: [
 32                      {label: '宝马', value: 'option1'},
 33                      {label: '比亚迪', value: 'option2'},
 34                      {label: '丰田', value: 'option3'},
 35                      {label: '本田', value: 'option4'},
 36                      {label: '吉利', value: 'option5'},
 37                      {label: '马自达', value: 'option6'},
 38                      {label: '长城', value: 'option7'},
 39                  ]
 40              }
 41          }
 42      }
 43  </script>
 44
如果没有执行过npm run watch-poll ,这时候看不到效果,键入
1 npm run dev即可, 运行结果如下,说明 Element 组件已经成功添加至项目中
至此,Element配置完成。
Vue-router 配置
(1). 安装vue-router:打开命令行,键入:
1 npm install vue-router –save-dev待安装完成。
补充:关于—save-dev:
  1 npm install moduleName # 安装模块到项目目录下
  2
  3 npm install -g moduleName # -g 的意思是将模块安装到全局,具体安装到磁盘哪个位置,要看 npm config prefix 的位置。
  4
  5 npm install -save moduleName # -save 的意思是将模块安装到项目目录下,并在package文件的dependencies节点写入依赖。
  6
  7 npm install -save-dev moduleName # -save-dev 的意思是将模块安装到项目目录下,并在package文件的devDependencies节点写入依赖。
  8
(2.1)向App.vue中添加:
  1 <template>
  2     <div>
  3         <router-view></router-view>
  4     </div>
  5 </template>
  6
  7 <script scope>
  8     export default {
  9         name: "App",
 10         data: function () {
 11             return {}
 12         },
 13         components: {},
 14         computed: {},
 15         methods: {},
 16         mounted() {
 17         },
 18
 19     }
 20 </script>
 21
 22 <style scoped>
 23
 24 </style>
 25
(2.2)向router.js中添加:
1 import Vue from "vue"; 2 import VueRouter from "vue-router"; 3 4 Vue.use(VueRouter);//全局方法Vue.use()使用插件,需要在你调用new Vue()启动应用之前完成: 5 6 7 export default new VueRouter({ 8 saveScrollPosition: true, 9 routes: [ 10 { 11 name: 'index', 12 path: '/', 13 component: resolve => void (require(['./components/ExampleComponent.vue'], resolve)), 14 }, 15 ] 16 }) 17
注:要了解resolve=>require 可以查看:
component:(resolve) => require
(2.3)向app.js中添加:
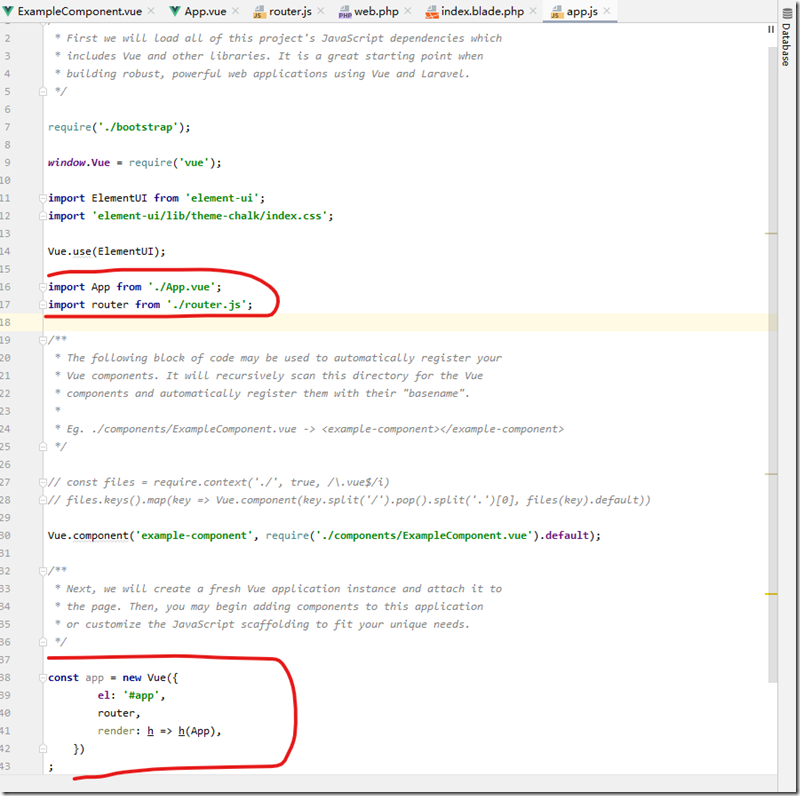
  1 import App from './App.vue';
  2 import router from './router.js';
修改:
  1 const app = new Vue({
  2         el: '#app',
  3         router,
  4         render: h => h(App),
  5      })
  6  ;
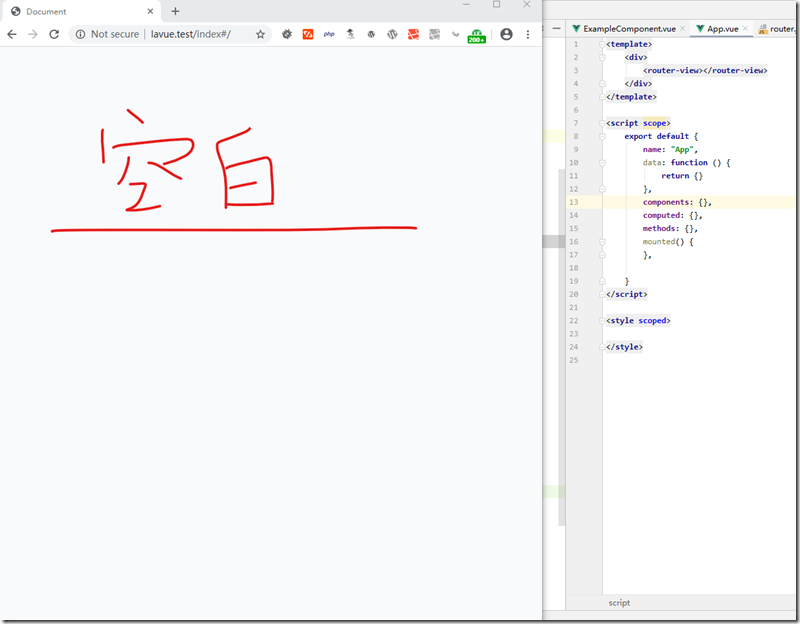
说明 vue-router 安装成功【之前的el-select不会显示】
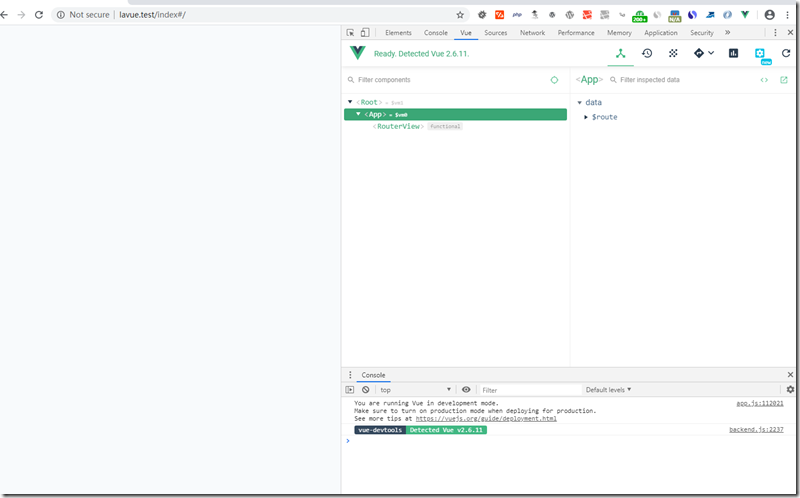
Vue结构为:
因为
  1 const app = new Vue({
  2         el: '#app',
  3         router,
  4         render: h => h(App),
  5      })
  6  ;
如果去掉 render: h => h(App),
Vue结构为:
也就是说 render: h => h(App), 指定了渲染的是App组件内容;相关内容可以查看:
Vue2.0 render:h => h(App)
至此安装全部结束。


