
前端静态文件打包成docker镜像
背景
公司项目部署方式为较为传统的发布方式,通过jenkins 发布到服务器,然后通过 lsyncd进行文件同步到负载均衡的发布环境中。最近为了更好的编排服务器,计划所有项目进行容器化调整。
解决思路及实施过程
1)服务器安装docker(该过程网上均能学习,这里就不详细描述了)
2)创建测试文件index.html
<!DOCTYPE html>
<html lang="en">
<head>
    <meta charset="UTF-8">
    <meta name="viewport" content="width=device-width, initial-scale=1.0">
    <meta http-equiv="X-UA-Compatible" content="ie=edge">
    <title>测试页面</title>
</head>
<body>
    前端静态页面构建docker镜像过程测试页面。标注下公司,杭州瑞懿科技有限公司  2018-10-27
</body>
</html>
3)创建nginx.conf 替换原镜像中的配置文件,并将对应的端口设置到9099
# fangt add for web server
# 2018-10-27
worker_processes  1;

events {
    worker_connections  1024;
}
http {
    sendfile         on;
    tcp_nodelay       on;
    keepalive_timeout  30;
    server {
        listen 9099;
        server_name localhost;
        root /usr/share/nginx/dist;
        autoindex on;
        autoindex_exact_size off;
        autoindex_localtime on;
        location / {
            try_files $uri $uri/ =404;
            index index.html index.htm;
        }
    }
}
补充一点,我这边是删除了原先的nginx.conf的配置,如果你的项目使用了字体就会无法加载样式 mime的问题
# fangt add for web server
# 2018-10-27
worker_processes  1;

events {
    worker_connections  1024;
}
http {
    sendfile         on;
    tcp_nodelay       on;
    keepalive_timeout  30;
    include /etc/nginx/mime.types;
    default_type application/octet-stream;
    server {
        listen 80;
        server_name localhost;
        root /usr/share/nginx/dist;
        autoindex on;
        autoindex_exact_size off;
        autoindex_localtime on;
        location / {
            try_files $uri $uri/ =404;
            index index.html index.htm;
            gzip_static on;
            expires max;
            add_header Cache-Control public;
            if ($request_filename ~* ^.*?\.(eot)|(ttf)|(woff)|(svg)|(otf)$) {
                add_header Access-Control-Allow-Origin *;
            }
        }
    }
}
4)创建构建镜像的文件,这里采用Dockerfile
FROM nginx
RUN mkdir /usr/share/nginx/dist
RUN rm -rf /etc/nginx/nginx.conf
COPY ./nginx.conf /etc/nginx/nginx.conf
COPY ./ /usr/share/nginx/dist
EXPOSE 9099
5)通过Dockerfile构建镜像
运行终端,切换到文件路径,运行命令 docker image build -t mkweb/testsite .
E:\003_pWork\99_Test\testSite>docker image build -t mkweb/testsite .
Sending build context to Docker daemon  4.608kB
Step 1/6 : FROM nginx
 ---> dbfc48660aeb
Step 2/6 : RUN mkdir /usr/share/nginx/dist
 ---> Running in 2cf0166722bd

 ---> 12198d4d5874
Removing intermediate container 2cf0166722bd
Step 3/6 : RUN rm -rf /etc/nginx/nginx.conf
 ---> Running in 9872d0cca830

 ---> c8a902ab6df4
Removing intermediate container 9872d0cca830
Step 4/6 : COPY ./nginx.conf /etc/nginx/nginx.conf
 ---> 672ba1dd4562
Removing intermediate container 89237707122a
Step 5/6 : COPY ./ /usr/share/nginx/dist
 ---> d12c1ffdea45
Removing intermediate container 8ebda800c5a1
Step 6/6 : EXPOSE 9099
 ---> Running in c258bd6153d6
 ---> a21f5d3b4b4f
Removing intermediate container c258bd6153d6
Successfully built a21f5d3b4b4f
SECURITY WARNING: You are building a Docker image from Windows against a non-Win
dows Docker host. All files and directories added to build context will have '-r
wxr-xr-x' permissions. It is recommended to double check and reset permissions f
or sensitive files and directories.
6)运行镜像
docker run -p 9099:9099 mkweb/testsite
7)测试页面,显示正常
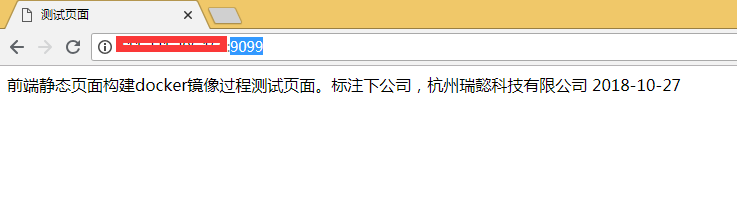
8)过程完结

 浙公网安备 33010602011771号