ubuntu18配置深度学习环境
1 安装nvidia驱动
1.1 设置root
sudo passwd 123
1.2 检测nvidia显卡
ubuntu-drivers devices
(base) dxs@dxs-ubuntu:~$ ubuntu-drivers devices
== /sys/devices/pci0000:00/0000:00:01.0/0000:01:00.0 ==
modalias : pci:v000010DEd00002184sv00001458sd00003FC7bc03sc00i00
vendor   : NVIDIA Corporation
driver   : nvidia-driver-430 - distro non-free recommended
driver   : xserver-xorg-video-nouveau - distro free builtin

(base) dxs@dxs-ubuntu:~$
1.3 安装nvidia驱动
sudo apt install nvidia-driver-430
1.4 安装完成后 reboot
--------------------------------------------------------
2 安装anaconda3
2.1 下载Anaconda3-5.2.0-Linux-x86_64.sh
2.2 安装:sudo sh Anaconda3-5.2.0-Linux-x86_64.sh
2.3 设置conda镜像
conda config --add channels https://mirrors.tuna.tsinghua.edu.cn/anaconda/pkgs/free/
conda config --add channels https://mirrors.tuna.tsinghua.edu.cn/anaconda/pkgs/main/
conda config --add channels https://mirrors.tuna.tsinghua.edu.cn/anaconda/cloud/pytorch/
conda config --set show_channel_urls yes
-----------------------------------------------------------------------------
3 安装cuda cudnn
conda install cudatoolkit=10.0
conda install cudnn=7.6.0
------------------------------------------------------------------------------
4 安装tensorflow-gpu
conda install tensorflow-gpu=1.13.1
5 安装pytorch
在线安装: conda install pytorch torchvision cudatoolkit=10.0 -c pytorch
离线安装: 先去 https://download.pytorch.org/whl/cu100/torch_stable.html 下载 torch-1.2.0-cp36-cp36m-manylinux1_x86_64.whl 和 torchvision-0.4.0-cp36-cp36m-manylinux1_x86_64.whl , 然后安装
6 安装caffe
conda install -c defaults caffe-gpu
7 安装jupyter notebook
conda install jupyter notebook
# 若不生效则需要执行以下命令
sudo apt install jupyter-core
8 配置jupyter notebook
1 生成配合文件 jupyter_notebook_config.py
jupyter notebook --generate-config --allow-root

2 进入ipython环境,生成pwd

(base) dxs@dxs-ubuntu:~$ ipython
Python 3.6.9 |Anaconda, Inc.| (default, Jul 30 2019, 19:07:31)
Type 'copyright', 'credits' or 'license' for more information
IPython 6.4.0 -- An enhanced Interactive Python. Type '?' for help.

In [1]: from notebook.auth import passwd

In [2]: passwd()
Enter password:
Verify password:
Out[2]: 'sha1:5171a0b47bc4:c4efffb3c7973b480a4612cb7a457c7d5da0970b'

In [3]: quit()

3 打开配置文件:/home/dxs/.jupyter/jupyter_notebook_config.py
修改以下位置:

203 行
## notebook服务会监听的IP地址.
c.NotebookApp.ip = '0.0.0.0'

257行
## 用于笔记本和内核的目录。
c.NotebookApp.notebook_dir = u'/media/dxs/E/Project/AI'

263行
#  configuration option.
c.NotebookApp.open_browser = True

272行
#  The string should be of the form type:salt:hashed-password.
c.NotebookApp.password = u'sha1:5171a0b47bc4:c4efffb3c7973b480a4612cb7a457c7d5da0970b'

283行
## notebook服务会监听的IP端口.
c.NotebookApp.port = 8888

保存即可
9 给conda每个虚拟环境配置jupyter notebook
(base) dxs@dxs-ubuntu:~$ conda env list
# conda environments:
#
base                  *  /home/dxs/anaconda3
caffe                    /home/dxs/anaconda3/envs/caffe
tf2                      /home/dxs/anaconda3/envs/tf2

(base) dxs@dxs-ubuntu:~$ conda activate base
(base) dxs@dxs-ubuntu:~$ conda install ipykernel
Collecting package metadata (repodata.json): done
Solving environment: done

## Package Plan ##

  environment location: /home/dxs/anaconda3

  added / updated specs:
    - ipykernel


The following packages will be downloaded:

    package                    |            build
    ---------------------------|-----------------
    ipykernel-5.1.2            |   py36h39e3cac_0         165 KB  https://mirrors.tuna.tsinghua.edu.cn/anaconda/pkgs/main
    ------------------------------------------------------------
                                           Total:         165 KB

The following packages will be UPDATED:

  ipykernel               pkgs/main::ipykernel-4.8.2-py36_0 --> anaconda/pkgs/main::ipykernel-5.1.2-py36h39e3cac_0


Proceed ([y]/n)? y


Downloading and Extracting Packages
ipykernel-5.1.2      | 165 KB    | ##################################### | 100%
Preparing transaction: done
Verifying transaction: done
Executing transaction: done
(base) dxs@dxs-ubuntu:~$ python -m ipykernel install --user --name base --display-name "base_tf_pytorch"
Installed kernelspec base in /home/dxs/.local/share/jupyter/kernels/base
(caffe) dxs@dxs-ubuntu:~$ conda activate tf2 (tf2) dxs@dxs-ubuntu:~$ conda install ipykernel
### 假如不行,还需要回来再执行: (tf2) dxs@dxs-ubuntu:~$ conda install jupyter Collecting package metadata (repodata.json): done Solving environment: done ## Package Plan ## environment location: /home/dxs/anaconda3/envs/tf2 added / updated specs: - ipykernel The following NEW packages will be INSTALLED: ipykernel anaconda/pkgs/main/linux-64::ipykernel-5.1.2-py36h39e3cac_0 jupyter_client anaconda/pkgs/main/linux-64::jupyter_client-5.3.3-py36_1 jupyter_core anaconda/pkgs/main/noarch::jupyter_core-4.5.0-py_0 libsodium anaconda/pkgs/main/linux-64::libsodium-1.0.16-h1bed415_0 pyzmq anaconda/pkgs/main/linux-64::pyzmq-18.1.0-py36he6710b0_0 zeromq anaconda/pkgs/main/linux-64::zeromq-4.3.1-he6710b0_3 Proceed ([y]/n)? y Preparing transaction: done Verifying transaction: done Executing transaction: done (tf2) dxs@dxs-ubuntu:~$ python -m ipykernel install --user --name tf2 --display-name "tf2.0" Installed kernelspec tf2 in /home/dxs/.local/share/jupyter/kernels/tf2
==========================================================================
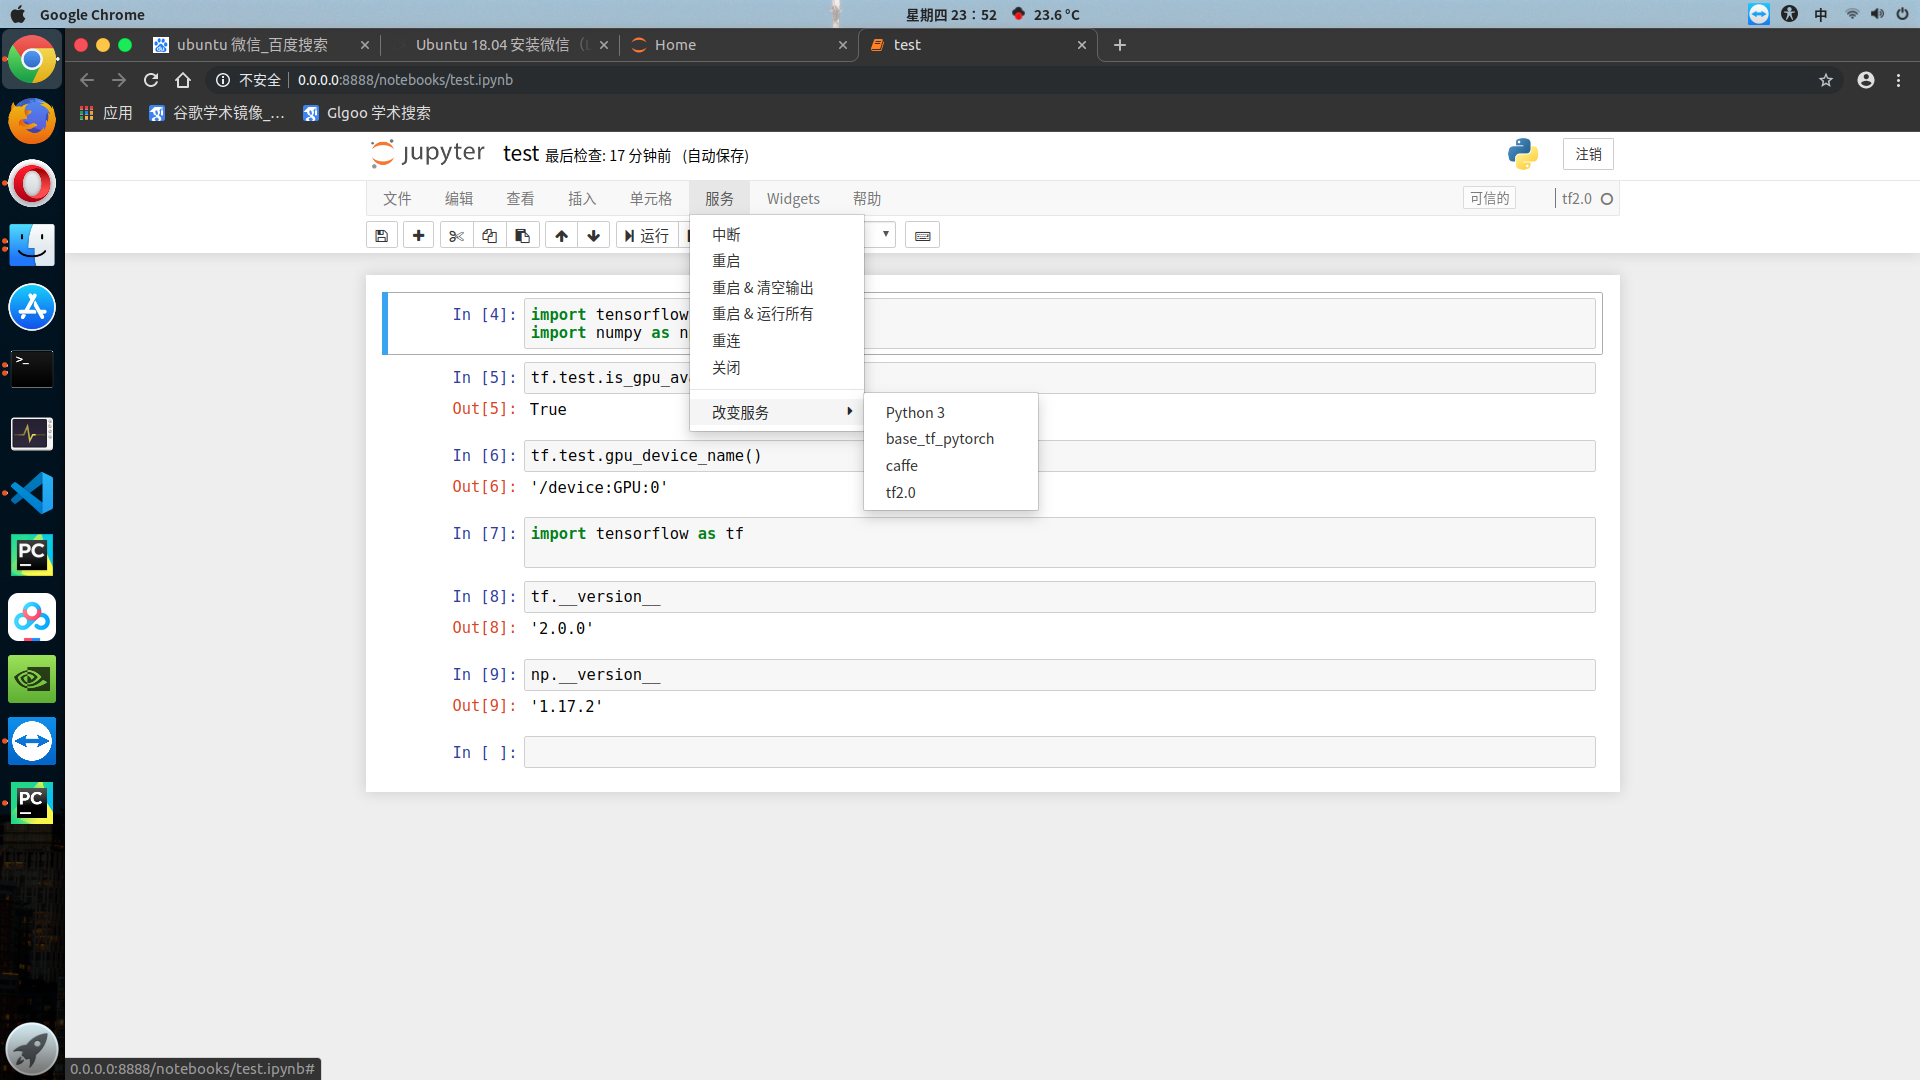
启动服务后效果如下:

 浙公网安备 33010602011771号