
Spring5入门-07-基于注解的自动装配
一、前言
-
参考视频:遇见狂神说-Spring5
-
参考文档:官方文档-基于注解的容器配置
-
-
使用:
- IDEA 2019.3
- Maven
- Spring 5.2.9.RELEASE
- Junit 4.12
目的:了解Bean使用注解配置时候的自动装配。
关于使用注解与xml,官方文档说:
Are annotations better than XML for configuring Spring?
The introduction of annotation-based configuration raised the question of whether this approach is “better” than XML. The short answer is “it depends.” The long answer is that each approach has its pros and cons, and, usually, it is up to the developer to decide which strategy suits them better. Due to the way they are defined, annotations provide a lot of context in their declaration, leading to shorter and more concise configuration. However, XML excels at wiring up components without touching their source code or recompiling them. Some developers prefer having the wiring close to the source while others argue that annotated classes are no longer POJOs and, furthermore, that the configuration becomes decentralized and harder to control.
No matter the choice, Spring can accommodate both styles and even mix them together. It is worth pointing out that through its JavaConfig option, Spring lets annotations be used in a non-invasive way, without touching the target components source code and that, in terms of tooling, all configuration styles are supported by the Spring Tools for Eclipse.
即,两者各有优势。
不过,注解是先于XMl配置执行的,因此,如果注解配置和XML配置如果有干涉的地方,XML配置会将注解的配置覆盖掉。

二、准备工作
2.0 使用注解
如果想要使用注解,需要:
-
导入约束
-
配置注解的支持:
<?xml version="1.0" encoding="UTF-8"?>
<beans xmlns="http://www.springframework.org/schema/beans"
    xmlns:xsi="http://www.w3.org/2001/XMLSchema-instance"
    xmlns:context="http://www.springframework.org/schema/context"
    xsi:schemaLocation="http://www.springframework.org/schema/beans
        https://www.springframework.org/schema/beans/spring-beans.xsd
        http://www.springframework.org/schema/context
        https://www.springframework.org/schema/context/spring-context.xsd">

    <context:annotation-config/>

</beans>
可以看到,相比之前,多了
xmlns:context="http://www.springframework.org/schema/context"和
http://www.springframework.org/schema/context https://www.springframework.org/schema/context/spring-context.xsd以及:
<context:annotation-config/>
2.1 依赖
注意:这里用到的应该是spring-context,但是spring-webmvc由于继承的关系会有一张依赖网:
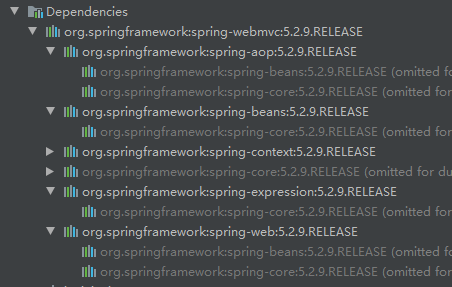
算是省心省力吧。
<!--Spring-->
<dependency>
    <groupId>org.springframework</groupId>
    <artifactId>spring-webmvc</artifactId>
    <version>${org.springframework.version}</version>
</dependency>

<!--JUnit-->
<dependency>
    <groupId>junit</groupId>
    <artifactId>junit</artifactId>
    <version>4.12</version>
    <scope>test</scope>
</dependency>
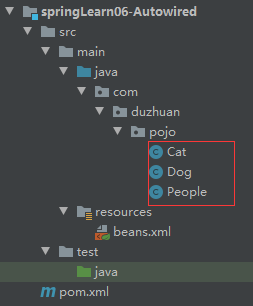
2.2 实体类
这里承袭上一个文章的实体类于配置文件:
路径
代码
Cat.java
package com.duzhuan.pojo;

/**
 * @Autord: HuangDekai
 * @Date: 2020/9/28 20:46
 * @Version: 1.0
 * @since: jdk11
 */
public class Cat {
    public void shout(){
        System.out.println("miaomiao");
    }
}
Dog.java
package com.duzhuan.pojo;

/**
 * @Autord: HuangDekai
 * @Date: 2020/9/28 20:39
 * @Version: 1.0
 * @since: jdk11
 */
public class Dog {
    public void shout(){
        System.out.println("WangWang");
    }
}
People.java
package com.duzhuan.pojo;

/**
 * @Autord: HuangDekai
 * @Date: 2020/9/28 20:47
 * @Version: 1.0
 * @since: jdk11
 */
public class People {
    private Cat cat;
    private Dog dog;
    private String name;

    public Cat getCat() {
        return cat;
    }

    public void setCat(Cat cat) {
        this.cat = cat;
    }

    public Dog getDog() {
        return dog;
    }

    public void setDog(Dog dog) {
        this.dog = dog;
    }

    public String getName() {
        return name;
    }

    public void setName(String name) {
        this.name = name;
    }

    @Override
    public String toString() {
        return "People{" +
                "cat=" + cat +
                ", dog=" + dog +
                ", name='" + name + '\'' +
                '}';
    }
}
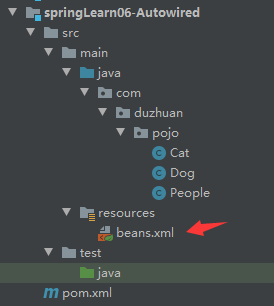
三、beans.xml
按照之前所学,beans.xml应为如下:
路径
代码
beans.xml
<?xml version="1.0" encoding="UTF-8"?>
<beans xmlns="http://www.springframework.org/schema/beans"
       xmlns:xsi="http://www.w3.org/2001/XMLSchema-instance"
       xmlns:context="http://www.springframework.org/schema/context"
       xsi:schemaLocation="http://www.springframework.org/schema/beans
        https://www.springframework.org/schema/beans/spring-beans.xsd
        http://www.springframework.org/schema/context
        https://www.springframework.org/schema/context/spring-context.xsd">

    <context:annotation-config/>

    <bean id="cat" class="com.duzhuan.pojo.Cat"/>
    <bean id="dog" class="com.duzhuan.pojo.Dog"/>
    <bean id="people" class="com.duzhuan.pojo.People"/>

</beans>
四、修改Java代码
打开People的代码,添加注解@Autowired:

全代码如下
package com.duzhuan.pojo;

import org.springframework.beans.factory.annotation.Autowired;

/**
 * @Autord: HuangDekai
 * @Date: 2020/9/28 20:47
 * @Version: 1.0
 * @since: jdk11
 */
public class People {
    @Autowired
    private Cat cat;
    @Autowired
    private Dog dog;
    private String name;

    public Cat getCat() {
        return cat;
    }

    public void setCat(Cat cat) {
        this.cat = cat;
    }

    public Dog getDog() {
        return dog;
    }

    public void setDog(Dog dog) {
        this.dog = dog;
    }

    public String getName() {
        return name;
    }

    public void setName(String name) {
        this.name = name;
    }

    @Override
    public String toString() {
        return "People{" +
                "cat=" + cat +
                ", dog=" + dog +
                ", name='" + name + '\'' +
                '}';
    }
}
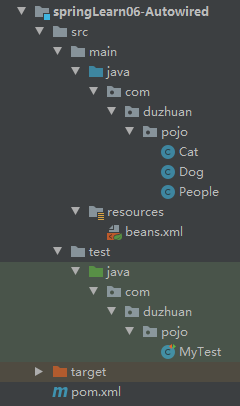
五、运行测试样例
路径
代码
package com.duzhuan.pojo;
import org.junit.Test;
import org.springframework.context.ApplicationContext;
import org.springframework.context.support.ClassPathXmlApplicationContext;
/**
* @Autord: HuangDekai
* @Date: 2020/9/28 20:58
* @Version: 1.0
* @since: jdk11
*/
public class MyTest {
@Test
public void PeopleTest(){
ApplicationContext context = new ClassPathXmlApplicationContext("beans.xml");
People people = context.getBean("people", People.class);
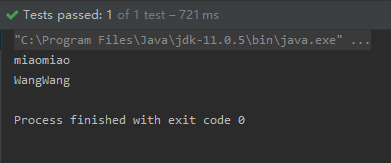
people.getCat().shout();
people.getDog().shout();
}
}
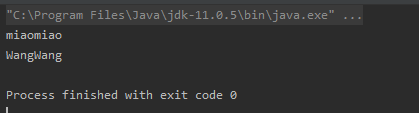
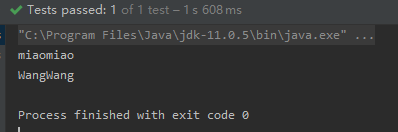
运行结果
六、@Autowired的其他使用
我们也可以在set方法上使用@Autowired:
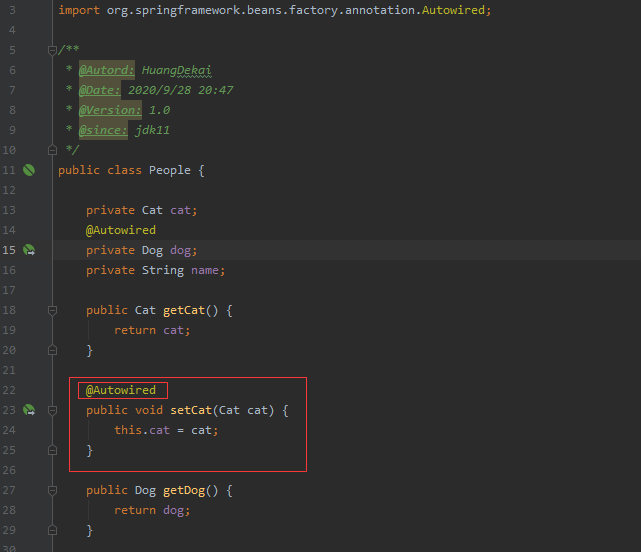
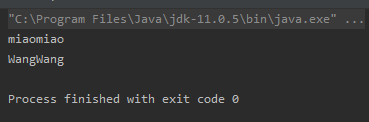
运行测试样例:
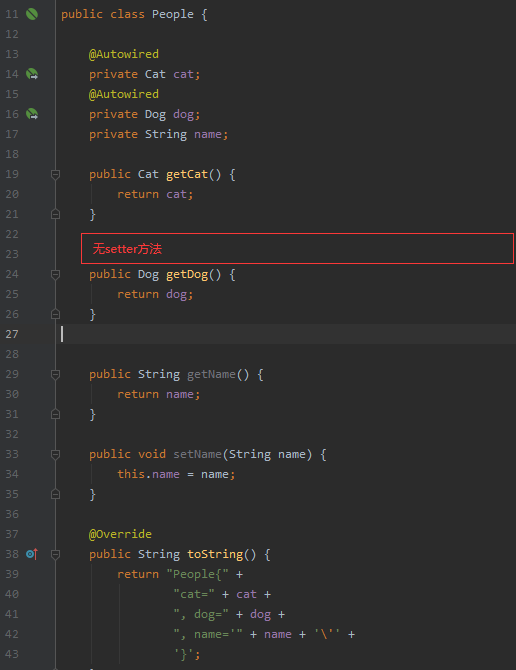
在使用@Autowired后甚至可以不写setter方法:
package com.duzhuan.pojo;

import org.springframework.beans.factory.annotation.Autowired;

/**
 * @Autord: HuangDekai
 * @Date: 2020/9/28 20:47
 * @Version: 1.0
 * @since: jdk11
 */
public class People {

    @Autowired
    private Cat cat;
    @Autowired
    private Dog dog;
    private String name;

    public Cat getCat() {
        return cat;
    }


    public Dog getDog() {
        return dog;
    }


    public String getName() {
        return name;
    }

    public void setName(String name) {
        this.name = name;
    }

    @Override
    public String toString() {
        return "People{" +
                "cat=" + cat +
                ", dog=" + dog +
                ", name='" + name + '\'' +
                '}';
    }
}
运行测试样例:
七、@Autowired一些细节
先说结论:@AutoWired是优先使用类似byTpye的方式自动注入:
修改bean的id
<?xml version="1.0" encoding="UTF-8"?>
<beans xmlns="http://www.springframework.org/schema/beans"
       xmlns:xsi="http://www.w3.org/2001/XMLSchema-instance"
       xmlns:context="http://www.springframework.org/schema/context"
       xsi:schemaLocation="http://www.springframework.org/schema/beans
        https://www.springframework.org/schema/beans/spring-beans.xsd
        http://www.springframework.org/schema/context
        https://www.springframework.org/schema/context/spring-context.xsd">

    <context:annotation-config/>

    <bean id="cat1" class="com.duzhuan.pojo.Cat"/>
    <bean id="dog2" class="com.duzhuan.pojo.Dog"/>
    <bean id="people" class="com.duzhuan.pojo.People"/>

</beans>
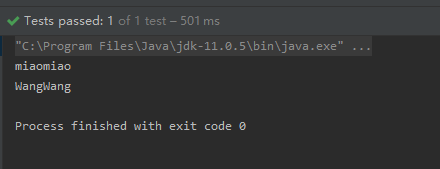
可以看到,已经修改为id="cat1"和id="dog2"
运行测试样例:
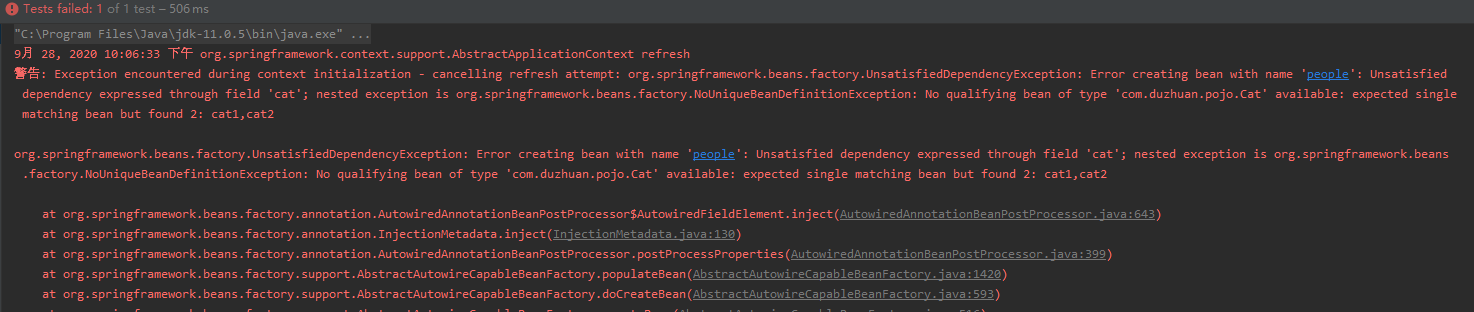
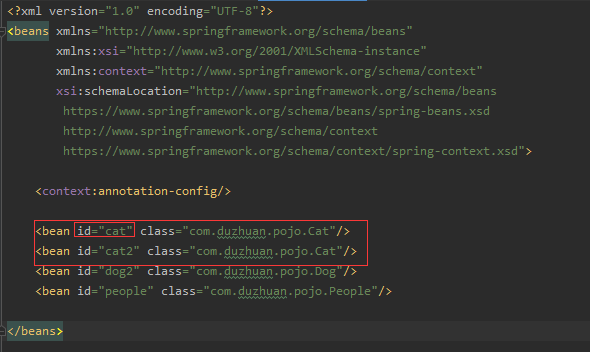
添加多一个bean
<?xml version="1.0" encoding="UTF-8"?>
<beans xmlns="http://www.springframework.org/schema/beans"
       xmlns:xsi="http://www.w3.org/2001/XMLSchema-instance"
       xmlns:context="http://www.springframework.org/schema/context"
       xsi:schemaLocation="http://www.springframework.org/schema/beans
        https://www.springframework.org/schema/beans/spring-beans.xsd
        http://www.springframework.org/schema/context
        https://www.springframework.org/schema/context/spring-context.xsd">

    <context:annotation-config/>

    <bean id="cat1" class="com.duzhuan.pojo.Cat"/>
    <bean id="cat2" class="com.duzhuan.pojo.Cat"/>
    <bean id="dog2" class="com.duzhuan.pojo.Dog"/>
    <bean id="people" class="com.duzhuan.pojo.People"/>

</beans>
运行测试样例:
当然实际上@Autowired注入的方式复杂一点。
例如:
将配置文件这样修改,再运行测试样例:
引用@Autowired的注入方式中写的结论:
1.找不到任何一个bean => 报错
2.找到一个 => 直接注入
3.找到多个 => 并不一定会报错,按照字段名字推断选择哪个bean
