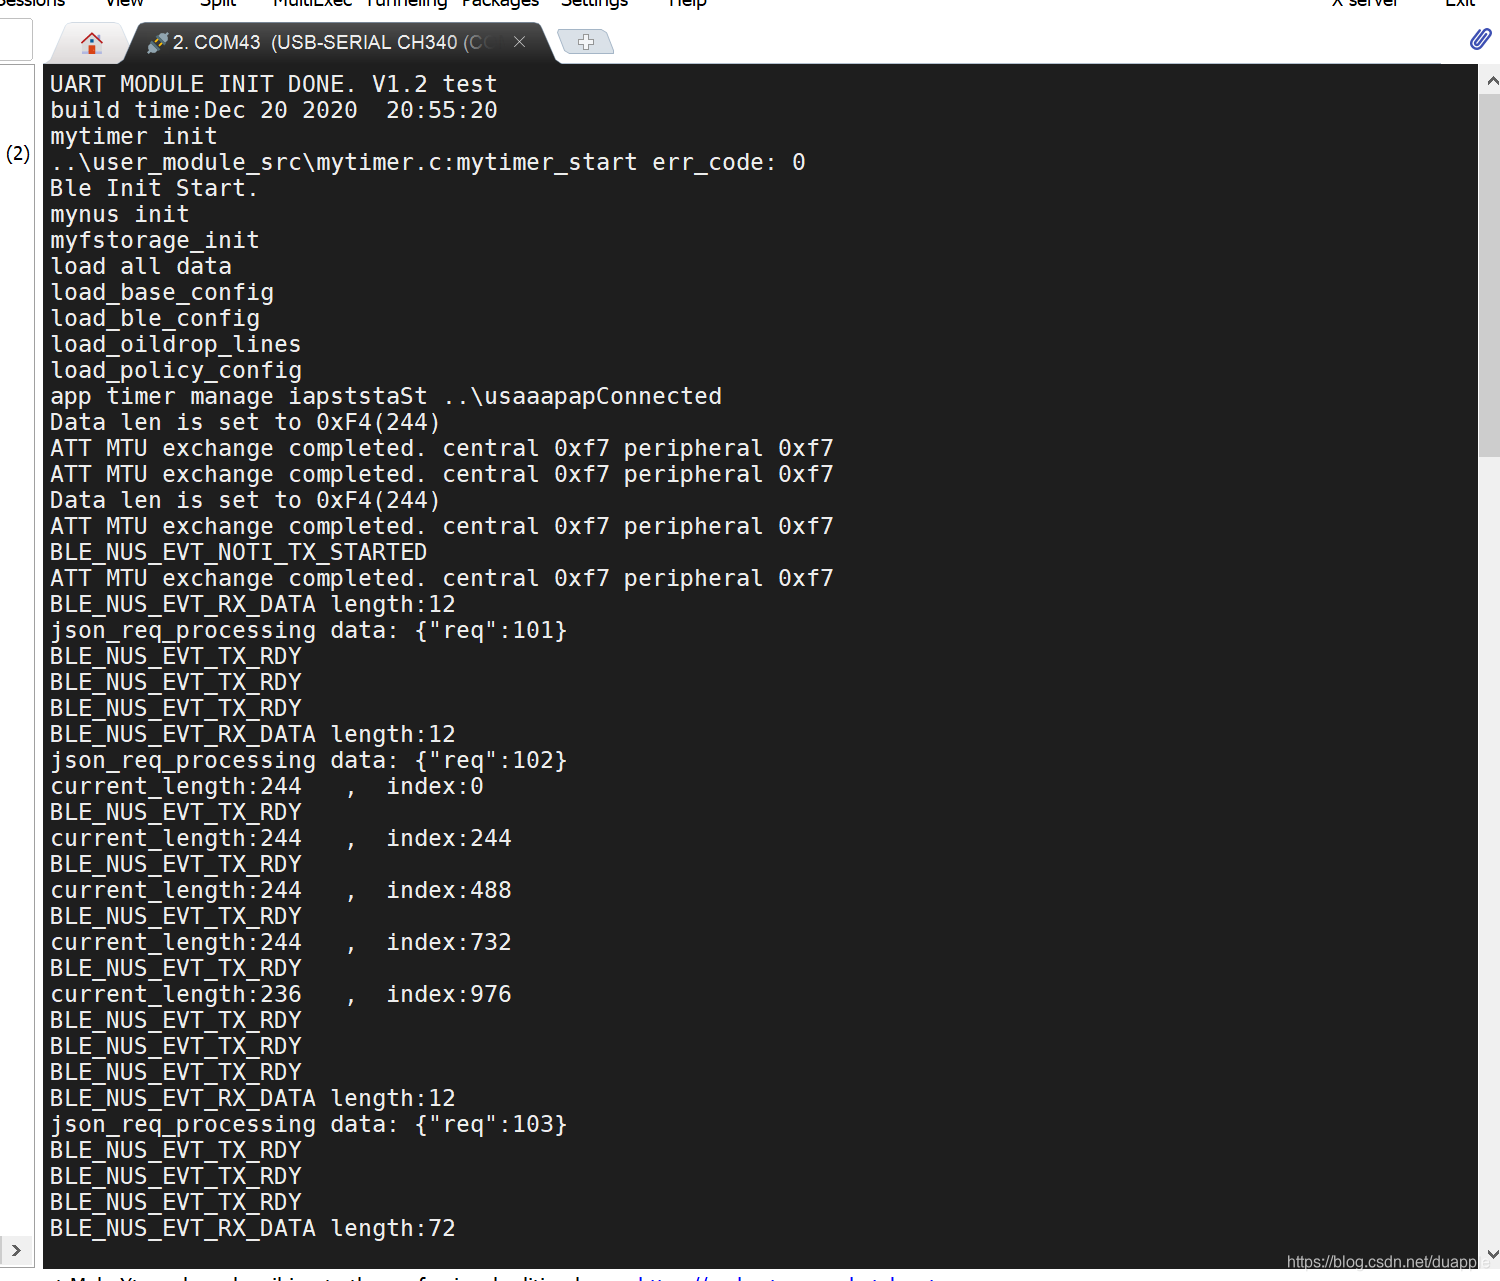
Nordic 使用串口UART打印
Nordic 使用串口UART打印
1. sdk_config
nRF_Drivers UART_ENABLE

nRF_Libraries APP_UART_ENABLE

2. 添加文件


接下来是,添加串口初始化函数和回调,可以添加到我们字节的.c文件中。
myuart.c
#include "app_uart.h"
#include "myuart.h"
#include "nrf_log.h"
#include "nrf_uart.h"
#include "nrf_uarte.h"
#include "pca_rail_lubricator.h"
#include "mylog.h"

#include "myota.h"

#define UART_RX_BUFF_LEN		(255)

/**@brief   Function for handling app_uart events.
 *
 * @details This function will receive a single character from the app_uart module and append it to
 *          a string. The string will be be sent over BLE when the last character received was a
 *          'new line' '\n' (hex 0x0A) or if the string has reached the maximum data length.
 */
/**@snippet [Handling the data received over UART] */
void uart_event_handle(app_uart_evt_t * p_event)
{
    static uint8_t data_array[UART_RX_BUFF_LEN];
    static uint8_t index = 0;
    uint32_t       err_code;

    switch (p_event->evt_type)
    {
        case APP_UART_DATA_READY:
            UNUSED_VARIABLE(app_uart_get(&data_array[index]));
            index++;

            if ((data_array[index - 1] == '\n') ||
                (data_array[index - 1] == '\r') ||
                (index >= UART_RX_BUFF_LEN))
            {
                if (index > 1)
                {
					NRF_NUS_LOG_INFO("rx data: %s", data_array);
					if ( 0 == strncmp((const char *)data_array, "ota_upgrade", 11))
					{
						NRF_NUS_LOG_INFO("ota_upgrade");
						myota_upgrade_processing();
					}
                }

                index = 0;
            }
            break;

        case APP_UART_COMMUNICATION_ERROR:
            APP_ERROR_HANDLER(p_event->data.error_communication);
            break;

        case APP_UART_FIFO_ERROR:
            APP_ERROR_HANDLER(p_event->data.error_code);
            break;

        default:
            break;
    }
}
/**@snippet [Handling the data received over UART] */


/**@brief  Function for initializing the UART module.
 */
/**@snippet [UART Initialization] */
void myuart_init(void)
{
    uint32_t                     err_code;
    app_uart_comm_params_t const comm_params =
    {
        .rx_pin_no    = RX_PIN_NUMBER,
        .tx_pin_no    = TX_PIN_NUMBER,
        .rts_pin_no   = RTS_PIN_NUMBER,
        .cts_pin_no   = CTS_PIN_NUMBER,
        .flow_control = APP_UART_FLOW_CONTROL_DISABLED,
        .use_parity   = false,
#if defined (UART_PRESENT)
        .baud_rate    = NRF_UART_BAUDRATE_115200
#else
        .baud_rate    = NRF_UARTE_BAUDRATE_115200
#endif
    };

    APP_UART_FIFO_INIT(&comm_params,
                       UART_RX_BUF_SIZE,
                       UART_TX_BUF_SIZE,
                       uart_event_handle,
                       APP_IRQ_PRIORITY_LOWEST,
                       err_code);
    APP_ERROR_CHECK(err_code);
}
/**@snippet [UART Initialization] */
myuart.h
#ifndef __MYUART_H
#define __MYUART_H

#define UART_TX_BUF_SIZE        (256)
#define UART_RX_BUF_SIZE        (256)

void myuart_init(void);

#endif /* __MYUART_H */
在pca_**.h板子定义.h文件中,定义我们的UART引脚。我这里使用的是P1口的13,15脚。

在main.c中调用我们的myuart_init,初始化我们的串口。
此时,已经可以通过app_uart_get和app_uart_put接收和发送字符了。
3. 定义自己的UART_LOG_INFO
uart_pint.c
#include "uart_print.h"
#include "string.h"
#include "app_uart.h"

void uart_send_str(char *data)
{
	size_t len = 0;
	len = strlen(data);

	for (int i = 0; i < len; i++) {
		app_uart_put(data[i]);
	}
}

void uart_send_log(char *data)
{
	uart_send_str(data);
	app_uart_put('\r');
	app_uart_put('\n');
}
uart_print.h
#ifndef __UART_PRINT_H
#define __UART_PRINT_H

#include "nrf_log.h"

void uart_send_str(char *data);
void uart_send_log(char *data);

#ifdef UART_PRINT
#define UART_LOG_INFO(...) 		\
	do { char buff[256]; \
	snprintf(buff, 256, __VA_ARGS__);\
	uart_send_log(buff); \
	} while (0);
#else
#define UART_LOG_INFO(...)	NRF_LOG_INFO(__VA_ARGS__)
#endif

#endif /* __UART_PRINT_H */

添加串口打印宏定义

好了,在需要的文件中导入uart_print.h,即可使用串口打印。当不需要串口打印的时候,删除UART_PRINT宏定义,则使用NRF_LOG_INFO进行日志输出。


【推荐】国内首个AI IDE,深度理解中文开发场景,立即下载体验Trae
【推荐】编程新体验,更懂你的AI,立即体验豆包MarsCode编程助手
【推荐】抖音旗下AI助手豆包,你的智能百科全书,全免费不限次数
【推荐】轻量又高性能的 SSH 工具 IShell:AI 加持,快人一步
· AI与.NET技术实操系列:基于图像分类模型对图像进行分类
· go语言实现终端里的倒计时
· 如何编写易于单元测试的代码
· 10年+ .NET Coder 心语,封装的思维:从隐藏、稳定开始理解其本质意义
· .NET Core 中如何实现缓存的预热?
· 25岁的心里话
· 闲置电脑爆改个人服务器(超详细) #公网映射 #Vmware虚拟网络编辑器
· 零经验选手,Compose 一天开发一款小游戏!
· 通过 API 将Deepseek响应流式内容输出到前端
· 因为Apifox不支持离线,我果断选择了Apipost!