Web进阶LNMP网站部署2
Web进阶LNMP网站部署2
部署博客wordpress一些问题
# 1.权限 /var/lib/nginx临时缓存目录权限(没有改权限页面加载不完全)
chown -R www.www //var/lib/nginx

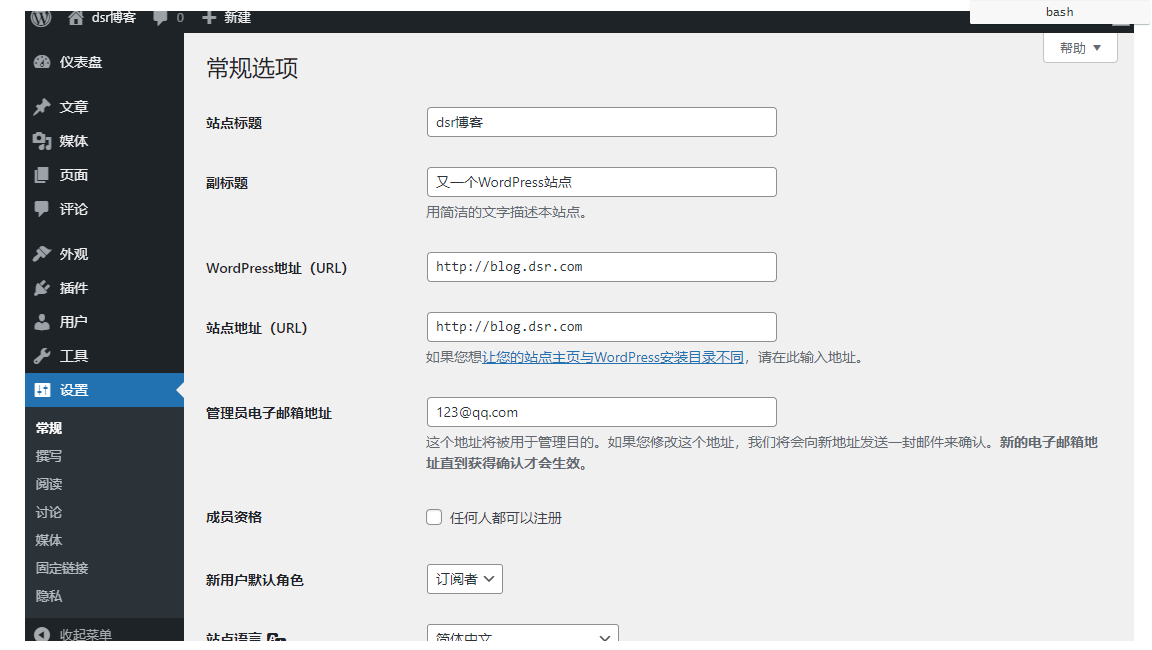
# 2.使用IP访问后,不能使用域名访问
博客的后台->设置->修改wordpress URL

# 3.上传文件大小被限制(不能在location里写)
nginx配置文件修改
http{
	client_max_body_size 10m;
	server{
		client_max_body_size 10m;
	}
}

Nginx部署知乎项目
## 运行php,不显示端口使用sockt
[root@web01 ~]# vim /etc/php-fpm.d/www.conf
;listen = 127.0.0.1:9000   # 将端口注释掉
listen = /code/php7.sock

# 修改nginx配置文件
[root@web01 code]# vim /etc/nginx/conf.d/zh.conf
server{
	listen 80;
	server_name zh.drz.com;
	root /code/zh;

	location / {
		index index.php index.html;
	}

	location ~ \.php$ {
		include /etc/nginx/fastcgi_params;
		#fastcgi_pass 127.0.0.1:9000;
		fastcgi_pass unix:/code/php7.sock;
		fastcgi_param SCRIPT_FILENAME $document_root$fastcgi_script_name;
	}
}

# 检查nginx配置文件语法
[root@web01 code]# nginx -t
nginx: the configuration file /etc/nginx/nginx.conf syntax is ok
nginx: configuration file /etc/nginx/nginx.conf test is successful

# 重新加载nginx配置
[root@web01 code]# systemctl reload nginx

# 修改socket文件权限
[root@web01 code]# ll /opt/zls.sock
srw-rw---- 1 root root 0 Jul 21 10:13 /opt/zls.sock
[root@web01 code]# chown www.www /opt/zls.sock

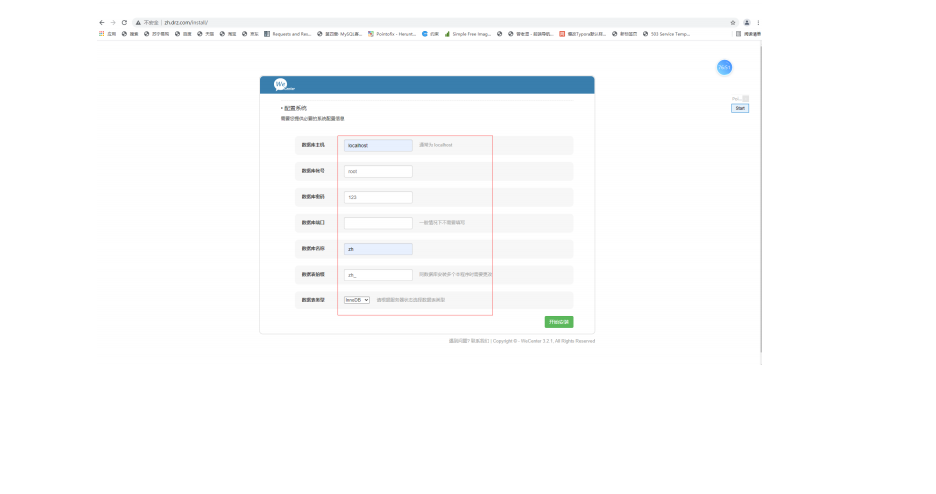
# 下载wecenter
[root@web01 /code]# wget http://test.driverzeng.com/Nginx_Code/WeCenter_3-2-1.zip
[root@web01 code]# unzip WeCenter_3-2-1.zip

# 修改wecenter名字
[root@web01 code]# mv WeCenter_3-2-1 zh

# 修改权限
[root@web01 code]# chown -R www.www zh/

# 配置知乎数据库
[root@web01 code]# mysql -uroot -p123
MariaDB [(none)]> create database zh charset utf8;
Query OK, 1 row affected (0.00 sec)

MariaDB [(none)]> show databases;
+--------------------+
| Database           |
+--------------------+
| information_schema |
| mysql              |
| performance_schema |
| test               |
| wp                 |
| zh                 |
+--------------------+
6 rows in set (0.00 sec)


数据库迁移
# 1.准备新数据库服务器 10.0.0.51

# 2.安装数据库
[root@db01 ~]# yum install -y mariadb-server

# 3.启动数据库
[root@db01 ~]# systemctl start mariadb

# 4.加入开机自启
[root@db01 ~]# systemctl enable mariadb

# 5.创建一个可以远程连接的用户
[root@db01 ~]# mysql
## 查看当前mysql的用户都有哪些
MariaDB [(none)]> select user,host from mysql.user;
+------+-----------+
| user | host |
+------+-----------+
| root | 127.0.0.1 |
| root | ::1 |
| | db01 |
| root | db01 |
| | localhost |
| root | localhost |
+------+-----------+
6 rows in set (0.00 sec)
## 创建mysql新用户 用户名:wp_zh 密码:123
MariaDB [(none)]> grant all on *.* to wp_zh@'%' identified by '123';
Query OK, 0 rows affected (0.00 sec)

# 6.将web数据库中的数据导出
[root@web01 ~]# mysqldump -uroot -p123 -B wp > /tmp/wp.sql
[root@web01 ~]# mysqldump -uroot -p123 -B zh > /tmp/zh.sql

# 7.将数据发送到10.0.0.51服务器上
[root@web01 ~]# scp /tmp/wp.sql /tmp/zh.sql 172.16.1.51:/tmp/

# 8.导入数据
[root@db01 ~]# mysql < /tmp/wp.sql
[root@db01 ~]# mysql < /tmp/zh.sql

# 9.查看数据
[root@db01 ~]# mysql
MariaDB [(none)]> show databases;
+--------------------+
| Database |
+--------------------+
| information_schema |
| mysql |
| performance_schema |
| test |
| wp |
| zh |
+--------------------+
6 rows in set (0.00 sec)

# 10.修改web01上的代码连接数据库的配置文件
[root@web01 wordpress]# vim wp-config.php
define( 'DB_NAME', 'wp' );
define( 'DB_USER', 'wp_zh' );
define( 'DB_PASSWORD', '123' );
define( 'DB_HOST', '172.16.1.51' );


