IDEA中将工程打包成war包及部署到Tomcat流程
工程打包成war包及部署到Tomcat流程
- 再IDEA开发工具中,将工程打包成war包流程:
父pom里需要移除内置的tomcat
<dependency>
    <groupId>org.springframework.boot</groupId>
    <artifactId>spring-boot-starter-web</artifactId>
    <!-- 移除嵌入式tomcat插件 -->
    <exclusions>
        <exclusion>
            <groupId>org.springframework.boot</groupId>
            <artifactId>spring-boot-starter-tomcat</artifactId>
        </exclusion>
    </exclusions>
</dependency>
然后在添加tomcat支持
<dependency>
    <groupId>org.springframework.boot</groupId>
    <artifactId>spring-boot-starter-tomcat</artifactId>
    <scope>provided</scope>
</dependency>
Web层pom中添加
<packaging>war</packaging>
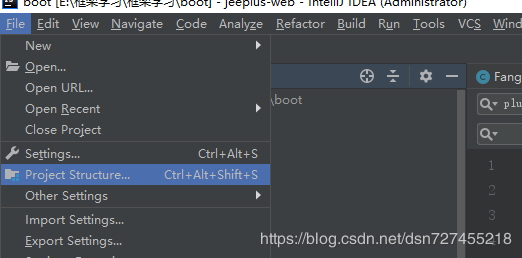
1.点击file打开Project Structure
2.选中Artifacts
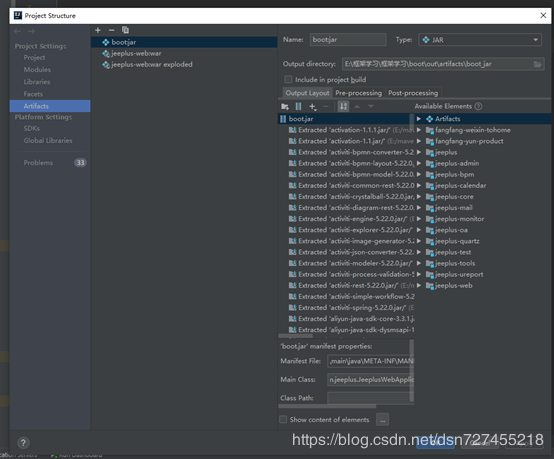
3.点击绿色加号,选中web application archive ,然后选中for jeeplus-web确定

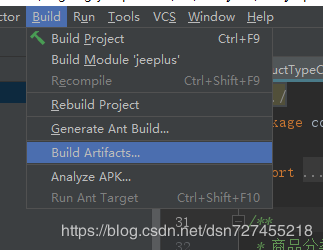
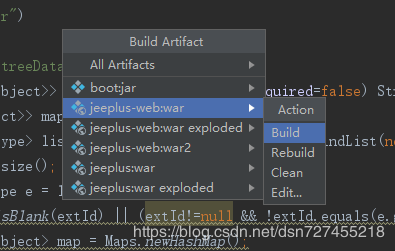
点击 Build ,选中 Build artifacts,在target目录下就会出现对应的war包
Windows下安装Tomcat
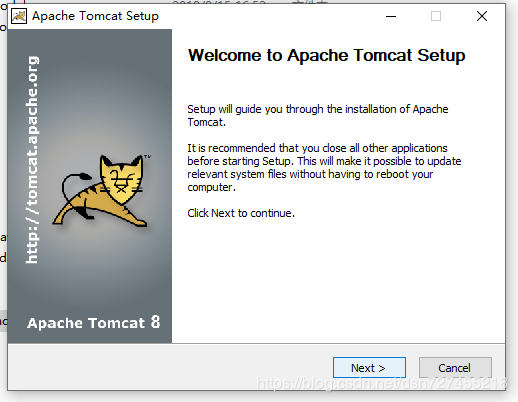
运营下载好的安装包,选择next
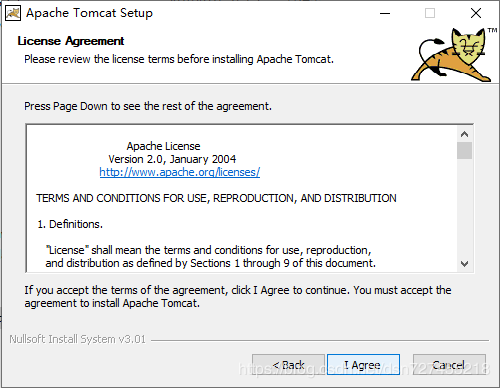
选择I agree
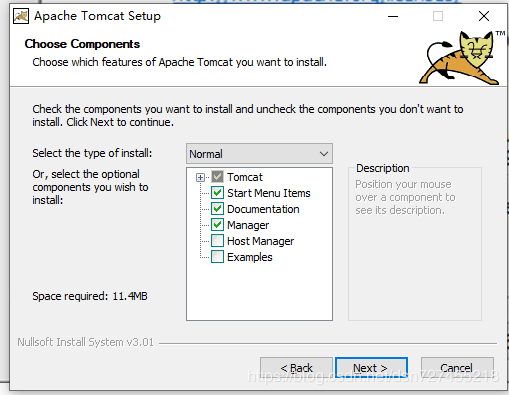
继续选择next不做任何改变
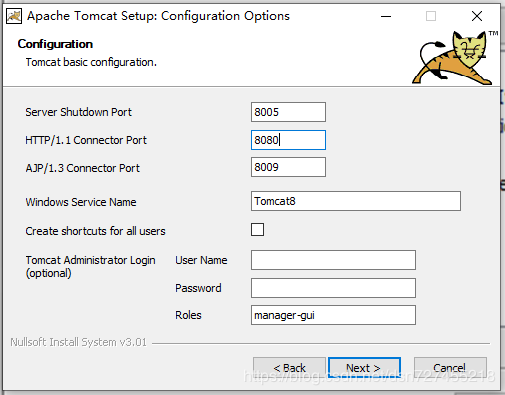
这里我们可以把8080端口配置成我们需要的,当然在安装完成后也可以在server.xml 配置文件里面修改
这里tomcat会默认选择我们安装的jdk路径
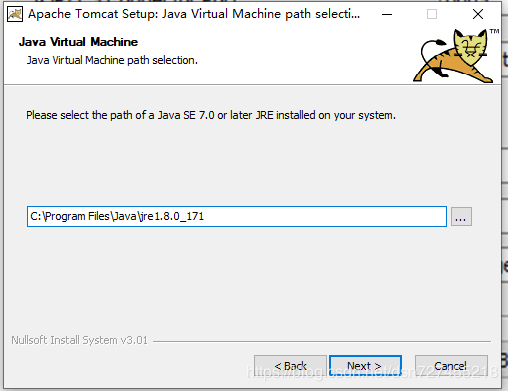
选择tomcat安装的路径
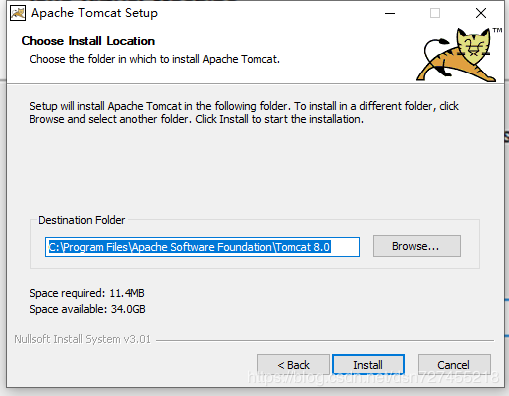
选择install 等待安装即可。
三.把war包上传到tomcat webapps目录下,启动bin目录下 startup.bat
因为我这里是本地环境所以是直接复制的war文件,如果是远程服务器可以选择使用winscp工具,配置服务器IP 账号密码链接即可上传。启动可以选择xshell命令工具搭配shell脚本。
如遇到问题欢迎进群308742428
喜欢的朋友可以关注下。


