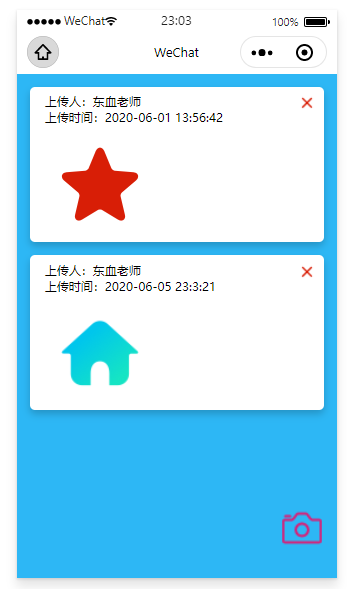
展示页面
效果展示
list.wxml
设置开头以及背景样式,设置固定发布按钮
<block wx:for="{{datalist}}" wx:key="item">
    <view class="item-container">
        <text class="item-name">上传人:{{item.name}}</text>
        <text class="item-name">上传时间:{{item.time}}</text>
        <image class="img" src="{{item.imgUrl}}"></image>
    <image class='shanchu' bindtap='delete2' data-id="{{item._id}}" src="../../images/delete.png"></image>
    </view>
</block>
<image bindtap='qufabu' class='fabu' src='../../images/fabu.png'></image>
list.wxss
page {
background: #2db7f5;
}
.item-container {
box-shadow: 0 4px 8px 0 rgba(0, 0, 0, 0.2);
transition: 0.3s;
width: 92%;
margin: 4%;
display: flex;
flex-direction: column;
background: white;
padding-top: 5pt;
padding-bottom: 5pt;
border-radius: 5px;
}
.item-name {
font-size: 12px;
margin-left: 15px;
}
.img {
width: 100px;
height: 100px;
margin-top: 10px;
margin-left: 20px;
}
.fabu{
width: 40px;
height: 40px;
position: fixed;
bottom: 30px;
right: 15px;
}
.shanchu{
width: 20px;
height: 20px;
position: absolute;
right: 20px;
}
list.js
这里封装获取数据库引用的代码,然后放在onshow的原因,我们要跳转到上传页面,回来数据就要进行刷新,这里涉及onload和onshow的使用区别,去发布功能,是跳转页面,删除图片按钮,是删除数据库数据,由此我想到了直接像以往一样添加数据库数据,来显示,然后发现数据库需要存图片文件,以下方式就比较简单
Page({
data: {
datalist: []
},
onShow: function () {
this.getImageList()
},
getImageList() {
let that = this;
wx.cloud.database().collection('imagelist').get({
success: function (res) {
console.log(res)
that.setData({
datalist: res.data
})
}
})
},
qufabu() {
wx.navigateTo({
url: '../home/home',
})
},
delete2(event) {
let that = this;
let id = event.currentTarget.dataset.id;
console.log("点击了删除按钮", id)
wx.showModal({
title: '警告!',
content: '您确定要删除吗?',
success(res) {
if (res.confirm) {
console.log("点击了确定按钮")
wx.cloud.database()
.collection('imagelist')
.doc(id)
.remove({
success(res) {
console.log("删除成功", res)
that.getImageList();
}
})
} else {
console.log("点击了取消按钮")
}
}
})
}
})
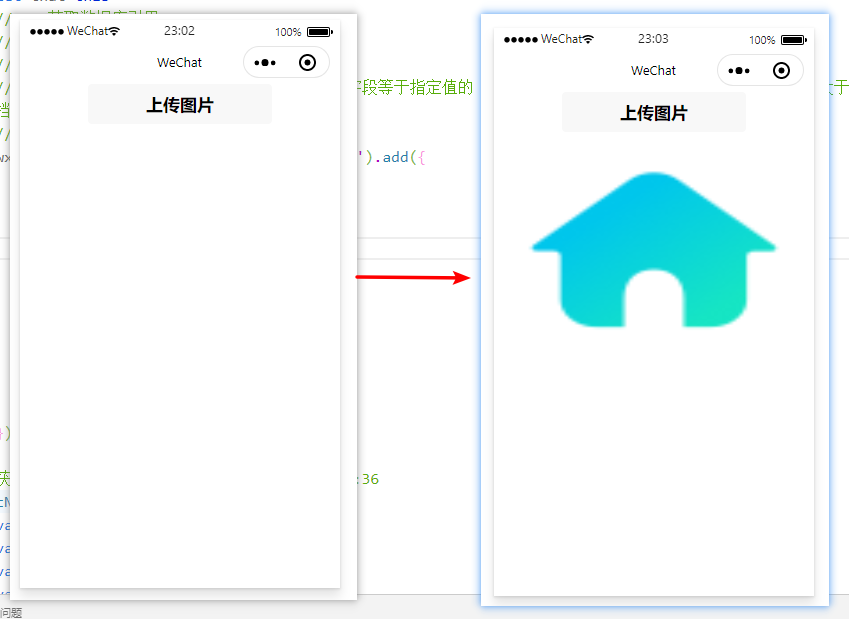
上传图片页面
效果展示
home.wxml
<button bindtap="upLoad">上传图片</button>
<image src="{{imgUrl}}"></image>
home.js
上传图片使用时间戳来命名传入云存储库,之后设置页面显示验证图片是否上传正确,使用云数据库更改数据
Page({
data: {
imgUrl: ""
},
upLoad() {
let that = this;
let timestamp = Date.parse(new Date())
console.log("当前时间戳", timestamp)
console.log("点击了图片上传")
wx.chooseImage({
count: 1,
success: chooseResult => {
wx.showLoading({
title: '上传中',
})
wx.cloud.uploadFile({
cloudPath: timestamp + ".png",
filePath: chooseResult.tempFilePaths[0],
success: res => {
wx.hideLoading()
console.log("上传成功", res)
this.setData({
imgUrl: res.fileID
})
this.addImgList(res.fileID)
}
})
}
})
},
addImgList(imgurl) {
let that=this
wx.cloud.database().collection('imagelist').add({
data: {
name: "东血老师",
imgUrl: imgurl,
time:that.getNowFormatDate()
},
success: res => {
console.log("上传成功", res)
},
fail: err => {
console.log("上传失败", err)
}
})
},
getNowFormatDate: function () {
var date = new Date();
var seperator1 = "-";
var seperator2 = ":";
var month = date.getMonth() + 1;
var strDate = date.getDate();
if (month >= 1 && month <= 9) {
month = "0" + month;
}
if (strDate >= 0 && strDate <= 9) {
strDate = "0" + strDate;
}
var currentdate = date.getFullYear() + seperator1 + month + seperator1 + strDate +
" " + date.getHours() + seperator2 + date.getMinutes() +
seperator2 + date.getSeconds();
return currentdate;
}
})


【推荐】国内首个AI IDE,深度理解中文开发场景,立即下载体验Trae
【推荐】编程新体验,更懂你的AI,立即体验豆包MarsCode编程助手
【推荐】抖音旗下AI助手豆包,你的智能百科全书,全免费不限次数
【推荐】轻量又高性能的 SSH 工具 IShell:AI 加持,快人一步
· AI与.NET技术实操系列:向量存储与相似性搜索在 .NET 中的实现
· 基于Microsoft.Extensions.AI核心库实现RAG应用
· Linux系列:如何用heaptrack跟踪.NET程序的非托管内存泄露
· 开发者必知的日志记录最佳实践
· SQL Server 2025 AI相关能力初探
· 震惊!C++程序真的从main开始吗?99%的程序员都答错了
· 【硬核科普】Trae如何「偷看」你的代码?零基础破解AI编程运行原理
· 单元测试从入门到精通
· 上周热点回顾(3.3-3.9)
· winform 绘制太阳,地球,月球 运作规律