Protobuf使用案例
- 简介
1) 客户端可以发送一个Student PoJo 对象到服务器 (通过 Protobuf 编码)
2) 服务端能接收Student PoJo 对象,并显示信息(通过 Protobuf 解码)
- 导入依赖
# maven
<dependency>
    <groupId>com.google.protobuf</groupId>
    <artifactId>protobuf-java</artifactId>
    <version>3.6.1</version>
</dependency>

# gradle
// https://mvnrepository.com/artifact/com.google.protobuf/protobuf-java
implementation group: 'com.google.protobuf', name: 'protobuf-java', version: '3.21.1'
- 在之前simple的基础上开发
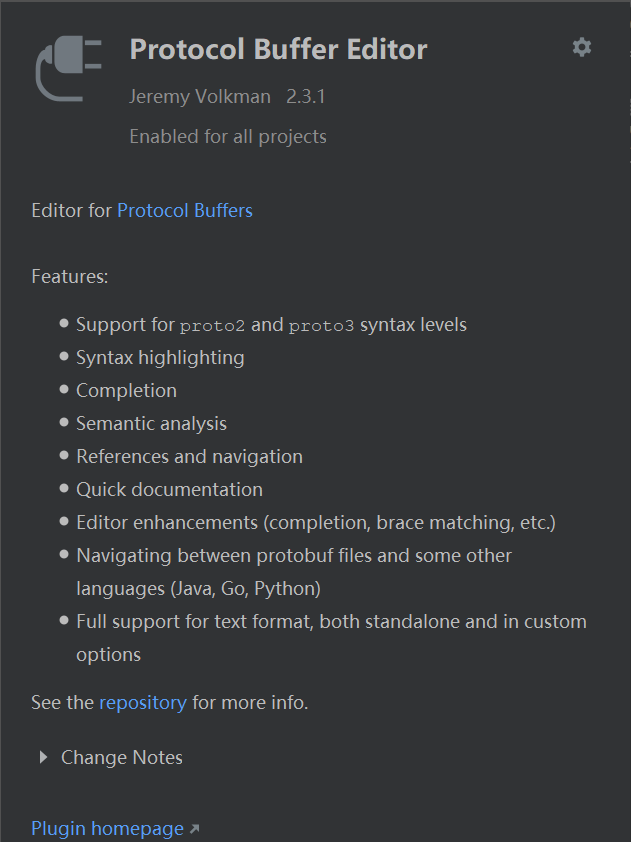
- 新建Student.proto文件,并安装插件
syntax = "proto3"; //版本
option java_outer_classname = "StudentPOJO";//生成的外部类名,同时也是文件名
//protobuf 使用message 管理数据
message Student { //会在 StudentPOJO 外部类生成一个内部类 Student, 他是真正发送的POJO对象
    int32 id = 1; // Student 类中有 一个属性 名字为 id 类型为int32(protobuf类型) 1表示属性序号,不是值
    string name = 2;
}

-
解压protoc-3.6.1-win32.zip
-
将Student.proto复制到如下目录

-
打卡cmd,输入如下命令

-
生成文件

-
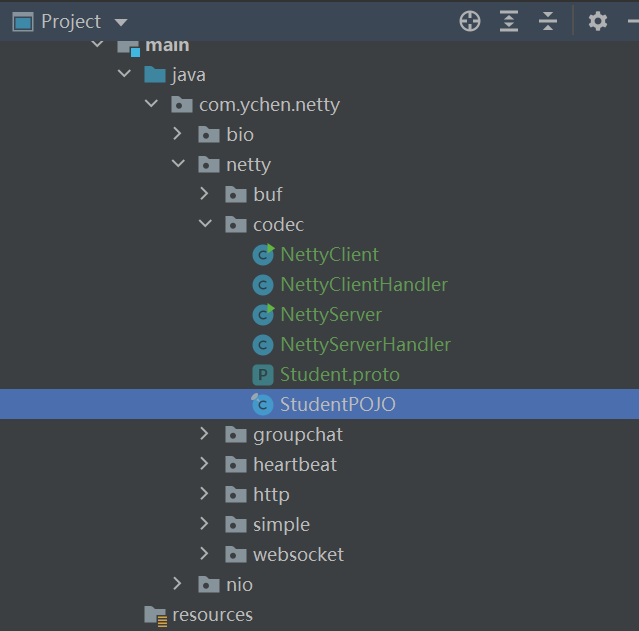
将该文件复制到项目中

-
客户端配置如下
@Override
protected void initChannel(SocketChannel ch) throws Exception {
    ChannelPipeline pipeline = ch.pipeline();
    //在pipeline中加入 ProtoBufEncoder
    pipeline.addLast("encoder", new ProtobufEncoder());
    pipeline.addLast(new NettyClientHandler()); //加入自己的处理器
}
- 客户端处理器修改如下
//当通道就绪就会触发该方法
@Override
public void channelActive(ChannelHandlerContext ctx) throws Exception {
    //发生一个Student 对象到服务器
    StudentPOJO.Student student = StudentPOJO.Student.newBuilder().setId(4).setName("智多星 吴用").build();
    //Teacher , Member ,Message
    ctx.writeAndFlush(student);
}
- 服务端配置如下
@Override
protected void initChannel(SocketChannel ch) throws Exception {
    ChannelPipeline pipeline = ch.pipeline();
    //在pipeline加入ProtoBufDecoder
    //指定对哪种对象进行解码
    pipeline.addLast("decoder", new ProtobufDecoder(StudentPOJO.Student.getDefaultInstance()));
    pipeline.addLast(new NettyServerHandler());
}
- 服务端处理器,配置方式1
public class NettyServerHandler extends ChannelInboundHandlerAdapter {

    //读取数据实际(这里我们可以读取客户端发送的消息)
    /*
    1. ChannelHandlerContext ctx:上下文对象, 含有 管道pipeline , 通道channel, 地址
    2. Object msg: 就是客户端发送的数据 默认Object
     */
    @Override
    public void channelRead(ChannelHandlerContext ctx, Object msg) throws Exception {

        //读取从客户端发送的StudentPojo.Student
        StudentPOJO.Student student = (StudentPOJO.Student) msg;
        System.out.println("客户端发送的数据 id=" + student.getId() + " 名字=" + student.getName());
    }
}
- 测试:先启动服务端,再启动客户端
# 服务端控制台
.....服务器 is ready...
监听端口 6668 成功
客户端发送的数据 id=4 名字=智多星 吴用

# 客户端控制台
客户端 ok..
服务器回复的消息:hello, 客户端~(>^ω^<)喵1
服务器的地址: /127.0.0.1:6668
-
- 服务端处理器,配置方式
public class NettyServerHandler extends SimpleChannelInboundHandler<StudentPOJO.Student> {

    //读取数据实际(这里我们可以读取客户端发送的消息)
    /*
    1. ChannelHandlerContext ctx:上下文对象, 含有 管道pipeline , 通道channel, 地址
    2. Object msg: 就是客户端发送的数据 默认Object
     */
    @Override
    public void channelRead0(ChannelHandlerContext ctx, StudentPOJO.Student msg) throws Exception {

        //读取从客户端发送的StudentPojo.Student
        System.out.println("客户端发送的数据 id=" + msg.getId() + " 名字=" + msg.getName());
    }
}

 浙公网安备 33010602011771号