spring5入门(八):基于xml配置管理bean,自动装配、外部属性文件
自动装配
- 自动装配定义
根据指定装配规则(属性名称或者属性类型),Spring 自动将匹配的属性值进行注入
- 实现代码1:
byName根据属性名称注入 ,注入值bean的id值和类属性名称一样
# 部门实体
public class Dept {

    @Override
    public String toString() {
        return "Dept{}";
    }

}

# 员工实体
public class Emp {

    private Dept dept;

    public void setDept(Dept dept) {
        this.dept = dept;
    }

    @Override
    public String toString() {
        return "Emp{" +
                "dept=" + dept +
                '}';
    }

    public void test() {
        System.out.println(dept);
    }

}

# 配置bean.xml
    <bean id="emp" class="com.ychen.spring.autowire.Emp" autowire="byName">
    </bean>

    <bean id="dept" class="com.ychen.spring.autowire.Dept"></bean>

# 测试方法
    @Test
    public void test4() {
        ApplicationContext context =
                new ClassPathXmlApplicationContext("bean3.xml");
        Emp emp = context.getBean("emp", Emp.class);
        System.out.println(emp);
    }

# 控制台
Emp{dept=Dept{}}

Process finished with exit code 0
- 实现代码2:
byType根据属性类型注入
# 部门实体
public class Dept {
@Override
public String toString() {
return "Dept{}";
}
}
# 员工实体
public class Emp {
private Dept dept;
public void setDept(Dept dept) {
this.dept = dept;
}
@Override
public String toString() {
return "Emp{" +
"dept=" + dept +
'}';
}
public void test() {
System.out.println(dept);
}
}
# 配置bean.xml
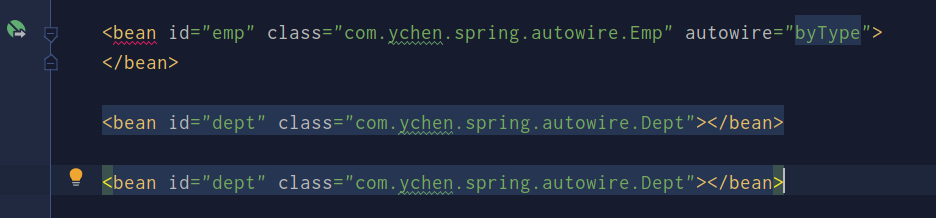
<bean id="emp" class="com.ychen.spring.autowire.Emp" autowire="byType">
</bean>
<bean id="dept" class="com.ychen.spring.autowire.Dept"></bean>
# 测试方法
@Test
public void test4() {
ApplicationContext context =
new ClassPathXmlApplicationContext("bean3.xml");
Emp emp = context.getBean("emp", Emp.class);
System.out.println(emp);
}
# 控制台
Emp{dept=Dept{}}
Process finished with exit code 0
byType缺陷:bean.xml中有2个bean时会报错
外部属性文件
-
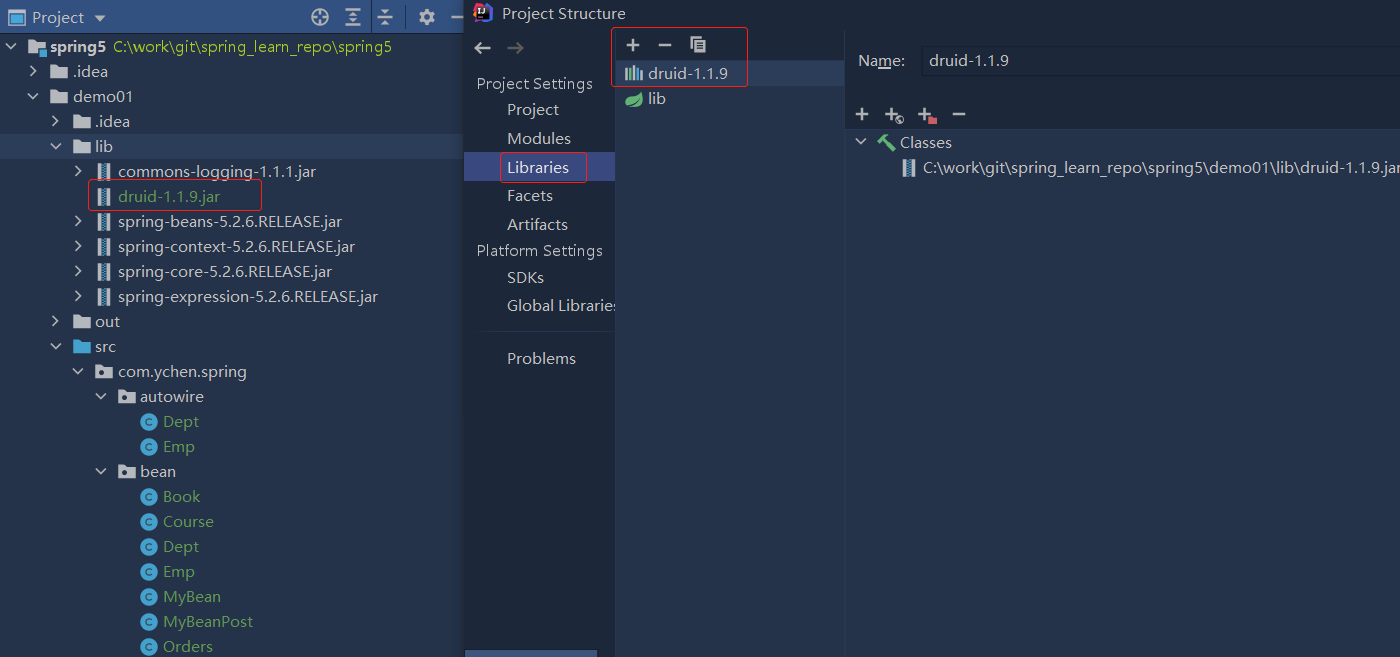
导入依赖
-
直接配置
<bean id="dataSource" class="com.alibaba.druid.pool.DruidDataSource">
    <property name="driverClassName" value="com.mysql.jdbc.Driver"></property>
    <property name="url" value="jdbc:mysql://localhost:3306/dbtest"></property>
    <property name="username" value="root"></property>
    <property name="password" value="123456"></property>
</bean>
使用context 名称空间- src目录下创建jdbc.properties
prop.driverClass=com.mysql.jdbc.Driver
prop.url=jdbc:mysql://localhost:3306/userDb
prop.userName=root
prop.password=root
- bean.xml中添加:xmlns:context="http://www.springframework.org/schema/context" http://www.springframework.org/schema/context http://www.springframework.org/schema/context/spring-context.xsd
<?xml version="1.0" encoding="UTF-8"?>
<beans xmlns="http://www.springframework.org/schema/beans"
       xmlns:xsi="http://www.w3.org/2001/XMLSchema-instance"
       xmlns:context="http://www.springframework.org/schema/context"
       xsi:schemaLocation="http://www.springframework.org/schema/beans http://www.springframework.org/schema/beans/spring-beans.xsd
                           http://www.springframework.org/schema/context http://www.springframework.org/schema/context/spring-context.xsd">

    <!--引入外部属性文件-->
    <context:property-placeholder location="classpath:jdbc.properties"/>

    <!--配置连接池-->
    <bean id="dataSource" class="com.alibaba.druid.pool.DruidDataSource">
        <property name="driverClassName" value="${prop.driverClass}"></property>
        <property name="url" value="${prop.url}"></property>
        <property name="username" value="${prop.userName}"></property>
        <property name="password" value="${prop.password}"></property>
    </bean>

</beans>

 浙公网安备 33010602011771号