
Spring源码编译
学习spring源码最好是下载源码编译,方便写注释。提前声明,编译源码可能遇到各种问题,可能和机器环境、网络等有各种关系,如果解决不了也可以不通过编译源码方式学习。
机器环境:idea,jdk1.8,spring是gradle构建的,可以安装对应的gradle,也可以使用gradleWrapper中的gradle
下载spring源码,上github上下载,https://github.com/spring-projects/spring-framework,下载一个5.X的RELEASE版本
修改build.gradle
repositories {
  maven{ url 'https://maven.aliyun.com/nexus/content/groups/public/'}
  maven{ url 'https://maven.aliyun.com/nexus/content/repositories/jcenter'}
  mavenCentral()
  maven { url "https://repo.spring.io/libs-spring-framework-build" }
}
下面开始编译,第一步编译compileTestJava模块,打开源码所在位置
gradlew :spring-oxm:compileTestJava
这个过程要等一段时间,只要看到绿色大字BUILD SUCCESSFUL就表示编译成功,其余的问题不用处理。
然后要将项目导入到idea,会提示配置gradle:
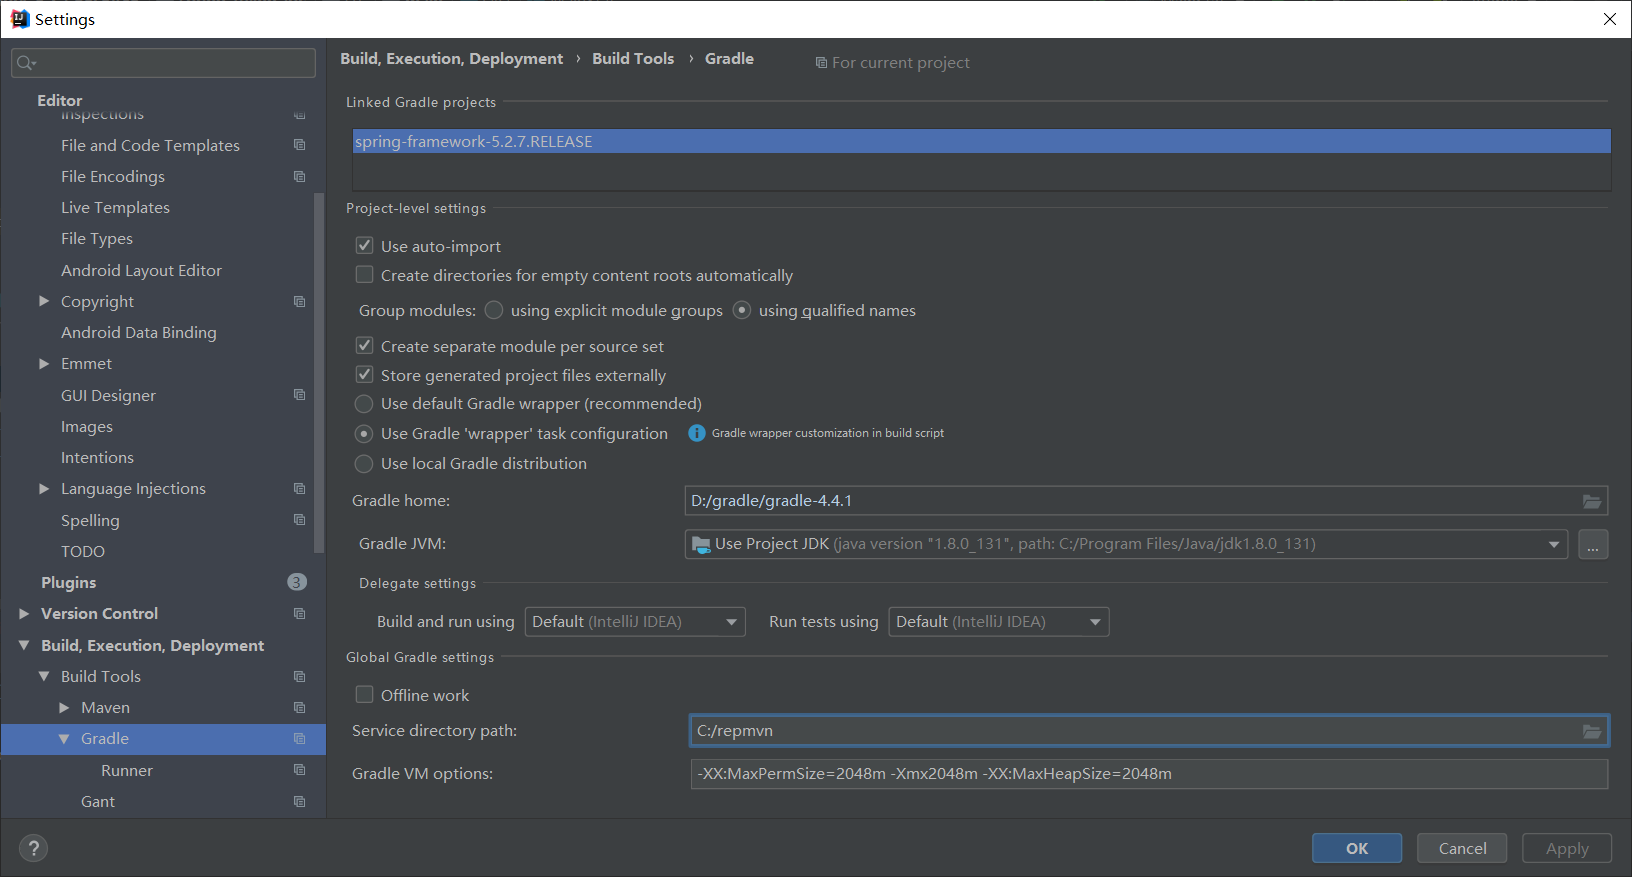
之后需要一点时间编译:
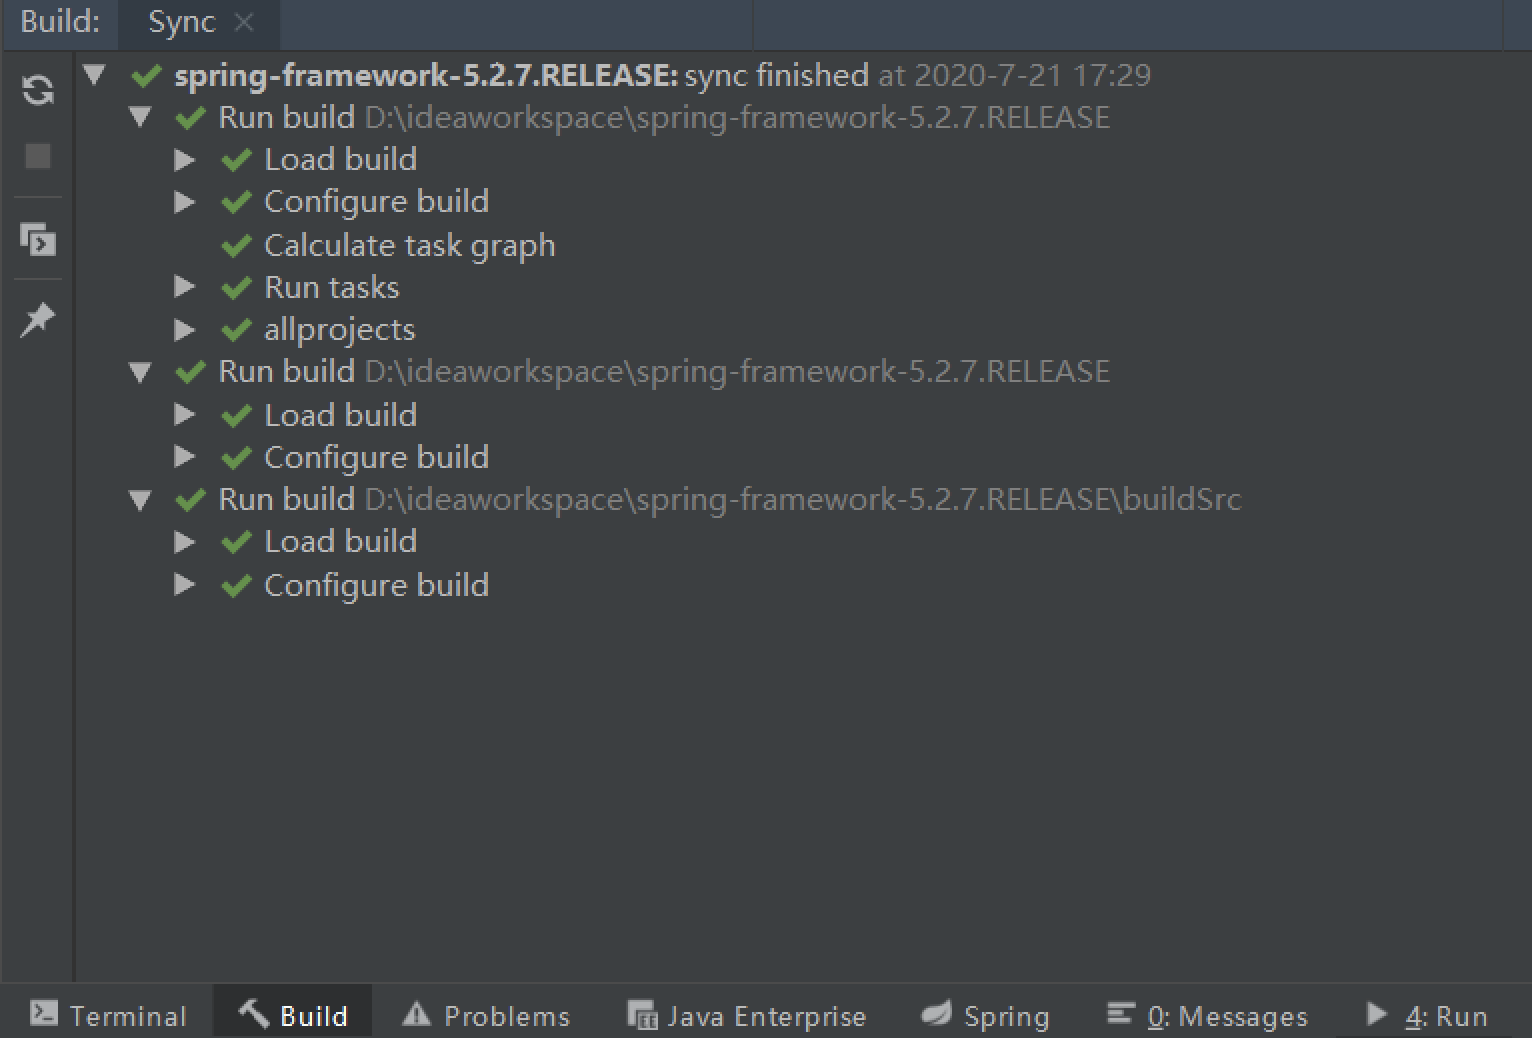
到现在已经编译通过了,之后可以添加一个模块测试一下:

build.gradle配置依赖:
dependencies {
    testCompile group: 'junit', name: 'junit', version: '4.12'
    compile(project(":spring-beans"))
    compile(project(":spring-core"))
    optional(project(":spring-aop"))
    optional(project(":spring-context"))
}
编写代码测试:到现在和我们平时开发的项目没什么不同了
public class Car {
    private String name;
    public Car(String name) {
        this.name = name;
    }
    @Override
    public String toString() {
        return "Car{" +
                "name='" + name + '\'' +
                '}';
    }
}
@Configuration
public class Config {
    @Bean
    public Car car() {
        return new Car("玛莎拉蒂");
    }
}
public class Main {
    public static void main(String[] args) {
        AnnotationConfigApplicationContext context = new AnnotationConfigApplicationContext(Config.class);
        Car bean = context.getBean(Car.class);
        System.out.println(bean);
    }
}
输出结果:Car{name='玛莎拉蒂'}
编译成功,之后看源码就可以直接在spring项目中直接编写代码和注释。

 浙公网安备 33010602011771号