20165328 实验四《Andriid应用开发》实验报告
一、实验一:Andriod Stuidio的安装测试:
实验要求:
- 参考 http://www.cnblogs.com/rocedu/p/6371315.html#SECANDROID,安装Android Studio
- 完成Hello World,要求修改res目录中的内容,Hello World后要求显示自己的学号,自己学号前后一位同学的学号,提交代码运行截图和码云Git链接,截图没有学号要扣分
- 学习Android Stuidio调试应用程序
实验截图:
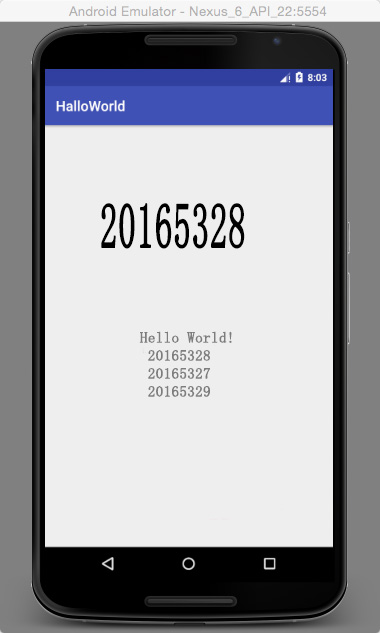
- 实验使用的xtml文件为:
-
android.support.constraint.ConstraintLayout xmlns:android="http://schemas.android.com/apk/res/android"

  xmlns:app="http://schemas.android.com/apk/res-auto"

   xmlns:tools="http://schemas.android.com/tools"

 android:layout_width="match_parent"

android:layout_height="match_parent"

   tools:context="com.example.ljq.helloworld.MainActivity">


  <TextView

 android:layout_width="wrap_content"

    android:layout_height="wrap_content"

 android:text="Hello World!20155320 "

      app:layout_constraintBottom_toBottomOf="parent"

     app:layout_constraintLeft_toLeftOf="parent"

  app:layout_constraintRight_toRightOf="parent"

  app:layout_constraintTop_toTopOf="parent"

 app:layout_constraintVertical_bias="0.050000012"

     app:layout_constraintHorizontal_bias="0.5" />

</android.support.constraint.ConstraintLayout>
二、实验二:Activity测试:
实验要求:
- 参考《Java和Andriod开发学习指南(第二版)(EPUBIT,JAVA for Andriod 2nd)》第二十五章
- 构建项目,运行教材相关代码
- 创建ThirdActivity中显示自己的学号,修改代码让MainActivity启动ThirdActivity
- 提交代码运行截图和码云Git链接,截图要有学号水印,否则会扣分
实验截图:
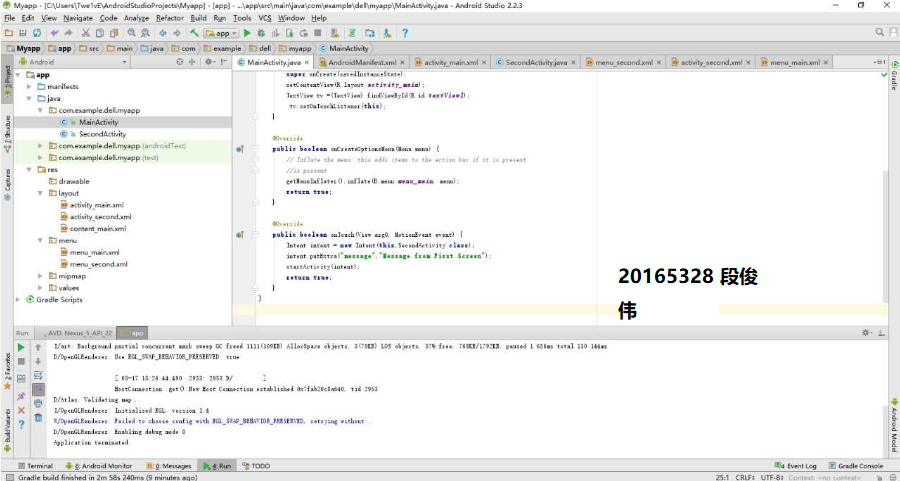
- ThirdActivity代码为:
-
package com.example.ljq.myapplication;
import android.content.Intent;
import android.support.v7.app.AppCompatActivity;
import android.os.Bundle;
import android.view.Menu;
import android.widget.TextView;


public class ThirdActivity extends AppCompatActivity {

    @Override
    protected void onCreate(Bundle savedInstanceState) {
        super.onCreate(savedInstanceState);
        setContentView(R.layout.activity_third);
        Intent intent = getIntent();
        String message = intent.getStringExtra("message");
        ((TextView) findViewById(R.id.textView1)).setText(message);
    }
    @Override
    public boolean onCreateOptionsMenu(Menu menu) {
        getMenuInflater().inflate(R.menu.menu_third, menu);
        return true;
    }
}
三、实验三:UI测试:
实验要求:
- 参考《Java和Andriod开发学习指南(第二版)(EPUBIT,Java for Andriod 2nd)》第二十六章
- 构建项目,运行教材相关代码
- 修改代码让Toast消息中显示自己的学号信息
- 提交代码运行截图和码云Git链接,截图要有自己的学号水印,否则会扣分
实验截图:
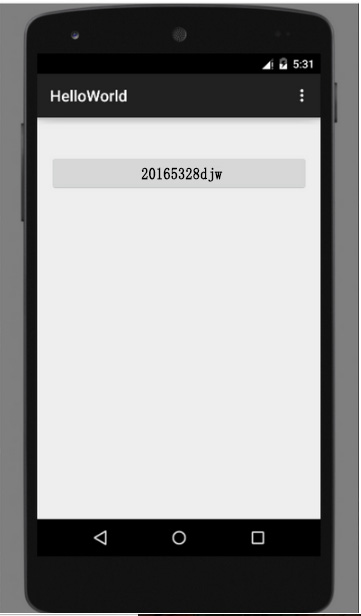
- Toast代码为:
-
package com.example.myapplication;

import android.content.Context;
import android.support.v7.app.AppCompatActivity;
import android.os.Bundle;
import android.app.Activity;
import android.util.AttributeSet;
import android.view.Menu;
import android.view.MenuItem;
import android.view.View;
import android.widget.Button;
import android.widget.Toast;

import com.example.dell1.basiccomponents.R;

public class MainActivity extends AppCompatActivity {
    @Override
    protected void onCreate(Bundle savedInstanceState) {
        super.onCreate(savedInstanceState);
        setContentView(R.layout.activity_main);
        Button btnshow1 = (Button) findViewById(R.id.btn1);
        btnshow1.setOnClickListener(new View.OnClickListener() {
            @Override
            public void onClick(View v) {
                Toast toast = Toast.makeText(MainActivity.this, "20165328djw", Toast.LENGTH_LONG);
                toast.show();
            }
        });
    }
}
四、实验四:布局测试:
实验要求:
- 参考《Java和Andriod开发学习指南(第二版)(EPUBIT,Java for Andriod 2nd)》第二十七章
- 构建项目,运行教材相关代码
- 修改布局让P290页的界面与教材不同
- 提交代码运行截图和码云Git链接,截图要有学号水印,否则会扣分
实验截图:
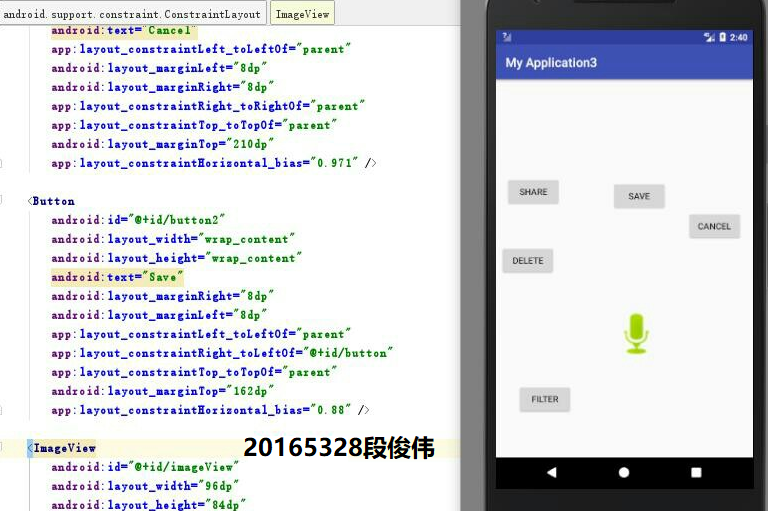
- 修改代码为:
-
<?xml version="1.0" encoding="utf-8"?>
<manifest xmlns:android="http://schemas.android.com/apk/res/android"
    package="com.example.myapplication3">

    <application
        android:allowBackup="true"
        android:icon="@mipmap/ic_launcher"
        android:label="@string/app_name"
        android:roundIcon="@mipmap/ic_launcher_round"
        android:supportsRtl="true"
        android:theme="@style/AppTheme">
        <activity android:name=".MainActivity">
            <intent-filter>
                <action android:name="android.intent.action.MAIN" />

                <category android:name="android.intent.category.LAUNCHER" />
            </intent-filter>
        </activity>
    </application>

</manifest>
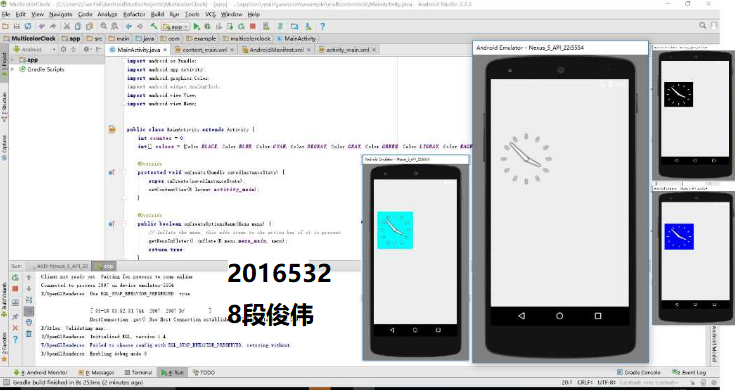
五、实验五:事件处理测试:
实验要求:
- 参考《Java和Andriod开发学习指南(第二版)(EPUIT,Java for Andriod 2nd)》第二十八章
- 构建项目,运行教材相关代码
- 提交代码运行截图和码云Git链接,截图要有学号水印,否则会扣分
实验截图:
六、实验总结:
- 这次的实验教会了我们怎样熟悉Andriod Studio的开发环境并进行简单的操作。这次的实验相比Idea的实验来说更有难度,更具挑战性,其中包括对安卓开发环境的配置已经代码的编写,我印象最深的是R文件的丢失错误已经如何解决,因为在我向其他同学询问的时候我发现很多人都和我遇到了一样的问题,最终我通过上网查询终于解决了这一问题。总而言之,在这次的实验中,我的动手学习能力得到了更进一步的提高,获得了更多的知识。
